
Manage your Infrastructure with Crossplane 🚀☸️️

Hello! In this article, I am going to give a short tutorial on how to get started with managing your cloud infrastructure using Crossplane on Kubernetes.
What is Crossplane? ☁️
Crossplane is an open-source Kubernetes add-on that enables the management of cloud resources and infrastructure as code, it extends Kubernetes’ capabilities to include infrastructure provisioning and management. It isn’t limited only to clouds such as AWS, Azure and GCP, but software as a service tools such as Vault, Pagerduty etc. Crossplane lets you manage anything, anywhere, all through standard Kubernetes APIs.
In this tutorial, we are going to be provisioning an AWS S3 Bucket through Crossplane running on Kubernetes.
Install and Run minikube cluster
Before we get started, we need a kubernetes cluster to use, we will be using minikube for this tutorial. Its completely okay if you want to use another cluster.
minikube lets you run Kubernetes locally. Go through the well documented tutorial to get minikube installed on your local machine. https://minikube.sigs.k8s.io/docs/start/
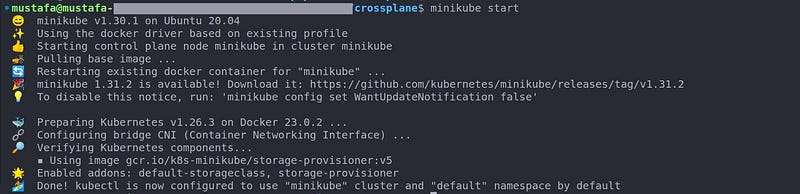
Run the following command to start the minikube cluster.
minikube start
Run the following command and make sure that your kubernetes context is correct.
kubectl config current-context
Install Crossplane via Helm Chart 🔓
Add the Crossplane helm repo with helm repo add and run helm repo update to get updates if any:
helm repo add crossplane-stable https://charts.crossplane.io/stable
helm repo update

Lets use helm to install Crossplane on cluster. Run the following command :
helm install crossplane --namespace crossplane-system \
--create-namespace crossplane-stable/crossplane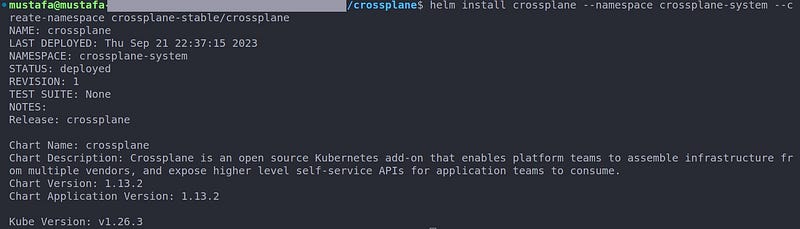
Next, use kubectl wait to wait for Crossplane pods to become ready:
kubectl wait po -n crossplane-system --for=condition=Ready \
-l "app.kubernetes.io/name=crossplane"
Run the following command and verify that the pods are ready and running :
kubectl get po -n crossplane-system

Install the Provider 🔩
People familiar with Terraform know how providers help Terraform to actually interact with Cloud, SAAS and other APIs to provision infrastructure and configurations.
Similar to how providers in terraform add a set of resources and configurations that can be managed. Crossplane providers also add a set of Kubernetes APIs and map them to external resources. Providers constantly watch the state of the desired managed resources and create any external resources that are missing.
Lets install a provider on our kubernetes cluster for configuring AWS s3 buckets:
# create a new yaml file
touch provider-aws-s3.yaml

# copy the yaml below to provider-aws-s3.yaml file

# create the Provider on the cluster
kubectl apply -f provider-aws-s3.yaml
#provider-aws-s3.yaml
apiVersion: pkg.crossplane.io/v1
kind: Provider
metadata:
name: provider-aws-s3
spec:
package: xpkg.upbound.io/upbound/provider-aws-s3:v0.40.0View the resources installed by this provider here: https://marketplace.upbound.io/providers/upbound/provider-aws-s3/v0.40.0
Run the following command to see if the provider is created, Wait for the provider to be installed and healthy. You can learn more about these conditions at: https://docs.crossplane.io/latest/concepts/providers/
kubectl get providers

Make sure you have pods starting with provider-aws-s3and upbound-provider-family-aws running. Run the following command to get all pods in the namespace:
kubectl get po -n crossplane-system

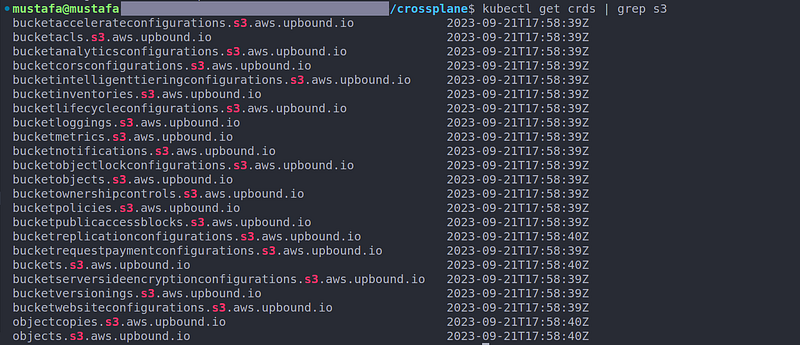
Installing a provider also installs a bunch of Kubernetes APIs that allow you to create and manage remote infrastructure and configurations. Installing the provider-aws-s3 install a bunch of resources that manage configurations related to S3.
Run the following command to check the CRDs installed by the provider:
kubectl get crds | grep s3
Install the provider config 🔨
Next step is to define authentication for the provider we created. We do this by creating a ProviderConfig resource. We can create multiple provider configs representing multiple accounts or multiple credentials per department etc. ProviderConfig objects apply to individual Managed Resources.
Lets create a ProviderConfig resource on the cluster
# create a new yaml file
touch provider-config-aws.yaml

# copy the yaml below to provider-config-aws.yaml file

# create the Provider on the cluster
kubectl apply -f provider-config-aws.yaml
apiVersion: aws.upbound.io/v1beta1
kind: ProviderConfig
metadata:
name: provider-aws
spec:
credentials:
secretRef:
key: credentials
name: aws-creds
namespace: crossplane-system
source: SecretWe need to create the secret mentioned in secretRef of the above resource with access to our AWS account. Replace the yaml below with your own ACCESS_KEY_ID and SECRET_ACCESS_KEY_ID and create the secret in crossplane-system namespace:
# create a new yaml file
touch aws-creds.yaml

# copy the yaml below to aws-creds.yaml file
# replace ACCESS_KEY_ID and SECRET_ACCESS_KEY_ID

# create the Provider on the cluster
kubectl apply -f aws-creds.yaml
apiVersion: v1
kind: Secret
metadata:
name: aws-creds
namespace: crossplane-system
stringData:
credentials: |
[default]
aws_access_key_id = YOUR_ACCESS_KEY_ID
aws_secret_access_key = YOUR_SECRET_ACCESS_KEY_ID
Make sure your AWS credentials have access to create buckets.
Provision a Bucket on AWS S3 🔧
Lets create a bucket on AWS S3 by creating the following resource :
# create a new yaml file
touch bucket.yaml

# copy the yaml below to bucket.yaml file
# replace the name of the bucket
# make sure its unique globally

# create the Provider on the cluster
kubectl apply -f bucket.yaml
apiVersion: s3.aws.upbound.io/v1beta1
kind: Bucket
metadata:
# REPLACE THE NAME OF BUCKET PLEASE, MAKE SURE ITS UNIQUE GLOBALLY
name: bucket-from-crossplane-mx2s
spec:
forProvider:
region: us-east-1
providerConfigRef:
name: provider-aws- providerConfigRef : defines the provider config that will be used for this resource. Different provider configs can be specified for different resources. The credentials defined in the provider config will be used for authenticating with AWS and creating the S3 bucket.
- forProvider: this field is used to configure the cloud resource being provisioned
Visit the documentation below for more bucket configurations :
Use the following command to make sure your bucket is ready and synced.
kubectl get bucket

Use
kubectl describeto check the events for any errors.
Open the AWS console and Navigate to the S3 Management Console. Check whether the bucket is created or not.
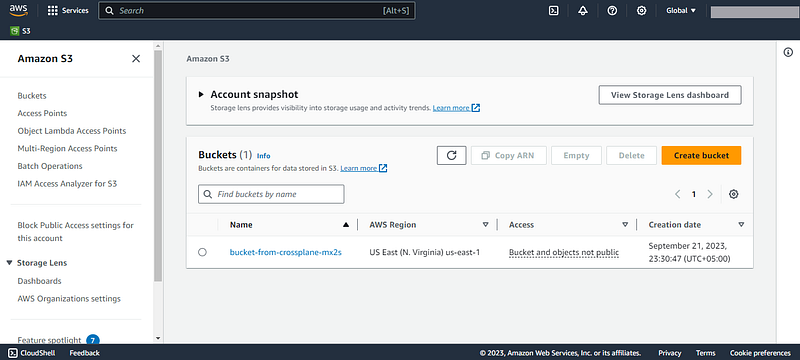
🚀🚀 Voila, the Bucket is created on the S3 Management Console 🚀🚀
Conclusion 💪👋
Managing cloud configurations is made very easy with Crossplane. It opens the possibility to define infrastructure in GitOps repositories as Kubernetes resources. Furthermore, it promotes self-service allowing cluster users to provision to cloud resources eg buckets, users, databases etc. required themselves.
Learn more on Crossplane at: https://www.crossplane.io/
#infrastructureascode #iac #terraform #crossplane #k8s #kubernetes #aws #s3


