
Making a Google Drive Clone | Flutter and AWS
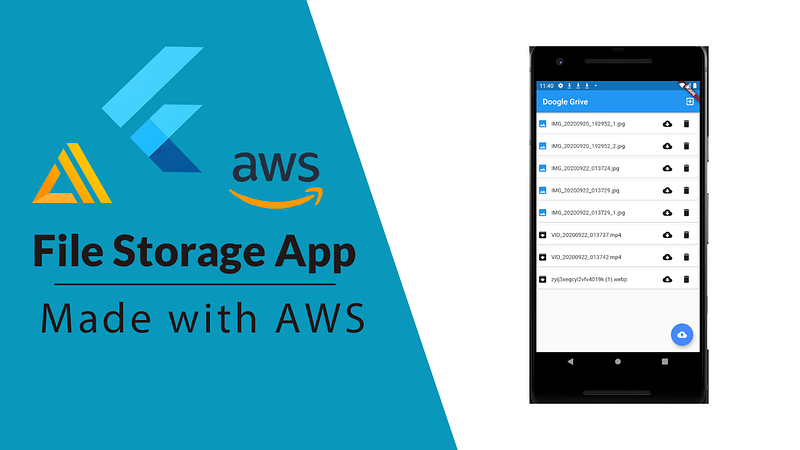
Let’s make a file-sharing application — affectionately named Doogle Grive — to show off what we can accomplish with Flutter and Amplify.
Amplify is great, you won’t be 4 nested maps deep in a JSON config trying to bit twiddle your way to a working full-stack application.
NOTE: Amplify Flutter is still in developer preview and is not recommended for production use at this time.
Introducing Doogle Grive
Our app will feature authentication powered by AWS Cognito, Storage powered by AWS S3, and Analytics powered by AWS Pinpoint. All integrated into our Flutter codebase using
Background
What is Amplify?
Put simply, Amplify is a toolset that makes it easy (as in, one-click easy) to set up an AWS backend for your mobile application. That might sound a little too good to be true. Honestly, you still need to write some code, but at least you won’t be 4 nested maps deep in a JSON config trying to bit twiddle your way to a working full-stack application.
Why should I care?
Up until now, Flutter developers have been somewhat restricted to the Google ecosystem of backend resources. This has some pitfalls, particularly for people who are AWS aficionados or already have AWS deployed systems that they want to be integrated with a Flutter app.
With AWS officially supporting Amplify for Flutter, there is only room for growth in the Futter w/ AWS universe, so learning the fundamentals has some serious upside potential.
Enough talk, let’s get into it.
Setting up Amplify
For super-detailed installation instructions, check out this article I wrote on the topic. I’ll give you speedier instructions in this article, don’t blink or you might miss it.
- Create an AWS account
Head over to the AWS portal and create an account under the ‘free’ plan.

- Install the Amplify CLI
You will need flutter, node.js, npm, and git, then it is as simple as:
npm install -g @aws-amplify/cli@flutter-preview- Initialize your Flutter project
In the root directory of your flutter project, run:
amplify init
This will guide you through the setup process for your application. Once that is complete, run:
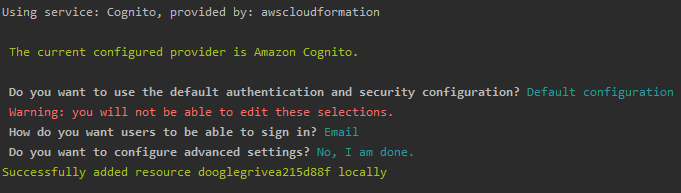
amplify add auth
amplify add analytics

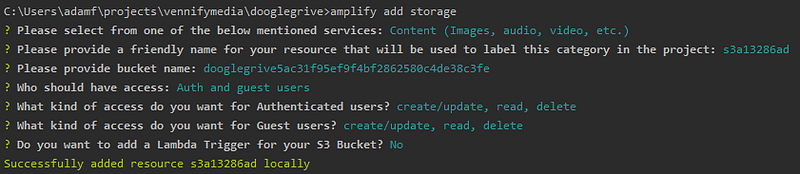
amplify add storage
- Configuration Code
Our application contains some code that adds the AWS plugins we want to use. In this case, we need Authentication, Analytics, and of course, Storage. All powered by our omnipresent pal in the sky — AWS.
If any of that confused you or gave you trouble, check out this video or this article (also made by me), or the official docs
Introducing the UI
Time to crack the knuckles and start coding. If you want to follow along, ‘checkout’ this commit in the repo.
This app is designed to make the AWS logic as clear as possible — so it is minimal in its design.
Login and Signup — using open-source for all its worth
The Login UI is built using the flutter_login package, which makes it super trivial to make an interactive user interface.
Not bad eh? All we have to do is specify the callbacks to achieve the functionality we want. We will do this in the next part though.
Confirmation
psst…you can probably skip this section, its just a simple input form to submit the confirmation code.
Still here? Fine, I will show you the confirmation UI and its code.
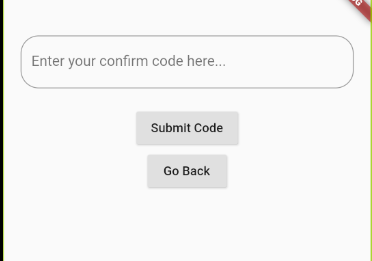
AWS Cognito will send a 6 digit confirmation code to the signup email, and upon entering this code the user is granted access to their account.
Bucket Viewer™
The BucketViewer™ UI is all about displaying the cloud files that belong to the current user.
We will render each file on the UI as a Card , the end result looks something like this:

We have an icon representing the file type, the name of the file, and IconButtons for downloading and deleting the file.
TLDR: The widget is constructed using the cloud data (of typeStorageItem ), and the buttons trigger some more of our cloud functions called downloadFile anddeleteFile . Don’t worry, we will cover these soon.
Each of our files is displayed in a ListView widget, which gives us the scroll-ability we desire. The ListView widget is rendered by a FutureBuilder, which waits on the result of one of our trusty AWS API calls. Take a look at the final result and the UI code:
So our yet-to-be-revealed listFiles function creates a Future containing a List<StorageItem> , which in turn gets converted into a UI object when the Future is ready. When the UI is still waiting on the result of our function, an empty list is displayed.
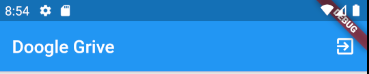
One last thing, a handy logout button in the top right corner to log our user out.
Okay okay okay, I know what you are thinking…you came here to learn about AWS and I keep showing you basic Flutter UI code. Let's get to the good stuff.
Powering our UI with AWS
Authentication Functions featuring AWS Cognito
Our authentication service is provisioned using AWS Cognito, which is accessible via calls to Amplify.Auth.methodName . Let’s walk through the functions that power our authentication.
Sign Up
This is the first function used by a prospective user. We sign up using the name (in our case an email) and password submitted in our login form. It is simple, and it is supposed to be.
After signing up our first use, run amplify auth console to explore our Cognito managed user pool.
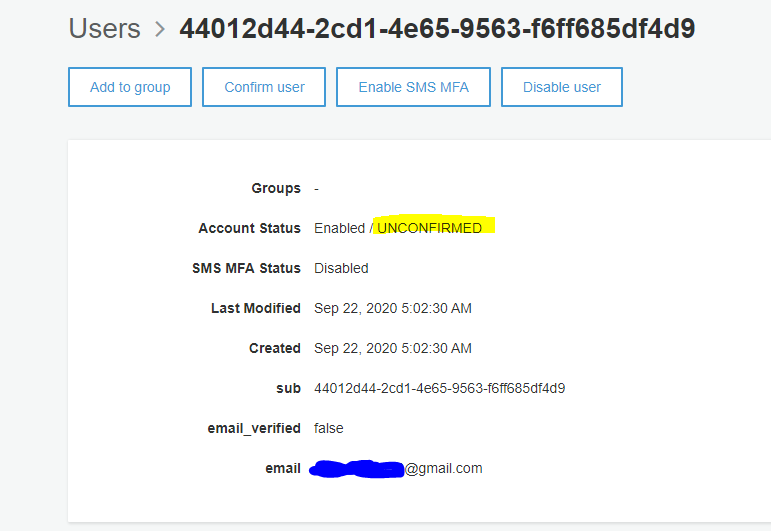
We still need to confirm our user somehow, which segues us into…
Confirm
Pretty self-explanatory on this one. A confirmation code is sent to our user’s signup email and they enter it to activate their account.
In your Cognito console, your user should now have the status of CONFIRMED.
Sign In
This is more or less the same as the signup. Note how we are keeping track of the results of our API calls using _isSignedIn and _isSignedUp to eventually decide what screen to send our user to after they are finished with our login page. I don’t show this function in this article, but check out the repo if you are curious.
Logout
We log our user out and then issue a call to pushReplacement to pop the current page of the stack and replace it with the Login page.
Upload File
There are a few important things that happen here.
First, we get the user that is currently logged in using the auth package in the call to getCurrentUser(). We use this username along with the filename to create a unique key for our file, then we upload it.
setState()and the uploading flag allow us to change the appearance of the upload-file button while our file is uploading. A small detail but a nice touch for our application.
Finally, we submit an analytics event to Amazon Pinpoint that tracks the number of bytes a user has uploaded.
Download File
First, we use DownloadsPathProvider to get the target directory for our download.
getUrl fetches the download URL for our file, which will expire after 1 hour because of the expires option in GetUrlOptions.
The calls to checkPermission and FlutterDownloader check the app’s download permissions and then downloads the file. For more details, check out the FlutterDownloader documentation or the GitHub repo for the full codebase.
Delete File
Deleting a file works in much the same way as adding a file, we use the item key to remove the file from the cloud. The calls to setState trigger a rebuild that populates the interface with an up-to-date file list.
List Files
This is the moneymaker…
Our storage bucket contains every single user’s files all stored in a bucket, meaning that they aren’t organized in any kind of database-like way.
Since we can’t query a bucket, we have to filter our files based on user.username . With a single command (line 7), we can filter the complete list of files into a list that contains only files that belong to the current user.
Remember the FutureBuilder UI from earlier? This list is the future — when it is ready, the UI draws all of our files.
RESULTS
Uploading a file works as expected.
Launch the analytics platform using amplify analytics console . For a more detailed look on using AWS analytics check out this article that I wrote.

Future Work
Going from a bucket to a datastore is the next logical evolution of this app. Adding a feature to give another user (referenced by email) access to a particular file would also be a useful addition
If you want to take a stab at adding a new feature, feel free to open a pull request on the git repo — If you have read this far I trust that you have the perseverance to make a worthwhile contribution.
Amplify for Flutter is still a novel technology — and it shows in the lack of online content. In the coming months, I will produce more applications that use Amplify and demonstrate how to implement many of the core features modern apps require.
Until then, enjoy your open-source file storage app.
Acknowledgments and Sources
- GITHUB REPO: https://github.com/Vennify-Inc/DoogleGrive
- https://docs.amplify.aws/start/q/integration/flutter
- https://github.com/aws-amplify/amplify-flutter
- https://www.youtube.com/channel/UCpWACV_PAtwkTfzWKVM-dMA
- https://dev.to/vennifymedia/flutter-apps-with-aws-amplify-backend-part-1-basic-setup-3g8d
- https://github.com/besharpsrl/flutter-amplify-demo
- https://pub.dev/packages/flutter_login
- https://pub.dev/packages/flutter_downloader
- https://pub.dev/packages/permission_handler


