
Local Images not rendering in React Native Expo FIX

React Native makes it easy to include local images in your mobile app with the Image component. This intuitive API provides the ‘source’ prop on the Image component to render images anywhere within the app.
However, this only works when the local image (png, jpg, jpeg, etc.) is included in the same folder as the Image component being rendered. Leading to a HUGE problem in your project’s folder structure.
THE PROBLEM
Below is an example of a simple mobile screen with 2 local images:

As you can see in the App.js file, the Image source is set to a local image ‘central_perk_logo.jpeg’ and this works because the image is located in the same directory as the code.

But what if you wanted multiple images in components throughout the application? Well, you would have to place the local image in the same directory as the Image Component, like so:

As you can see, this will quickly become extremely messy and redundant as you continue adding more and more local images to the app.
FIRST ATTEMPT
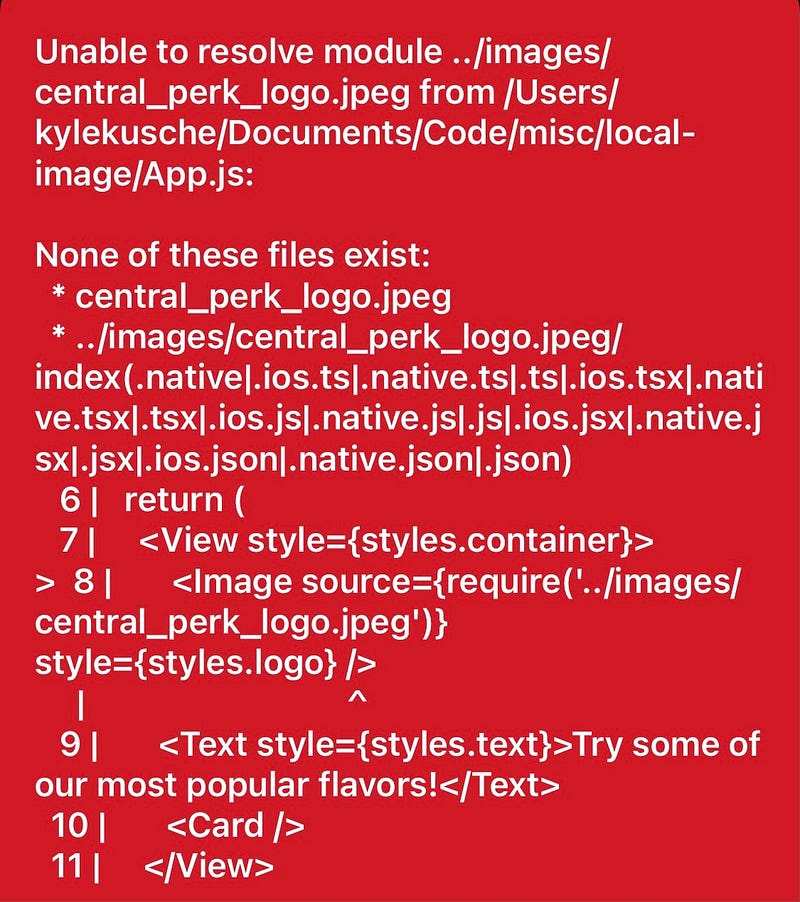
My first thought when facing this problem was to create an ‘images’ folder to hold all the app’s images, and then reference them from within the code:

However, React Native cannot reference any image that is not currently stored within the same directory as the Image Component. Doing so will lead to this nasty error message:
THE SOLUTION
So, how can we render local images in our React Native Expo project without having to place our image file in the same directory as the Image Component?
With a custom ‘Images’ JavaScript Object!
Here’s how it works:
- Place all your images in a folder. I called mine “images”:

2. Create a JavaScript file called “Images.js” It should look something like this:
3. Import the Images JavaScript Object wherever you need to render a local image in your app:
CONCLUSION
Voila! You can now render local images within your React Native project using a clean and redundant-free file structure.
Check out all the code used in this tutorial at the Github repo here.


