
Let’s Build a Fast, Slick and Customizable Rich Text Editor With Slate.js and React — Part II
Now, let’s make it pretty
This is a fun series about building a rich text editor with React and Slate. Here’s part I — you’ll want to read it first if you haven’t already!
Full Speed Ahead
The editor has to look sharp. Who wants to look at, and use, a scruffy editor? Let’s add some quick CSS to make it look more spectacular.
In a traditional create-react-app, we have the index.css file inside the src folder. index.css is used to apply “global” styles for our app. With global styles, I’m keeping the DOM elements that apply to all pages/documents in mind. For example body and html.
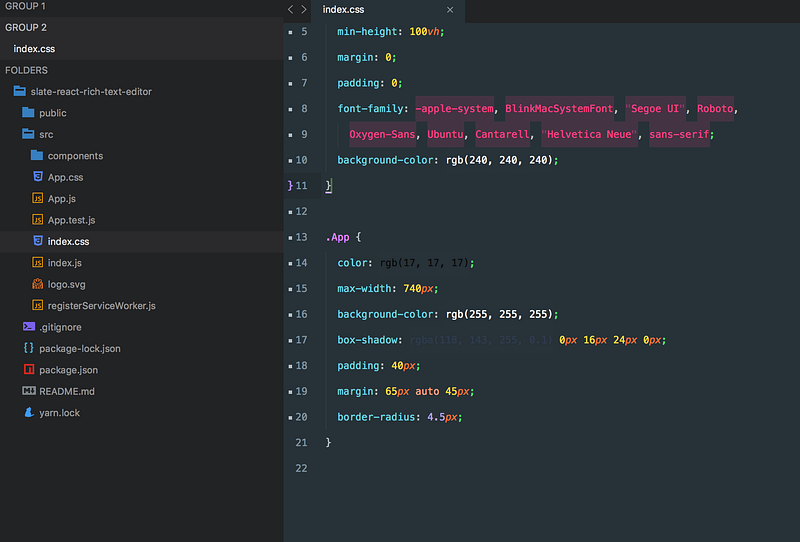
If you’re curious about what kind of shenanigans are going on with the font-family — listen up. We’re defaulting to the font(s) the user has installed on their computer. This adds a performance boost, since there is no need to download the fonts.
Check out this clever explanation by css-tricks for more detail.
We should end up with something smarter.
Key Features of a Rich Text Editor
- Images.
- Headers.
- Code highlighting.
- Embedded Videos.
- Text formatting (alignment, bullet list, ordered list, etc.).
- Save the text to a database for safe keeping.
- Links.
Images
Let’s start by adding the images.
Rich text editors have a toolbar that make your editing easier. Take a look at Medium’s toolbar.
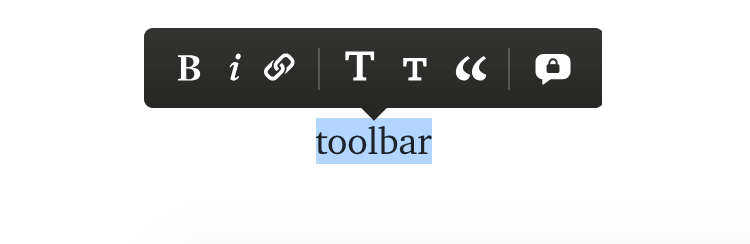
When we click on a selected text, a popup toolbar allows us to format our text.
It makes sense to start implementing the toolbar first, and then hook it up with the appropriate functionality.
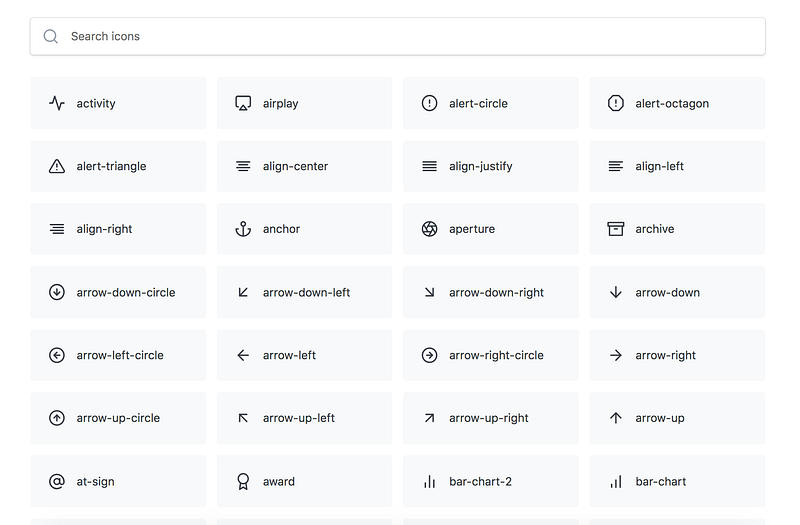
Let’s grab a small library which gives us access to a huge array of icons.
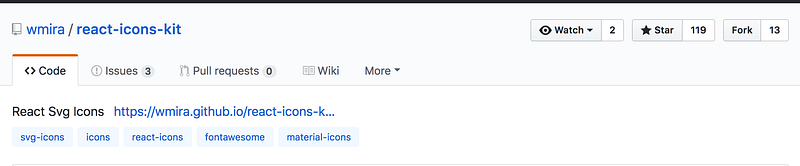

The icons we want to use are feather icons.
I suggest creating a component that holds all the formatting logic and styles in one place. Call it FormatToolbar.js and place it inside components.
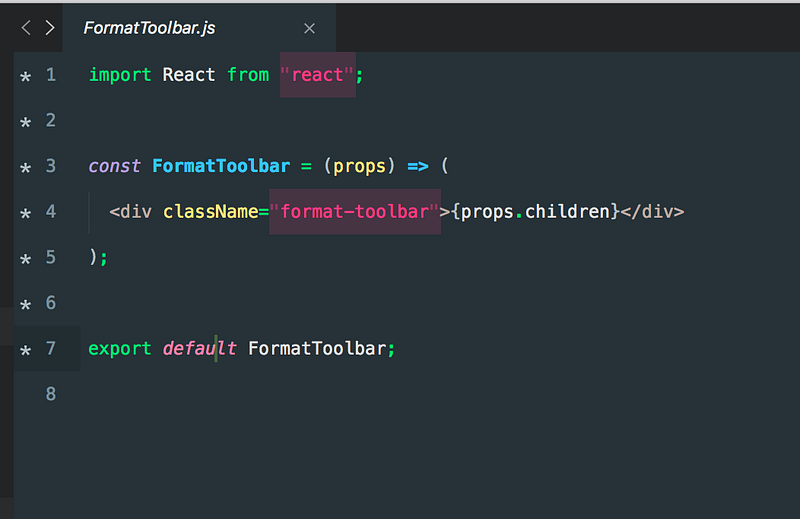

The FormatToolbar is a stateless component that renders its content due to using props.children.
A stateless component is a component that doesn’t make use of the this.state mechanism, but rather lets its parent figure out the state.
Think of it this way; we want to separate concerns as much as possible. A stateless component handles rendering the view (divs, spans, images), and only the view.
A stateful container takes care of its internal state, and passes it as props to the stateless components.
props.children allows you to nest components inside a component.
If you’re unsure about props.children — the article below is good at explaining the concept behind children props in React.
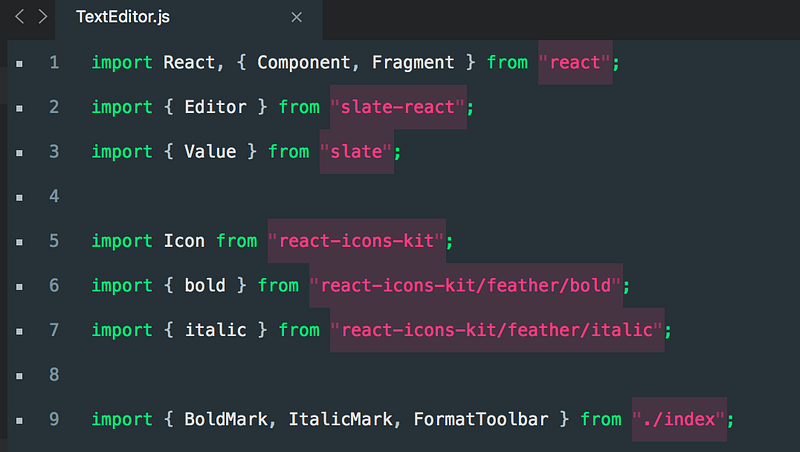
Next up, we will import the FormatToolbar.js component to our TextEditor.js.
And finally, consume our FormatToolbar like this:
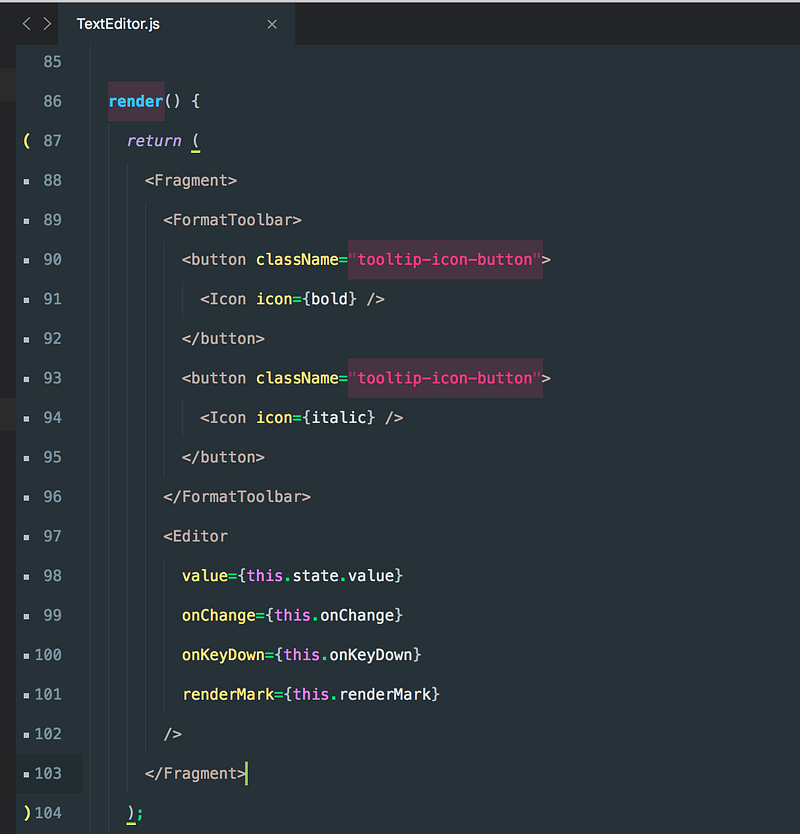
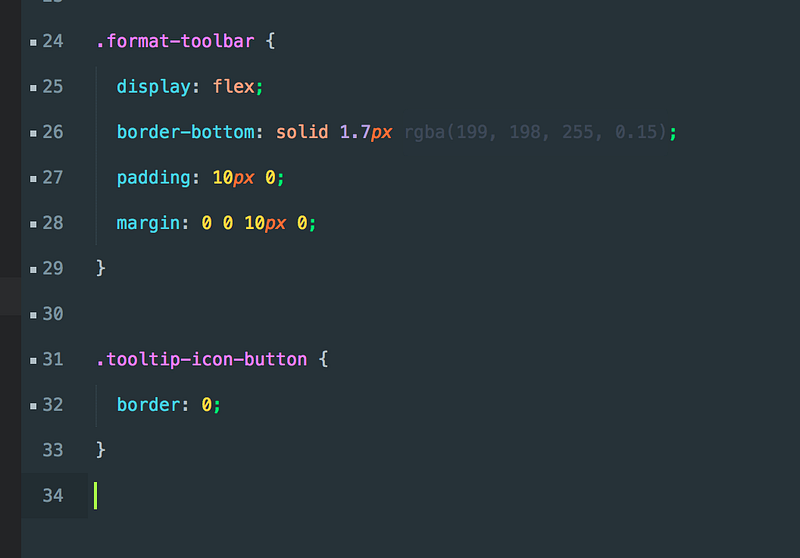
I also added some styles to make it look neat. Remember, the .format-toolbar is our container component that holds all the icons. We set it to flex, so they’re all nicely aligned in a row and start from the left.
We’ve also removed the default border from our button, since we’re going for the clean/minimalist approach.
Terminology: The toolbar is the full row and the tooltip is a single item/collection.
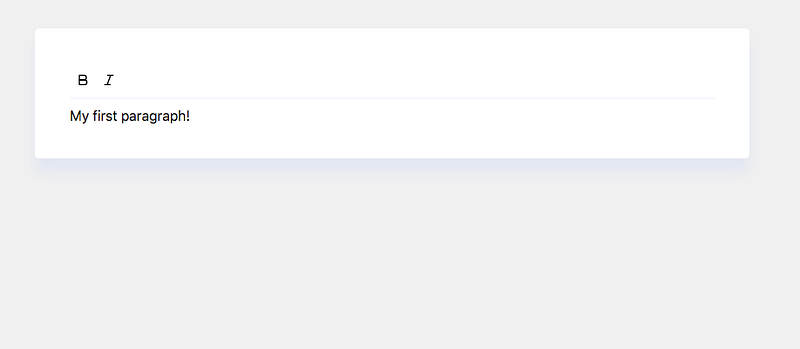
Great, it’s starting to look like an actual rich text editor. Nice work.
There’s no shortage of remarkable ideas, what’s missing is the will to execute them. — Seth Godin
One Finds Limits by Pushing Them
Clicking on the icons has no effect, since we didn’t add a single event listener to our icons.
Time to change that. One of the goals of this tutorial is to teach you how to approach problems, and how to solve them. Solving complex problems is very challenging. A ubiquitous approach to problem-solving is breaking the problem apart into small, solvable pieces.
Think about it — what are we missing? We have the formatting functionality in place, the icons, and the styling.
You guessed it, we need to bundle icons and text together. By clicking on the icon, we want to format our text.
Let’s start by adding an event listener on the button. Which event listener should we use? There are a bazillion options out there like onClick, onMouseDown, touchend, and so on.
We’re going to use a new event listener, which was introduced in React version 16.4. The event listener has a particular name — pointer event.
I wrote this brief introduction to pointer events. In a nutshell — instead of writing an event listener for the mouse, touch surface, and the pen — we use a different approach. That approach uses the 3-in-1 solution, compatible with all devices.

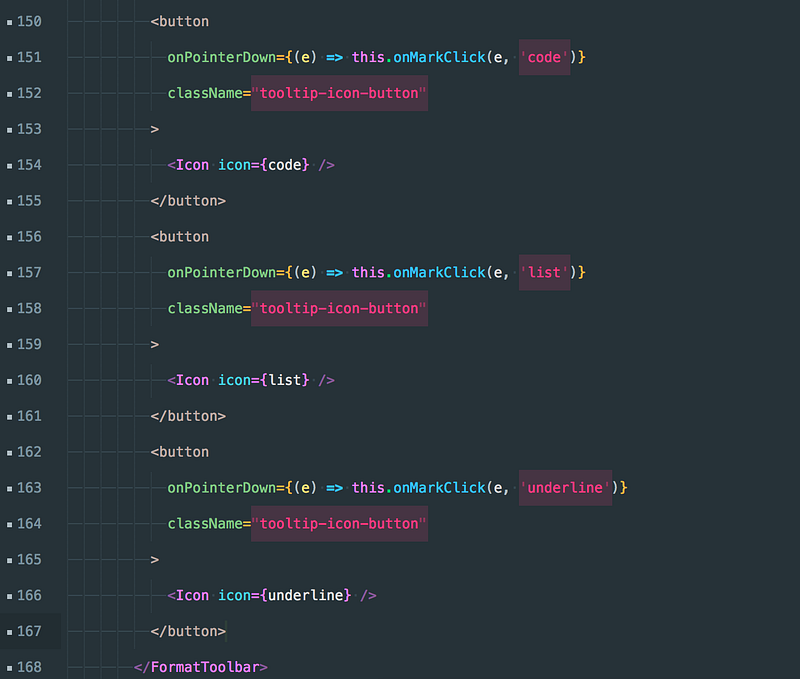
The pointer is like any event; just attach it to your button like so:
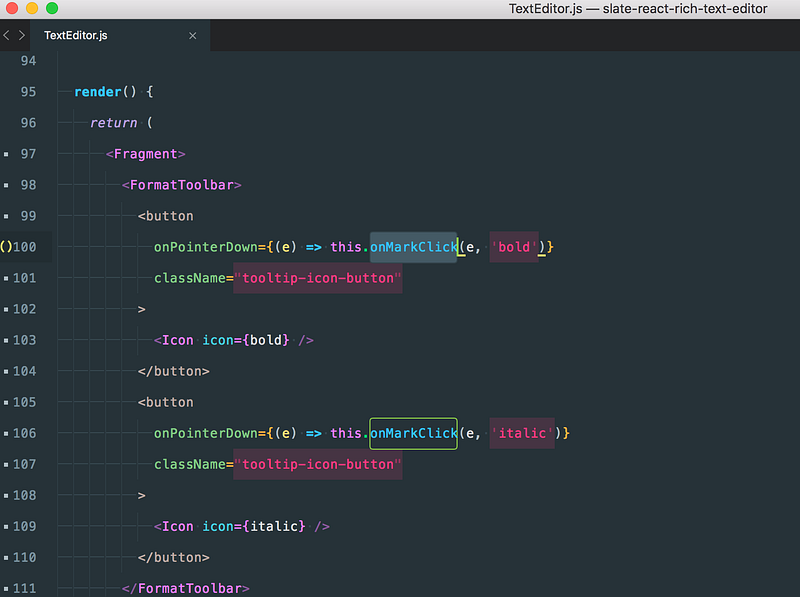
The onPointerDown is fired just like onMouseDown.
Notice that we added a callback with the name onMarkClick. The first argument is the event object, and the second argument type is the formatting we want to apply.
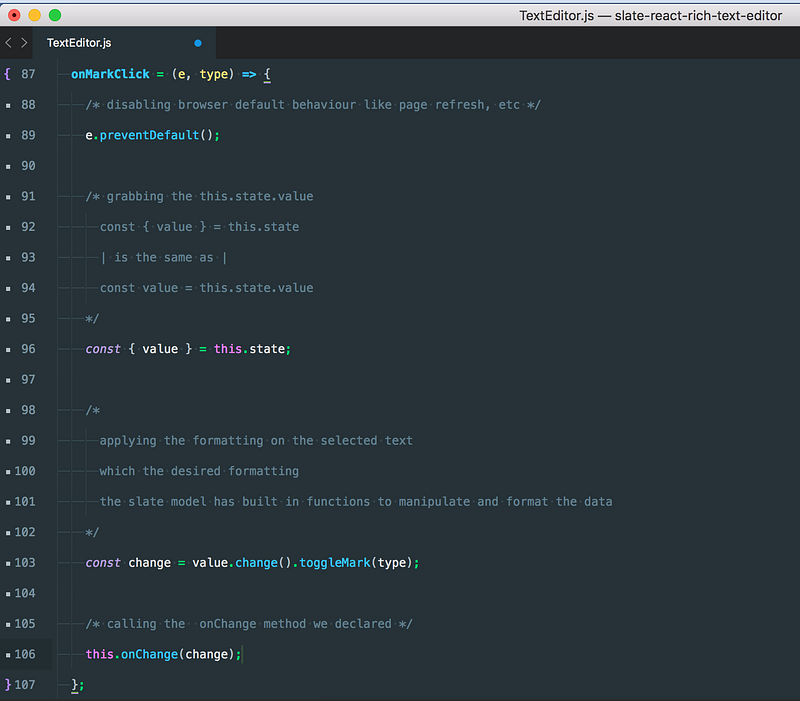
Don’t be startled, the comments make it seem bloated. The only functionality we applied was the following:
1. Cancel the browser’s default behavior.
2. Get the this.state.value — remember this is the initial value we passed to Slate. The Slate model has built-in functions, just like Mongoose.
3. Apply the formatting on the selected text with the desired format.
4. Finally, call an update on the component to display the newly made changes.
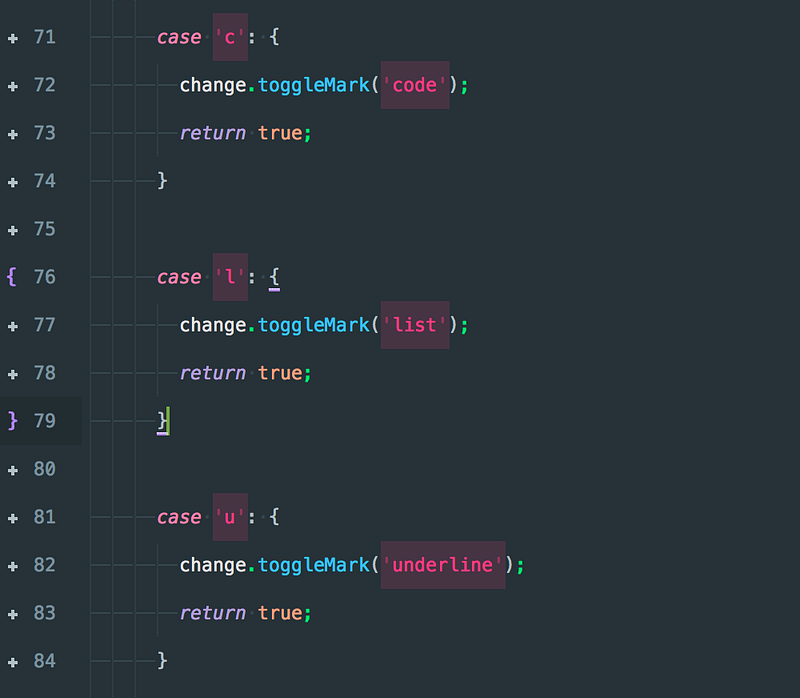
Let’s finish up by adding some final touches. We’ll be adding code formatting, lists, and underlining functionality. Try following our examples and finish it up.
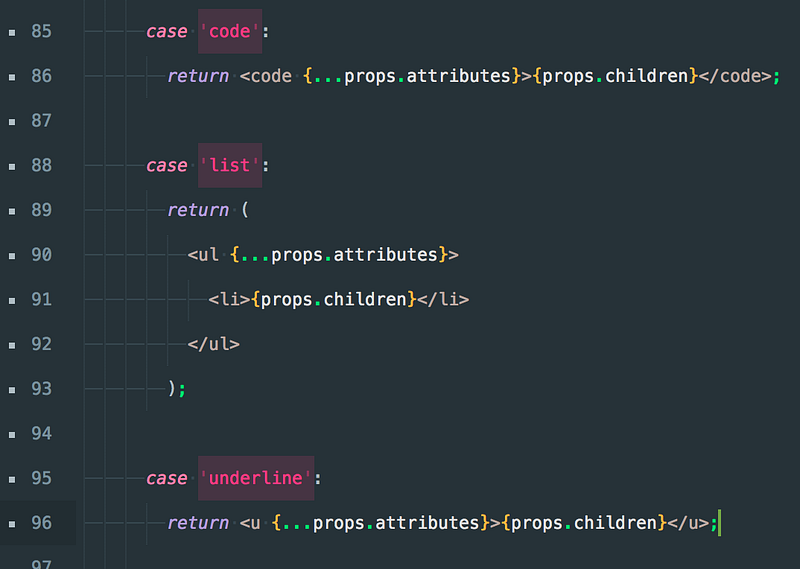

And finally, we’ll create our elements inside the render.
We made it!
The editor already looks like a tool we use every day. Notice the elements being placed and removed in the VDOM — React takes care of this for you.
Congratulations on making it to the end. If you would like me to add more features, let me know in the comments.
If you want to take your JavaScript abilities to the next level, I’d recommend reading the “You Don’t Know JS” book series.
Thanks for reading!