
Learn How to Set Up Your Next.js Project and Deploy It to Vercel in Minutes
With the constant evolution of JavaScript frameworks, setting up and deploying your first project can sometimes feel like solving a Rubik’s cube blindfolded.
But what if I told you, you could kickstart a Next.js project and launch it on Vercel in less time than it takes to watch an episode of “The Witcher”?
Before we dig in, let’s start with an analogy.
Suppose you’re a construction engineer planning to build a skyscraper. The planning, the foundation, the materials, everything matters and it’s a laborious task.
But what if you had a blueprint, an excavator to dig, a cement mixer for the foundation, and a tower crane for the build?
In our scenario, Next.js is our blueprint and Vercel, our tower crane. But before we start building, let’s understand these tools better.
Next.js is a React framework that offers features like server-side rendering and static site generation out of the box. In layman’s terms, it’s like having a prepared set of Lego blocks, which you can assemble as you please, instead of molding every block yourself.
Vercel, on the other hand, is a cloud platform for static sites and Serverless Functions that fits perfectly with Next.js projects. Using our construction analogy, Vercel is the tower crane that lifts and places our blocks, exactly where we want them to be, making our skyscraper accessible for everyone to see.
Now, ready to build? Let’s dive in.
Setting up a Next.js Project
- Installing Node.js and npm: First, we need Node.js and npm (Node Package Manager) installed on our system. Node.js allows us to run JavaScript outside of the browser, and npm lets us use JavaScript libraries, like Next.js. You can download the latest version of Node.js from here, which will also install npm.
- Creating a new Next.js project: Once Node.js and npm are installed, open your terminal and navigate to the directory where you want to create your project. Type the following command:
npx create-next-app@latest my-next-appThis command will create a new directory named ‘my-next-app’ with all the necessary files and dependencies for a Next.js project.
Understanding the Project Structure
Before we rush into coding, let’s understand the project structure. If you open your project in a code editor (like Visual Studio Code), you’ll see several files and directories. Here are the most important ones:
app: This is where your application's pages and components go.public: Static files like images go here.package.json: This file holds various metadata relevant to the project.
Adding Your First Page
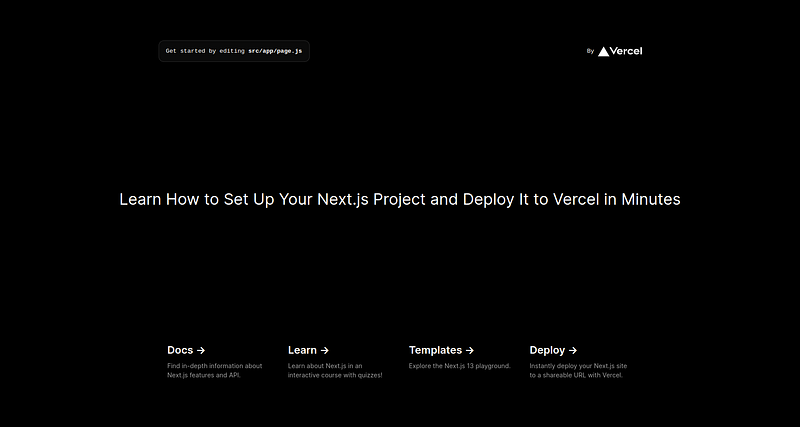
Navigate to the app directory, and open page.jsx. This is the main page of your application. Feel free to modify the content and style it as you please.
Running the Project Locally
To see your changes, you need to run your project locally. Open the terminal and navigate to your project directory. Then, run the following command:
npm run dev
This command will start your local server. You can view your project by opening a browser and going to http://localhost:3000.
Connecting Your Project to a GitHub Repository
Connecting your project to a GitHub repository can bring numerous benefits such as version control, collaboration, and ease of deployment with Vercel. Here’s how you can do it:
Create a New Repository on GitHub: Go to your GitHub account, click on the ‘+’ icon in the upper right corner, and select ‘New repository’. Give it a name (preferably the same as your project name for consistency), add a description if you like, choose whether it’s public or private, and then click ‘Create repository’.
Initialize a Local Git Repository: Open your terminal and navigate to your Next.js project’s root directory. Initialize Git in this directory by typing the following command:
git initConnect the Local Repository to GitHub: Now, let’s connect your local Git repository to the one you created on GitHub. To do this, use the following command (replace ‘your-username’ and ‘your-repository’ with your GitHub username and repository name respectively):
git remote add origin https://github.com/your-username/your-repository.gitCommit and Push Your Changes: At this point, Git is tracking changes of your project. Let’s commit these changes and push them to GitHub. Use the following commands:
git add .
git commit -m "Initial commit"
git push -u origin main
The git add . command stages all your changes for commit. git commit -m "Initial commit" creates a new commit with the message "Initial commit". git push -u origin master pushes your commit to the 'master' branch of your GitHub repository.
Deploying to Vercel
Now, our Lego blocks are assembled, and our local skyscraper looks great. But how do we make it visible to the world? This is where Vercel comes in.
- Log In to Vercel: Go to the Vercel website and log in.
- Import Your Project: Click on the ‘Add new…’ button. Here, select your Github repository (if your account is connected to your Github) or enter the URL of your repository.
- Configure and Deploy: On the ‘Import Git Repository’ page, keep everything as default and click on ‘Deploy’. Vercel will automatically build and deploy your Next.js project.
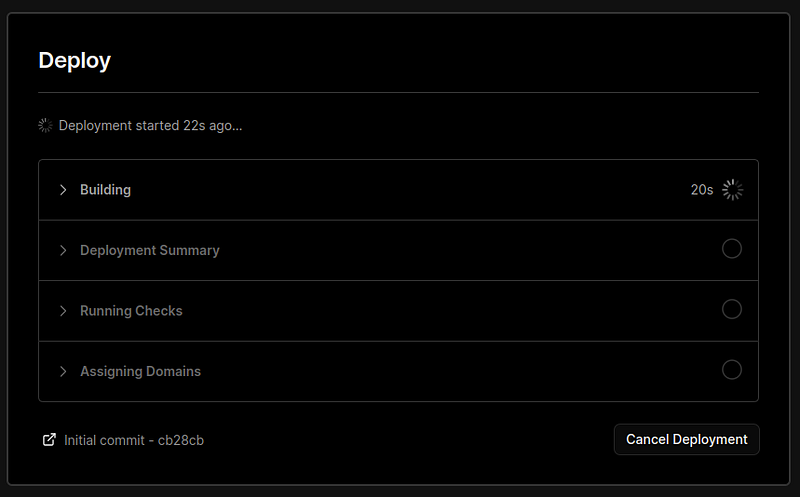
In addition to simplifying deployments, this setup also enables continuous integration: any time you push changes to your GitHub repository, Vercel will automatically build and deploy your updated project.
Vercel will then build and deploy your project. Once done, it will provide a URL to view your live project. It’s like your personal tower crane just hoisted your skyscraper into the cloud.
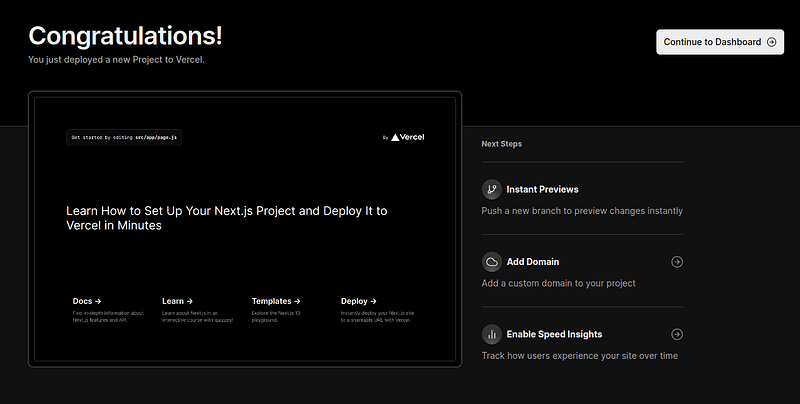
For example, for this tutorial, Vercel provided me this URL: https://nextjs-medium.vercel.app/
Can you imagine the convenience and efficiency of this setup?
Deploying a website in just a few minutes, straight from your command line to the world wide web, is something that was unimaginable a decade ago.
Consider this scenario: your father needs a website for his new venture. With your new knowledge, you could build a Next.js website and deploy it live in just a few minutes.
And that’s not even the best part. Thanks to the continuous integration provided by the combination of GitHub and Vercel, any changes or improvements you make can be updated live in mere moments.
The world of web development has truly evolved to be more accessible and powerful, opening up a plethora of possibilities for both developers and end-users.
- Next.js Documentation: The official Next.js Documentation is a comprehensive guide that covers everything from basics to advanced concepts.
- Vercel Documentation: The Vercel Documentation provides an extensive understanding of Vercel’s features and how to make the most of them.
- Learn Next.js: Learn Next.js is a free, interactive learning experience provided by the creators of Next.js.
- Next.js GitHub Repository: For a deep-dive into how Next.js works under the hood, you can check out the Next.js GitHub Repository.
- Vercel’s Next.js Examples: Vercel’s Next.js examples is a treasure trove of project templates, showcasing different ways to use Next.js.
- GitHub and Git Documentation: If you’re new to GitHub or Git, their official documentation, GitHub Docs and Git Book, are a great place to start.
Enjoyed the read? For more on Web Development, JavaScript, Next.js, Cybersecurity, and Blockchain, check out my other articles here:
If you have questions or feedback, don’t hesitate to reach out at [email protected] or in the comments section.
[Disclosure: Every article I pen is a fusion of my ideas and the supportive capabilities of artificial intelligence. While AI assists in refining and elaborating, the core thoughts and concepts stem from my perspective and knowledge. To know more about my creative process, read this article.]
In Plain English
Thank you for being a part of our community! Before you go:
- Be sure to clap and follow the writer! 👏
- You can find even more content at PlainEnglish.io 🚀
- Sign up for our free weekly newsletter. 🗞️
- Follow us on Twitter(X), LinkedIn, YouTube, and Discord.