
Launching and Connecting to an AWS EC2 Instance
I had to do this recently for one of my projects i am working on, and i had to go through a tonne of hoops and documentation to get it done. So here is something that will make peoples lives easier.
Note: I’m running Windows 10 on my computer and i’ll be using the Amazon Linux AMI for the EC2 instance.
Creating and launching an AWS EC2 Instance.
1. Head over to https://aws.amazon.com/ and log into the AWS Console, if you already have an account. If you do not have an account yet, sign up for one.
You need your credit card details to sign-up, even for the free basic plan. They won’t charge you anything unless you go over their free-tier limits, which is something you definitely need to keep track of if you are working on a large scale project but otherwise the free-tier gives you plenty to work with.
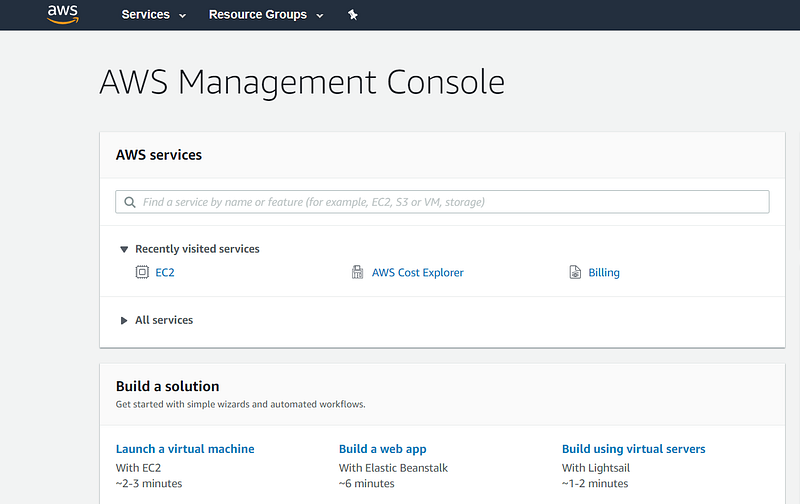
2. Now click on services and then select EC2. Then click on the Launch Instance button.
3. Next you get to choose an AMI (Amazon Machine Image), which contains the software configuration i.e. the operating system, application server, and applications that are required to launch the instance.
In this post i will be using the Amazon Linux AMI 2018.03.0 image. Feel free to use something else depending on what you need it for. The Amazon Linux AMI is built and maintained by Amazon itself and so it has the best integration and also comes pre-installed with a lot of useful tools.
4. Select the instance type, t2.micro is the only instance available for free tier and it gives you a memory of 1 GB. Hit on Review and Launch and then Launch again on the following page you see below.

5. Next you need to create a key pair that will allow you to connect to your instance securely. Select “Create a new key pair”, give it a name and then make sure you download the key pair, this will give you a “.pem” file, you will need this to connect to your instance later on. After downloading the key pair, launch the instance.
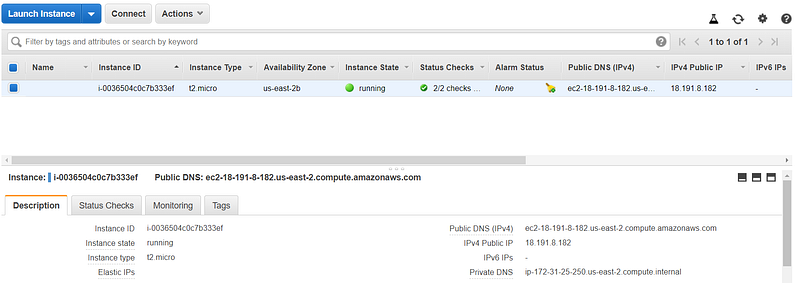
6. On the next page, scroll down and click on “View Instances”. It might take a little while for the initialization. After the initialization is done, your instance should be up and running.
Now that we have created the EC2 instance on AWS and it is up and running, we need to connect to the instance. To do this we need an ssh client and the easiest option on windows to do this is Putty, so download it from here: https://www.putty.org/
Connecting to the EC2 Instance.
- Install Putty on your local machine. Before connecting to the instance, we need to convert the key pair in the “.pem” file to a “.ppk” file so that Putty can understand it.
- Open Puttygen which should come pre-installed when you install Putty. If you can’t find it in the Windows search (this happened to me), Go through the list of all programs, and it should be there in the folder named Putty.
- Click on Load and select the key pair, the “.pem” file, Hit Ok and then click on “Save Private Key” and save it as a “.ppk” file.
- Now, Open Putty. To connect to our EC2 instance we need it’s Host Name. You can find this on the Instances page on AWS, (See bottom right of Figure -3 above),for my instance it is as follows, Public DNS (IPv4): “ec2–18–191–31–0.us-east-2.compute.amazonaws.com”. You also need to specify the user on that instance, so to the public dns add “ ec2-user@” as a prefix. The user is different for each AMI, for the Amazon Linux AMI it is “ ec2-user@” but if you are using ubuntu it would be “ubuntu@”. So the final host name that you’ll be typing into Putty in this case would be “ ec2-user@ec2–18–191–31–0.us-east-2.compute.amazonaws.com”. Make sure the port is 22 which it should be by default. For more documentation and for different AMIs : https://docs.aws.amazon.com/AWSEC2/latest/UserGuide/putty.html
- Next, under the “Category” pane on the left hand side, expand “SSH” and then select “Auth”. Under “Authentication Parameters”, Browse for the “.ppk” file you created in Step-3 and select it. Now go back to “Session” in the “Category” pane on the left.
- You can save this session configuration so that you don’t have to type in everything again the next time you connect. So, type in a name under “Saved Sessions” and then click “Save”. Next time you want to launch it, just select the session and click on “Load”, it should also load the “.ppk” file automatically for authentication.
- Click Open. The Putty terminal should open up and you will also get a Security Warning, You don’t need to worry about this, just click “Yes”.
If everything works perfectly, you will be connected to your EC2- instance and you see should see something like this on your screen.
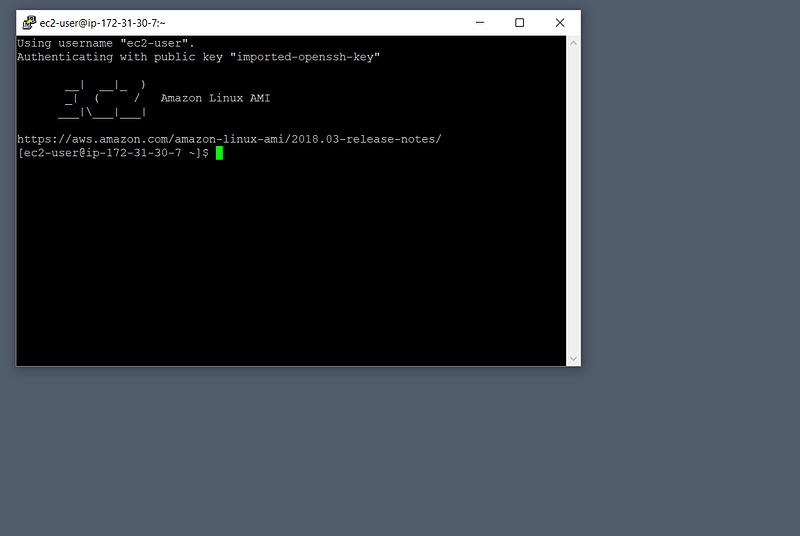
Phew … that was a lot of work just to get it up and running.

We are only half way through though, you obviously want to do something with the instance you just created,so go grab another cup of coffee or tea or whatever your drug of choice is and check out my other post where i show you how to setup a python environment in an EC2 instance and also transfer files from your local machine to the remote instance.
Troubleshooting: If you leave the ssh connection idle for a long time or if your internet goes down for a couple of minutes, Putty crashes and might throw an error, to prevent this from happening we need to modify the connection settings in the Putty configuration, Go to the “Connection” tab in Putty, Check “Enable TCP keepalives” and change “Seconds between keepalives to 5”. That should do the trick.


