
Kubernetes + Rancher Cluster Manager 2.6 on your macOS laptop with k3d/k3s in 5 min
UPDATED 19 Oct for Rancher Cluster Manager 2.6.1
This article shows how to set up a minimal Kubernetes local lab dev env with the shiny new Rancher Cluster Manager 2.6 on your Macbook using k3d (backed by k3s) to set up a Kubernetes cluster.
The goal of this article is to build a local lab to evaluate the shiny new Rancher Cluster Manager 2.6 so you can practice deploying & observing Kubernetes workloads with an *awesome* web UI.
This setup is NOT FOR PRODUCTION. In production, you’d have a second prod cluster as a different cluster from the one where Rancher is deployed
tl;dr install Docker & helm, just run the gist at the end, watch this asciinema: https://asciinema.org/a/uao5iovk75B0Iggw6kPurAmCo
Prerequisites
Only two prerequisites for your Macbook: Docker & homebrew.
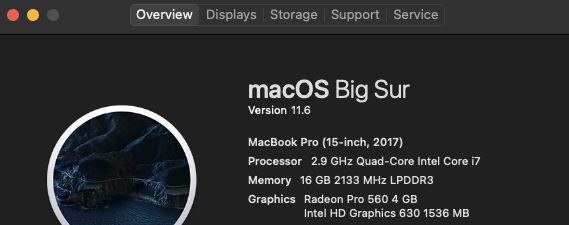
- macOS Big Sur (11.6)
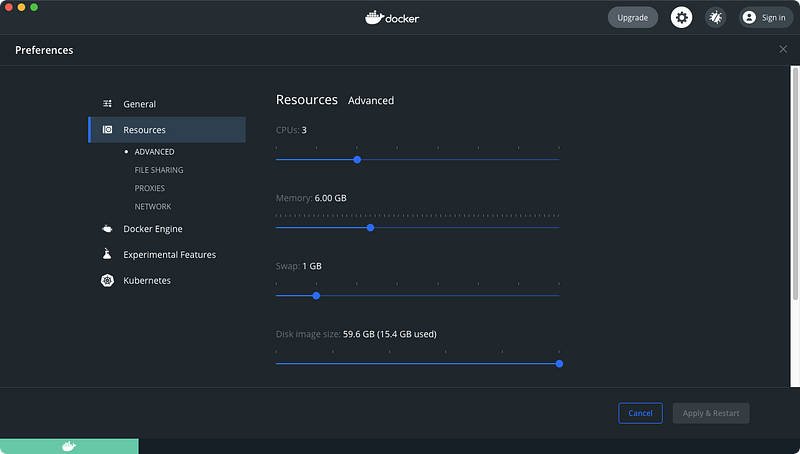
- Docker Desktop (4.0.1) with 3 CPUs and 6 GB mem
- homebrew (install docs)
If you’re interested in a HOWTO for Windows 10, read this: https://itnext.io/kubernetes-rancher-2-5-on-your-windows-10-laptop-with-k3d-and-k3s-7404f288342f
Overview
Prerequisites: Ensure you have enough resources in Docker (6 GB mem) 0. Install k3d, kubectl, and helm with homebrew
- Use k3d to spin up a single-node Kubernetes cluster (using the k3s distro)
- Use helm to bootstrap cert-manager then Rancher to the cluster
- Use the Rancher GUI to observe the cluster
Prerequisite: Ensure you have enough resources
Kubernetes and Rancher need to have some resources to work with to run all of the containers to make our lives as devs easier. My local lab has 8 CPUs and 16 GB mem, and I gave Docker 3 CPUs and 6 GB mem.
LAB, NOT PRODUCTION
You do NOT have to change your
/etc/hostsbecause we’ll use the.localhostDNS magic to have your browser automatically route any.localhostdomain to127.0.0.1.
0/3 Install k3d, kubectl, and helm with homebrew
I created a working folder k3s-rancher on my desktop to hold the future kubeconfig file. Experienced K8s hands would use kubectl config get-contexts to make sure they’re working on the right cluster but I’ll stay simple.
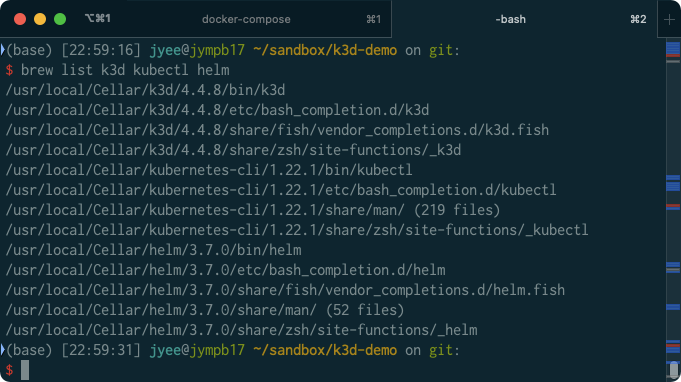
brew install k3d kubectl helmYou’ve got everything if you see a screen like this after running brew list k3d kubectl helm
1/3 Use k3d to spin up a single-node Kubernetes cluster (using the k3s distro)
k3d makes it easy to create a K8s cluster with the k3s distro with only Docker Desktop as a dependency. k3s is a tiny distro of K8s that can run on a Raspberry Pi — but it’s as certified as any K8s distro and you can run it in production.
Note that I specify a k3s image — both k3d and Rancher Desktop 0.4.1 were having issues as of mid Sept 2021 and these versions will work together. In the near future you’ll likely not have to specify an
--imagearg
k3d cluster create k3d-rancher \
    --api-port 6550 \
    --servers 1 \
    --image rancher/k3s:v1.20.10-k3s1 \
    --port 443:443@loadbalancer \
    --wait --verbose
Output logs will end like this:
...
INFO[0013] Successfully added host record to /etc/hosts in 2/2 nodes and to the CoreDNS ConfigMap                                                    INFO[0013] Cluster 'k3d-rancher' created successfully!                                                                                               INFO[0013] --kubeconfig-update-default=false --> sets --kubeconfig-switch-context=false                                                              DEBU[0013] Updating default kubeconfig with a new context for cluster k3d-rancher                                                                    DEBU[0013] Setting new current-context 'k3d-k3d-rancher'                                                                                             DEBU[0013] Wrote kubeconfig to '/Users/jyee/.kube/config'                                                                                            INFO[0013] You can now use it like this:                                                                                                             kubectl config use-context k3d-k3d-rancher                                                                                                           kubectl cluster-info
$ k3d cluster list NAME SERVERS AGENTS LOADBALANCER k3d-rancher 1/1 0/0 trueSet up kubectl for the new cluster with these commands. You could also use kubectl config use-context but I’ve found that this confuses a lot of beginners (including me!).
KUBECONFIG_FILE=~/.kube/k3d-rancher
k3d kubeconfig get k3d-rancher > $KUBECONFIG_FILE
chmod 600 $KUBECONFIG_FILE
export KUBECONFIG=$KUBECONFIG_FILE
kubectl get nodes
2/3 Use helm to bootstrap cert-manager then Rancher to the cluster
These commands install Rancher 2.6 from the rancher-latest repo and its prerequisite cert-manager, following these docs: https://rancher.com/docs/rancher/v2.6/en/installation/install-rancher-on-k8s/
### Install cert-manager with helm
helm repo add jetstack https://charts.jetstack.io
helm repo update
kubectl create namespace cert-manager
helm install cert-manager jetstack/cert-manager \
    --namespace cert-manager \
    --version v1.5.3 \
    --set installCRDs=true --wait --debug
kubectl -n cert-manager rollout status deploy/cert-manager
date
### Install the helm repos for rancher
helm repo add rancher-latest https://releases.rancher.com/server-charts/latest
helm repo update
kubectl create namespace cattle-system
helm install rancher rancher-latest/rancher \
--namespace cattle-system \
--version=2.6.1 \
--set hostname=rancher.localhost \
--set bootstrapPassword=congratsthanandayme \
--wait --debug
kubectl -n cattle-system rollout status deploy/rancher
kubectl -n cattle-system get all,ing
date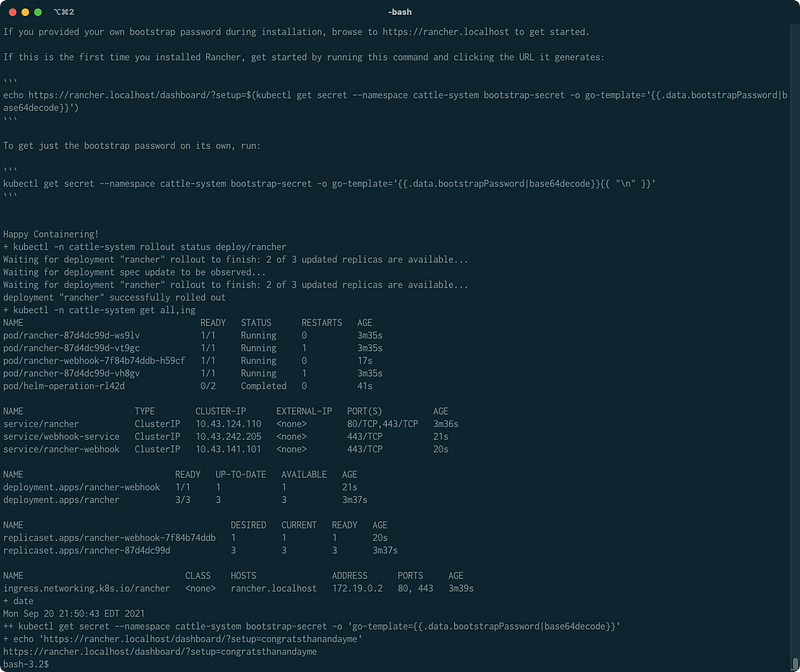
3/3 Use the Rancher GUI to observe the cluster
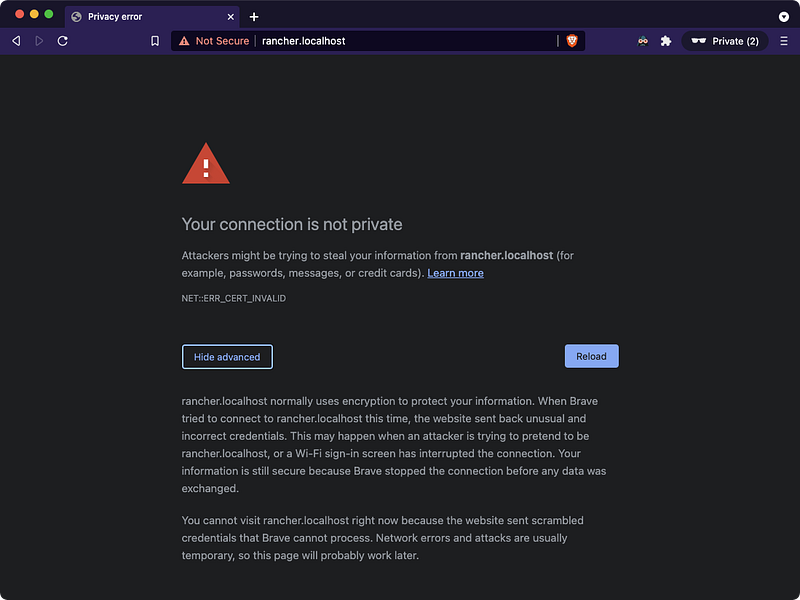
After you see the line deployment "rancher" successfully rolled out browse to https://rancher.localhost. If you see this screen where you can’t manually accept the risk, you may have to use the thisisunsafe chrome trick. You do this trick by clicking on the red warning triangle and literally typing “thisisunsafe” (believe me!)
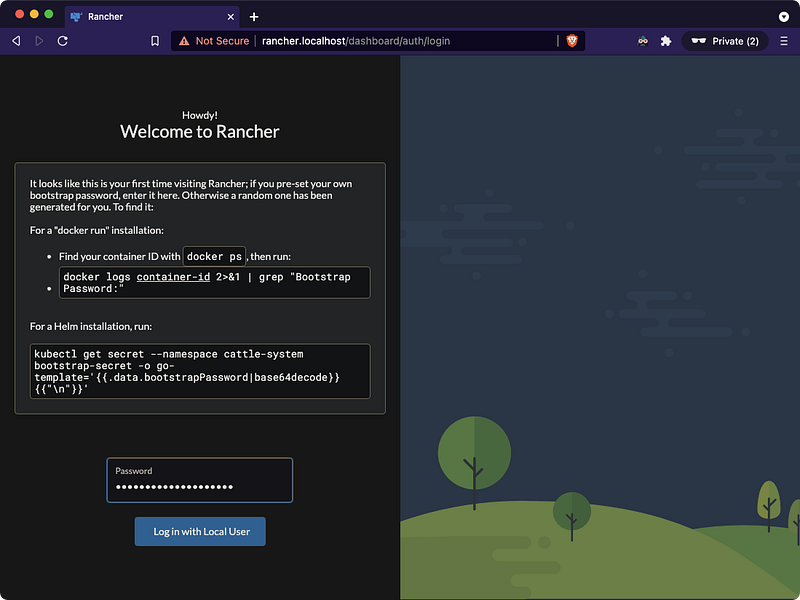
Login as admin with the bootstrapPassword you used when installing Rancher, in this case it’s admin | congratsthanandayme
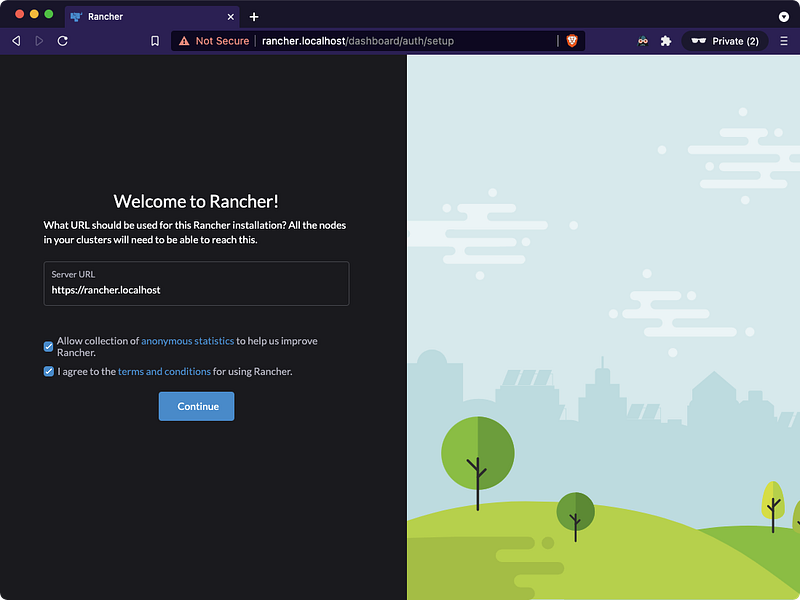
Accept the hostname and go!
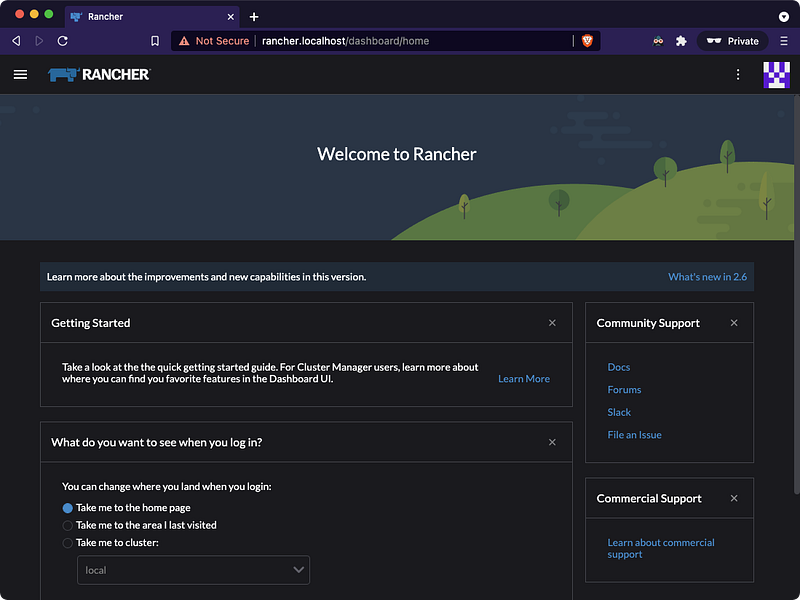
Here’s the welcome page
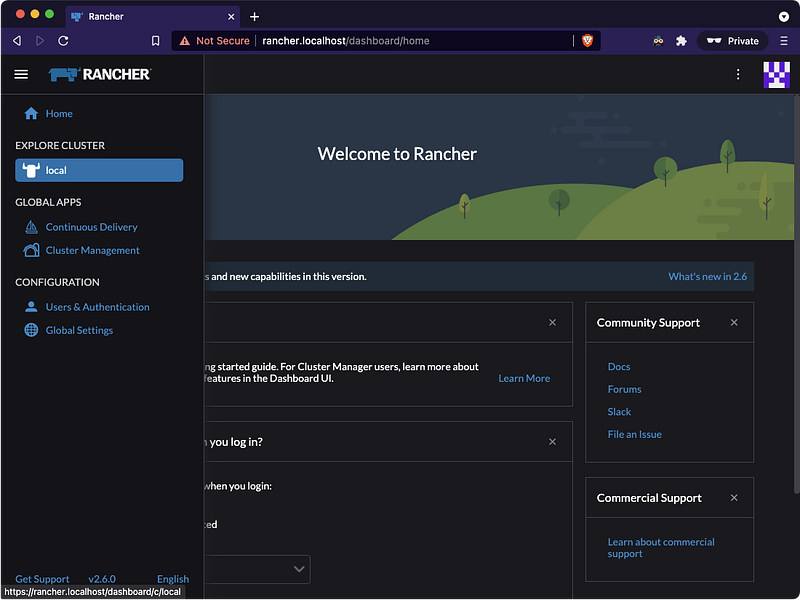
Click on the hamburger in the upper left to bring up the clusters and select the local cluster
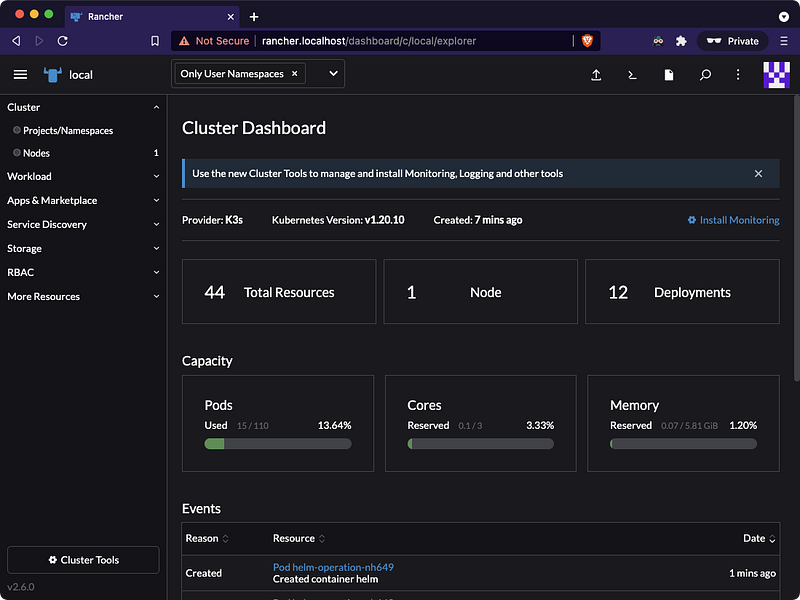
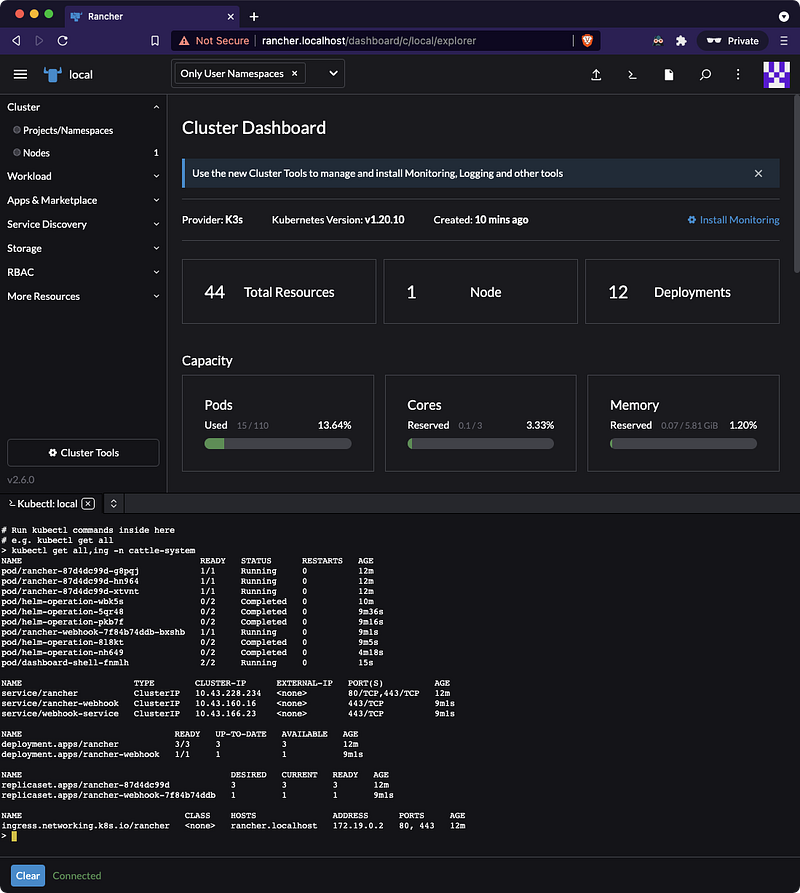
Now you can see a summary screen of all of the resources, nodes, and deployments running on this “empty” Kubernetes cluster. You can also see the numbers of pods, cores, and memory used. This resource observability is a huge advantage to using Kubernetes and I never want to go back to bash.
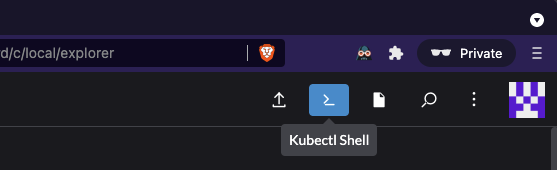
Click the Kubectl Shell button in the upper left and you’ll open a terminal in your browser to interact with your cluster and resources. In the below example, I list all of the common resources and ingresses.
There are a lot of great new features in Rancher Cluster Manager 2.6 and I’ll post another article soon about how to deploy and expose a simple workload.
Thank you to Brandon Gulla for introducing me to k3d and Thorsten K for the k3d demo that continues to inspire me and hopefully many other devs!!
Here’s the gist of the install-rancher script (asciinema here: https://asciinema.org/a/uao5iovk75B0Iggw6kPurAmCo)


