
Know the Vue Router Fundamentals

The Vue Router is like the air traffic control for your application. It tells everyone where they need to go. Any well-orchestrated software needs a process of how to work with input. Let’s start with setting up the basics.
Setup
First thing we will install the vue-cli. You can do that with the following command.
npm install --save-dev @vue/cli-serviceThen you should run the following command to add the router.
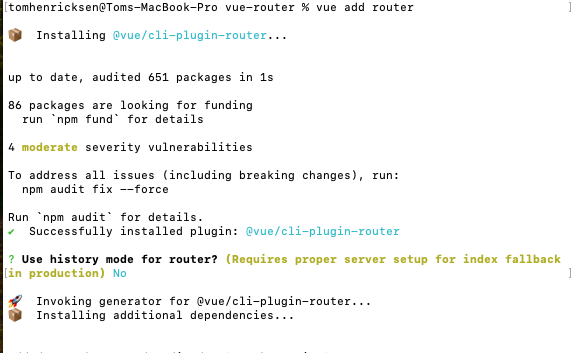
vue add router
You should see something like this.
See the code
Looking at this folder in Visual Studio Code you would see the following items.
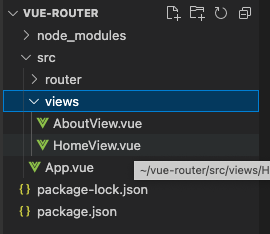
The router has created the views folder along with the AboutView.vue and HomeView.vue files. These are the pages and are referenced in the router/index.js.
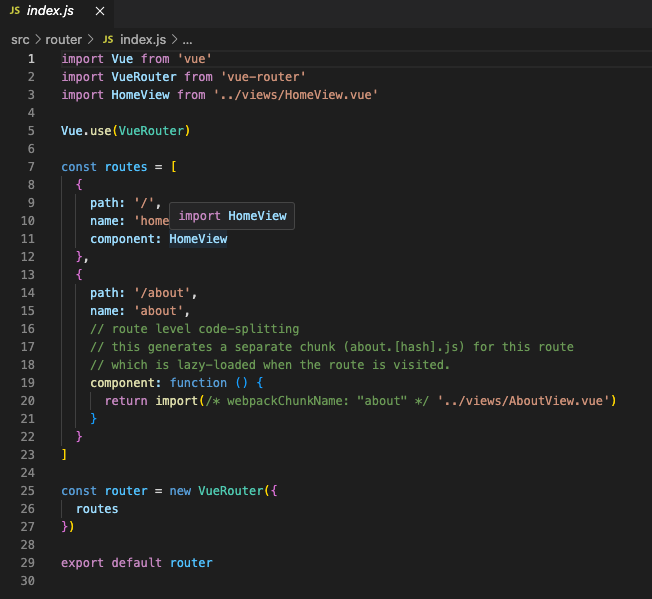
This file has the router configuration. We import the VueRouter and then set up the routes in this file. Routes is an array of objects. Each one has a path, name, and component in the array.
Code Splitting
The About link uses code-splitting. This streamlines the assets the browser needs to download. Also, it improves the render times so it appears to be interactive instead of waiting to load files.

In the App.vue we see the router link components. These tags are similar to an href but will not reload the page. This is part of the single-page application. This is a powerful feature that Vue.js applications offer and the router enables it.
The Vue Router does a lot for you. It creates the spine of your application. With this structure in place, you can begin to modify it to add what you need to achieve your outcomes. You can do this yourself or look at my code.
Clap for this and follow me on Medium!