
iOS Tutorials: Making radio buttons
Originally published on: https://daddycoding.com/2019/08/07/ios-tutorials-making-radio-buttons/
OVERVIEW
Radio button become one of the choices if the app requires additional informations from the user as it retrieves choice picked by user. It is also one of a way to know the user preference. Isn’t it considered user friendly if the user is able to pick their own choice?
Let’s dive into making a radio button work for the apps.
BUILDING THE UITABLEVIEWCELL
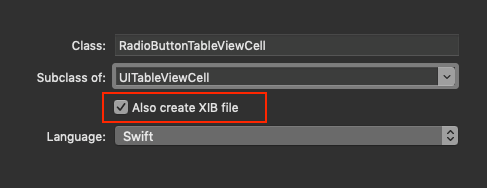
First, create a custom UITableViewCell by New > File > Cocoa Touch Class
Make sure that the subclass is of type UITableViewCell and Also create XIB file is checked.
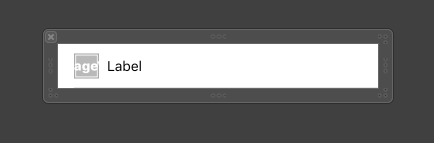
It should look pretty straight forward with an image and a button on the UITableViewCell.
When all the above is done. It’s time to write a little code that will handle the text and the selection. This is how the code will look like.
import UIKitclass RadioButtonTableViewCell: UITableViewCell { // 1
@IBOutlet weak var titleLabel: UILabel!
@IBOutlet weak var iconImage: UIImageView! // 2
private let checked = UIImage(named: "checked-radio")
private let unchecked = UIImage(named: "unchecked-radio") // 3
override func awakeFromNib() {
super.awakeFromNib()
} // 4
override func setSelected(_ selected: Bool, animated: Bool) {
super.setSelected(selected, animated: animated)
} // 5
public func configure(_ text: String) {
titleLabel.text = text
} // 6
public func isSelected(_ selected: Bool) {
setSelected(selected, animated: false)
let image = selected ? checked : unchecked
iconImage.image = image
}
}- This is where you will create an IBOutlet for your object
- This is the image variable, you may download the asset from Icons8
- This is the default function or in a more familiar way, it does the same thing as
viewDidLoad - This is also a default function created which handles the selection
- This is being used later to create a title for each cell
- This is where it is being determined if the cell is selected. And if it is selected, the image should be checked.
Once you have figure out the code. We could move on to a bigger part of the project.
BUILDING THE MAIN SCREEN
The main screen is even more straight forward with only a UILabel and UITableView.
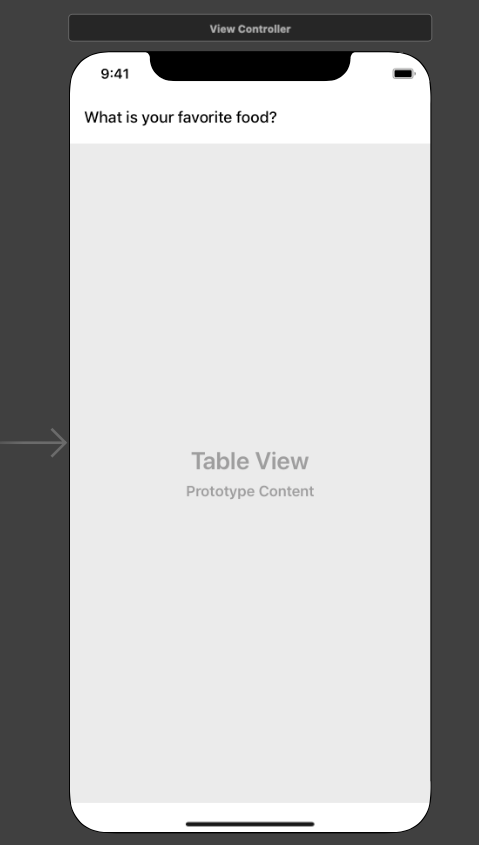
This is with an assumption that you know how to build a UITableView, so we will jump right into the main point.
SETTING UP THE DATA
Let’s create the data first by defining a model of Food where we know the name of the food and if it selected.
struct Food {
    let name: String
    var selected: Bool
}
With the model that is created, the code below can be inserted into ViewController. This is how we create our data.
var foodLists: [Food] = [
    Food(name: "Chicken Chop", selected: false),
    Food(name: "Fried Rice", selected: false),
    Food(name: "Fried Noodle", selected: false),
    Food(name: "Fish & Chips", selected: false),
    Food(name: "Spaghetti", selected: false),
    Food(name: "Nasi Lemak", selected: false)]
To know what is being selected, let’s create a variable that will hold that value. selectedFood by default is nil, and when there is a value in it, it will refresh the tableview which you will find out why later.
private var selectedFood: Int? {
    didSet {
        tableView.reloadData()
    }
}
SETTING UP THE TABLE
With the data ready, let’s setup the table as well. A constant is given the name of the UITableViewCell that was created earlier, as this will be our cell name.
private let radioButton = "RadioButtonTableViewCell"Once everything is done, the next step is to register the cell using the constant that was created just above.
tableView.dataSource = self
tableView.delegate = self
tableView.tableFooterView = UIView()
tableView.register(UINib(nibName: radioButton, bundle: nil), forCellReuseIdentifier: radioButton)
Lastly, with every selection on the cell, we would like to know what is the index. The code below will store it in the variable that we created earlier.
private func updateSelectedIndex(_ index: Int) {
    selectedFood = index
}
GETTING THE TABLE TO SHOW THE DATA
The code should be inserted under tableView(_ tableView: UITableView, cellForRowAt indexPath: IndexPath).
// 1
guard let cell = tableView.dequeueReusableCell(withIdentifier: radioButton, for: indexPath) as? RadioButtonTableViewCell else { fatalError("Cell Not Found") }
// 2
cell.selectionStyle = .none
// 3
let food = foodLists[indexPath.row]
// 4
let currentIndex = indexPath.row
// 5
let selected = currentIndex == selectedFood
// 6
cell.configure(food.name)
// 7
cell.isSelected(selected)
// 8
return cell- This is where the cell is being assigned
- The selection style is disable where you won’t see an effect when selecting the cell
- This is where the data are being pulled out one by one and is stored in a variable
- This is how we know the current row
- This is where we do a comparison of if the item is selected
- This is how the title of the food is showing
- This is where it will execute the task if it is selected
- Show the cell
SELECTING THE DATA
Insert the following code under tableView(_ tableView: UITableView, didSelectRowAt indexPath: IndexPath) where it will take care of the selection for you.
updateSelectedIndex(indexPath.row)And the end result will be


