Use Express.JS as a Web Server
In this article, we will learn about Express.JS for handling POST and GET requests, and why it’s more suitable than the
httpcore module of the Node.JS engine.
What is Express and What Makes It So Great?
Express is the most popular Node.JS framework to handle multiple different HTTP requests at a specific URL. Furthermore, it’s minimal, open-source, and flexible which aids the developer to invest less effort and time into developing even better websites and apps.
With tech giants like Uber and Twitter using it, surely it must be an amazing tool. It adds dead-simple routing and essentially shortens the lines of code that is needed to handle web requests.
Let me illustrate an example:
Reusing the code from my previous article:Use Node.JS as a Web Server, here is an example using the http module in NodeJS
Now let’s rewrite this using the Express API:
Getting Started
Install it through NPM. This is a straightforward step. For more help on NPM, I’ve written a guide here
npm i expressYou’re now good to go!
Simple Example
Let’s write a GET method in Express to display the words ‘Hello World’. Reusing the code from the above example:
Run the code through the command line node express-basic-hello-world , and then on another command line, type:
curl localhost:3000The first parameter of app.get() is the route.
The second parameter is the callback, as explained in the previous heading
app.listen tells us the port number it will respond to.
What’s routing? Routing refers to how an application’s endpoints (URIs) respond to client requests
If the client is at URL or route ‘/’(in other words, the root homepage), then execute the block of code located within the callback. Fairly easy!
Handling Other Routes
You can even handle other routes like so:
Let’s say the client is at the root homepage( / ) then the word `at root` will be printed out. Otherwise, if the client is at URL named hussain then the words at URL named: Hussain will be printed out.
Run the code with a command node express-routing-example
Then on another command line write:
curl localhost:3000 Here, the words `at root` will be printed
curl localhost:3000/hussain Here, the words ‘at URL named: Hussain’ will be printed. The words after‘/’ is placed is the argument
POST Requests
You can also handle other requests like POST, PUT, etc. To do so, just replace app.get with app.post or app.put with the same exact parameters
To handle POST requests:
Note:
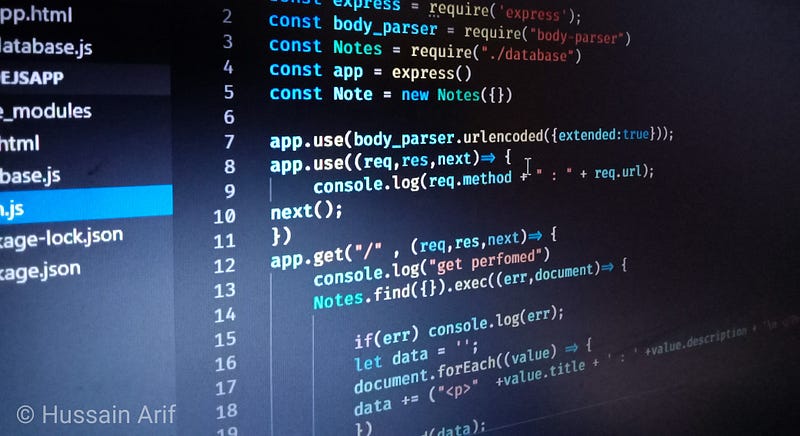
app.use()is a middleware function which will be discussed in coming article.
Execute the code through the command line, and then, to send data through cURL, open another terminal window to write:
curl -d 'Hello World' localhost:3000/ -H 'Content-Type: text/plain'
curl -d 'Hello World at hussain' localhost:3000/hussain -H 'Content-Type:text/plain' Go back to your server terminal (previous terminal where cURL functions aren’t used) and notice that the data you sent has been printed in the window.
Note :
-His used to specify the header to tell Express that the data that we are sending will be plain text. Express is very picky on the format which is why we have to specify the header before sending data
Configuring Express
You can change settings in Express on the fly. There are many configurations. Some of them being
app.set(‘port’, process.env.PORT || 3000) //change default port
app.set(‘views’, ‘templates’) // The directory the templates
app.set(‘view engine’, ‘jade’) //set view engine to JADE
Express Application Generator
The express-generator module is used to get templates for your website. This is done so that you-the developer, can spend less time in developing the design of the application as you already have the ‘skeleton’ of the website.
You can jumpstart your Express development because the generator will create files and folders for different template engines and libraries.
This way, you can spend more time developing your backend logic properly.
Getting started
Run the command to install the module:
npx express-generatorCreating a project
Now that we’ve installed the module
Run the commands:
express myProject #create a project with name of myProject
cd myProject #change working directory to myProject
npm install #install all required dependencies
npm start
We’re done!
Working in your Express project directory, you might have noticed further subdirectories and files. Here is an explanation
app.js: the main file, houses the embedded server and application logic/public: contains static files to be served by the embedded server/routes: houses custom routing for the REST API servers (not needed for a web app)/routes/users.js: endpoint/routes for resources such as users/views: contains templates that can be processed by a template engine (not needed for REST APIs)/package.json: project manifest/www: boot up script folder
Note: a web app is a traditional web application (thick server) with 100% server-side rendering while a REST API is a data only server (rendering happens and UI is hosted on the clients)
Summary
To install express
npm i expressTo handle requests:
app.METHOD(route, handler)where
METHODcan either beput,get,postordeleteroutewill be your pathhandlerwill be the callback function that’s executed whenever this route is handled.
To configure:
app.set(key,itsValueToChange)External Resources
In the coming articles, we will go more in-depth to Express and its workings. That’s all for today. Thank you so much for reading!
Stay home, stay safe!