
Introducing plotly.py Theming 🎨🖌
It’s finally here: plotly.py now supports theming!
Create your own theme or use one of seven out-of-the-box themes that ship with plotly.py 3.4 (released today!). Mix, match, and merge themes to get exactly the look and feel that you want, and save your favorite defaults to re-use over again.
Theming gives you more options for customizing the figures you create. It looks great and saves time, and makes branding consistency much easier with the possibility of global default settings.
Want the details? Keep reading to learn more about making your own themes and check out the seven shiny, pre-made ones that we know you’ll love 👀✨
Out-of-the-box themes 📦
Plotly.py 3.4 ships with seven pre-registered themes:
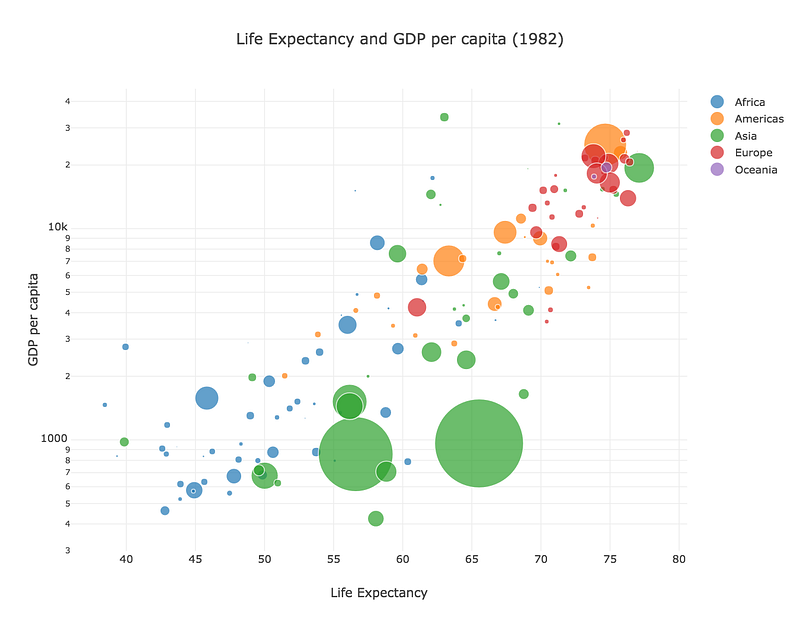
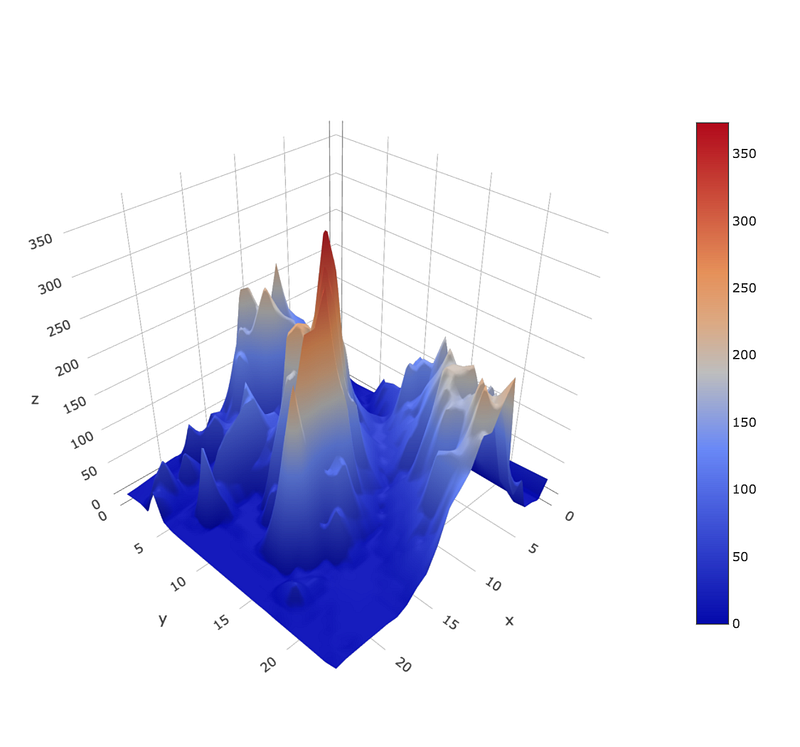
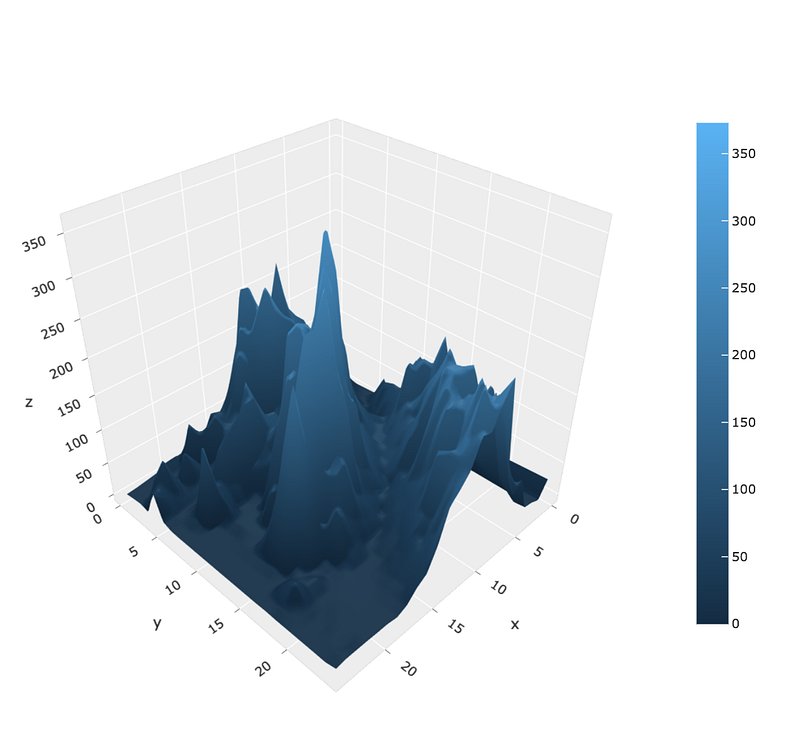
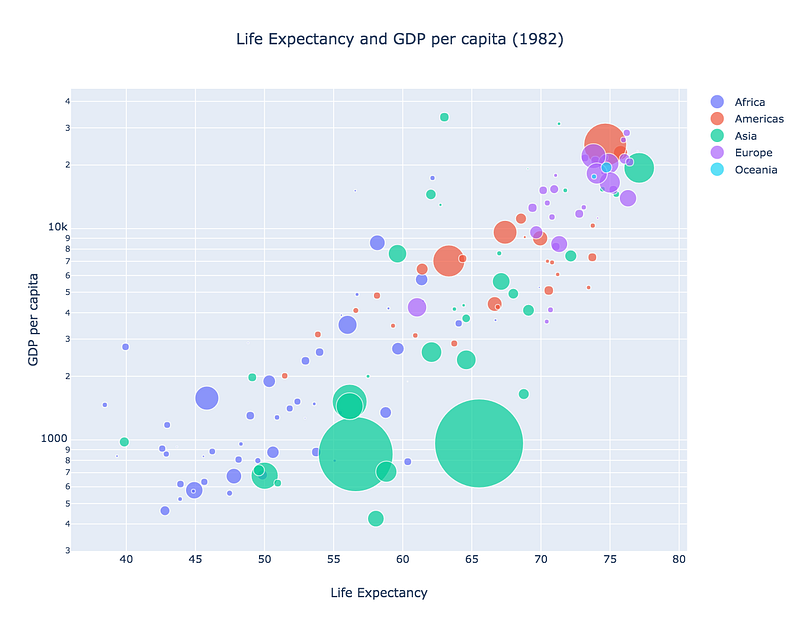
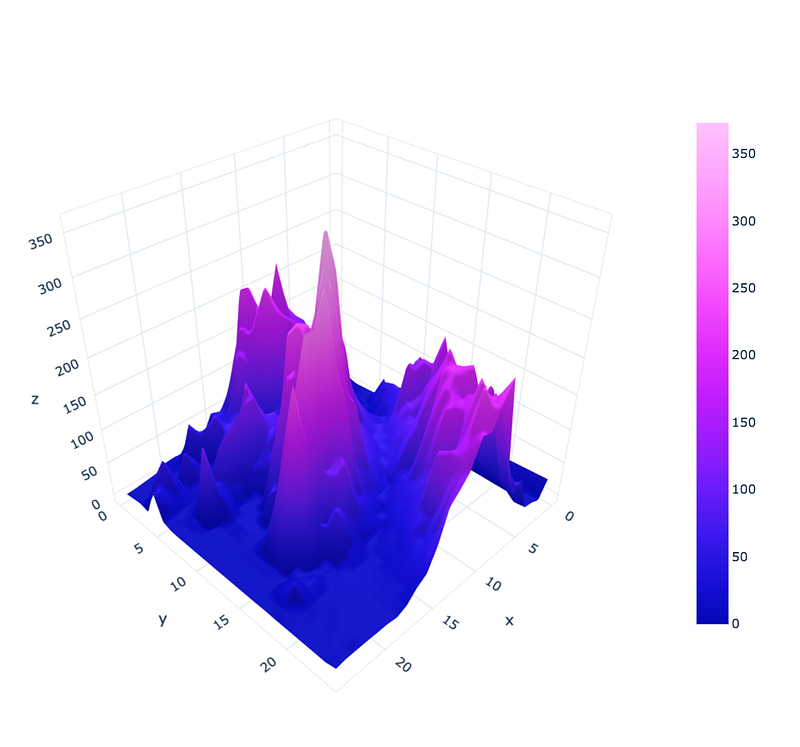
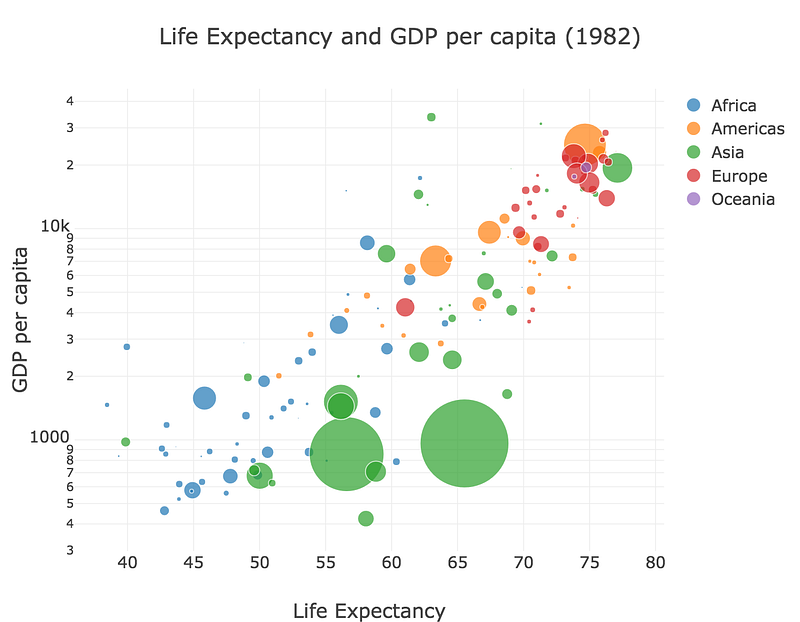
Default styling
First, here’s the default styling for a bubble chart with five traces and a 3D surface plot:
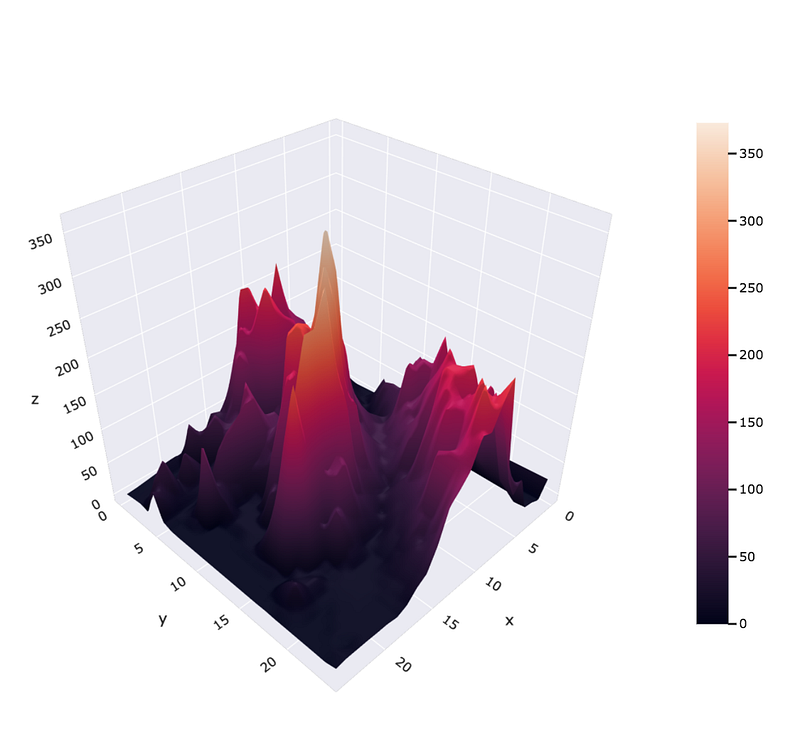
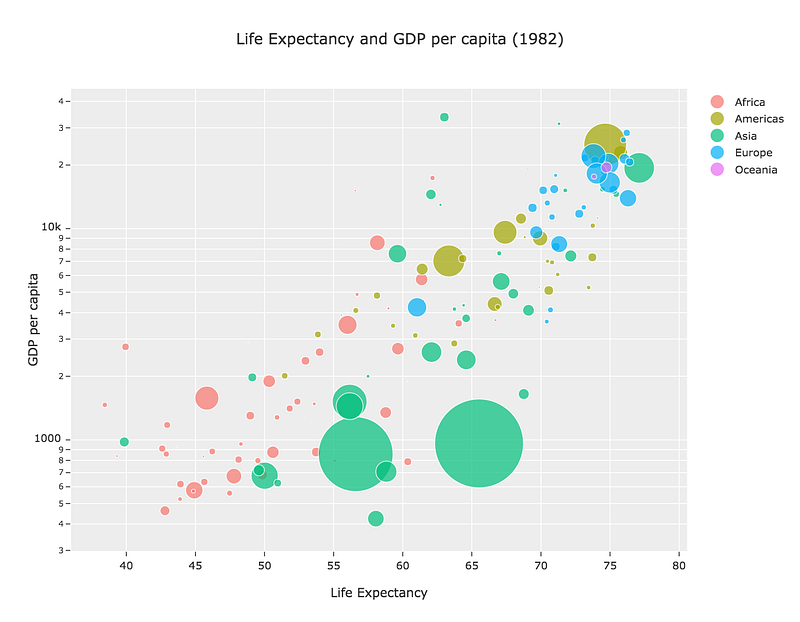
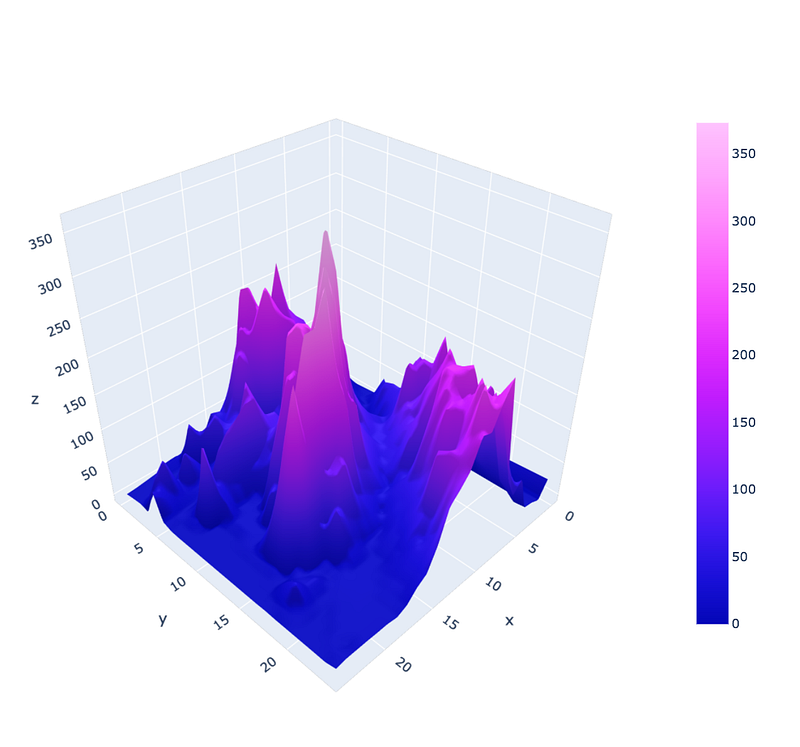
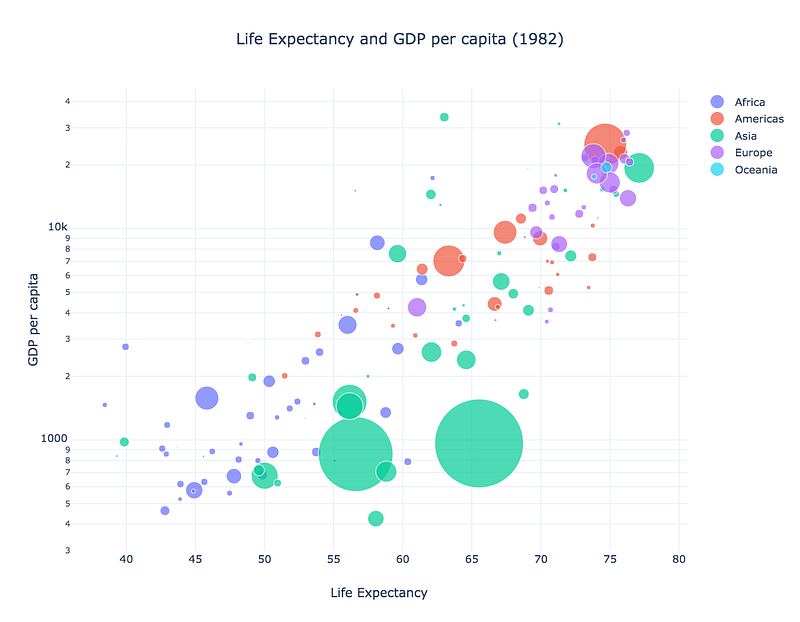
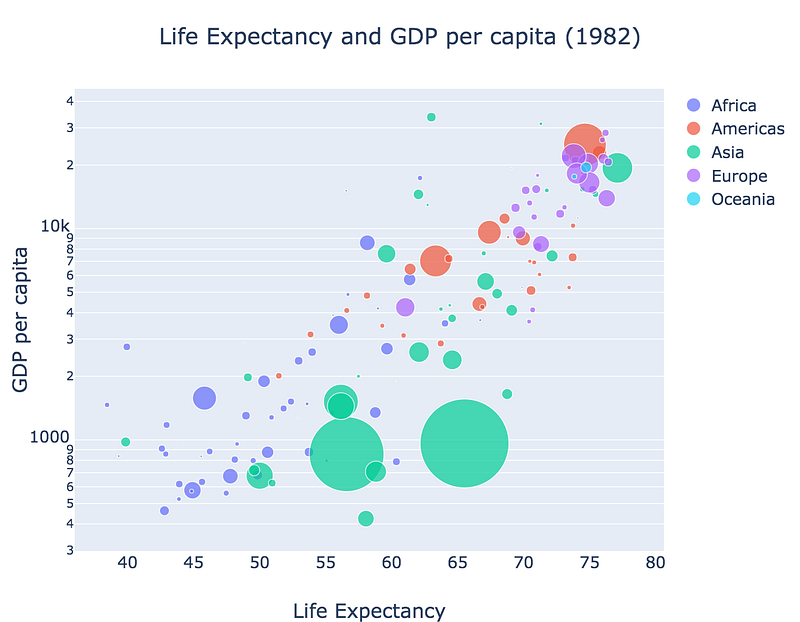
seaborn
The seaborn theme is inspired by the seaborn library:

ggplot2
The ggplot2 theme is inspired by ggplot2
Original Plotly themes
Three original themes have been designed for plotly.py, including plotly…
plotly_white…
and plotly_dark…
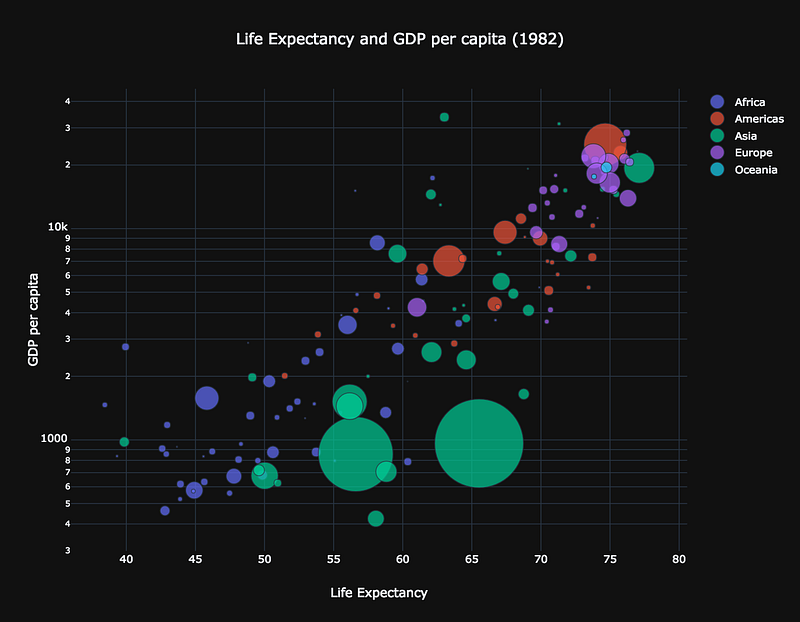
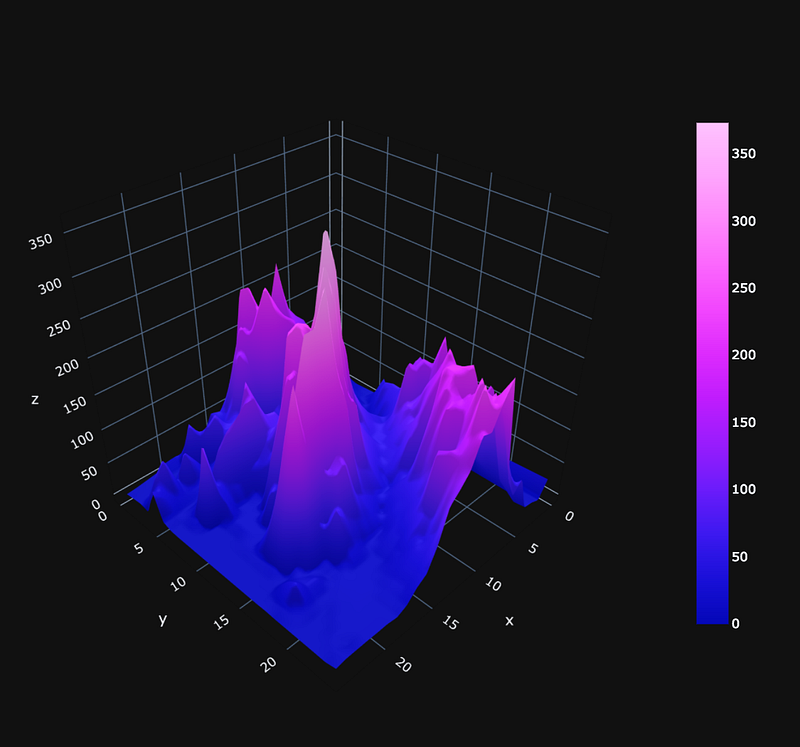
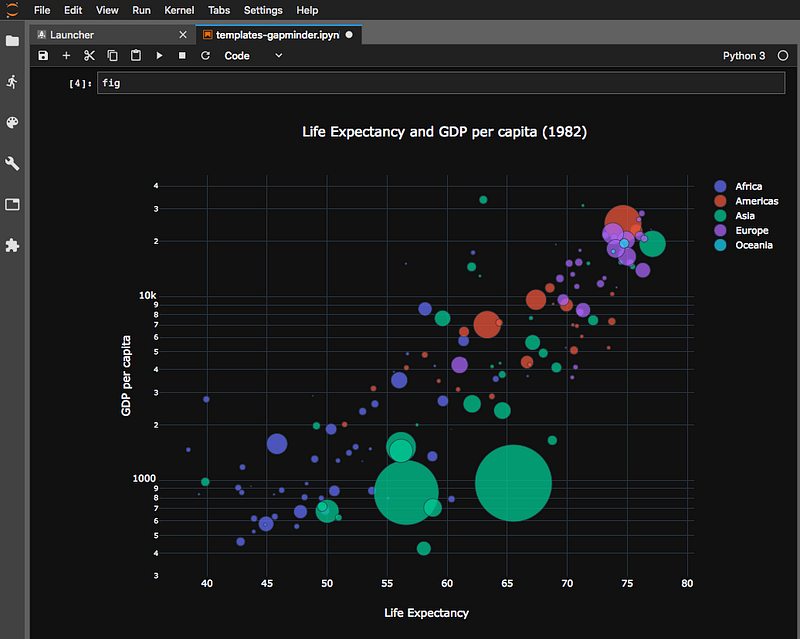
which looks real slick with JupyterLab’s dark theme.
There are also two add-on themes. Use these as stand-alone themes, or mix and match them with the others.
presentation boosts the visibility of fonts, markers, and line widths for those times when you’re sharing your data with the world and need it to be visible at a distance:
presentation can be combined with other themes, for example, plotly+presentation:

Finally, xgridoff disables those vertical x-axis lines for a streamlined look.
plotly+presentation+xgridoff:
Click and switch 🔄
Thanks to the design of Plotly.js, ipywidgets, and plotly.py you can apply themes to figures you’ve already created and displayed in the notebook. Just display the figure as a FigureWidget and then assign theme names to the figure’slayout.template property.
Make your own 🚧
A theme is specified as a layout.template object. In the notebook, import the following to begin:
import plotly.graph_objs as go
import plotly.io as pio
First, you create an empty figure, say, with large Courier text:
fig = go.Figure(layout={'title': 'Figure Title',
                        'font': {'size': 20, 'family': 'Courier'}})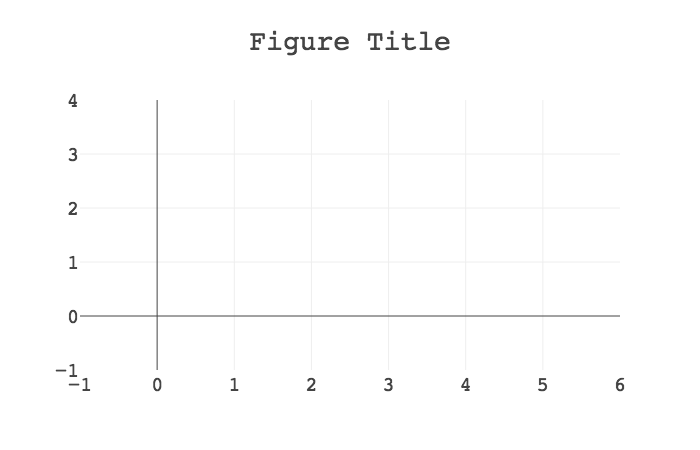
Calling fig.layout will output:
Layout({
    'title': 'Figure Title',
    'font': {'family': 'Courier', 'size': 20}
})
Then, with the pio.to_templated function, a copy of the figure is returned with the styling attributes extracted and moved to the layout.template object:
templated_fig = pio.to_templated(fig)Calling templated_fig.layout will output:
Layout({
    'title': 'Figure Title',
    'template': {'layout': {'font': {'family': 'Courier',
                                     'size': 20}}},
})
Notice how the font properties are now inside the template object? Figures with this template object will now display text in size 20 Courier text unless the font properties are explicitly overridden.
Save it for later 🎁
Let’s say size 20 Courier font is your jam, and you want to save it officially for later use:
pio.templates['large_courier'] = templated_fig.layout.templateThis registers your theme, named large_courier, so you can specify it by name when constructing a new figure:
fig2 = go.Figure(layout={'title': 'Figure 2 Title',
                         'template': 'large_courier'})
fig2.layout
Which will yield:
Layout({
    'title': 'Figure 2 Title',
    'template': {'layout': {'font': {'family': 'Courier',
                                     'size': 20}}},
})
Voilá, fresh large_courier jam served up and ready to go!
🎉🎉🎉
Now, let’s say size 20 Courier font is really, really your jam, and you want all new figures to be covered:
pio.templates.default = 'large_courier'This sets your theme as a global default. Now it will be applied automatically when creating any new figure.
fig3 = go.Figure(layout={'title': 'Figure 3 Title'})
fig3.layout
Yields:
Layout({
    'title': 'Figure 3 Title',
    'template': {'layout': {'font': {'family': 'Courier',
                                     'size': 20}}},
})
You can also set defaults for traces and object array elements like annotations, shapes, and images. This makes consistent branding easier, for example, by labeling your figures “CONFIDENTIAL” or including a default company logo.
Learn more
Have questions or want more details? See GitHub for more info, check out this example notebook, or come hang out with us on the plotly.py forum.