
Integrating Google Earth Engine API and Streamlit: My Step-by-Step Guide
How I successfully queried spatial data from an Earth engine API

If you’re looking to integrate Google Earth Engine (GEE) with Streamlit for your cloud-based analysis, you’ve come to the right place.
It took me 2 months to figure out how to do this when I was developing a land use monitoring web app with Streamlit. So after all my hard work, let me guide you through every step, from setting up your environment to deploying a fully functional web app.
Whether you’re a beginner or an experienced coder, these insights will simplify your journey.
Let’s dive in!
Setting Up the Stage
First things first, make sure you have a Google Earth Engine account. If you don’t, sign up here: https://code.earthengine.google.com/register. Next, you’ll need Streamlit, which you can install with a simple pip command:
pip install streamlit
The Role of Service Accounts
A service account acts as an identity for your application, permitting it to access Google services. It’s different from your personal Google account and is crucial for deploying apps without exposing your credentials.
Creating a Service Account
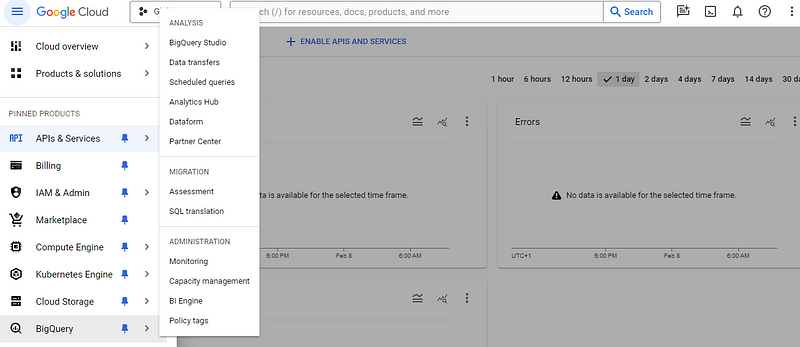
- Go to the Google Cloud Console and create a new project.
- Navigate to ‘IAM & Admin’ > ‘Service Accounts’ and create a new service account.
- Assign the ‘Editor’ role to this account, giving it the necessary permissions.
- Create and download a JSON key for this account. Store it securely, as it’s your app’s passport to Google services.
Local vs. Production Authentication
While developing locally, you can authenticate GEE using your personal account:
import ee
ee.Authenticate()
ee.Initialize()
But in production, you’ll use the service account. Here’s how:
Streamlit Secrets
Streamlit offers a secure way to store sensitive data like your service account key. In your Streamlit app settings, under ‘Secrets’, add your service account JSON in this format:
{
  "type": "service_account",
  "project_id": "your-project-id",
  "private_key_id": "key-id",
  ...
}
Remember to fill in all the“ ” information. This can be found in your JSON file when you open it.
Using the Service Account in Streamlit
Now, let’s modify your Streamlit app to use this service account:
import ee
import streamlit as st
from google.oauth2 import service_account
def initialize_ee():
service_account_info = st.secrets["gee_service_account"]
credentials = service_account.Credentials.from_service_account_info(service_account_info)
ee.Initialize(credentials)initialize_ee()This code snippet checks for the service account details in Streamlit’s secrets and uses them to authenticate GEE.
Building Your Streamlit App
With GEE authenticated, it’s time to create a more exciting Streamlit app that displays a map. Here’s how you can use GEE to display a satellite image:
import ee
import json
import streamlit as st
from google.oauth2 import service_account
from ee import oauth
import geemap
def ee_initialize(force_use_service_account=False):
if force_use_service_account or "json_data" in st.secrets:
json_credentials = st.secrets["json_data"]
credentials_dict = json.loads(json_credentials) if 'client_email' not in credentials_dict:
raise ValueError("Service account info is missing 'client_email' field.") credentials = service_account.Credentials.from_service_account_info(
credentials_dict, scopes=oauth.SCOPES
)
ee.Initialize(credentials)
else:
ee.Initialize()# Initialize GEE
ee_initialize(force_use_service_account=True)# Streamlit app layout
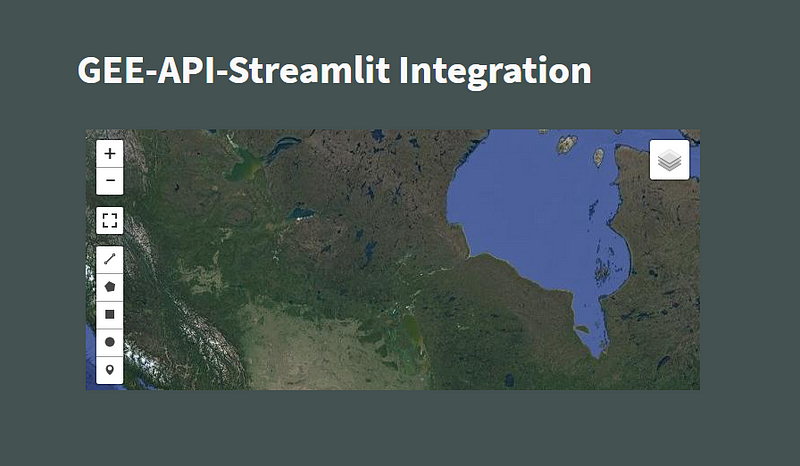
st.title('GEE-API-Streamlit Integration')# Create and display a map
Map = geemap.Map(center=[40, -100], zoom=4)
Map.add_basemap('SATELLITE')
Map.to_streamlit(height=300)This code sets up a basic Streamlit app with a title and a map centered at specific coordinates. The geemap library is used here to create an interactive map, which is then displayed in the Streamlit app.
Deploying Your App
There are a few simple steps for deploying your application:
- Push your code to a GitHub repository.
- Connect your GitHub repository to Streamlit Cloud and deploy your app.
Ready to share your app with the world? Deploy it on Streamlit. With the service account in place, your app will have the permissions it needs to access GEE.
You can then download any data in GEE and make any analysis you want.
In Summary…
That’s all there is to it! You’ve successfully integrated Google Earth Engine with Streamlit and added a map to your app.
This is just the beginning — there’s so much more you can do with GEE’s vast capabilities.
So go ahead, experiment, and build something amazing. If you have any questions or need help, don’t hesitate to reach out.
Happy coding!