
Implementing Monte Carlo Simulation in R: A Detailed Walkthrough
Monte Carlo Simulation is a versatile tool, and implementing it in R is both intuitive and powerful. Let’s break down the process into a step-by-step guide that caters to both beginners and seasoned R users.
Setting Up Your R Environment
Begin by ensuring you have R and RStudio installed on your machine. If not, you can easily download and install them. Once set up, open RStudio, create a new script or R Markdown document, and load any necessary libraries. Common libraries for Monte Carlo Simulation include dplyr for data manipulation and ggplot2 for visualization.
# Install and load necessary libraries
install.packages(c("dplyr", "ggplot2"))
library(dplyr)
library(ggplot2)
Defining Probability Distributions
Monte Carlo Simulation relies on the generation of random variables based on specified probability distributions. For example, if you are modeling the future stock prices, you might use a normal distribution. In R, you can leverage functions from the stats package, like rnorm for a normal distribution.
# Set parameters for a normal distribution
mean_value <- 10
sd_value <- 2

# Generate random variables from a normal distribution
random_values <- rnorm(n = 1000, mean = mean_value, sd = sd_value)
Running Simulations
Now that you have your random variables, you can simulate multiple scenarios. For instance, let’s simulate the future stock prices for different time periods.
# Simulate 1000 scenarios of future stock prices
num_scenarios <- 1000
simulated_prices <- matrix(nrow = num_scenarios, ncol = 10)

for (i in 1:num_scenarios) {
  simulated_prices[i, ] <- cumsum(rnorm(n = 10, mean = mean_value, sd = sd_value))
}
Analyzing Results
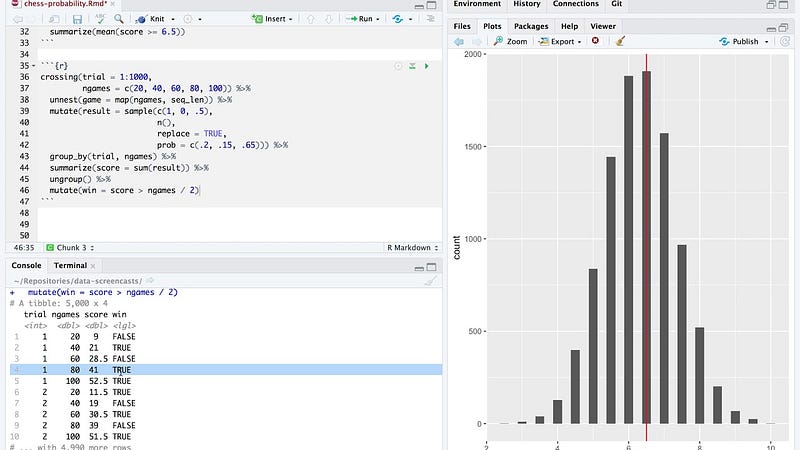
Once your simulations are complete, it’s time to analyze and visualize the results. You might want to calculate summary statistics or create visualizations to better understand the distribution of outcomes.
# Calculate mean and standard deviation for each time point
mean_prices <- apply(simulated_prices, 2, mean)
sd_prices <- apply(simulated_prices, 2, sd)

# Visualize the results
time_points <- 1:10
plot_data <- data.frame(time = rep(time_points, each = num_scenarios),
                        price = as.vector(simulated_prices))

ggplot(plot_data, aes(x = time, y = price)) +
  geom_line(alpha = 0.1, color = "blue") +
  geom_line(aes(x = time, y = mean_prices), color = "red", size = 1.5) +
  geom_ribbon(aes(x = time, ymin = mean_prices - sd_prices, ymax = mean_prices + sd_prices),
              alpha = 0.2, fill = "red") +
  labs(title = "Monte Carlo Simulation of Future Stock Prices",
       x = "Time Period", y = "Stock Price")
Iterative Refinement
Monte Carlo Simulation often requires iterative refinement. Adjust parameters, incorporate feedback, and test different scenarios to enhance the accuracy and reliability of your simulations.
By following this step-by-step guide, you’ve not only implemented Monte Carlo Simulation in R but also gained insights into how to adapt and customize the process to suit your specific modeling needs. The power of Monte Carlo Simulation lies not just in its theoretical foundations but in the practical skills of implementation, analysis, and interpretation that it puts in the hands of R users.
Stay up-to-date on my latest work! Follow me on Medium and clap for this article to support my content creation. Thank you for reading!
Also you can subscribe and become a member ! :)


