
How Top Medium Earners Format Their Stories
A guide to Medium formatting.
I spend a fair amount of time hanging out on Facebook groups for Medium writers, and talking to Ninja Writers about posting here. I see the same questions come up over and over — questions about how to format posts to make them look nice.
This guide will answer those questions. Let’s start at the top.
Titles
When it comes to curation, Medium editors favor a clear, concise title written in title case. Avoid anything click-baity. It’s enough to keep your post from being curated and distributed. It also doesn’t fit the platform very well.
Title case means that most words are capitalized and there is no end period. (You may have an end question mark or exclamation point, however.) This website will help you format your titles in title case.
This is a click-baity title that I actually used recently (I suck at titles!):
One Perfect Piece of Advice That Really Works (If You Take It)
It seemed good at the time, but it was passed for curation. When I changed the title and tried again, my post was curated.
To format your title properly, highlight it. When the toolbar pops up, click the large ‘T’ icon.

Subtitles
Medium curators also favor posts that have informative subheads, directly under the title. Your subhead should be written in regular sentence case — the first letter capitalized, with a period at the end of the sentence.
Use your subhead to let your reader know more about what to expect from your post. When readers are browsing Medium, or see a link to your post on social media sites, all they see are the title, subtitle, and a photograph. Make your subtitle count.
To format it properly, highlight the text, and click the small ‘t’ icon when the bar pops up.
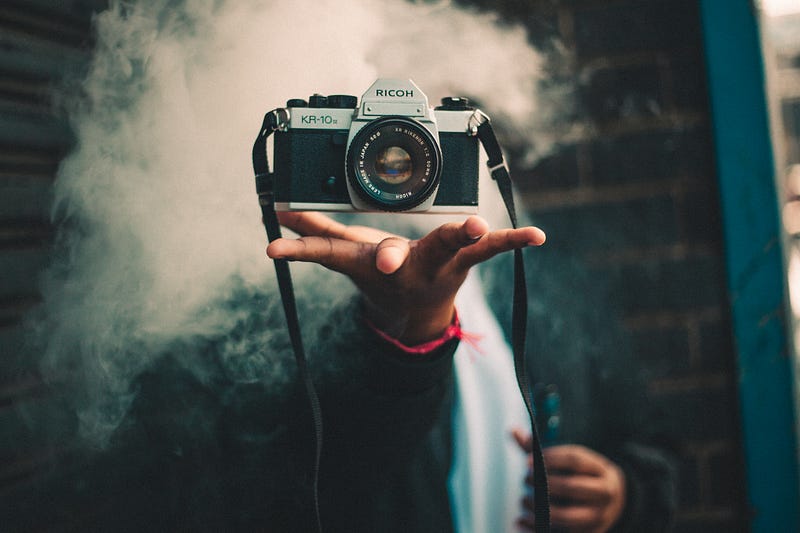
Photographs
Every post you write should have a large, clear, interesting photograph at the top. I usually post mine under the subtitle. I’ve also seen posts where the photo is at the top, followed by the title and then the subtitle.
There are two ways to post photographs.
Medium has a built in system for offering you royalty-free photographs that
you want to place a photograph. You’ll see a + symbol appear. Click it.
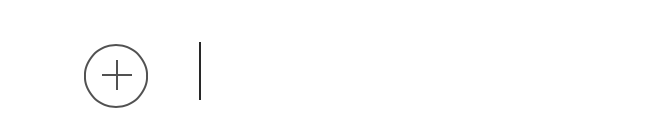
When you click the + sign, a bar will show up. The first two icons are a camera and a looking glass.

Click the looking glass icon. A search bar will show up.

Type in a keyword to search. Let’s say you want a photograph of a tree.

When you click enter, you’ll get a collection of photographs of trees.
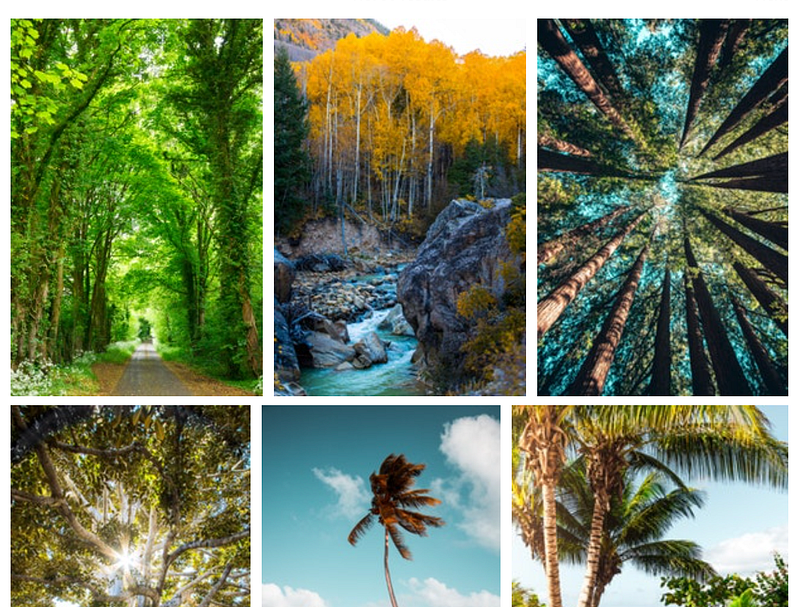
Flip through them and choose one. When you click on it, the photograph will show up, properly cited. Voila!
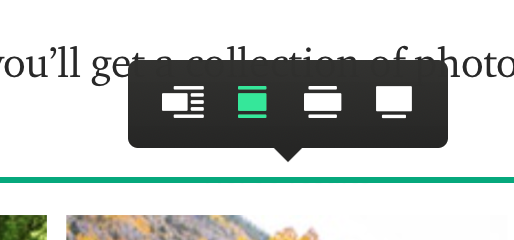
Best practice is to choose a photograph that’s oriented horizontally. After you choose a photograph, you’ll see some icons at the top that allow you to choose a size. For the top photo, choose the far right icon to let your photo fill the screen, or the one next to it to extend the photo beyond the width of the text. For in-post photos, you will probably want to choose the option for a photo the same width as you text, or the far left icon, which will offset your photo.
Links
When you’re writing your post, you might find yourself wanting to link to other Medium posts, other websites, or videos.
Medium instantly creates lovely off-set links or posts your videos directly to your post.
To post a link to another Medium post or a website, simple copy the URL and post it on it’s own line in your post. When you click return, an off-set link box will appear and look like this:
To post a video, simply find the video you want to populate in your post. Paste the URL where you want the video and click return. The video will appear, like this:
You can also add hypertext links to your posts. Just highlight the words you want to link. When the bar pops up, click the icon that looks like two chain links. Paste in your URL and your text will be hyperlinked. It will look like this:
This is a link to my Medium profile.
You can also click the right-pointing arrow icon to populate a video and the icon that looks like this: <> to populate a link.
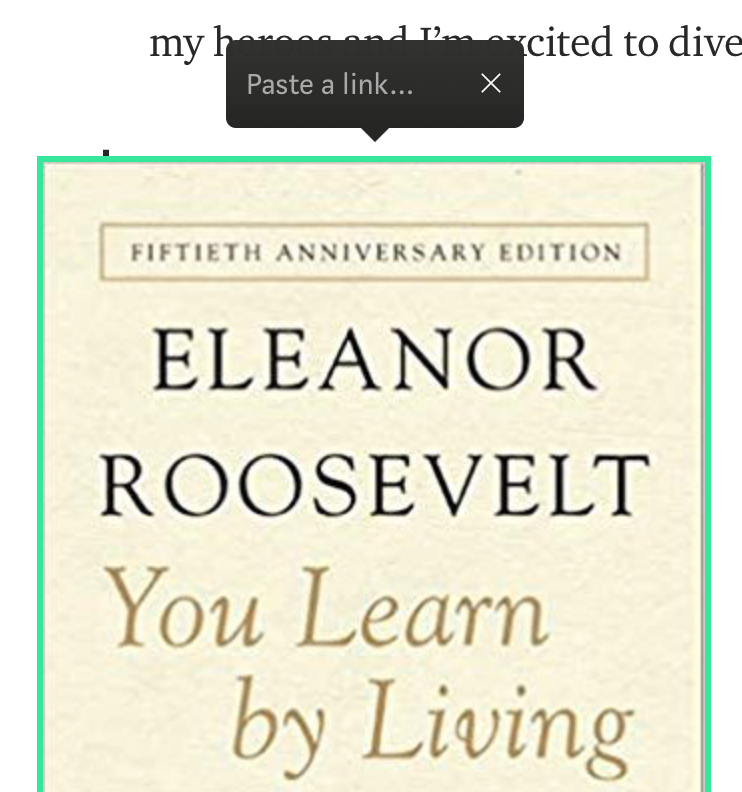
You can attach a link to a photograph by clicking on your photograph and typing control>K. You’ll see a box open where you can paste a link.
Quotes
You can offset part of your text — either your own words that you want to stand out, or actual quotes from other people.
To do that, highlight the text that you want to offset. When the bar pops up, click the quote marks once. Your text will look like this:
Just write every day of your life. Read intensely. Then see what happens. — Ray Bradbury
If you click the quotes marks icon a second time your text will look like this:
Just write every day of your life. Read intensely. Then see what happens. — Ray Bradbury
Subheads and Dividers
Subheads help to organize your post and provide whitespace that makes reading more pleasant.
A subhead is made exactly the same way as a subtitle. Highlight the text and click the small ‘T’ icon.
If you click the icon that looks like two dashes (- -) a dotted line will appear that looks like this:
This is a good way to divide your posts into sections and highlight passages.
It’s important to learn how to use the formatting tools at Medium. They make your posts look pretty, but more important, they make them look more professional.
Here’s my secret weapon for sticking with whatever your thing is.
Shaunta Grimes is a writer and teacher. She is an out-of-place Nevadan living in Northwestern PA with her husband, three superstar kids, two dementia patients, a good friend, Alfred the cat, and a yellow rescue dog named Maybelline Scout. She’s on Twitter @shauntagrimes and is the original Ninja Writer.


