
How to write production-ready Node.js Rest API — Typescript version
A step by step guide with an example
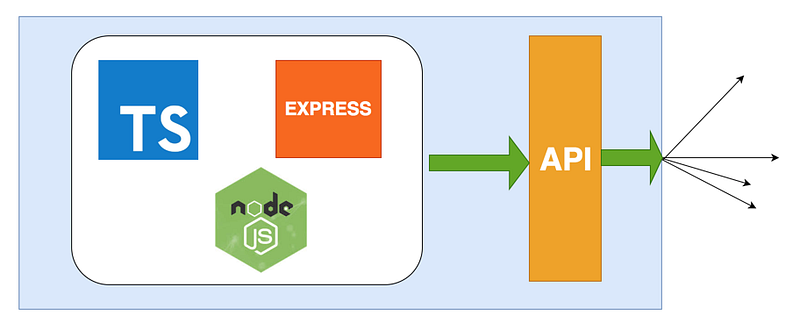
This article list out all the necessary ingredients for the production-ready Node.js rest API with typescript.
if you want to check out the javascript version. Please have a look at this.
I want to categorize this into two phases
- Development Phase
- Production Phase
Let’s not complicate things and create simple user API where you get a list of users with Get request and save a user with post request. since we are focussing on the Node.js rest API, let's go with the simple API. let’s download all the tools required for the project.
Tools Required:
- Node.js (https://nodejs.org/en/)
- Visual studio code (https://code.visualstudio.com/)
- typescript
- nodemon
- express
- tslint
- webpack
For complete project
git clone https://github.com/bbachi/prod-ready-node-rest-api-typescript.gitfollow the below article for step by step process
Development Phase
- Initial setup
- nodemon
- Logging
- How to handle undefined routes
- How to define context path
- Error Handling
- Linting your project
- Testing your project
Any node.js project starts with package.json let's create a folder called user_api and cd into it and do npm init. it will ask you all the details like package name, version, author etc. You can leave them blank or give some values will create a package.json in your folder.
mkdir user_api
cd user_api
npm initif you notice the package.json, index.ts is the main file which is the starting file for the project. let's create index.ts file at root level and install express.js framework. Express is a web application framework for node.js which we can use for creating HTTP server and configure routes for our project.
touch index.tsnpm install express --save
npm install @types/express --save-dev// install typescript globally, we can use tsc command directly
npm install typescript --save-dev
npm install -g typescriptwhenever you install package and it will be added to dependencies section as you can see below. “ — save” add the package to dependencies section and “ — save-dev” add the package to devDependencies section.
let’s import express into index.ts and create Http server which listens on port 3070 and app.ts to handle default route with “/”.
// create these two filesindex.ts
app.tssince we are writing app in typescript, we have to transpile .ts files into javascript before running the app. use below commands and open the browser and hit http://localhost:3070and default route works!!.
// this will create js files in the folder index.js and app.jstsc index.ts // now run the app with node
node index.js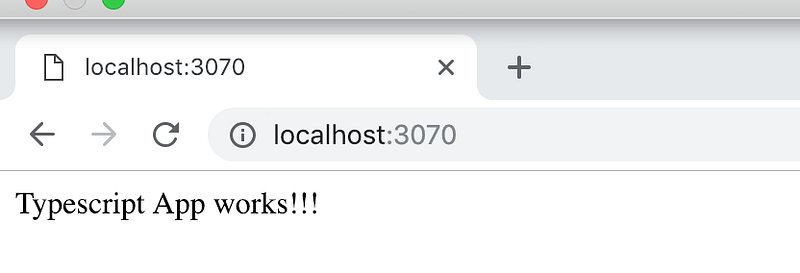
Let's add scripts to package.json. scripts are the great place to add all your commands so that you can run with npm command. Add the below line to the scripts section in package.json. you can run with the command npm start
"scripts": {
    "start": "tsc index.ts && node index.js",
    "test": "echo \"Error: no test specified\" && exit 1"
 },
Let’s add a couple of routes and test it in the browser. express will use body-parser middleware to access request data from the post request. Look at the complete app.ts file for all the routes. initialize the user's array in the constructor and define all the routes in the routes method.
nodemon
At this moment, we have full rest API with 4 routes including default. one problem that we have right now is a manual restart of the server whenever we edit any file. let's add nodemon. it’s a tool which automatically detects file changes in your directory and restarts the server without any manual intervention.
This is a dev dependency means only necessary for development, so the flag — save-dev. add another line to the scripts section so that we can run with npm. It’s a little bit tricky to restart the server whenever there is a change. Install following dependencies and add nodemon.json file.
// for transpiling from ts to js
npm install ts-node --save-dev
// server restart whenever there is a change
npm install nodemon --save-devLook at the below package.json and nodemon.json for the complete setup.
run the below npm command and edit the file you can see changes instantly without restart of the server. it boosts your productivity.
npm run start:dev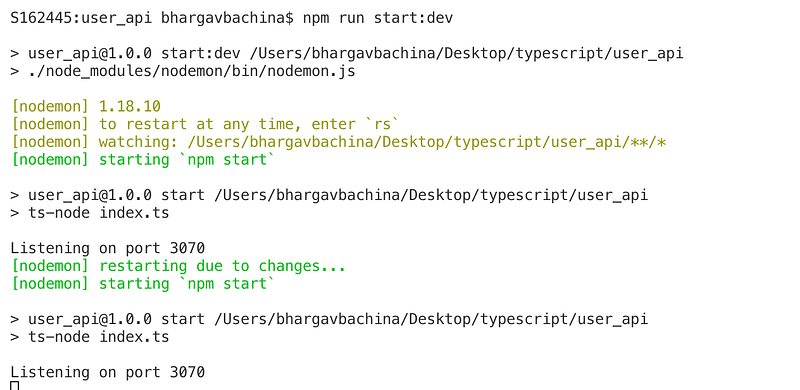
Logging
Let’s setup logging for our project. create a new folder called logger with a file called logger.ts. we can use any package like winston, log4js, but we are not using those for simplicity purpose.
create a Logger class and import it in every file like below by using es6 destructuring.
Now you can see the logging is done by the logger that we created once you replace all console.log statements. in this way, you can control all your app logging from one file. you can add any third party package into that file without changes across the app.
// use like this if you define with const
logger.info(`Listening on ${bind}`);
// use like this if you define in the constructor
this.logger.info("url:::::::"+req.url)
How to handle Undefined Routes
we defined default and three other routes in our service. Let’s handle undefined routes as well. what if the user tries to enter wrong one or misspell the route. Make sure you add this route as the last route. if you add this at the beginning all the routes will be redirected to this. Make sure you use express.use instead of express.get.
How to define Context Path
we don’t have any context path for our project, Let’s define it. Since it is an API, let's define “/api” for all the routes and also define sub context path for the user module which is “/user”.
after the below changes to all the files, path changes from http://localhost:3070/users to http://localhost:3070/api/user/users
// changes - create separate folder routes and two files under itmkdir routes
cd routes
touch routes.ts user.tsError Handling
coming soon!!
Linting your project
Let’s add tslint to our project. it’s very important to have linting for your project to maintain the same coding standards across your team. run following commands in a sequence
// installs tslint global so that you can use tslint
npm install -g tslint
//installs tslint for the project
npm install tslint -save-dev//it will create tslint.json
tslint --init//add these below to scripts section in package.json"tslint": "tslint --project tsconfig.json --config tslint.json",
"tslint-fix": "tslint --project tsconfig.json --config tslint.json --fix",Below are the files should be added before you run tslint.
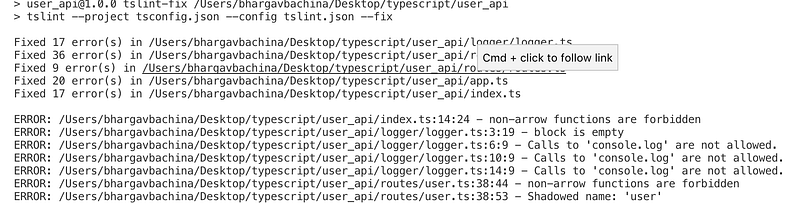
when you first run the below command you will have a lot of eslint errors you can easily fix all these with the second command
npm run tslint
npm run tslint-fix
with second command you can fix all the errors, if not fix it manually until you fix all the errors. warnings are fine.
final package.json looks like this.
Testing your project
coming soon!!
Production Phase
- webpack setup
- environment variables
- Dockerize the app
Webpack setup
once development is complete, we need to bundle our app and deploy into other environments like stage, uat and prod etc. Let’s add webpack to our project to bundle the entire app files into a single file.
install the following to setupp webpack
// install webpack global
npm install -g webpack
//install webpack and webpack-cli in the project
npm install webpack webpack-cli --save-dev// add below to scripts section in package.json
"build": "webpack"// install this dependency for transpiling ts to js
npm install ts-loader --save-devadd the webpack.config.js where you mention starting file and output directory and the target is important because our runtime environment is node. module is the section where you add loaders which are responsible for transpiling typescript to javascript.
when you run the below command webpack will build the entire project into single bundle file and place that in the target folder mentioned in the webpack.config.js
npm run build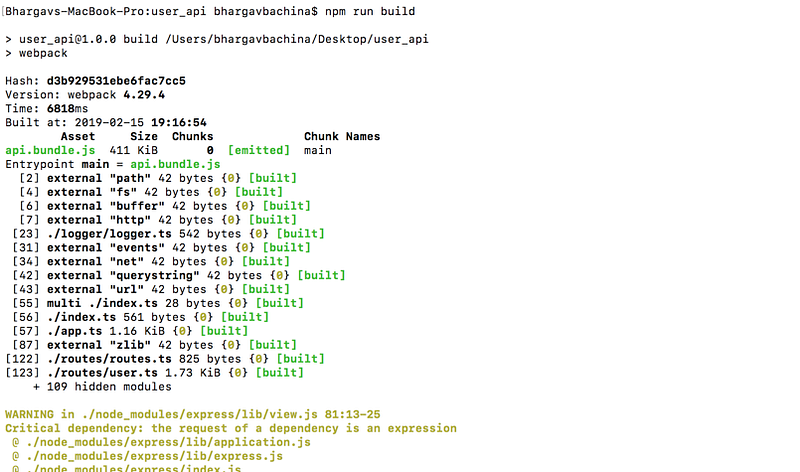
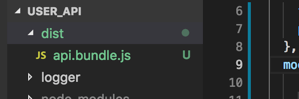
after the build complete, let's add the below npm script to the scripts section in the package.json and run the command
"prod": "node dist/api.bundle.js",npm run prod //run this in the terminal
Environment variables
coming soon!!
Dockerize the app
Let’s containerize this app. Below is the article about how to build the image and run the app in the container. have a look:)
Conclusion
I want to conclude with the following statement.
“if you have a chance, always use Typescript for your node.js project!!


