
Author tools
How to Write on Scrivener
A step-by-step guide

This article is meant as advice to fellow authors. It’s not an advert, and I’m not a paid affiliate! For more of my guides for writers, click here.
If you haven’t heard of Scrivener, you should speak to more authors. In my experience it is the most beloved piece of writing software out there.
Consider this quote by the co-authors of “Write, publish, repeat”:
All three of us would recommend Scrivener as our go-to writing software. Our second choices are likely all different, and so far behind Scrivener as not to matter at all.
Granted, that quote is from a few years ago, and there are other options on the market now (more on that later). But from my own perspective, I’ve been writing on Scrivener for over a decade, and it hasn’t let me down.
Ready to jump in?
Download
You don’t need to buy Scrivener straight away. You can instead download it, and make a decision after using the free trial for a month. I’d recommend that approach, as software is always going to be a personal preference.
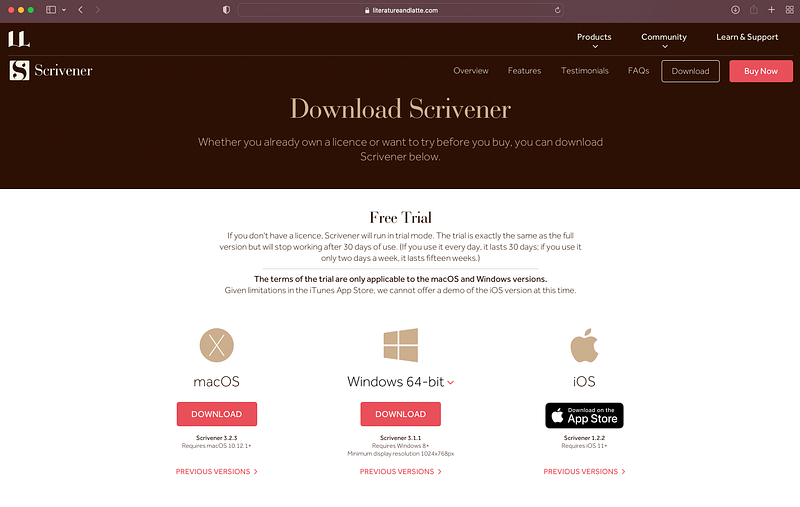
Head to literatureandlatte.com, or just Google “download Scrivener”, and you will find this page:
When you open the software, you should see the following launch page:
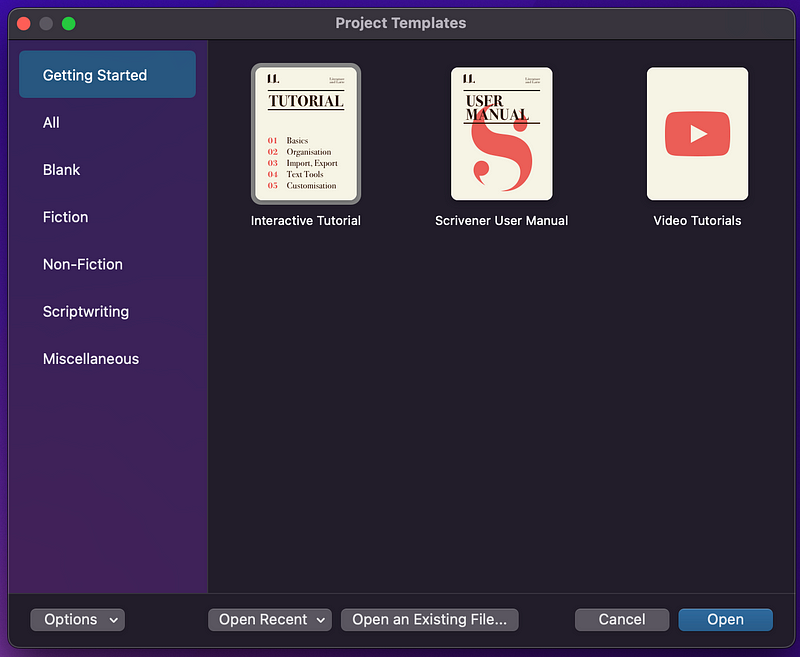
As you can see, the software includes an interactive tutorial that you can work through. I did this when I first started out. However, if you want a super quick-start version for authors (focusing on the features that I use every day), please read on!

First, select ‘blank project’ using the menu at the left. You can choose one of the templates (there are quite a few) and these are fun to mess around with, but personally I just want to write, and to set things up from scratch in the way that suits my project.
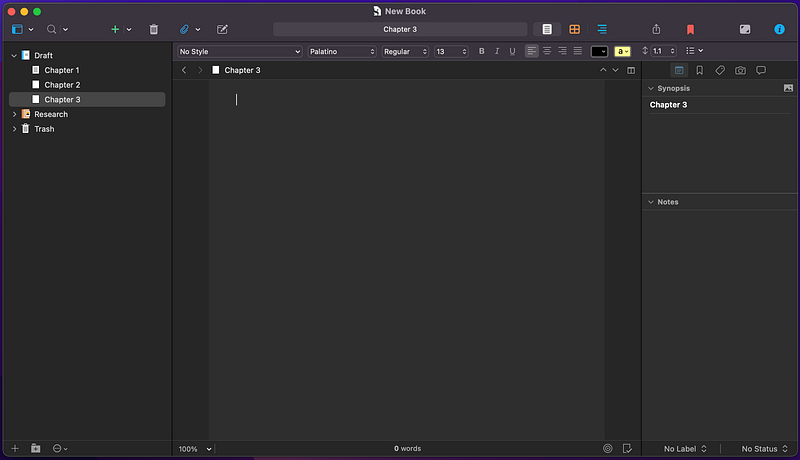
When your new blank project opens, you see something like the screen below.
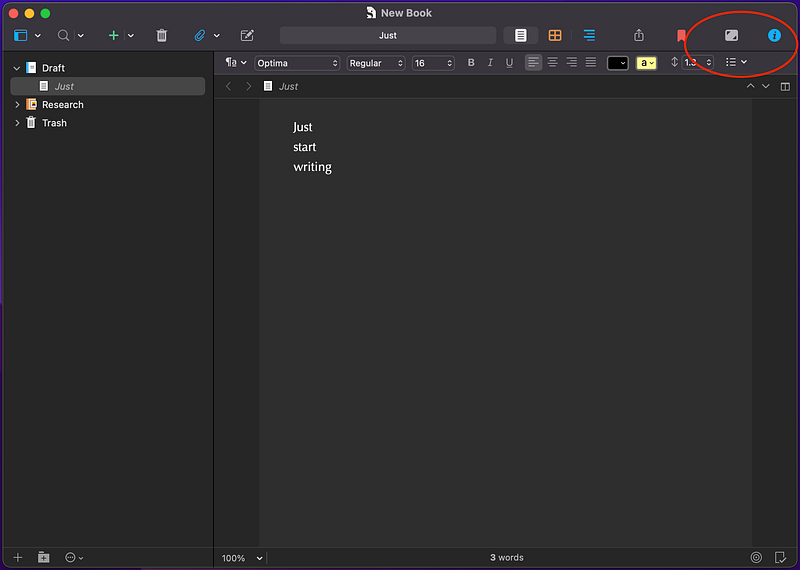
And you can just start writing. That’s the beauty of Scrivener — not much gets between you and the words. It’s a very fast and ‘light touch’ bit of software in terms of features. Besides the obvious things like font, size and spacing, there aren’t too many buttons to worry about.
There aren’t even pages, like you find on a word processor. Your file just continues as long as you need it!
It can also cope with pretty long files without lagging. Some of my Scrivener documents contain a million words or more. And you can paste in images if you like.
A few key features
There are some features that I consider essential, however. Check out the two icons that I’ve circled in the top right of the previous screenshot.
The first of these, composition mode, hides all of the buttons and menus, and zooms in on your current text document in full screen. I love this for writing sprints! You can easily adjust things like the width of the text, too, or even make it semi-transparent so you can still see your desktop (though why would anyone want that??).
Next, the ‘i’ icon at the top right opens up information about your currently selected text, and this is actually pretty useful, especially as it allows you to take planning notes alongside a piece of writing. The screenshot below shows what it looks like when you click that button, and I honestly use the notes box all the time. More on the synopsis button in a moment!
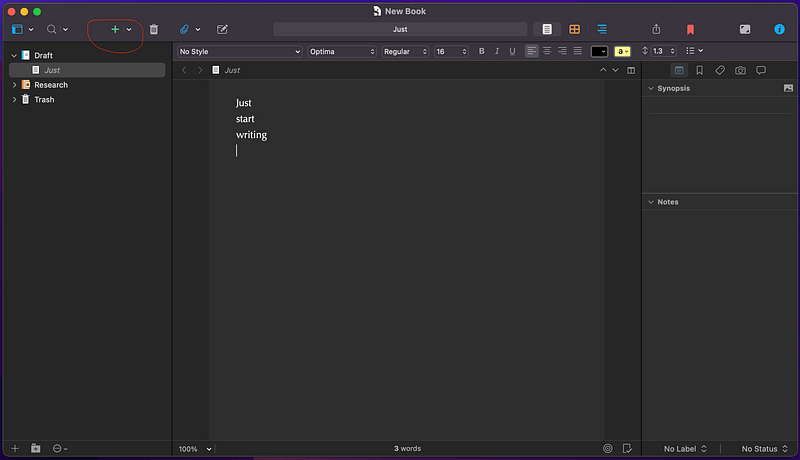
The text that is currently showing is listed in the bar on the left, under ‘draft’. As a title, it defaults to the first line of text, as you can see. It’s super easy to add more text documents, or to put them into folders — just use the + button circled in the image above.
I tend to add a new text document for each chapter, though when my wife is writing on Scrivener she often sticks to a single document and divides the story into chapters later. It’s a personal choice. If you do add a few chapters, then the tab on the left starts to look like this:
It is of course very easy to switch between the text documents by just clicking on them. Honestly, this was one of the best attractions that Scrivener held for me at the beginning — organisation was just so much easier than saving chapters in multiple Word files!
But there are a couple more great features to know about…
Manipulating multiple text files
If you select all of your chapters, you should see something like this:
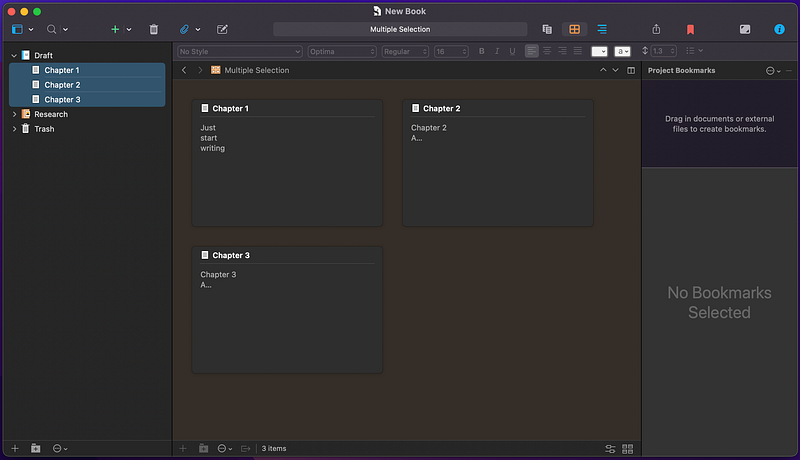
This is one of the really nice features of Scrivener as a novelist— it’s really easy to move files around and reorganise your story.
It’s great for planning.
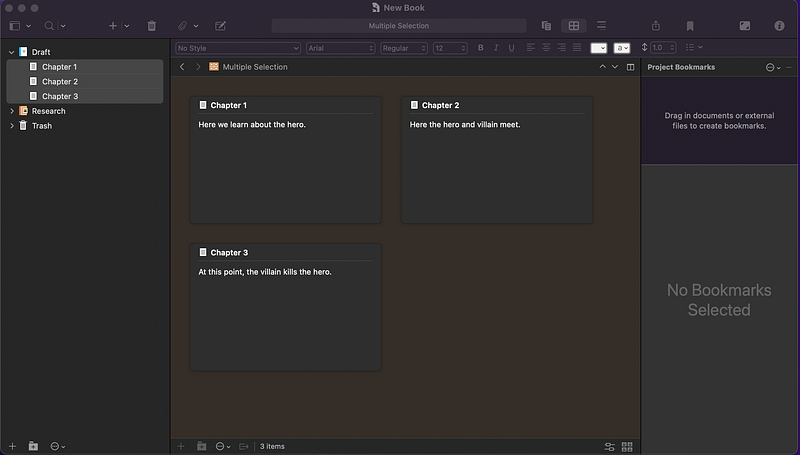
The default, as you can see, is to show snippets of each text. But remember those synopsis notes that I mentioned? You can type summaries into those, and it will display them in this corkboard mode instead. Here’s an example of how that might look (this would be a short novel, right? 😆):
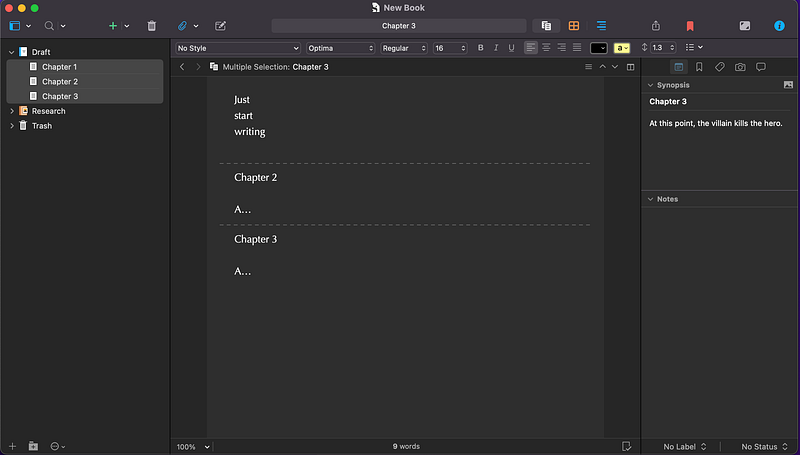
Another alternative that I actually use more often is what’s called scrivenings mode. Here, if you select two or more texts/chapters in the same way, they are displayed as one big file with a dashed line between them, as shown below.
The synopsis now shows on the right again, and which one is shown depends on where your cursor is in the combined document (chapter 3, in the example below), making it easy to find these and your notes, too.
I tend to leave the ‘scrivenings’ view selected most of the time, as I just find that I use it more often. When several chapters are selected, you can also use the usual keyboard shortcuts, for example ‘command F’ (or whatever) to ‘find’ a particular bit of text in any of the files, such as a character name. Really handy!
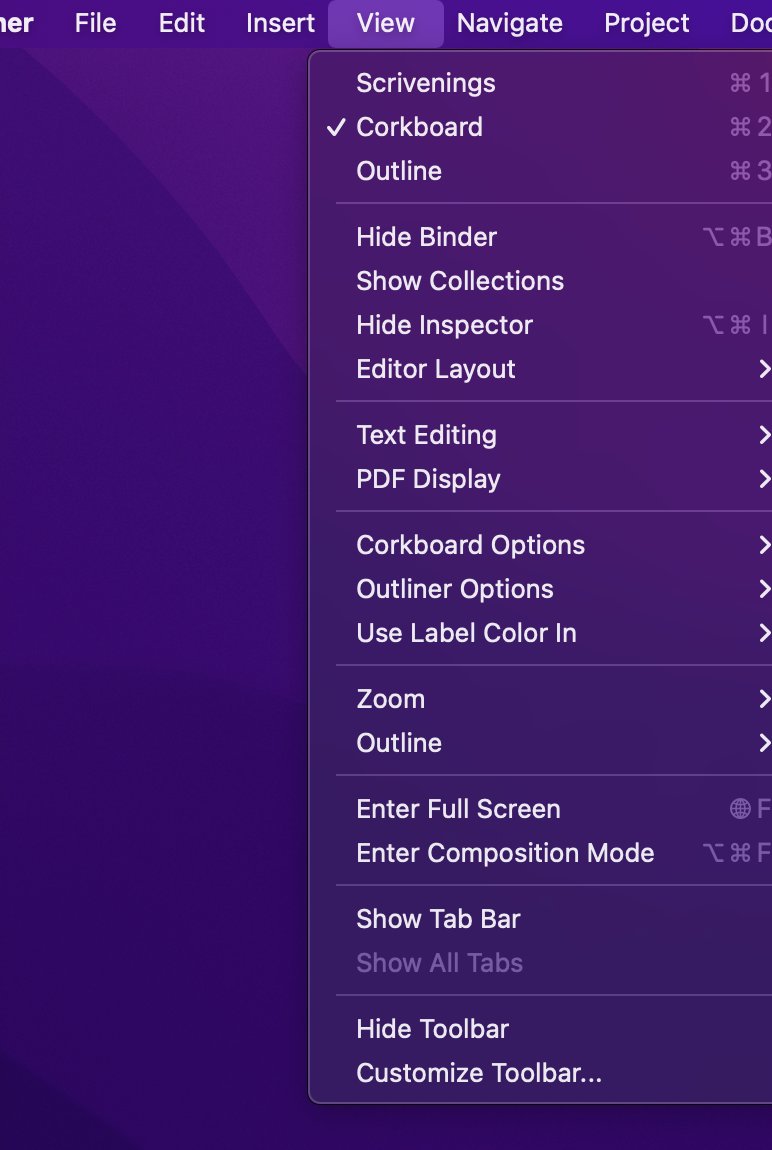
To activate the scrivenings view, just go to view in the menu at the top of your screen, then click on it instead of corkboard (which is the default when you open the software):
There are a bunch of other features in Scrivener, but that will probably do to get started. As I mentioned, those are the ones that I use most often. A big advantage of the software is its simplicity, so why over-complicate things?
Next step
Scrivener is fast and responsive software that lets you ‘just write’ without worrying about things like layout or pages.
However, when it comes to turning your work into a book, this can be a disadvantage — it doesn’t show how things will look on the final printed page. For this reason, I only use Scrivener to do my initial first or second draft, and then usually switch to something else.
After the text for an ebook is almost ready, I typically switch to Reedsy. It’s a site with many services for authors (read what it can offer here), and their free typesetting software is ideal for final edits and proofreading. Check out my article about it here:
As I mentioned at the start, there isn’t much available yet that would tempt me away from Scrivener, but there are more options than used to be the case. I am keeping an eye on Atticus, software that seems to combine many of the advantages of Scrivener and Reedsy into one:
For now, though, Scrivener is working for me — and for loads of other authors that I know! And although I have mainly used it for creative writing, it is just as suitable for non-fiction, academic writing, and more.
If you try it out, please let me know how it goes in the comments. And good luck with your writing.
Psst… you can find my fiction and poetry here, as well as my articles about creativity writing and author skills right here. Or simplify things by just getting all my posts direct to your inbox. Do that here! 🧠 Thank you! 🌟


