How To Work With VS Code And Virtual Environments In Python
A walk-through example of how to work with Python Virtual Environments in VS Code

We have provided examples of how to work with conda environments. In this post, we will provide you a walk-through example of how to work with VS Code and virtual environments.
Why working with Virtual Environments
When we work on a Data Science project, which can include a Flask API, it is better to have full control over the libraries used in the project. Moreover, it is more efficient to work with the necessary only libraries. This is because with the virtual environments, the project is reproducible, and we will need to install only the required libraries as stated in the requirements.txt. Finally, it is less risky to mess with your other projects when you work with virtual environments.
Create a Project Environment
For this example, we call our project “venv_example“, and we have created a folder with the same name. Within this folder, we can create a virtual environment called “myvenv” by running the following command:

# Linux
sudo apt-get install python3-venv    # If needed
python3 -m venv myvenv
# macOS
python3 -m venv myvenv# Windows
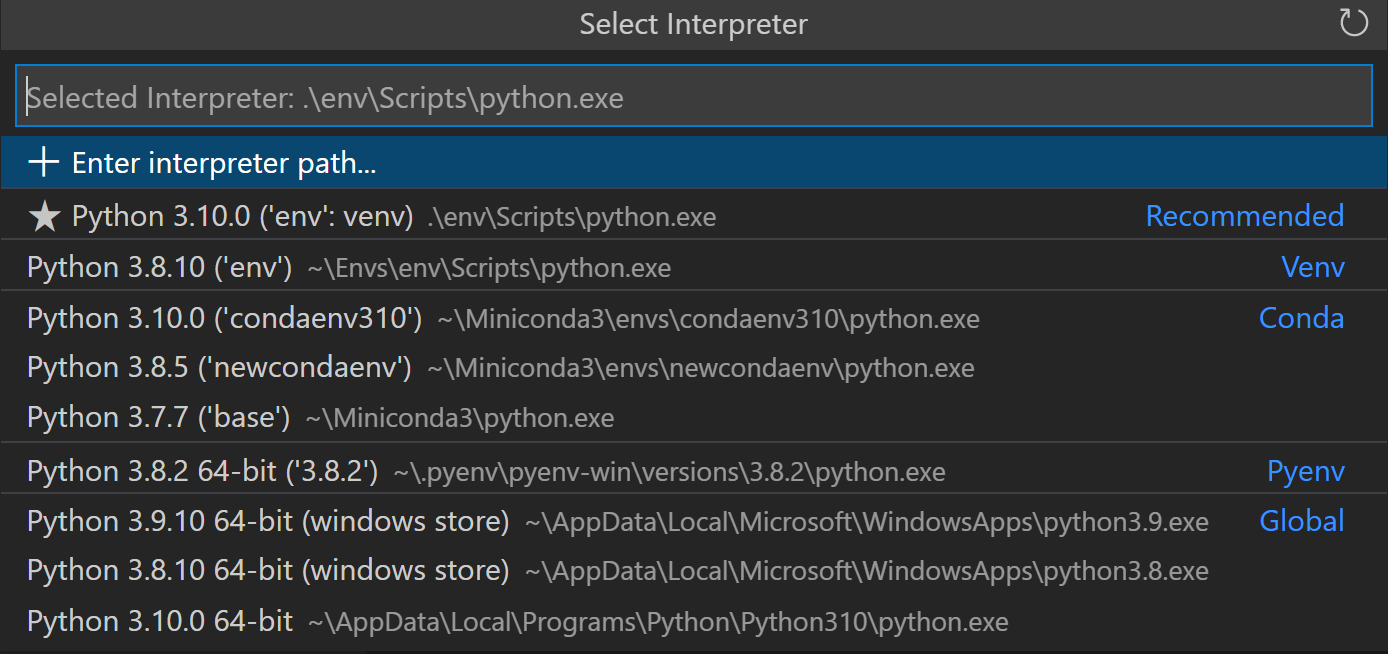
python -m venv myvenvThen, we can open the folder “venv_example” from the VS Code using the File > Open Folder command. Then In VS Code, open the Command Palette (View > Command Palette or (Ctrl+Shift+P)). Then, select the Python: Select Interpreter command and then the environment that we created “myenv“:


Then run Terminal: Create New Terminal (Ctrl+Shift+`)) from the Command Palette, that opens a new python terminal and in parallel it activates the virtual environment.

Confirm that that new environment is selected (Hint: look at the blue status bar at the bottom of the VS code) and then update the pip in the virtual environment:
python -m pip install --upgrade pip
Finally, let’s install the pandas and flask libraries.
python -m pip install flask
python -m pip install pandas
Create a requirement.txt file
Using the pip freeze command we can generate the requirement.txt file based on the libraries that we installed in our virtual environment.
In the terminal of the activated virtual environment, we can run:
pip freeze > requirements.txt

As we can see, in our folder, there is the requirements.txt file as well as the myenv folder. Now, anyone can create the same environment by running the pip install -r requirements.txt command to reinstall the packages.
Another way to activate the environment is by running source myvenv/bin/activate (Linux/macOS) or myvenv\Scripts\Activate.ps1 (Windows).
How to Delete the Environment
In case that you want to remove the environment, you can simply run:
rm -rf myvenv
Originally posted on Predictive Hacks