
How To Use the HTML Canvas Element to Make Awesome Stuff (Part 1)
Creating your canvas and drawing on it

This tutorial is going to be long so I will cut it into two parts for organization. Part One will focus on creating your canvas and drawing on it. Part two will dive into how to animate the canvas.
Part 1. Creating Your Canvas and Drawing on the Canvas
This week is project week at Flatiron School and in my current module, our focus has been on JavaScript, particularly how to make API fetches to a Rails back end and manipulating the DOM.
In trying to figure out what I wanted to do for my project, I found myself exploring what I can do with the HTML5 Canvas element to possibly make a fun game.
What Is Canvas?
Canvas is an HTML element that, when injected into the body of your HTML, is used to draw graphics onto your web page.
The canvas tag is only a container for holding the graphics you want to create or manipulate within it. To fully build out your graphics, you are going to want to use Javascript.
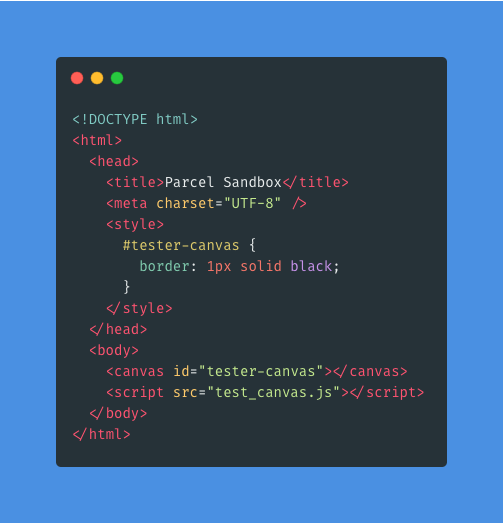
I have created a project folder and within it, I have added a file named index.html. In this index.html, I have inserted the canvas element.
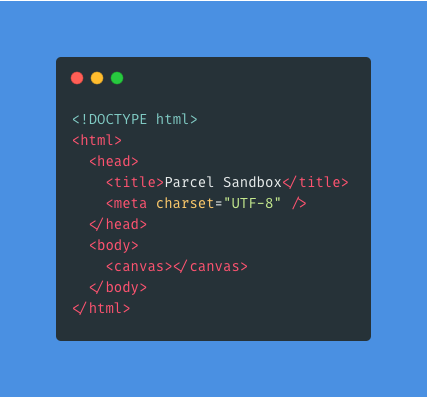
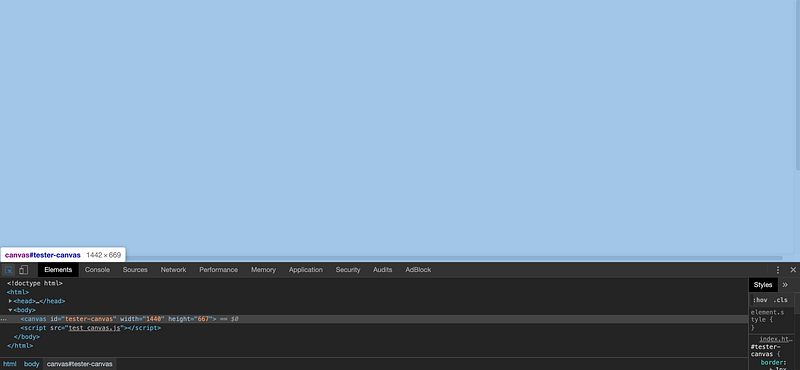
The canvas tag starts as a blank area on your HTML page. You will not see anything yet, but it is there. If you open up index.html in your browser and open up the inspector window, you will see that there is a canvas on the page.
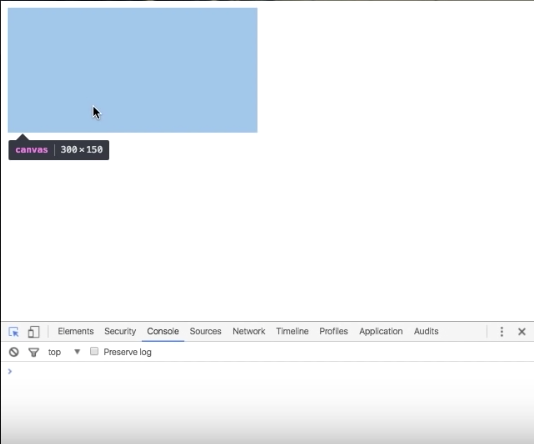
It is not until you add details to your canvas element, such as width and height, that you will start to see your creation come to life.
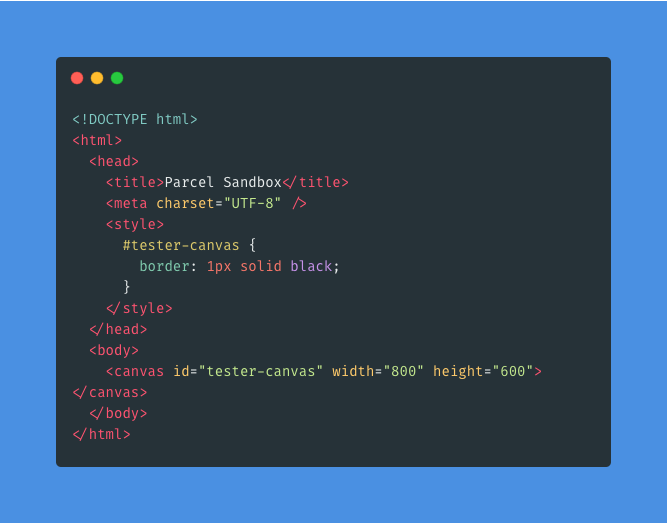
Here, I added an id to the canvas tag called tester-canvas, a width of 800 and a height of 600.
The height and width set the size of my canvas and the id will allow me to pick that particular canvas so that I can add a style tag in the head of the index.html.
That will allow me to edit and add attributes to that canvas such as border thickness, color, etc. I have added a 1px solid black border.
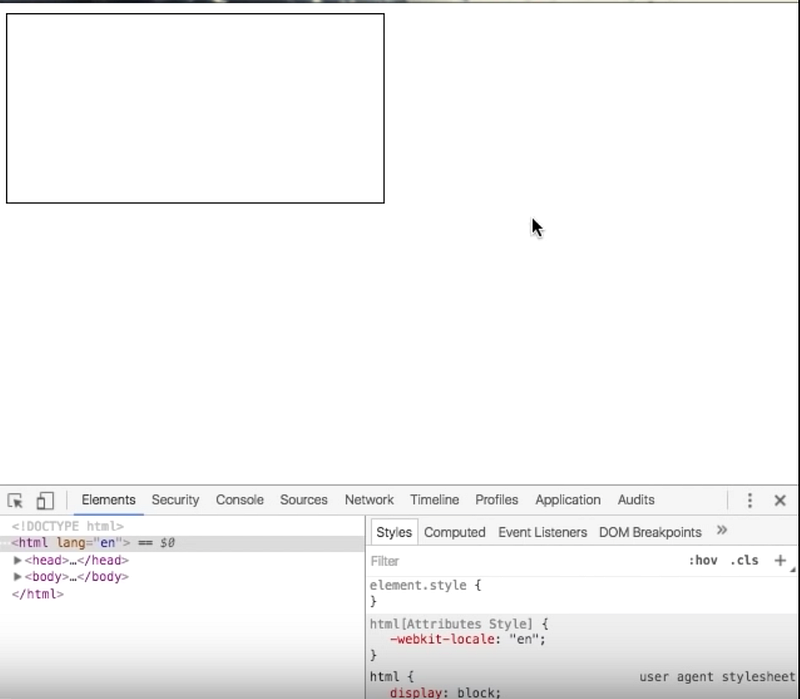
However, I want to make sure that my canvas takes up the whole page of the window because I want my design to fit the whole screen. However, it is up to you on what size you want for your canvas.
Since I want to make sure that my canvas fits the entire browser window rather than just the small rectangle I currently have, I am going to use JavaScript to do this. The reason being is that I will have access to the window object.
To do this, I have created a test_canvas.js file that is in the same directory as my index.html for easy organization.
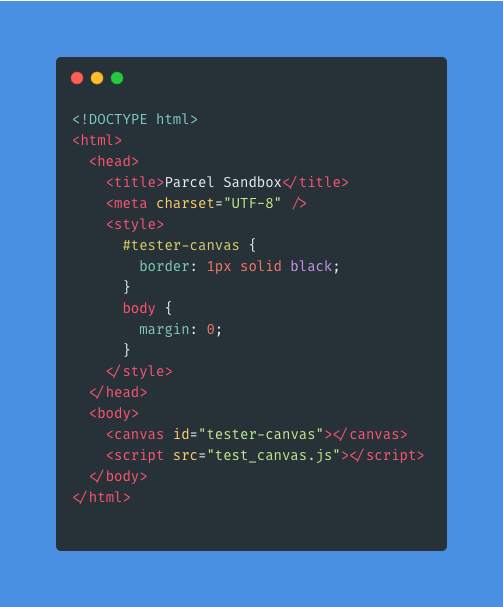
I have added a script tag into the body of my index.html file that has my test-canvas.js file as the source. This way, any functions or methods I use in my JavaScript file will have access to what is in my index.html file and be seen in the browser.
I have deleted the width and height of my canvas which were previously inside the canvas tag.
Inside of my test_canvas.js file, I need to first find my canvas element. I gave my canvas element an id when I added it to my HTML. This way, I can use document.querySelector() or getElementByID() to grab that particular element and save it to a variable.
This is helpful if you intend to have multiple canvases in your HTML file and want to have different styling options for those canvases.
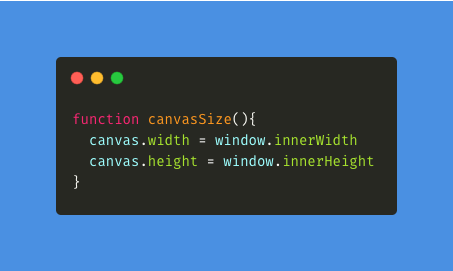
I am also going to set my canvas’ width and height to the window object’s width and height in a function called canvasSize.
I will also set the HTML’s body margin equal to 0.
This is how you can create a canvas as well as size or resize your canvas.
Now, while this is great and all, the whole point is to make stuff with our canvas and to do that, we are going to have to draw on it. This is where the fun stuff starts!
How To Draw on Your Canvas
To get started drawing on our canvas, we are going to use the .getContext() method. The .getContext() method will allow you to draw on your canvas in a variety of different ways and gives you access to various functions and methods to draw things such as circles, squares, and other shapes.
Check out the documentation for .getContext() on MDN to see what context types you can use. For simplicity’s sake, I am going to use the 2d context type. A method I can use because of .getContext() is .fillRect() and it takes four arguments:
x: The x-axis coordinate of the rectangle’s starting point.y: The y-axis coordinate of the rectangle’s starting point.width: The rectangle’s width. Positive values are to the right, and negative to the left.height: The rectangle’s height. Positive values are down, and negative is up.
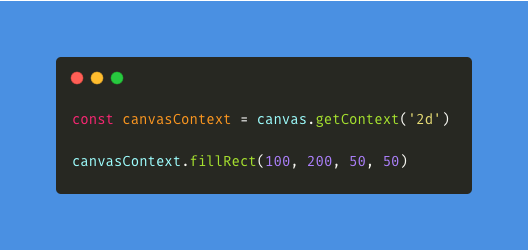
.fillRect() will do exactly as the name implies. It will fill in our rectangle so that we can see it on the browser. I am going to create a variable called canvasContext and assign it to our canvas variable with .getContext() and an argument of 2d.
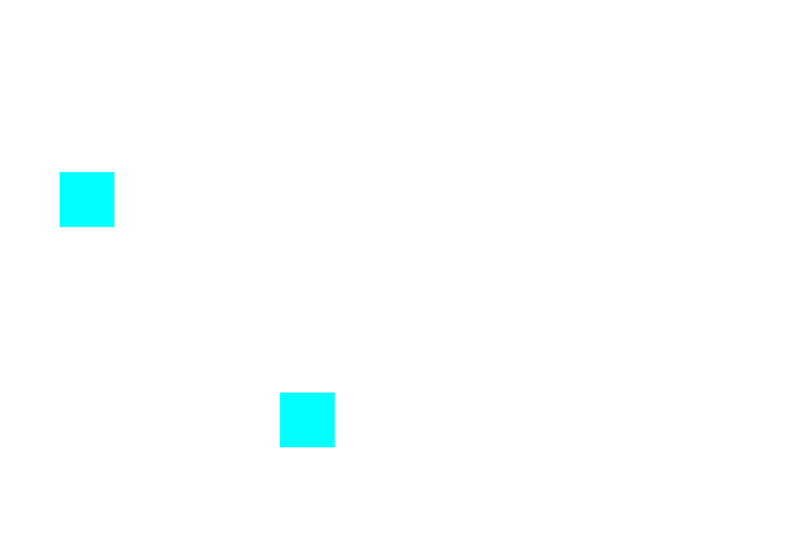
Then, on the canvasContext variable, I will use the .fillRect() method. This will make two rectangles.
You might be asking yourself: “OK, great. I have this shape, but how can I customize it?”
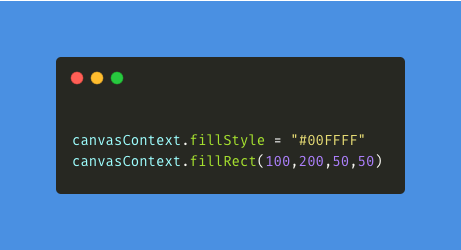
One way we can do this is through the .fillStyle property. The fillStyle property will assign a solid color, a gradient, or a pattern on your shape. I encourage you to play around with changing the colors.
Note: The shape that you make will take on the .fillStyle property that precedes it. That’s why I have it before each .fillRect() method.

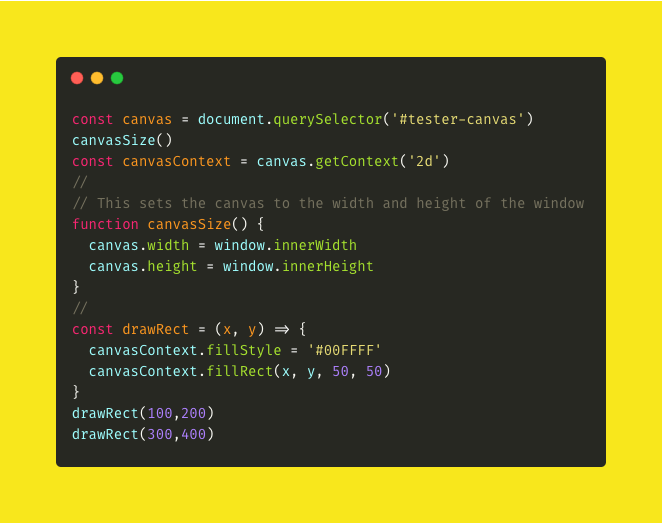
To make the drawing of our shape more dynamic, I have added parameters to a function I created, called drawRect.
drawRect takes two arguments, x and y, and they will allow me to add in my own coordinates for the .fillRect() method when I call the function.
This is great because it allows me to just invoke the function itself rather than rewrite code every time we need to make a new rectangle. You can add a third argument to this function that will let you add in a color.
Conclusion
In part two, I am going to insert circles into our design. I will be using a JavaScript for-loop to implement this.
If you are not familiar with how to use a for-loop check this out the documentation on MDN.
I will show you how to animate those circles, in addition to the rectangle and square we have currently, with the animate method.