
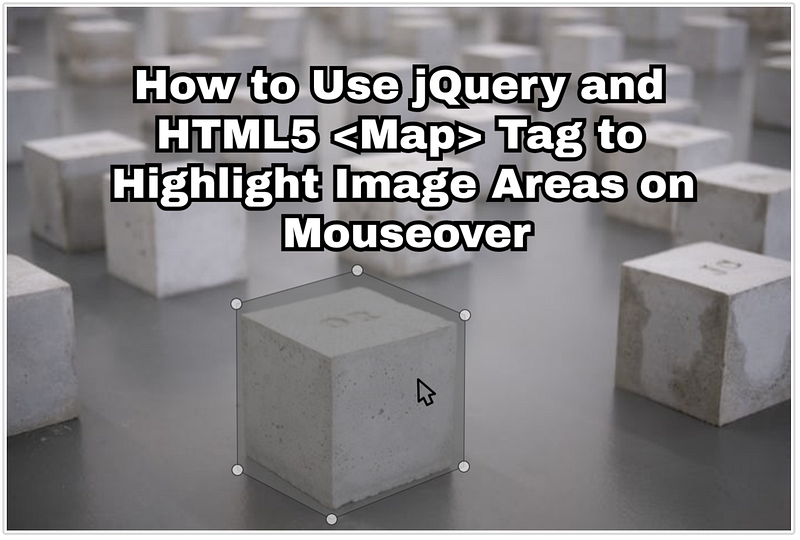
How to Highlight Image Areas on Mouseover with jQuery and HTML5
Simple Responsive Image Techniques to Improve UX/UI
This is a step-by-step article where I will demonstrate how to use jQuery and HTML5
Step 1: Find an Image
You can use any image that you would like.
If you want to follow along, you can use this sample image of our world.

Step 2: Map the Coordinates
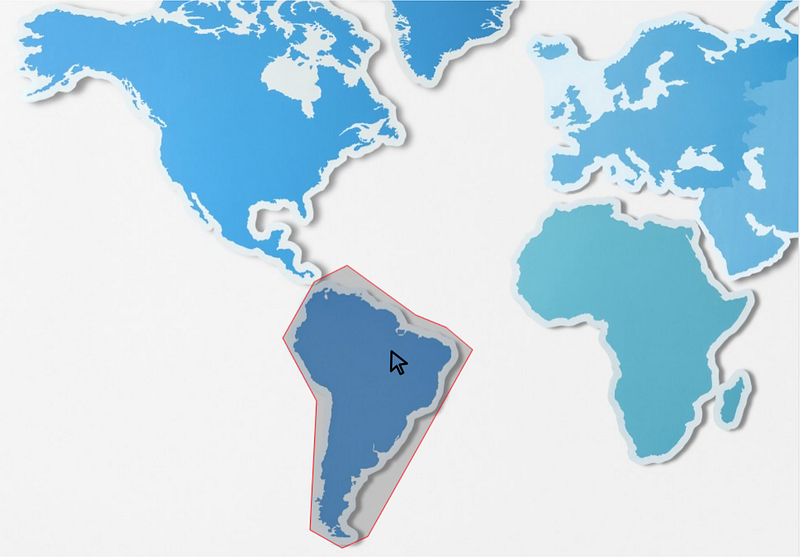
An Image Map is an image with clickable areas.
Technically speaking, HTML5 image maps are client-side and are made by defining each of the areas in terms of their x and y coordinates
Using the Image Map Generator, we can easily upload our image, select which areas we want, and auto generate our HTML code.
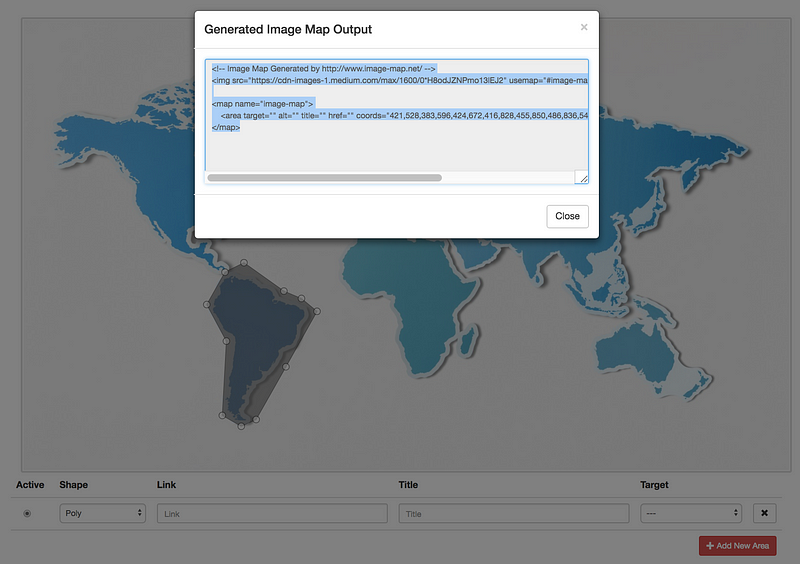
As we can see above, I used the Poly shape to select South America. You can also use circle and rectangle.
Now that we have our image and map coordinates, the next step is to put it in a code editor and add some Javascript for the mouseover affect.
Step 3: Apply jQuery
Using codepen as our online HTML/CSS/JS editor, we can paste our code in the HTML section.
<img src="https://cdn-images-1.readmedium.com/max/1600/0*H8odJZNPmo13lEJ2" usemap="#image-map"><map name="image-map">
<area target="" alt="" title="" href="" coords="421,528,383,596,424,672,416,828,455,850,486,836,548,726,613,610,581,583,544,568,461,508" shape="poly">
</map>The next step is to import two javascript libraries: jQuery and Maphilight.
<script src="https://ajax.googleapis.com/ajax/libs/jquery/3.3.1/jquery.min.js"></script>
<script type="text/javascript" src="https://cdnjs.cloudflare.com/ajax/libs/maphilight/1.4.0/jquery.maphilight.min.js"></script>
Following Maphilight’s documentation, we are going to use their function:
$(function() {
    $('.map').maphilight();
});
Since we are targeting every object with the map class, we need to update our img object to include the map class.
<img src="https://cdn-images-1.readmedium.com/max/1600/0*H8odJZNPmo13lEJ2" usemap="#image-map" class="map">That’s it!
MapHilight + HTML5 <Map> for the Win!
Highlighting images on mouseover is one of the cool features that you can do with HTML5 and jQuery. It’s possible to also change the color of the highlight and to add a link to direct the user to a different part of your webpage.
Try giving maphilight a shot! If you have another way of doing this or you have any problems with examples above, just drop a comment below to let me know.
Thanks for reading — and please follow me here for more interesting software engineering articles!


