
Natural Language Processing
How to Use Amazon Textract to Read Invoices and Receipts
Getting started with AWS and Amazon Textract.

Today, we will venture out into the AWS world and have a little fun with Amazon Textract. We’ll take a scanned image of an invoice and extract information from it. Mainly, we will:
- Create an AWS User
- Install the AWS CLI
- Install and configure the AWS SDK
- Upload to S3
- Code!
Most of the code used was derived from the Amazon Textract Developer Guide. It can be found here:
If you’d like to follow along with the same files that I used, check out the project repo on my Github.
Let’s dig in!
1. Create an AWS User
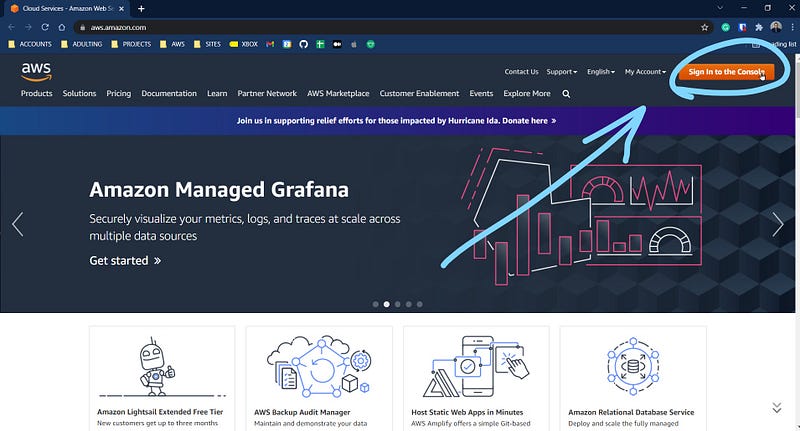
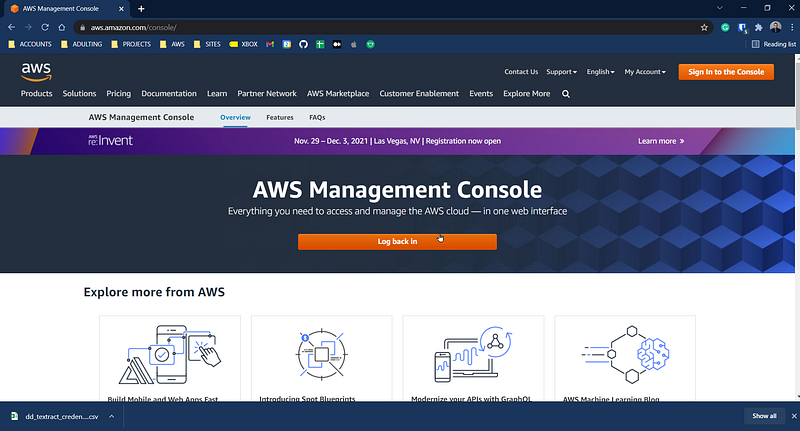
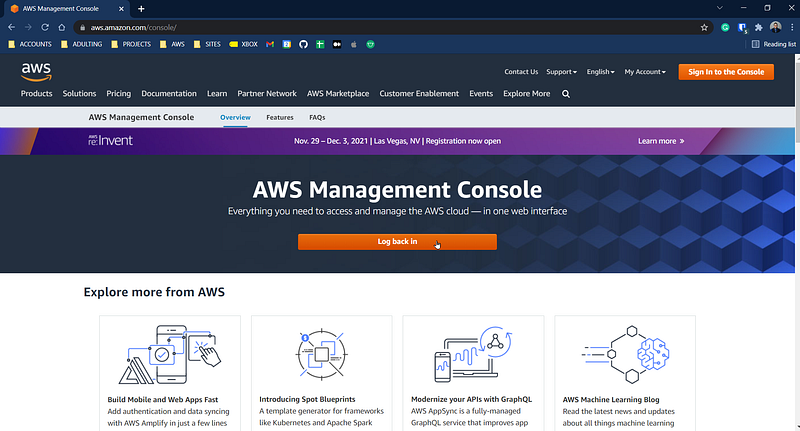
First, go to https://aws.amazon.com/console/ and click on the orange button on the top right corner of the screen to log in.
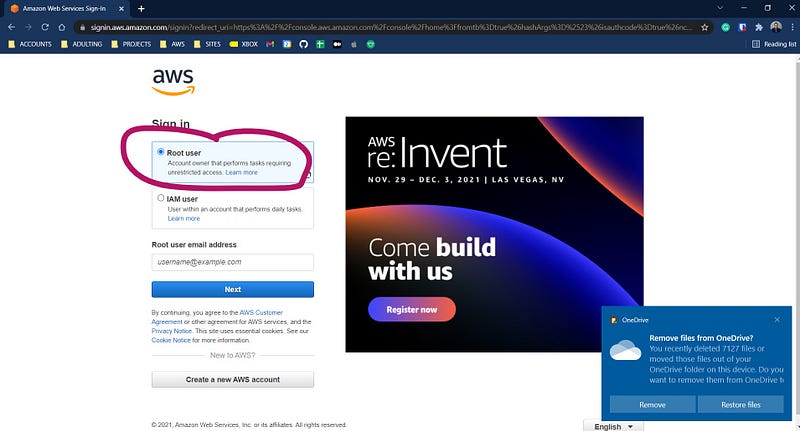
Next, sign in using the “Root user” option.
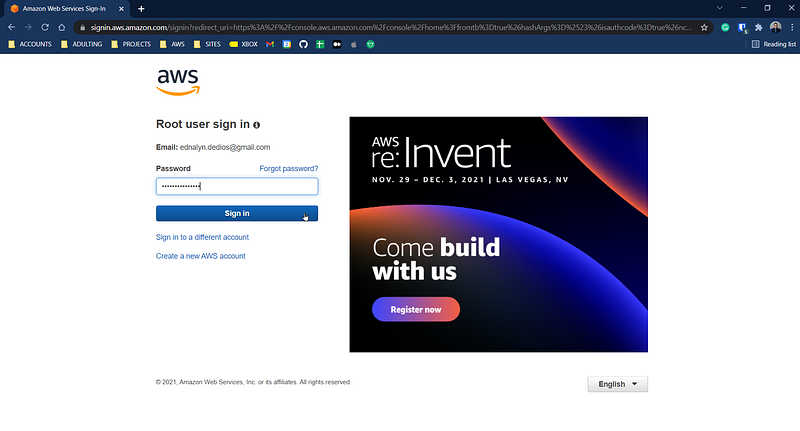
Enter your password.
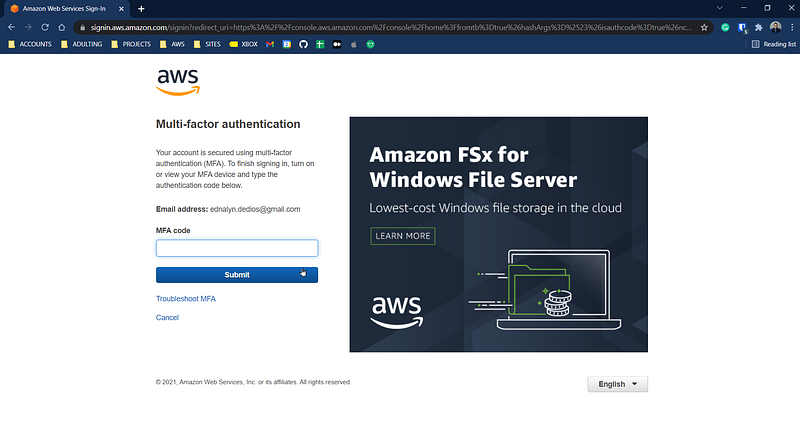
Enter your MFA if you have it activated already.
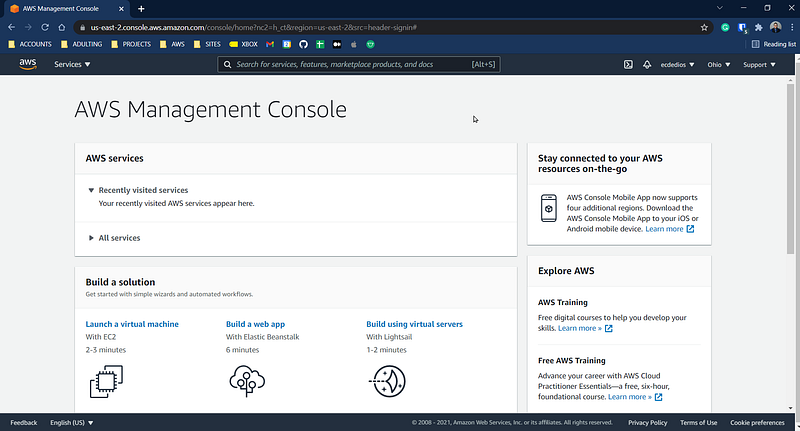
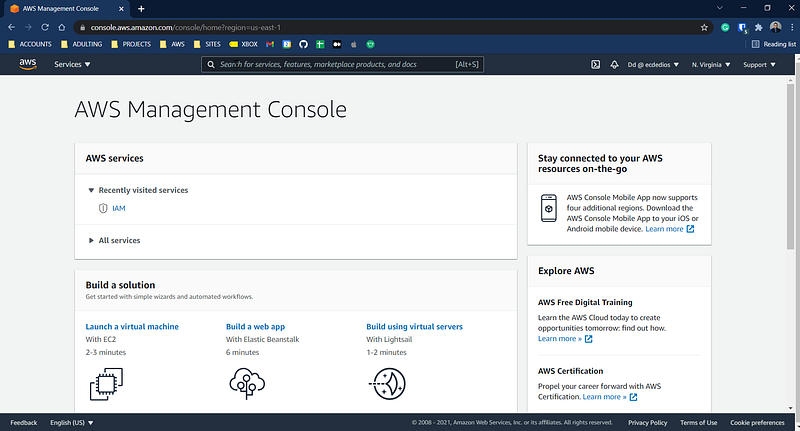
You will land on the AWS Management Console home page, where you’ll see recently visited services.
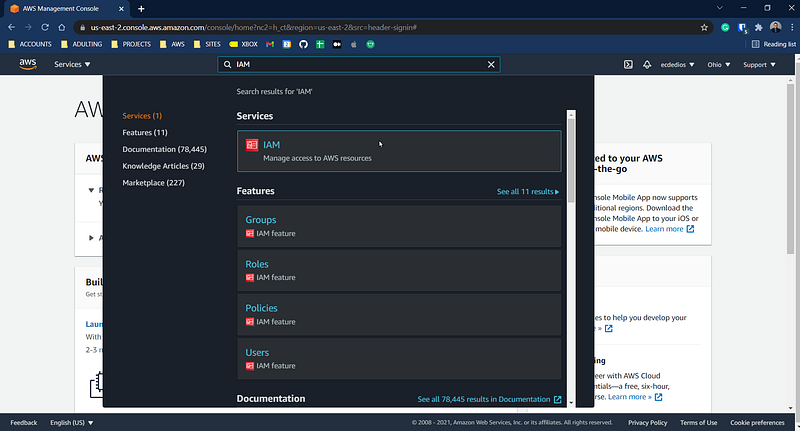
Find the search bar on top of the screen and type in “IAM” to show a drop-down of available AWS services. Click on the one that says “IAM”.
Your browser will then display the IAM dashboard. Find “Users” on the left side of the page and click on it.
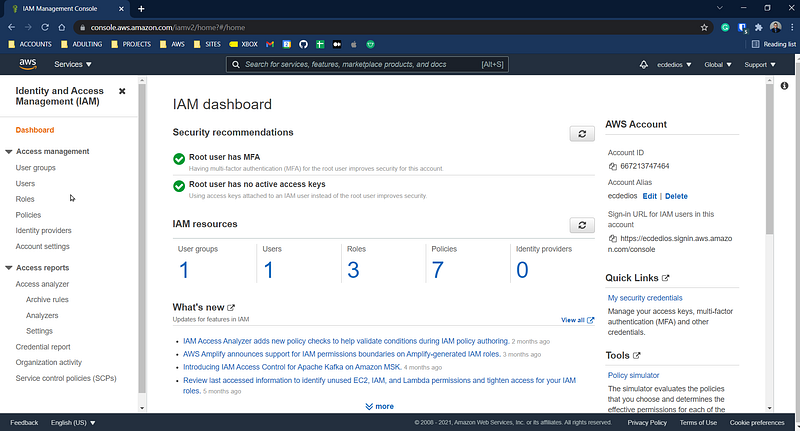
Click the blue button on the top right of the screen to “Add users”.

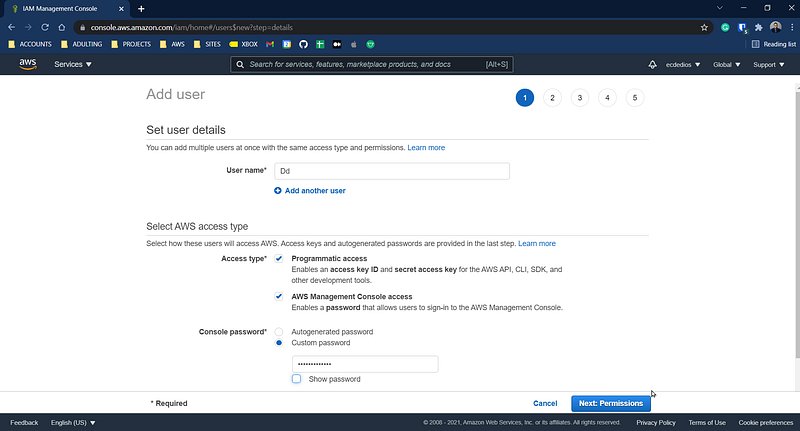
Fill out the username, check “Programmatic access” and “AWS Management Console access” and set the password. Then, click “Next: Permissions”.
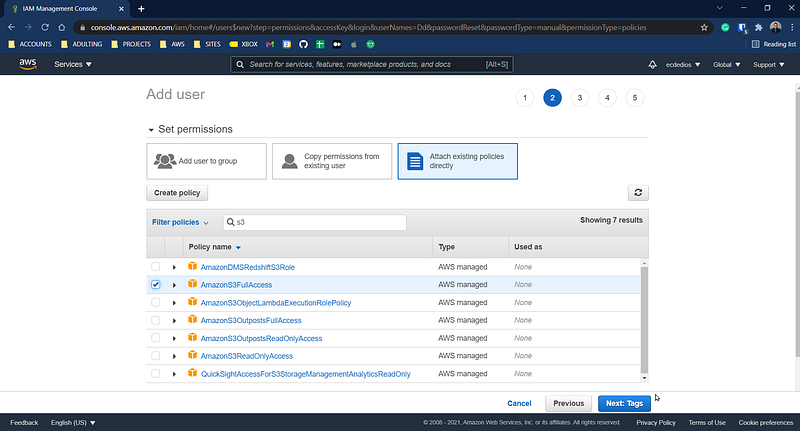
Click on the “Attach existing policies directly” box.
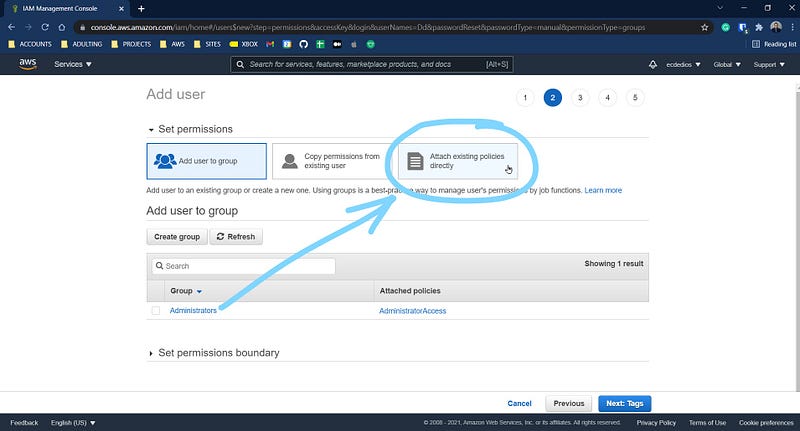
Your screen should look like the screenshot below. Click “Next”.
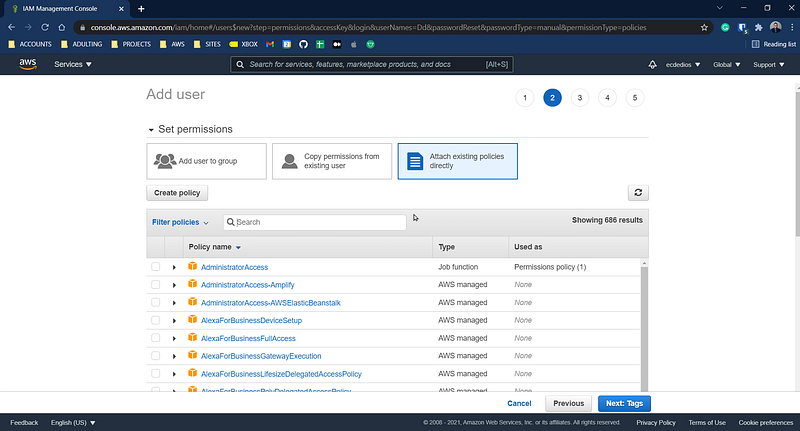
Find the search box in the middle of the screen and type in “textract”.
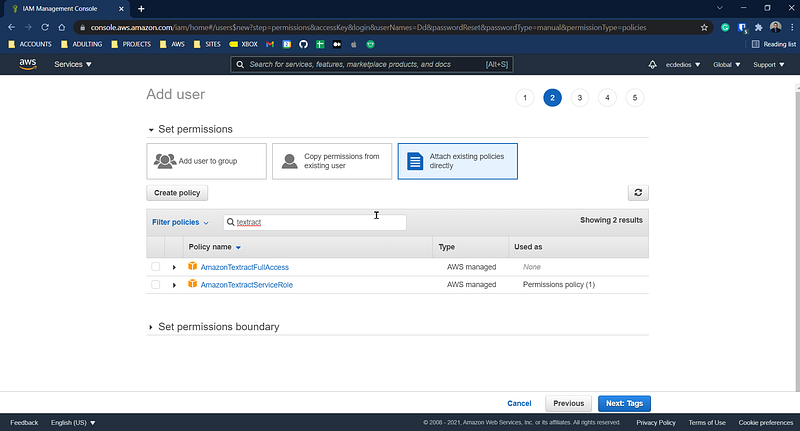
Find “AmazonTextractFullAccess” and click the checkbox to the left.
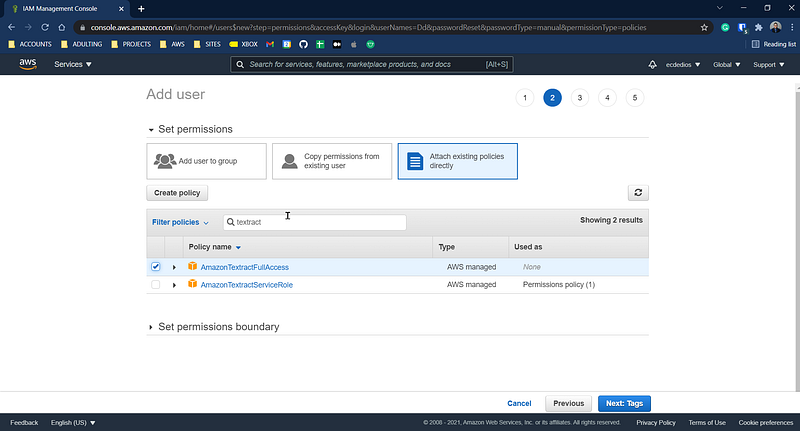
Next, type in “s3” on the search bar.

Find “AmazonS3FullAccess” and click on the checkbox to the left. Then, click “Next: Tags”.
Adding tags is optional. Click “Next: Review”.

Click on the “Create user” button at the bottom of the page.
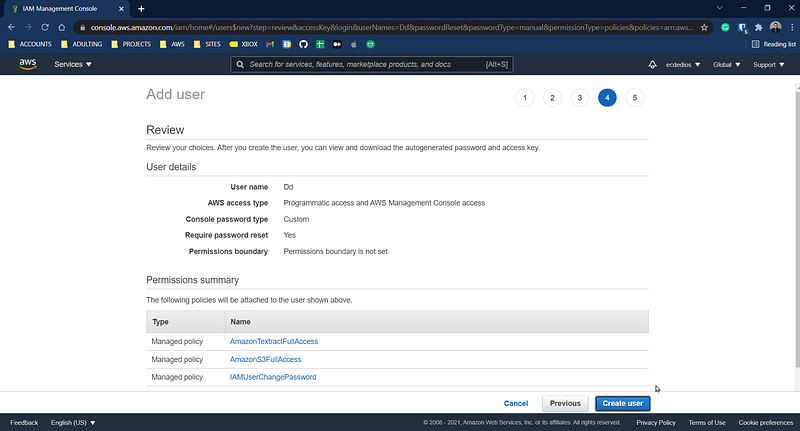
You should see something similar below:
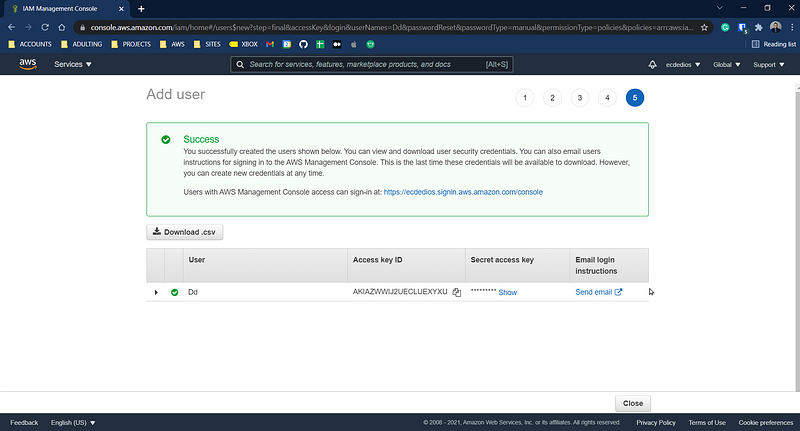
Very important!!! Click on “Download .csv” and save the file in a safe place. Make sure you take note of where you saved it. Where’s going to need the information inside later.
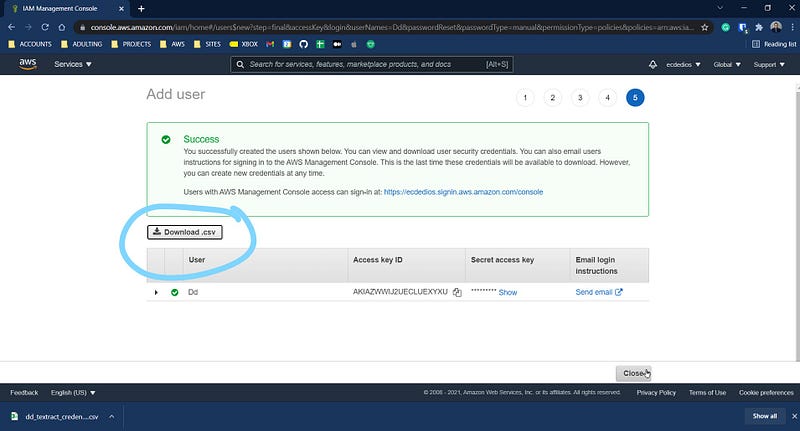
And voila! You should get a screen confirming that a new user has been created.
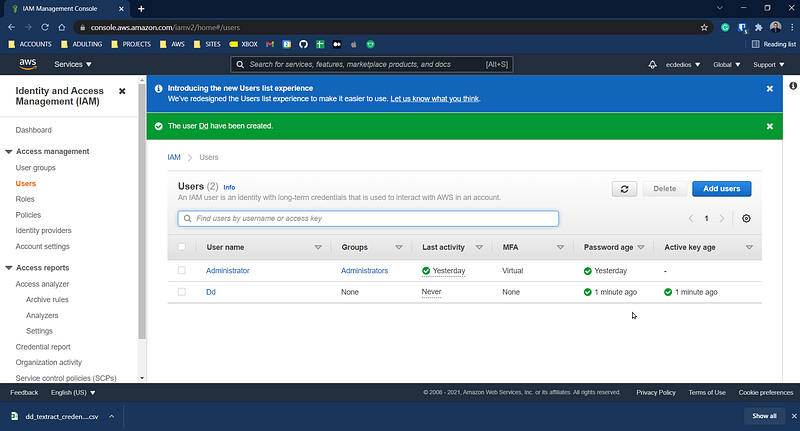
On the top right of the screen, find the name of your account alias (mine is ecdedios) and click on it to display a drop-down. Finally, click on “Sign Out”.

Click on “Log back in”.
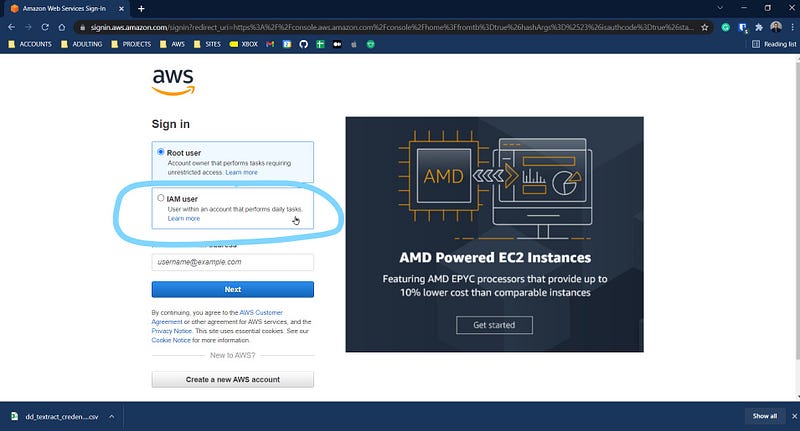
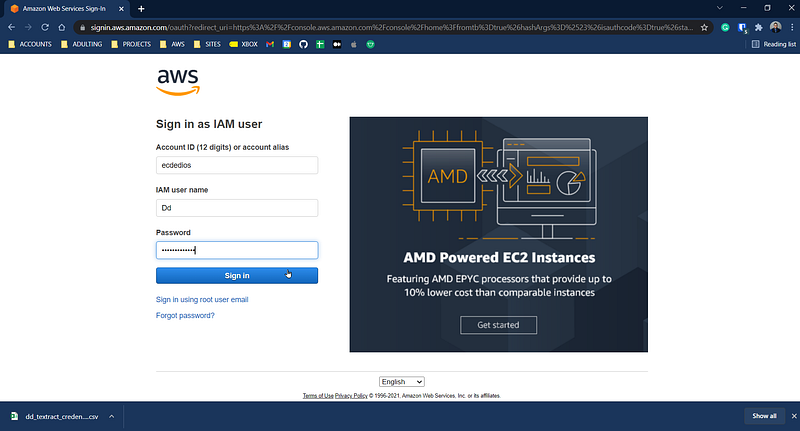
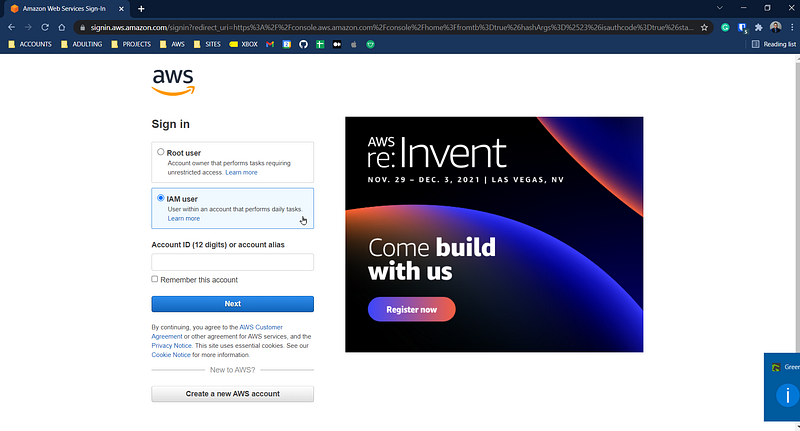
This time around, click on “IAM user” instead of the “Root user”.
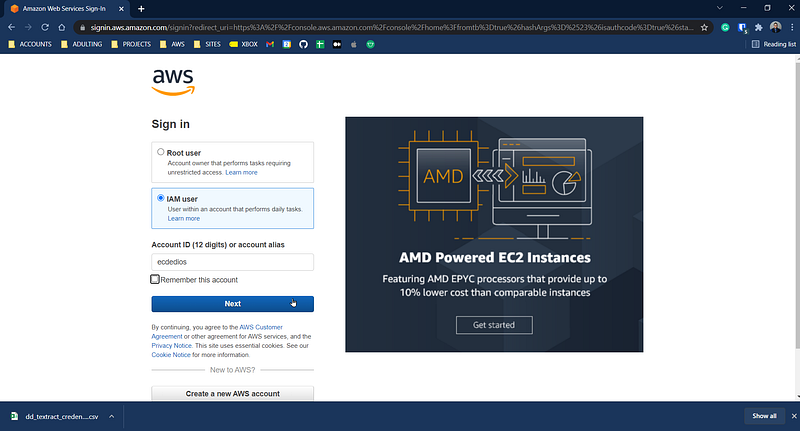
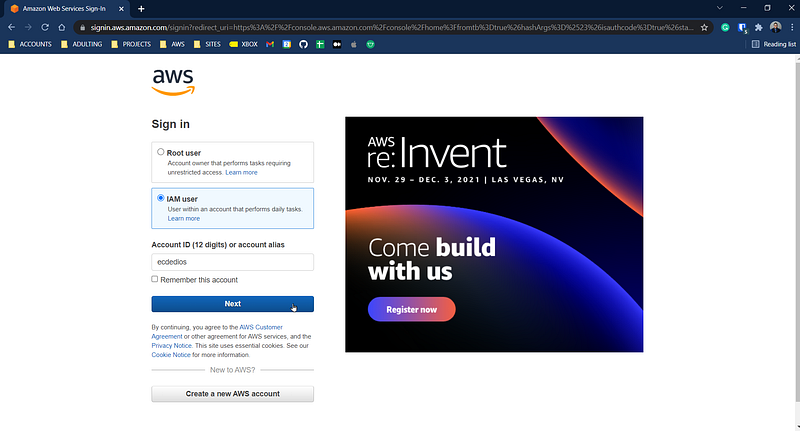
Type in your account alias and click on the “Next” button.
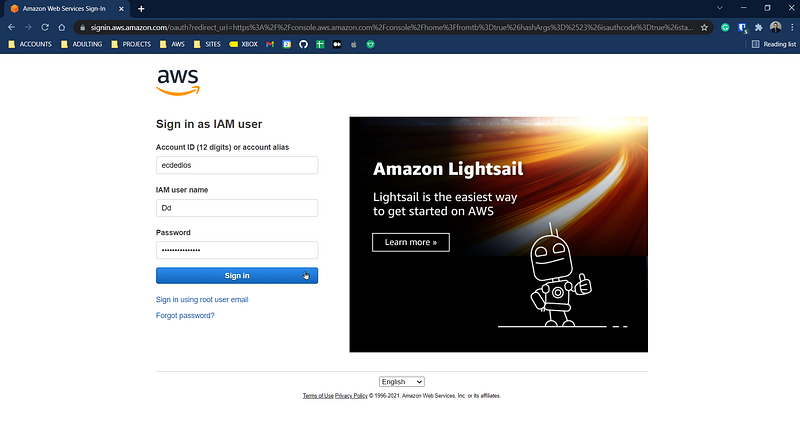
Type in the IAM user name that you just created and fill in the password. Click on “Sign in”.
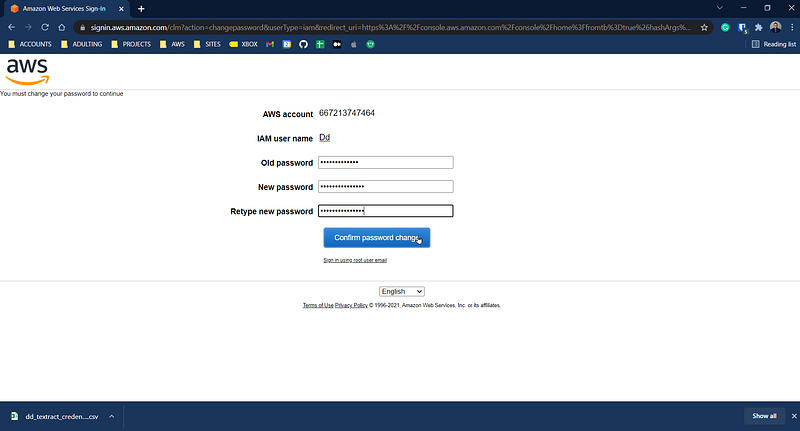
Change the password if it prompts you. Otherwise, we’re done with this particular step.
2. Install the AWS CLI
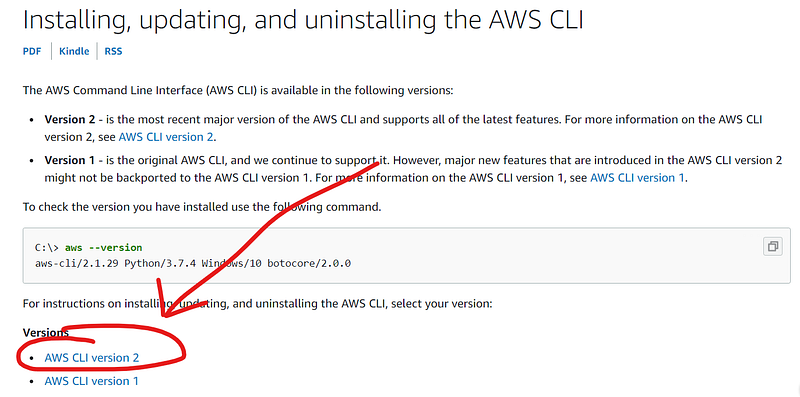
To download AWS’ command-line interface, go to https://docs.aws.amazon.com/cli/latest/userguide/cli-chap-install.html.
For this exercise, I used AWS CLI version 2.
On the next page, find your operating system and click on it. For example, I clicked on “Windows”.
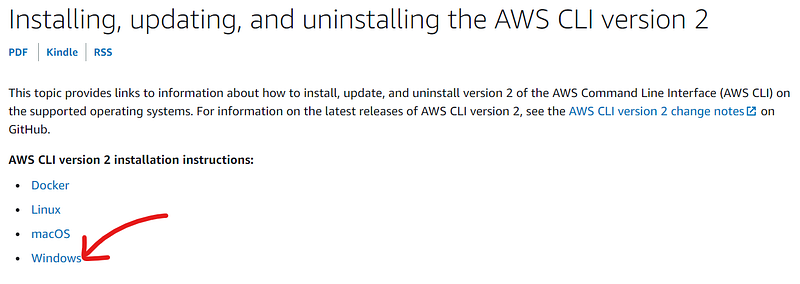
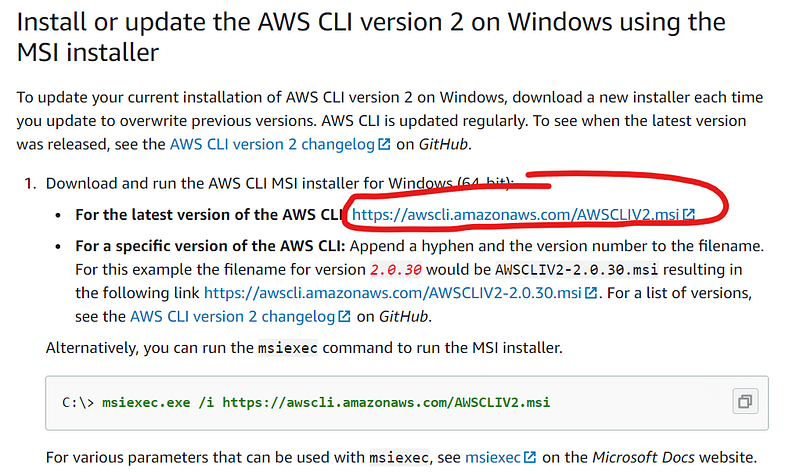
Look for the link that will let you download the latest version and click on it.
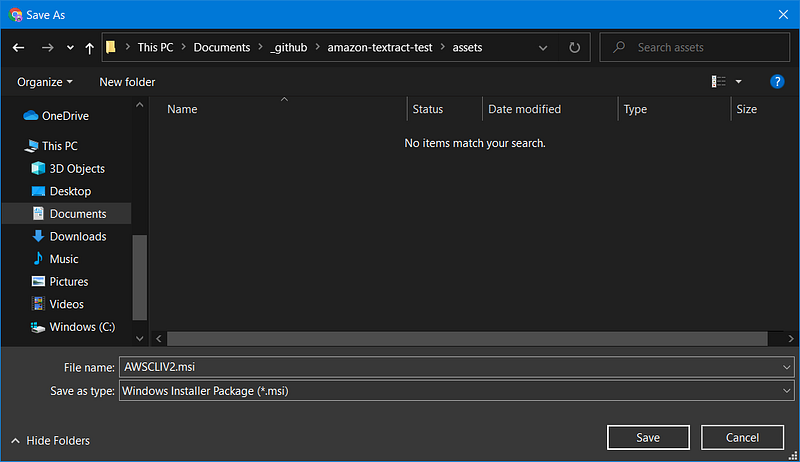
It should then open up a “Save As” dialog box. Save the file somewhere.
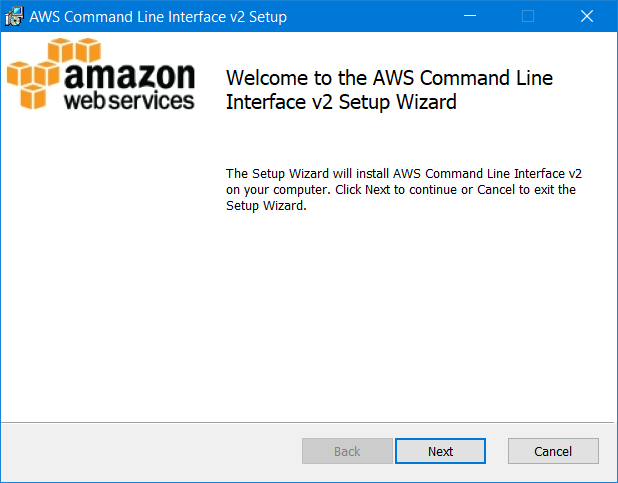
Find the file that you just downloaded and double-click on it to start the installer. Click next on the window that pops up.
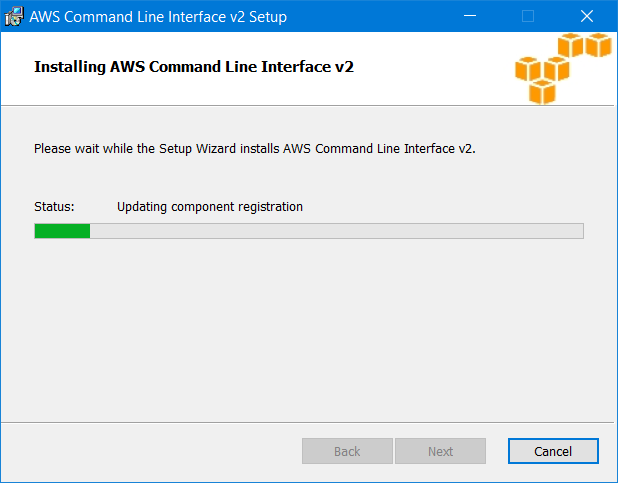
You should see something similar below.
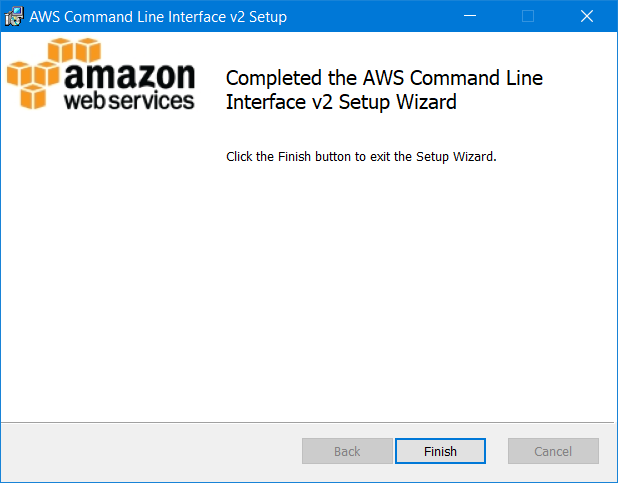
When it’s done, you’ll see a confirmation on the installation window. Next, click on the “Finish” button.
Next, let’s make sure it installed properly.
Fire up your terminal and type in the following line:
aws --version
And that’s all for this step.
3. Install and Configure the AWS SDK for Python (Boto3)
For this step, we will install and configure the AWS SDK for Python.
If you’d like to know more Boto3, check out its documentation:
Fire up a terminal and type in the following line:
pip install boto3Let the script do its thing.
When finished, let’s go ahead and configure it by typing the following line:
aws configure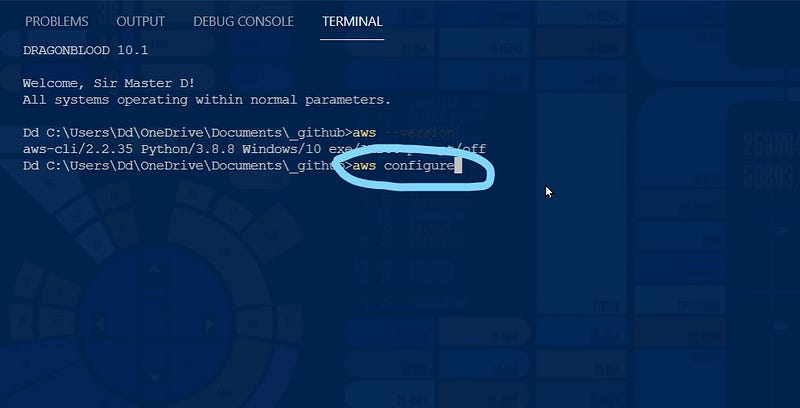
It will prompt you for your credentials. First, find the file that you downloaded from Step 1 (Create an AWS User).
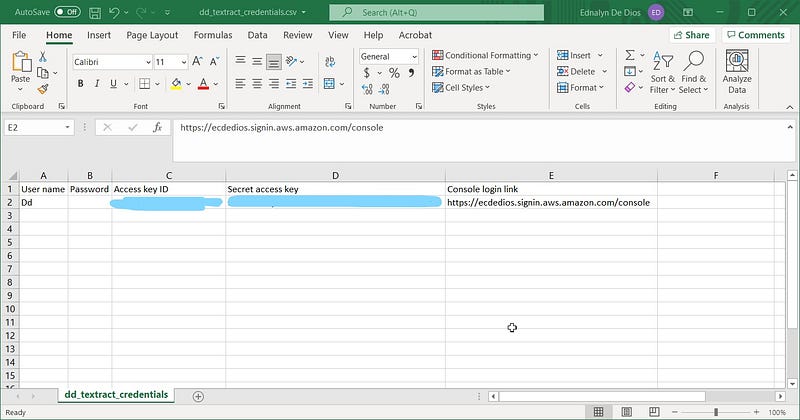
Copy and paste the “Access key ID” and then the “Secret access key” when prompted. You’ve got to hit the enter key after pasting each one. Next, type in your preferred region when prompted for the “Default region name”.

Don’t enter anything when prompted for the “Default output format”. Hit enter key again.
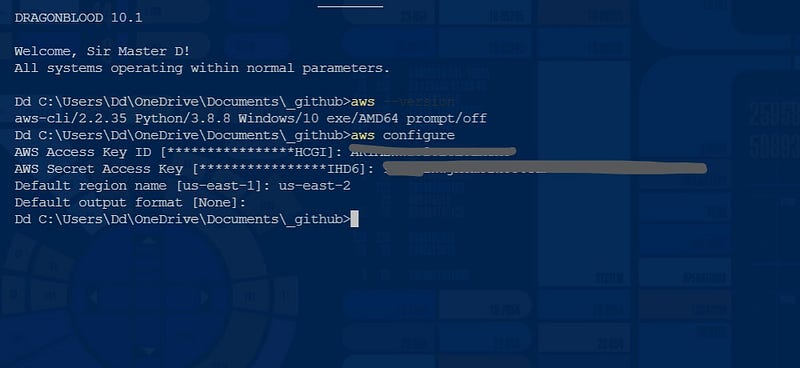
And that’s it! We’re now ready to communicate with AWS in Python.
4. Uploading to S3
For this step, we will upload an image file to an S3 bucket. We will be using this image as our input document and ask Amazon Textract to read it.
Let’s log back into the AWS console.
Click on IAM user.

Type in your account alias.
Click on “Next” to proceed.
Type in your user (not root) credentials that you created from Step 1.
At this point, you should see the AWS Management Console.
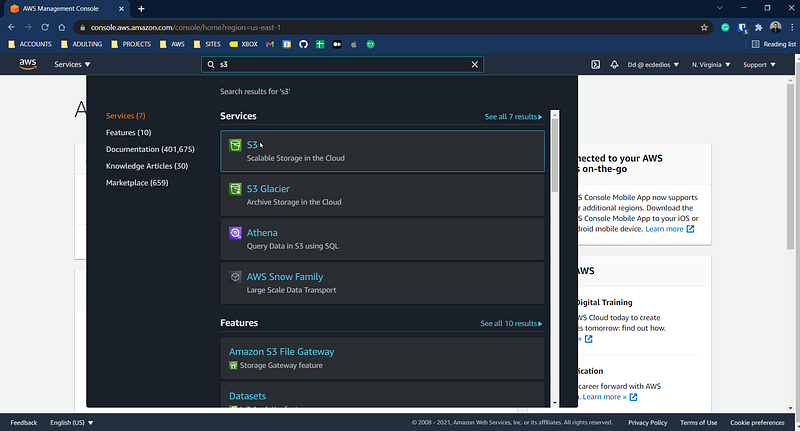
Find the search bar on top of the page and type “S3”. Next, select the “S3” under Services as shown below.
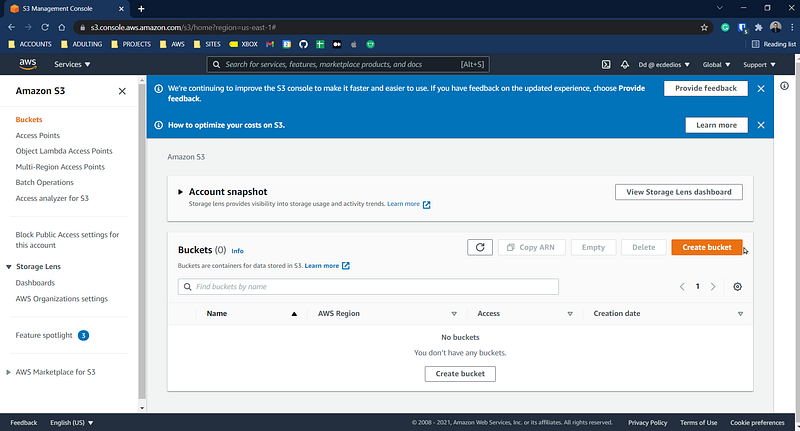
Find the orange button to “Create bucket”. A bucket is like a folder. We will save (upload) files inside it.
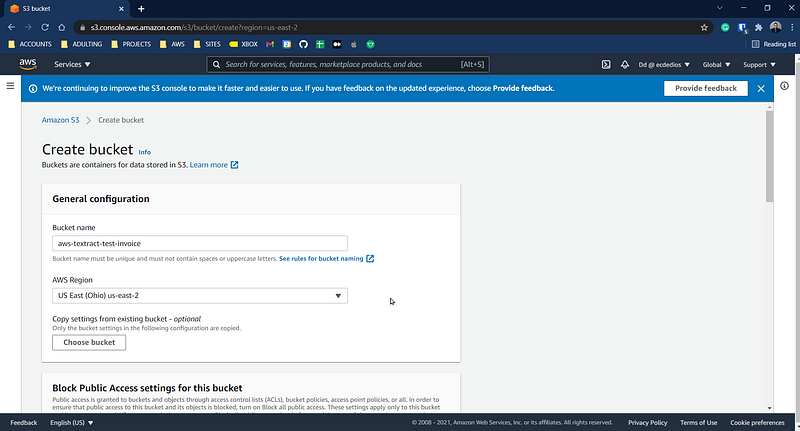
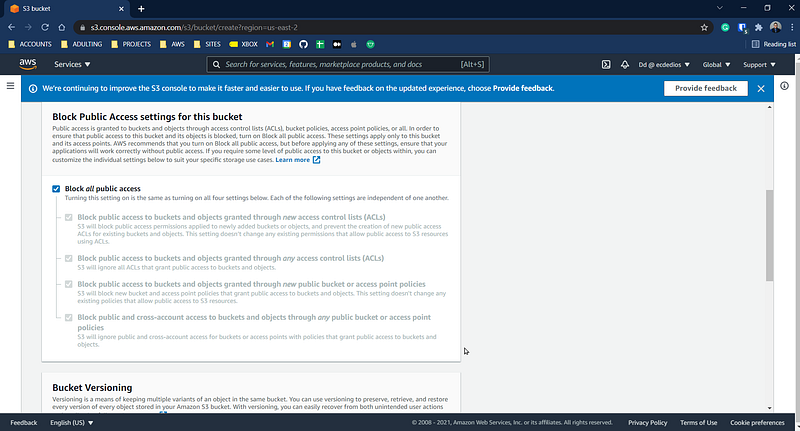
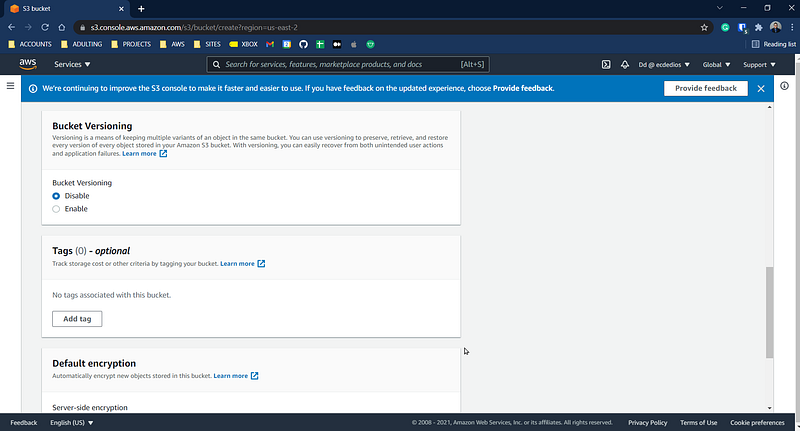
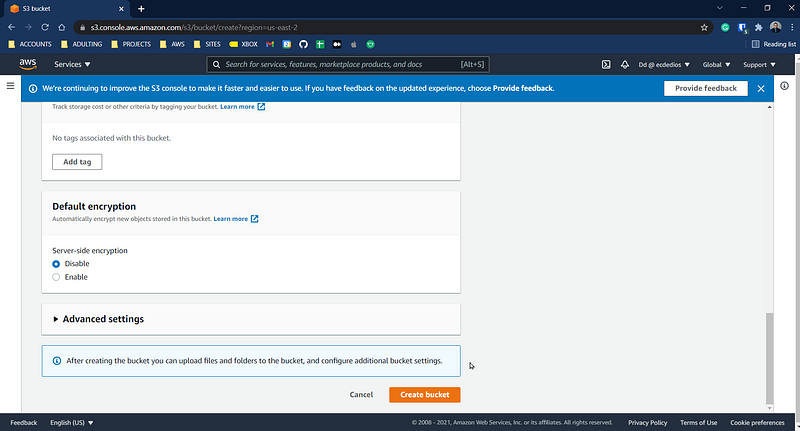
Fill in the “Bucket name” and select an AWS Region that is the same as you typed in on Step 3. Next, scroll down the page, and you’ll find an orange button on the bottom right of the page. Click on it to “Create bucket”.
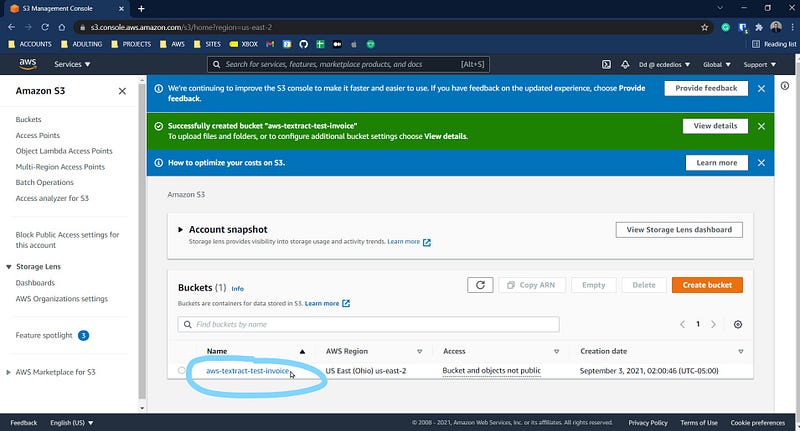
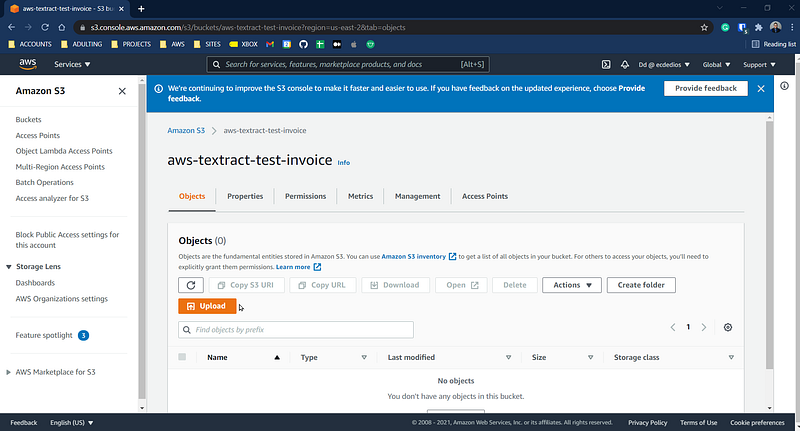
You should see a confirmation that a new bucket has been created. Next, click on the bucket name that we just created.
Find the orange “Upload” button and click on it.
Click on “Add files”.
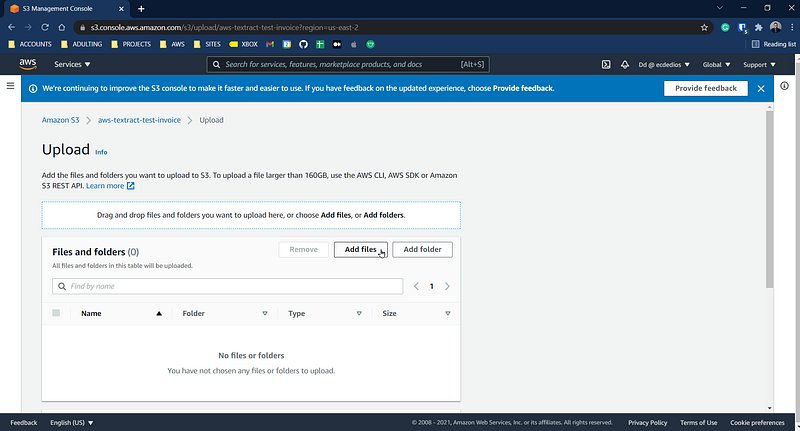
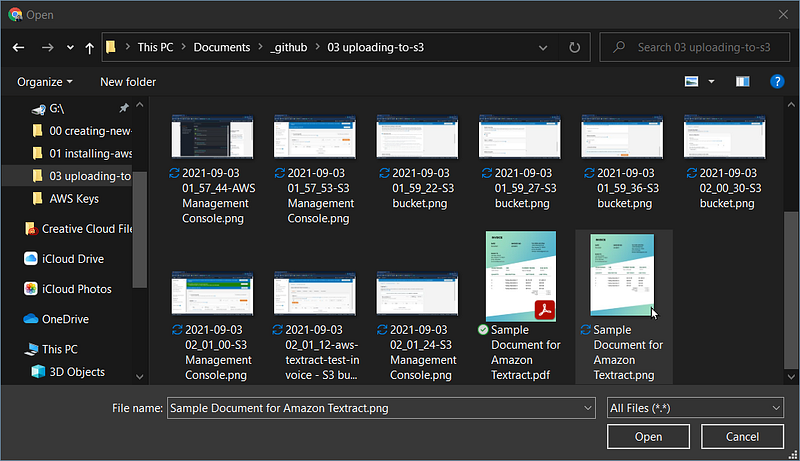
Select an image from your computer. A scanned invoice or receipt will do.
Scroll down on the next page and find the orange “Upload” button. Click on it.
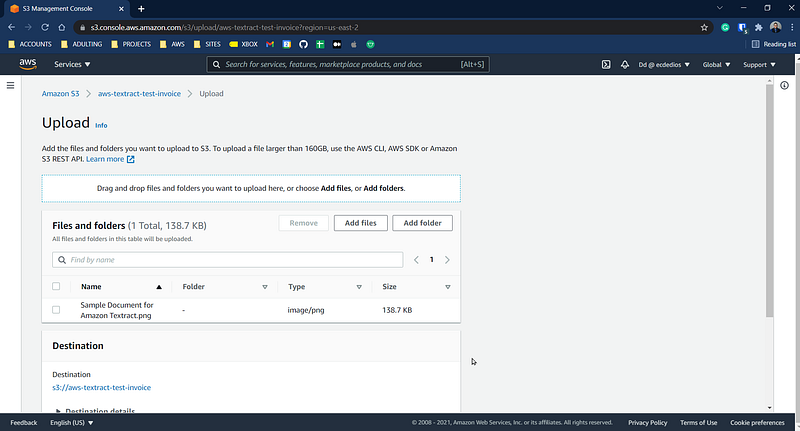

Click “Close”.
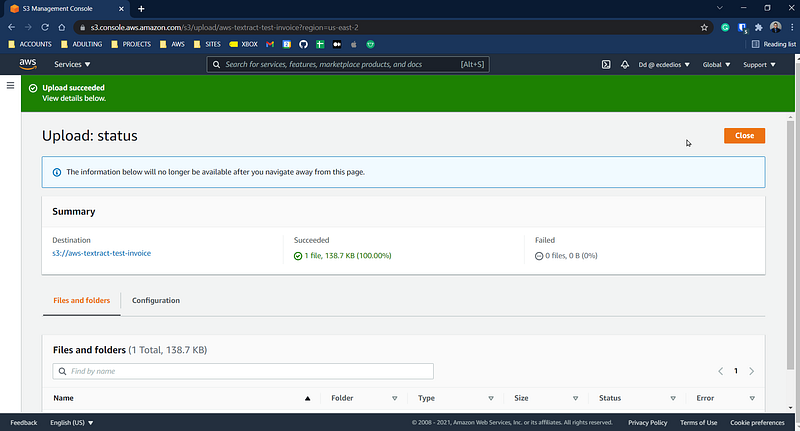
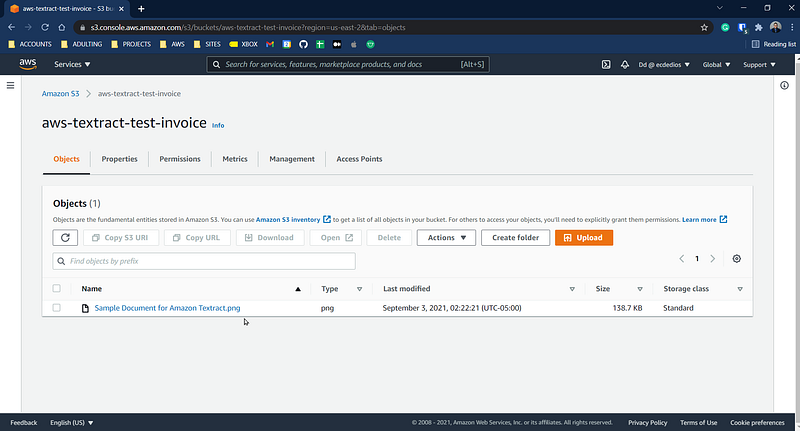
You should see the file listed under “Objects”.
Alright! Now, it’s time to code.
5. Code
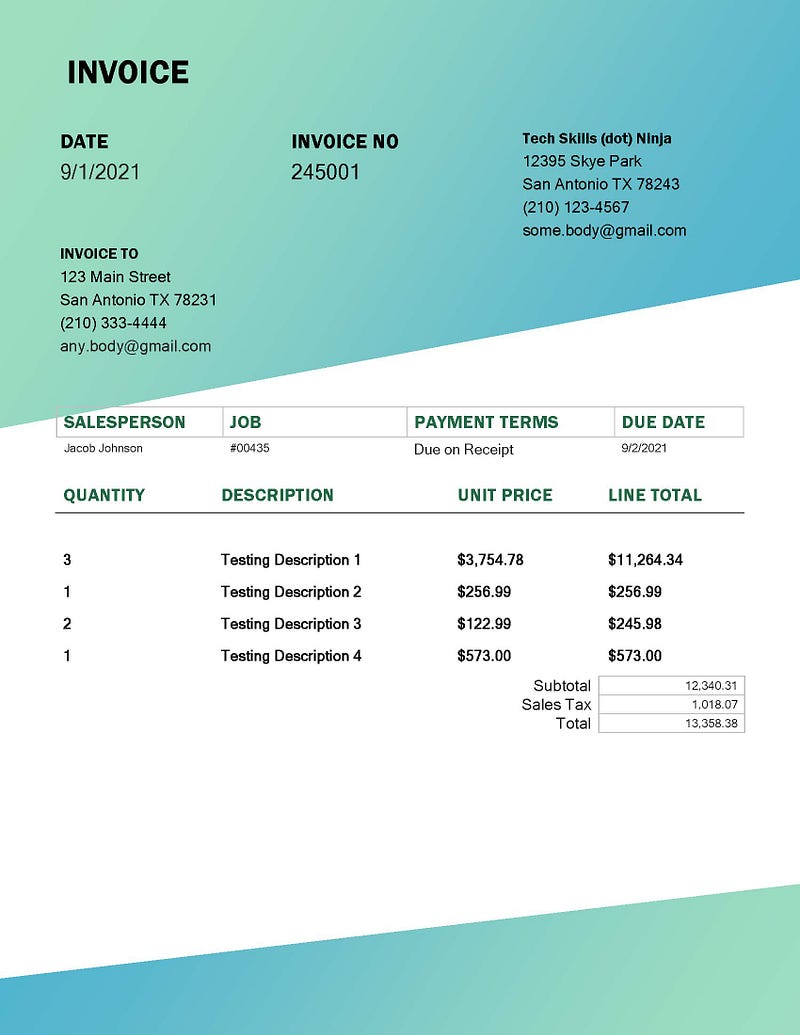
This is the file that we’re going to be reading:
Now, let’s fire up a Jupyter notebook and import some items, and set up the notebook display settings.
Then, copy and paste the code below. Important!!! Don’t forget to double-check line #42 and ensure it is the same as the region you’ve been using.
Also important!!! Mind your folder structure to match line #79.
Here’s what the code does:
First, it connects to S3 and gets the object (image file) that we will feed into Textract (lines 30–33). Then, it loads the file in memory and feeds it into image (line 35–39). Next, we call on the Amazon Textract API (lines 41–42). Finally, we call on analyze_expense to analyze the image and store the result in response (line 45).
Lines 48–76 parses the response and draws bounding boxes onto the image file. Line 79 saves the image locally. Finally, line 81 returns the contents of response.
For the next cell, copy, paste, and customize the code below to match your bucket name and object (file).
Now we’re ready to call the functions above.
Let’s check out the output:
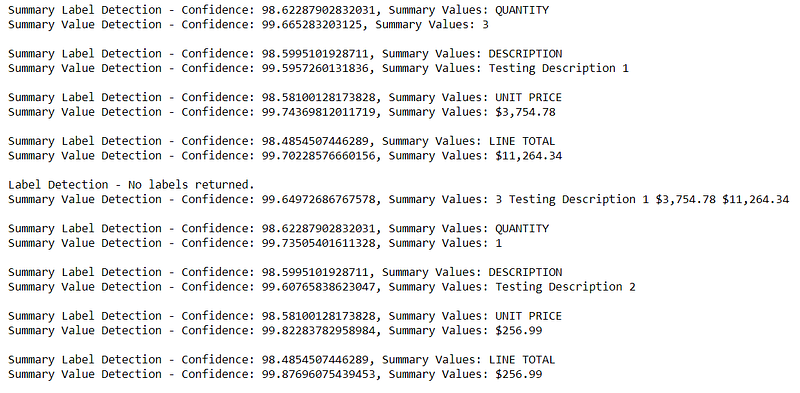
Beautiful!
Now, let’s consider the following code:
What we’re doing above is filtering response so that it will only give us those elements that have a confidence value of less than 90%.
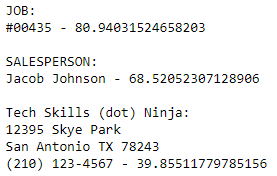
We can tell that JOB and SALESPERSON are labels while “Tech Skills (dot) Ninja” is not. Unsurprisingly, the confidence for this element is only 39%.
Cool, ain’t it?
That’s it, folks! We’ve successfully entered the world of AWS and played with Amazon Textract.
Thanks for stopping by and reading my post. I hope you learned something new! In my subsequent post, we will dive deeper into AWS and the vast number of services it offers.
Stay tuned!
If you want to learn more about my journey from slacker to data scientist, check out the article below:
From Slacker to Data Scientist
My journey into data science without a degree.
towardsdatascience.com
And if you’re thinking about switching gears and venture into data science, start thinking about rebranding now:


