How to use Airflow for Data Engineering pipelines in GCP
So starting this year, I picked up Apache Airflow to understand how to create workflows for automagically creating clusters or models in the cloud. Well that was my reason but doesn’t mean it can’t do more. In this post I will try to share the DAGs I wrote which may help you on your data engineering journey.
A DAG is a Directed Acyclic Graph which collects all the tasks you would want to run together, in the specific order they should be run.
We are going to be using Google Cloud Composer 2 but you can run these on your local installation of airflow too. (If you are just getting started — I’d highly recommend using docker-desktop installation method since it is super easy)
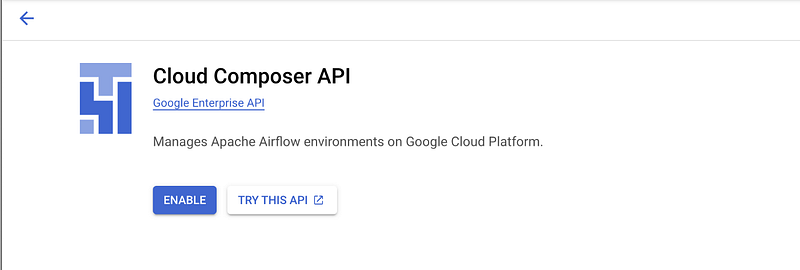
Cloud Composer is a fully managed workflow orchestration service built on Apache Airflow. Enable this API via the GUI or using the following:
gcloud services enable composer.googleapis.com(This may take some time)
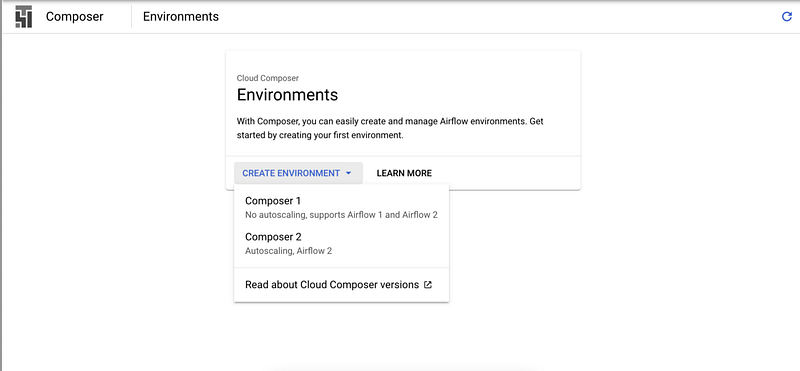
Next you can create an environment and choose Composer 2.
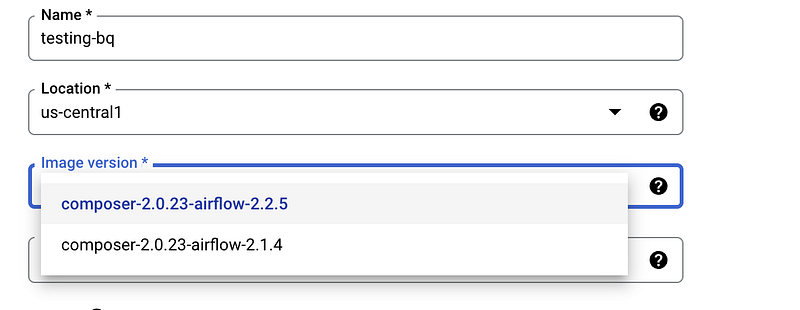
You will be prompted to Grant required permissions to Cloud Composer service account by a simple checkbox and “Grant” button embedded within the form the next page. After that you can provide a name for your environment and choose a location.
The composer versions, as of writing this blog were the following, I’ll recommend choosing the latest, unless you have reasons to otherwise.
Click the Create button which would be enabled if you have completed all the required field and Granted the permissions to the service account. Now would be the perfect time to go have a cup of tea while your environment of choice gets created 🍵

Once it is ready you will be able to see this:
Let’s now prepare the DAGs that would go in the DAGs bucket. Here’s a sample from the docs.
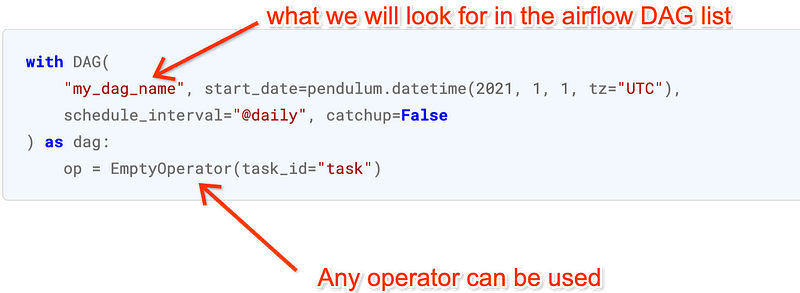
There are more ways to write a DAG, but whichever way you choose to, remember that DAGs are nothing without Tasks to run.
Let’s start with a simple one already mentioned in the github repo for Composer. (I removed some lines to make it easier to follow)
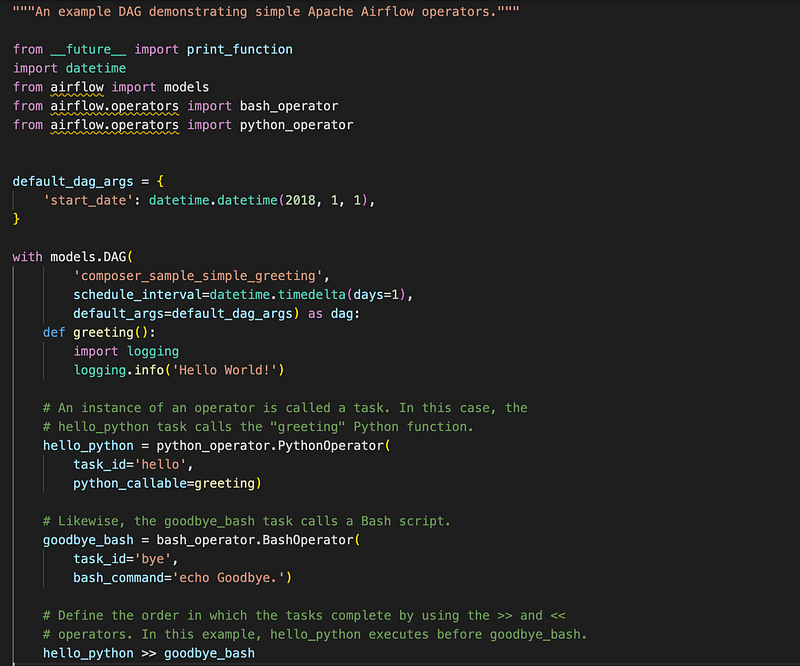
In this the first variable is the default_dag_args which can include not only the start date(see why it is important here), but also commonly used vars like project_Id, region etc.
the schedule_interval is how often you would like your task to be re-run. This is now auto aligned as the start_date as the moment to start looking. It can be changed to @hourly, @daily etc.
There are two tasks in this example above: hello_python and goodbye_bash which use the python_operator and bash_operator respectively.
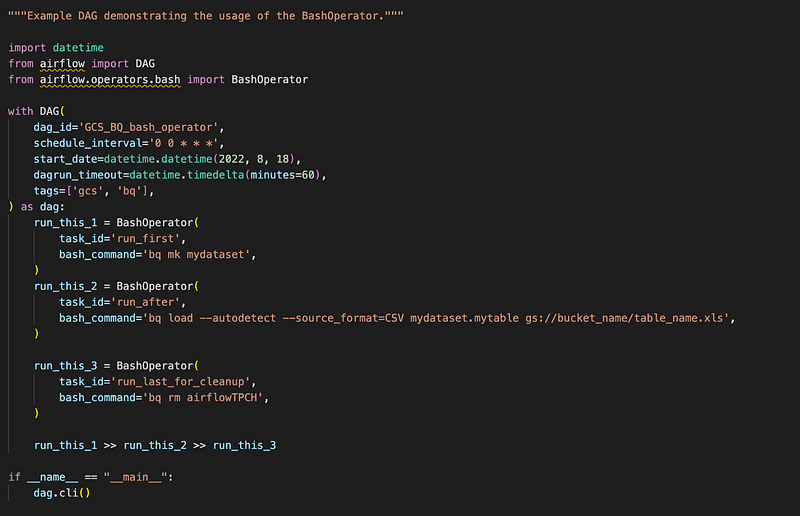
Now let me show another BashOperator usecase to transfer data from GCS to BigQuery. This is a simple bq mk command used to create a dataset in a project where this is running and an bq loadcommand to load the table with a csv file kept in a GCS bucket. The schema is autodetected from the CSV. More details can be found here.
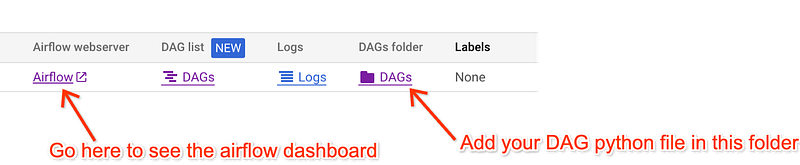
Save the above code and upload this file to the DAGs folder.

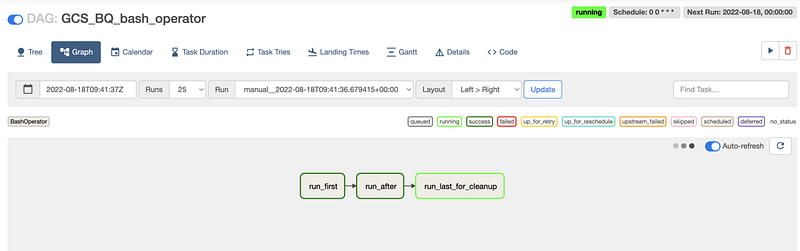
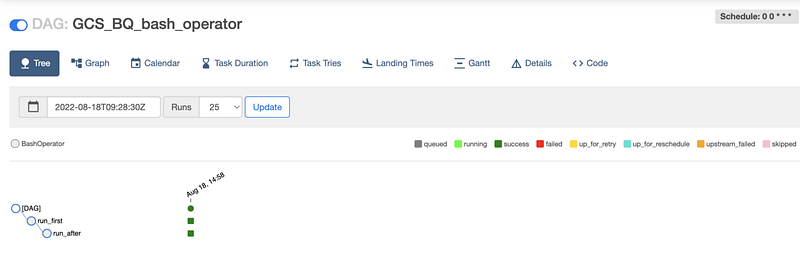
Navigate to the airflow dashboard we can see:

Clicking the individual DAG leads to the page where we can see the tree with tasks we created and whether or not, each one was successful or not.
We may not always get it right in the first go, due to some or the other errors. To see the logs, all you need to do is click on the failed run and check the logs.
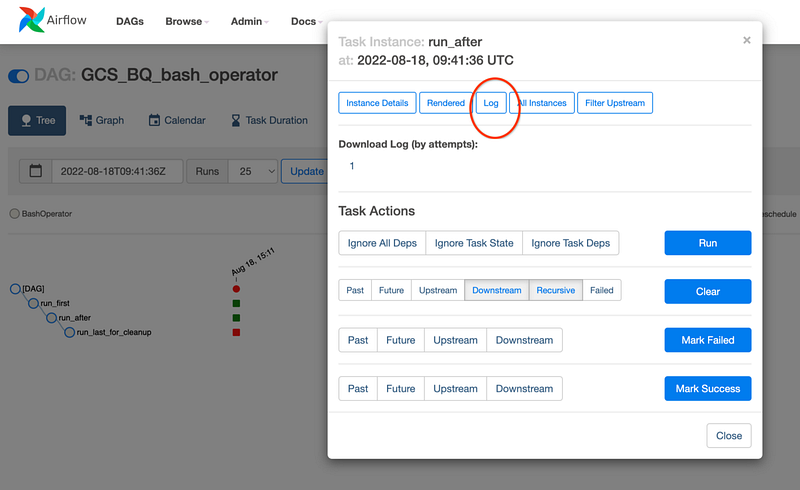
We can always continue to add more tasks and order them as we like for e.g. the ideal next step would be to write a bash command such as bq rm for cleanup! Try it out as an exercise and let me know how it goes!
Hint — It’s Graph should look like this: