
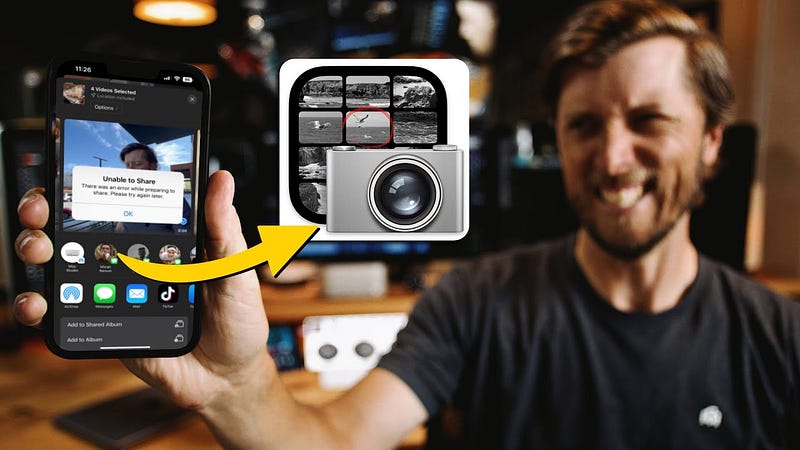
How To Transfer iPhone Videos (and Photos) to Your Mac When AirDrop is Being an A-Hole
AirDrop is AWESOME! When it works… 😒
I mean, how do you not love the idea of AirDrop?
“I don’t have to connect my phone to my computer to transfer 4K video files!?! That’s amazing!”
When it works, of course.
And AirDrop really works great — in my experience — when transferring a few photos or documents. Even just a few small videos files transfer reliably most of the time.
But when I’ve been vlogging with my iPhone 13 Pro Max, and I have multiple 4K video files that are sometimes 5 to 10 minutes in length? This is where AirDrop — for me — has been unreliable.
Honestly, I don’t even remember the last time I tried transferring 10GB+ of video files using AirDrop. What’s the point if there’s a good chance it’s going to fail?
So what’s the alternative?
Well, you could use iCloud Photo Library.
But this takes forever.
If you’ve just filmed several clips that are 5+ minutes in length, it’s going to take quite a while for those clips to upload to iCloud and then sync up to your Mac through the Photos app. And if you’re relying on a cellular connection? Forget it.
The only time I’ve relied on this method is when I’m not in a rush to transfer my video files from my iPhone to my Mac. I can let them upload overnight using wi-fi and export them from the Photos app on my Mac in the morning when I’m ready to start editing.
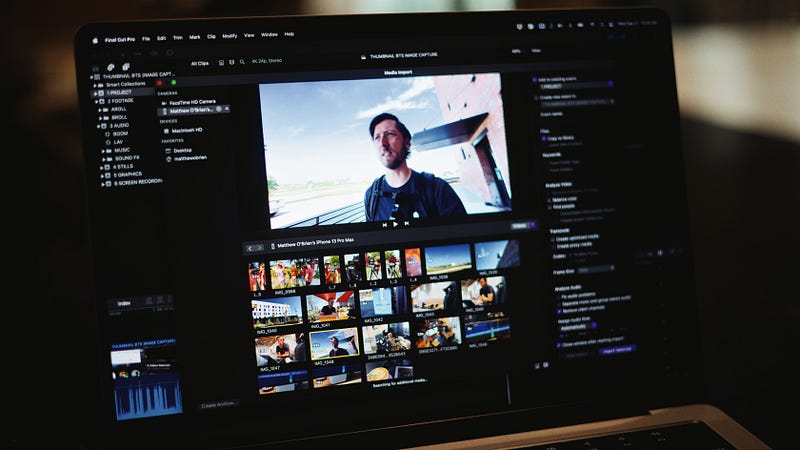
What about Final Cut Pro?
Just connect your iPhone to your Mac using a lighting to USB-C cable (USB-A if you’re on a pre-2016 Mac) and go to File > Import > Media in Final Cut. From there the import window pops up and you can select your iPhone in the devices listed in the sidebar.
Great!
But there’s a catch. When you transfer these video files it’s going to copy them into your Final Cut Pro Library. Which, for some of you, is no problem. But I don’t like storing my media inside the Final Cut Pro Library — I prefer to store my media in my Finder Folder structure so I can easily access that media during the edit or once the project’s been archived.
So what’s the most reliable way to transfer your video files then?
I use a little known app — an app that’s built in to macOS on every Mac — called Image Capture.
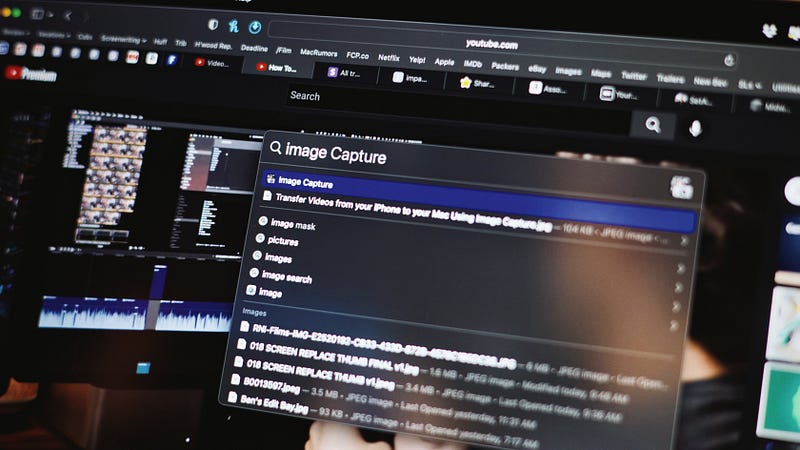
Image Capture
To access Image Capture you can click on the magnifying glass in the upper right Menu Bar (to access a Spotlight search), or you can hit Command + Spacebar to bring up a Spotlight search and type in Image Capture. When you see the app highlighted in blue, hit return and Image Capture will launch.
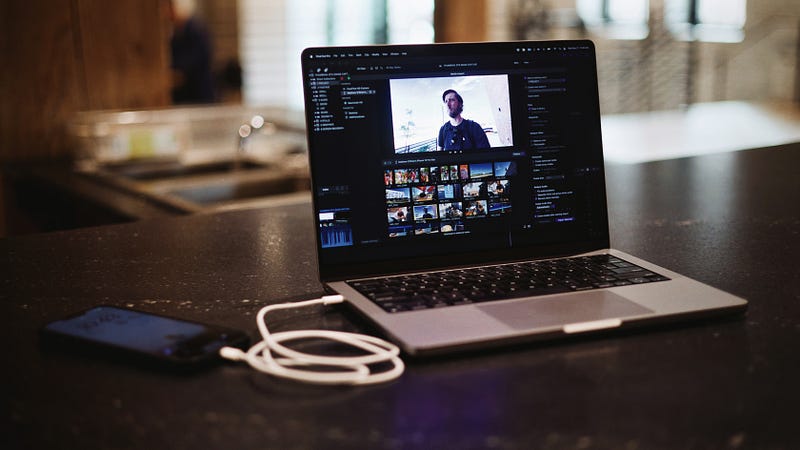
Connect your iPhone to your Mac using a Lightning to USB-C cable and then unlock your phone. You’ll see your videos and photos populate in the app, and you can now select the video files you want to transfer to your Mac.
At the bottom of the app you’ll see where you can tell Image Capture where to transfer your photos. Click the drop-down menu and choose “Other” and use the Chooser window to navigate to the folder where you want your video files stored.
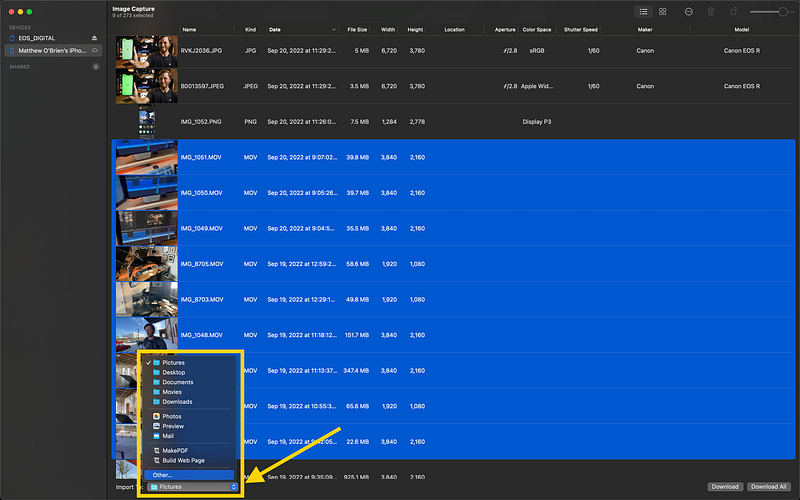
When you’re done with that, click the “Download” button in the lower right corner of the app. Don’t click “Download All” because Image Capture will then transfer every photo and video file on your phone to your Mac.
Once the transfer is complete, you’ll see all of your video files in the folder you selected on your Mac.
So what’s the downside with this method?
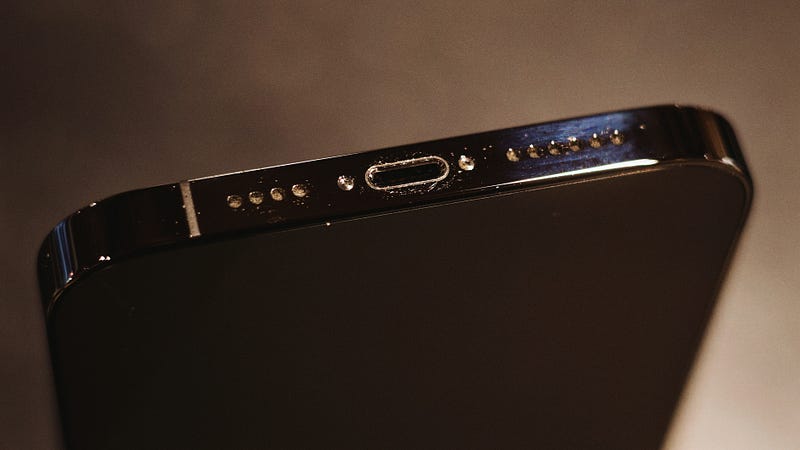
Well, with the release of the iPhone 14 a lot of more advanced users were greatly disappointed to see that the phone wasn’t upgraded to a USB-C port — it still has a Lightning port that limits the phone to USB 2.0 data transfer speeds.
USB 2.0 data transfers at about 480 Mbps where USB 3.0 (using USB-C) transfers at 5.0 Gbps — more than 5x as fast as USB 2.0.
And this matters when you’re transferring 4K videos and high megapixel images. Sometimes AirDrop — in optimal conditions — can transfer your videos and photos faster than a direct USB 2.0 connection, but in my experience it’s much less reliable.
Especially when the transfer takes a while and your phone goes to sleep before it’s done. Having to sit there with your phone and preventing it from sleeping during a long transfer is hugely inconvenient.
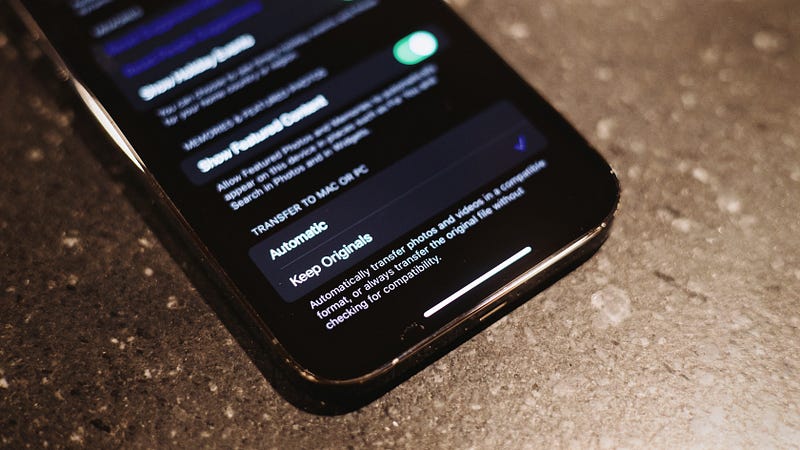
One more thing to keep in mind when relying on Image Capture to transfer videos and photos: on your phone, go to Settings > Photos and then scroll to the bottom where you’ll see “Transfer to Mac or PC”. Change this from Automatic to Keep Originals — this will ensure that the original camera file gets transferred and not a different version that the phone thinks will be compatible with your computer.
And that’s it.
Image Capture is a simple app that feels like it’s fresh out of 2002, but it works really well, it’s reliable, and it’s incredibly easy to use.
Did you know about Image Capture? If not, how do you transfer your photos and videos to your Mac?
If you enjoy my writing, get ready to have your 🤯 by all the other amazing writers on Medium. I started coughing up some dough for a membership this past year, and I highly recommend you joining as well. Click here to join (a portion of your membership fee will be sent my way and therefore directly support my work!).
And if you like content like this, check out my YouTube channel where I make vids on all things Apple Tech, Filmmaking & Final Cut Pro:
And you can check out the video version of this article here: