
How to Start a Food Blog that Generates Income in 2020

Are you searching, how to start a food blog? If yes, then you have come to the right place. This article will give all information that you need to start a food blog of your own.
Hi, my name is Dipanshu Mohapatra and I own more than 5 blogs. From those 5 blogs, one blog is dedicated to sharing recipes and is run by my mother. From that recipe blog she earns more than $500 per month by just sharing recipes and I think anyone can do it. So, now if you are interested then continue reading.
How To Start a Recipe Blog In 6 Steps
Earlier, when I started blogging I had to research a lot, watch a lot of videos to start a blog of my own. To reduce the research work for readers like you, I have designed these 6 steps to start a successful recipe blog that generates income. Even a non- techy person can follow these steps and start a blog in just 60 minutes. So, let’s see what are those 6 steps.
- Choose a domain name and a reliable Hosting
- Install WordPress ( Best Blogging and content management Software )
- Design your blog
- Share Recipes
- Promote your blog
- Make money
1. Choose a domain name and a reliable Hosting
A domain name is a unique web address on the internet where users and readers are going to find your website. If you are thinking of any name for your recipe blog then it’s better to insert that name in the domain name. I recommended you to choose a DOT Com domain.
Hosting is like a foundation of your website, so it is very important to choose a good and reliable web hosting. Based on a survey, 90% of website owners recommend Bluehost and luckily Bluehost gives a domain name free when you purchase a hosting package from it. Use this link to get a free domain when you sign up for Bluehost.
So, let’s see how we can sign up for Bluehost, get a free domain, install WordPress, and start blogging.
Step — A
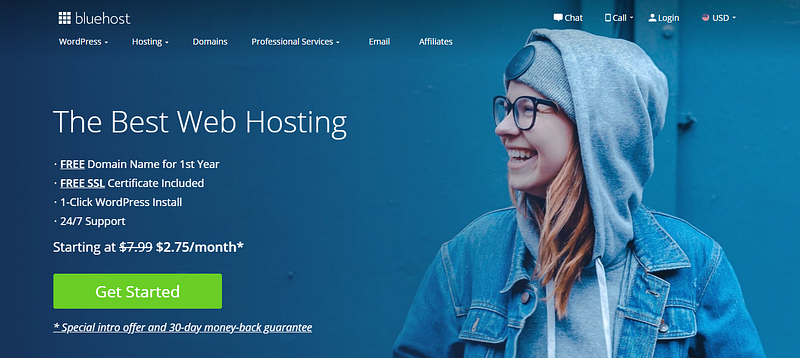
Click here to visit Bluehost and click ‘Get Started’ as you can see in the image below.
Step — B
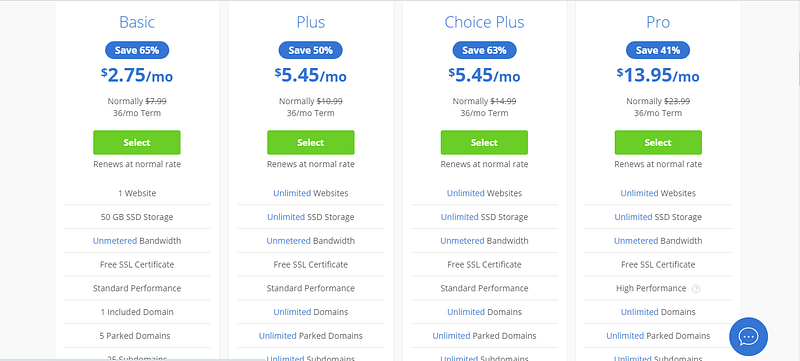
A new page will open where you have to choose a hosting plan. Pick the ‘Basic’ package as you can see in the image below.
Step — C
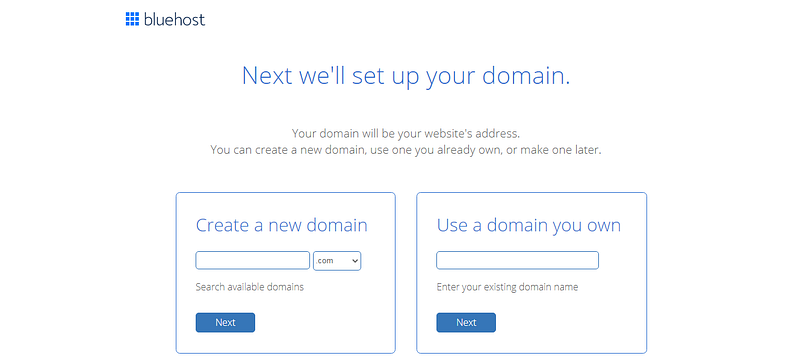
After you select the basic plan a new window will open where it will ask you to enter a domain name ( which you are going to get it for free ). Take your time and think of a unique domain name. For example, bencooks.com, katykitchen.com, riturecipes.com, etc.
Step — D
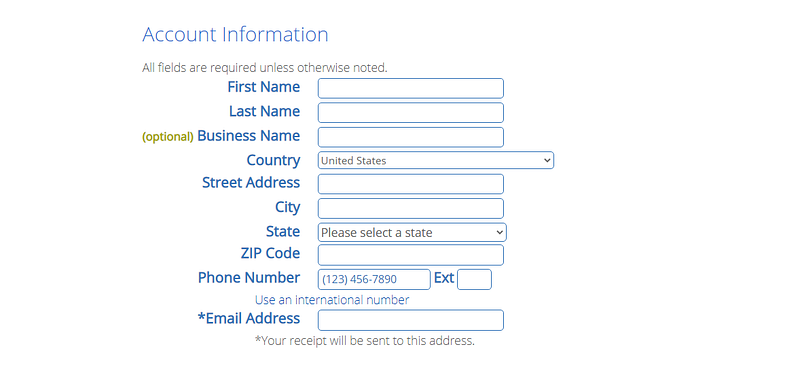
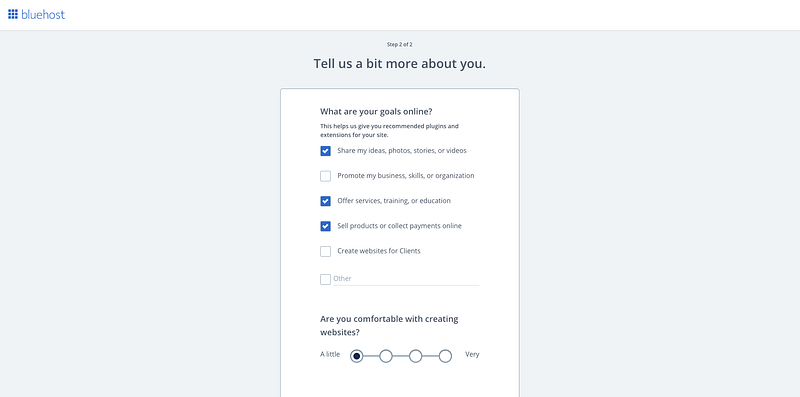
After you click next it will ask you to enter some details like your name, address, country, email, and phone number. Make sure to fill up all the boxes with the right information.
Step — E
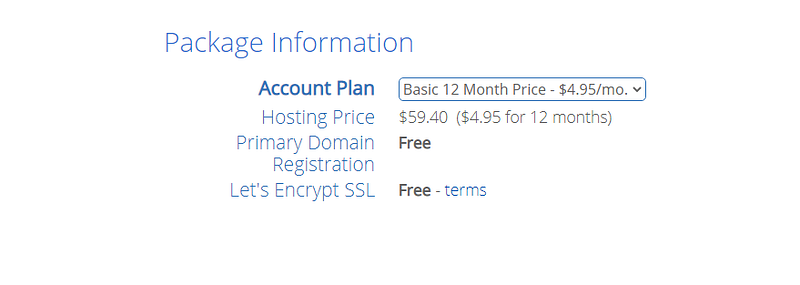
Now select the account plan for 12 months as you can see in the image below.
Step — F
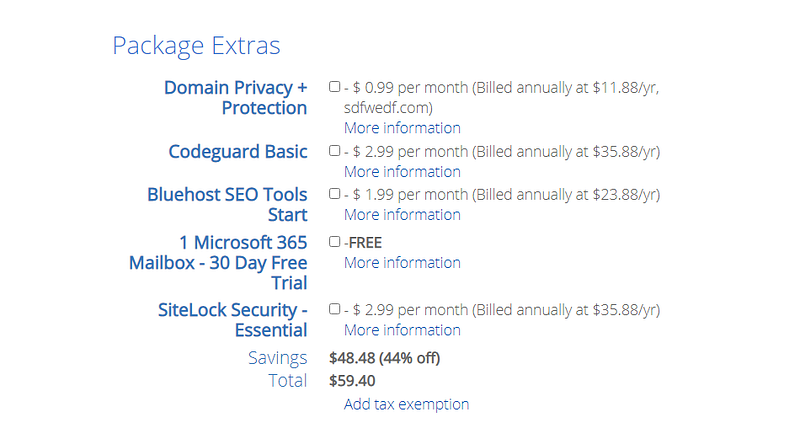
Uncheck all the boxes in the package extra section as you can see in the image below.
Step — G
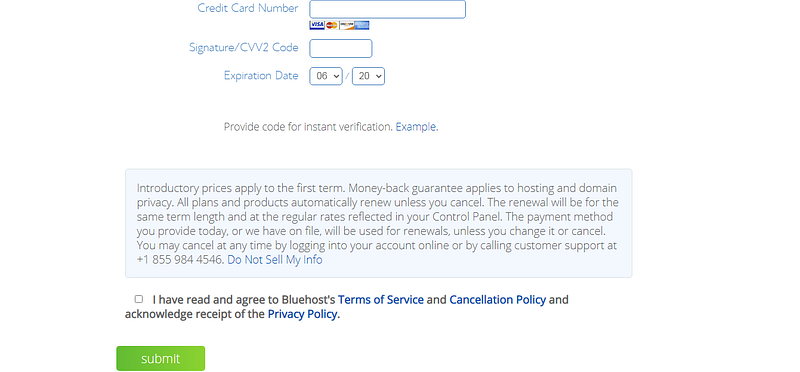
Now enter your payment information to confirm your purchase. You can use your card or PayPal to pay. Now check the box to agree with Bluehost terms and click submit.
Step — H
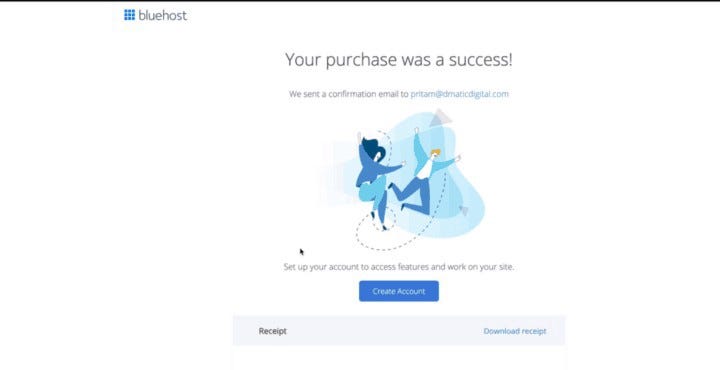
As you click ‘Submit’ a new window will open where it let you know that your purchase was a success. Now click ‘Create Account’.
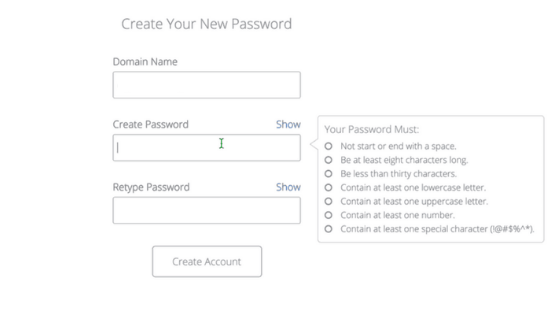
Step — I
After you click ‘Create Account’ a new page will open where you have to enter the domain name that you have just registered and enter a strong password. After that click ‘Create Account’.
Step — J
On the next page, you will see a page where it will say that your account is ready to go.
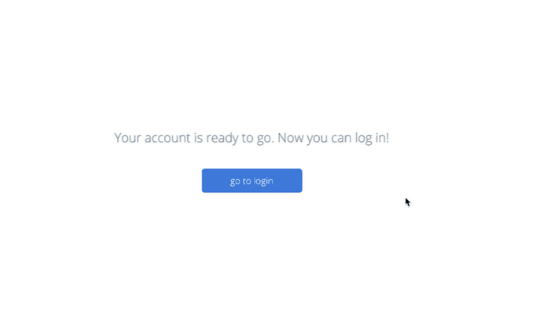
Congratulations! Now you have successfully created your account. Now you have a hosting and a domain name. It is time to install WordPress.
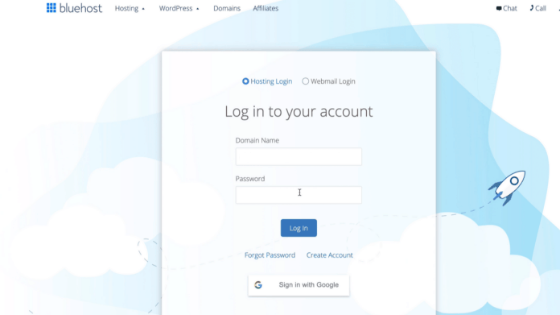
2. Install Wordpress
In this section, we will see how you can install WordPress. Simply log in to your Bluehost account by entering your domain name and password.
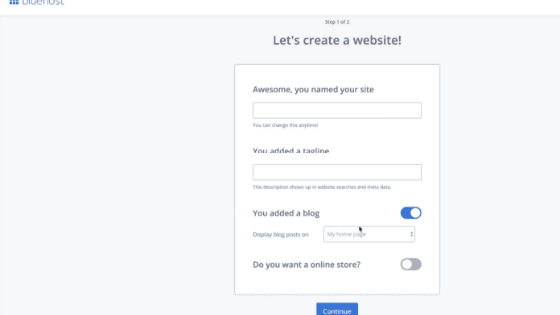
After that enter your blog name, a tagline, and select ‘my homepage’ in ‘display blogpost on’ and click continue.
On the next page check all the boxes and click continue to theme selection.
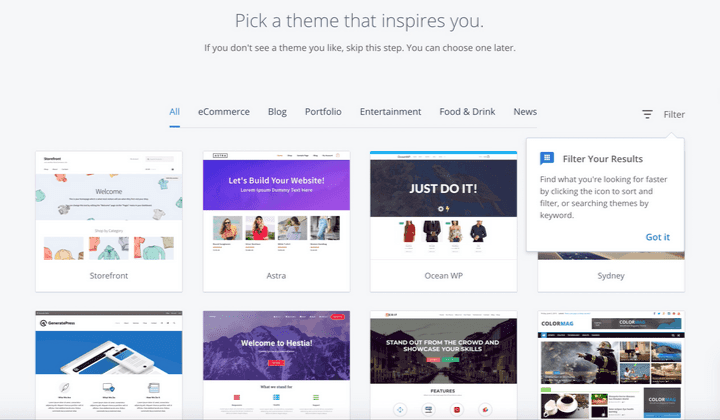
Here you can select a theme or skip this step. Later you can select a theme for your blog.
A new page will open where you click the WordPress button on the top right corner as you can see in the image below.
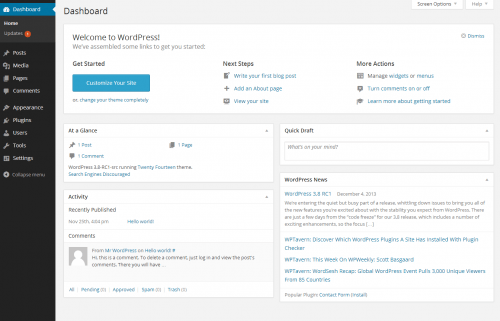
After you click the WordPress button you will be redirected to your WordPress dashboard. Here you can design your blog, change a theme, write a post, install plugins, and many more things.
3. Design your blog
After you log in to your WordPress dashboard, the first step is to design your blog. Designing your blog is very much important. It will decide how long a reader is going to stay on your blog, so make sure that your blog looks cool. We will be dividing this section into 2 parts.
- Changing the theme
- Creating pages and the navigation menu
Changing the theme
Changing a theme is very easy. After you log in to your WP dashboard, you need to go to the Appearance section and from there you can easily change a theme. You will find hundreds of free themes that you can use. To get a detailed overview, watch the video below to get a step by step tutorial on how to change a theme in WordPress.
Creating Pages and A Navigation Menu
Pages like about us, contact us, privacy policy is a must while creating a blog and a navigation menu will help categorize different topics in an orderly manner. For example, if you are sharing recipes for lunch, dinner, breakfast, or snacks then a navigation menu will organize them in an orderly manner. I hope you got the point. Watch the video to get a detailed tutorial on how to do it.
4. Share Recipe
To share recipes, you need to go to the posts section on your WordPress dashboard and select ‘write a new post’ or you can install a free plugin called WP Recipe Maker that will arrange things like ingredients, procedure, etc. Try to post as many recipes as you can, this will help your blog to come in search results faster.
5. Promote Your Blog
Now that you have set up your blog, wrote recipes and posts, it is now time to promote your blog. Use social media platforms like Facebook, Instagram, Twitter to get visitors to your blog.
6. Make Money
This is the most interesting part. There are many ways you can make money from your blog. The two most popular ways are affiliate marketing and Google Adsense. The more visitors you get, the more money you make. To know more about how to earn from your blog read the below post.
Conclusion
To really make money from your recipe blog you have to be consistent and write great content. Blogging is the trendiest way to make money from the internet right now. Below are some helpful links that will take your blogging carrier to a greater height.
Helpful Links
- How to properly share a recipe on your blog?
- How a food blogger can rank on google?
- How to get more traffic to my blog?
- How do food bloggers make money?
- How to monetize your food blog?
Note:- This article contains affiliate links which means if you decide to purchase via my link, I get a small commission. I only recommend products which I have tried personally. Thank you for your support.


