
How to setup iOS CI/CD to TestFlight for free with GitLab and Semaphore CI
As an indie app developer from time-to-time I have a use case to have a solid CI/CD tool for my indie project. This time it is about how to setup a CD tooling from my indie app. CD or continuous delivery is a technique to automate the process of having our software product in the hands of users. In contrary to popular believe today there are still lots of developer who didn’t use CI/CD as part of their daily workflow. Thus I want to increase awareness of people to start using CI/CD to build better software. Lest time managing this tedious tasks can be spent to understand your product better or for you to relax.
In this project, I have a use case to ship my upcoming project in the hands of iOS users. I have a requirements that this CD should be free because I don’t earn any money from this product yet so I’d like to keep it low-cost.
To understand it better here’s my setup
- Flutter Application built for iOS and Android.
- My daily drive is Linux workstation. Funny thing is I don’t have much access to Mac OSX, so I want to have a Mac VM if it is possible online.
- Google Firebase Services
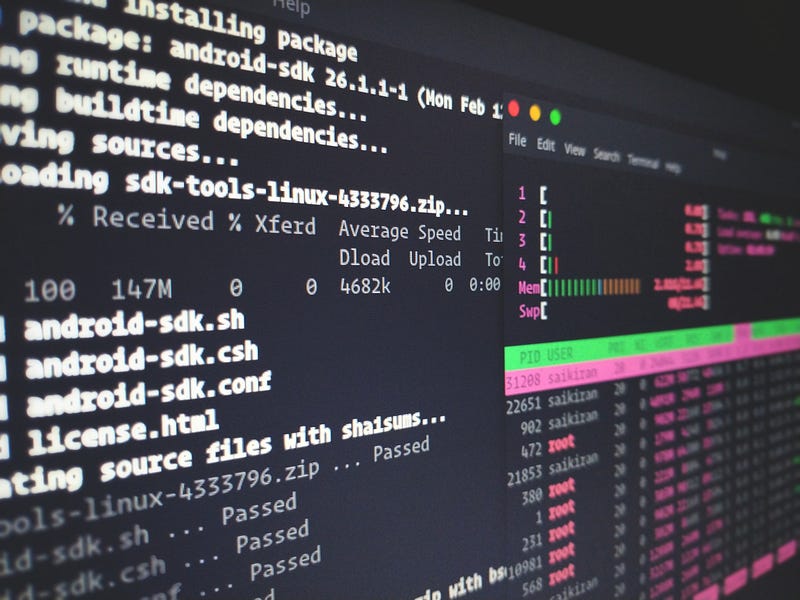
- Code Repository in GitLab and now we have Android CI/CD with Firebase
Searching for the most affordable CI/CD Service for iOS
- GitLab CI: they have support for Mac machine but it is still in Beta, so unless I’m the Beta user or pay big bucks I couldn’t have access to it although GitLab CI is my favourite CI/CD tool so far.
- GitHub Actions (GA): technically I can mirror to GitHub my GitLab repository then run a GitHub Actions, however, for some reason I didn’t go with GA because when I google on the internet there are not many blogs discussing usage of GA for my use case. Or I’m just lazy. So I unconsciously rule out GA from my options.
- Bitrise: they provide Mobile CI/CD service, however, they’re a bit pricey so I rule it out from the very beginning.
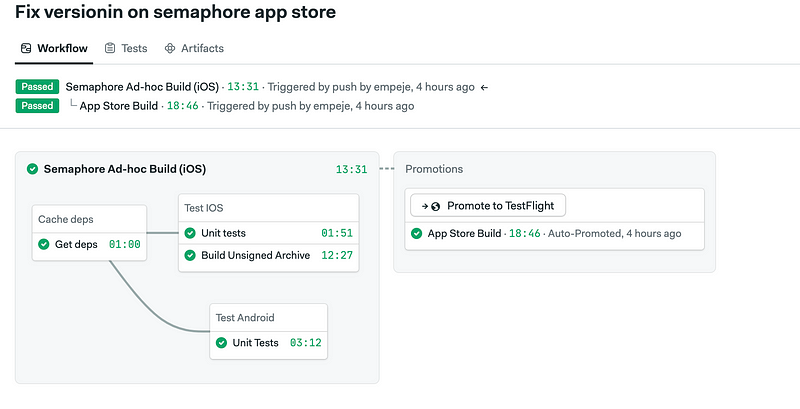
- Semaphore CI: when I’m searcing CD solution that provide Mac machine I encounter Semaphore CI that surprisingly has both a strong contents covering how to setup Flutter iOS CD, they also have a very nice feature to debug broken builds. So I decided to use this solution.
The Setup
The way the CI/CD setup looks like is we’re mirroring git repository from GitLab to GitHub using personal access token.
Go to your GitLab repository settings and go to the Repository Setting page.
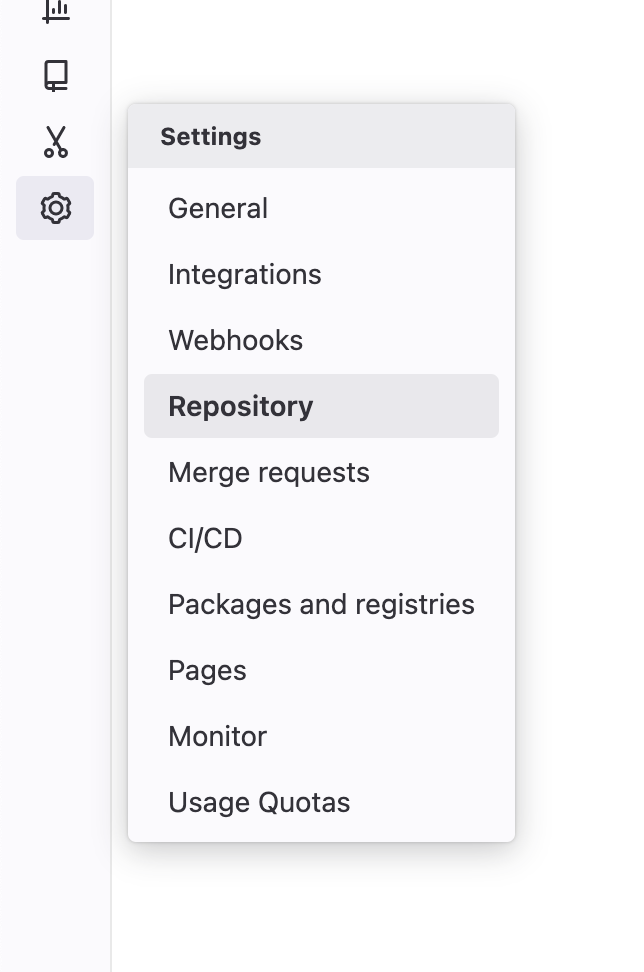
Then you’ll need to head to mirror repository menu
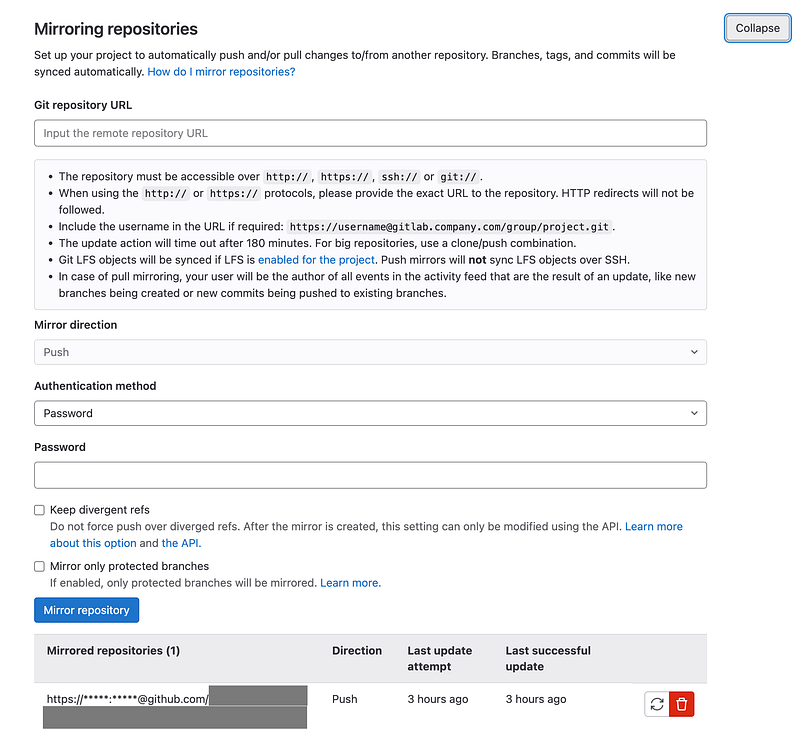
This is self-explanatory, once we have the mirroring setup from GitLab to GitHub, we can start using Semaphore. The only thing that you need to be careful of is you need to make sure that all changes happening is happening in GitLab repository and GitHub is only a read-only repository. Because if we start committing directly in GitHub (not via mirroring sync) we will have a divergent fork in GitHub. And often time Semaphore will offer us to create a branch in the GitHub repository because in Semaphore CI opinion, they don’t have any knowledge of our main GitLab repository.
Then what you need to do is setup Semaphore CI to GitHub using Personal Access Token or install it as a GitHub App.
Start Setting up your CD
Once you’re done with the setup, buckle up, the hard parts is making sure your build and code signing setup is working both in your local machine and in the CI. Here’s my heuristics
- Make sure you’re able to run Flutter using
flutter run. In Mac OS first you need to open the simulatoropen -a simulatorthen you can runflutter run. This is the step one, this make sure you have running dev setup for your project. You can skip this project if you already working a lot with your iOS part of your Flutter project. In my case, the app is initially rolled out as an Android app. - Make sure you’re able to build iOS artifact without code signing. Usually build command is along this line
flutter build ios --no-codesign. Doing this make sure that you have working build tool setup to compile your iOS part of your Flutter project. - Setup your Fastlane, you can follow the official Semaphore CI guide. You can follow this step.
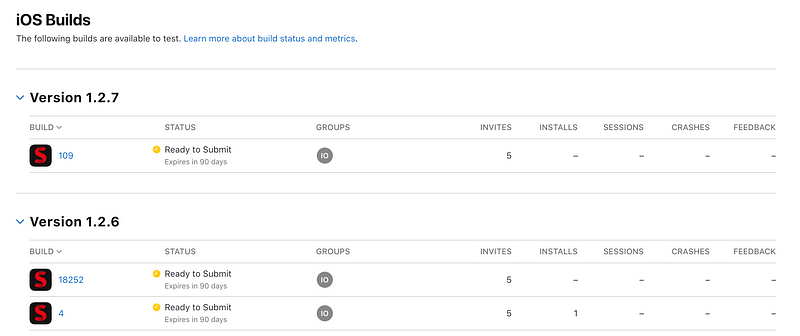
- Run your fastlane lane in your local, make sure it is appear in your TestFlight.
- Run your fastlane in Semaphore CI using the Semaphore CI manifest
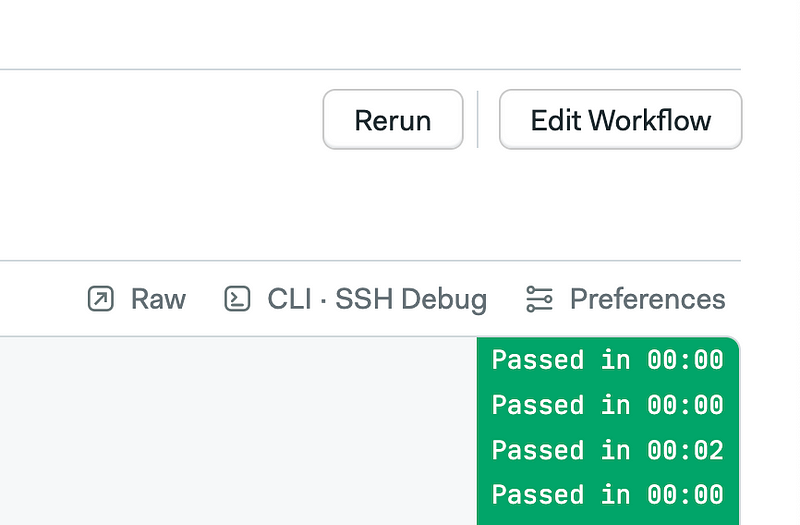
All the 5 steps I mentioned above is easier said than done, I’ve spent the 2 days of my weekend to make everything work.
Final Product
I’m pretty satisfied with the results now I have fully working CD for my iOS although I have limited access to Mac system.
That’s it! Thank you for reading it until finish, I’d appreciate if you leave a comment, reactions or better follow my Medium profile 😊


