
How to Set up an Access Point with Hostapd

In this tutorial, I will show you how to set up a Wi-Fi Access Point using hostapd, a popular open-source software package for creating Wi-Fi networks on Linux systems.
Install Hostapd & Dnsmasq
For the Access Point to work, you’ll need two items:
- hostapd — the Access Point software.
- dnsmasq — a DHCP server that will provide IP addresses to the clients.
So, start up the Linux system, and in the terminal type:
apt install dnsmasq hostapdSet up the Access Point
Run the “iwconfig” command to see the available wireless network interfaces (wlan0, wlan1…).
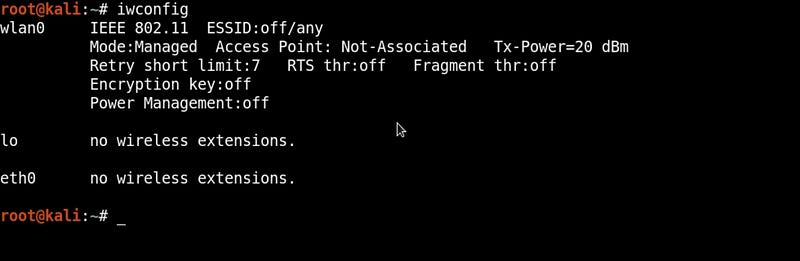
Use a wireless device that supports Access Point Mode. In my case, I am using a wireless adapter with chipset Atheros AR9271 with interface name wlan0.
Once you have identified your wireless interface, set up the configuration files using the nano text editor in the terminal.
nano dnsmasq.confAnd add the following lines.
#Set the wireless interface
interface=wlan0
#Set the IP range for the clients
dhcp-range=192.168.1.2,192.168.1.250,12h
#Set the gateway IP address
dhcp-option=3,192.168.1.1
#Set DNS server address
dhcp-option=6,192.168.1.1
This configuration file will tell dnsmasq to use the wlan0 device and start handing out IP addresses to the clients in the range of 192.168.1.2 through 192.168.1.250. Don’t forget to save the file.
Next, I am going to create another configuration file, this time called hostapd.conf. Open the terminal window and create the file using nano.
nano hostapd.confAdd the following lines:
#Set wireless interface
interface=wlan0
#Set network name
ssid=Test-WiFi
#Set channel
channel=11
#Set driver
driver=nl80211
In the example above, an Access Point is defined with the network name “Test-WiFi”, and it will run on channel 11, using wireless network interface wlan0.
Save the file as hostapd.conf.
At this point, you can start the access point using the following commands:
dnsmasq –C /root/dnsmasq.conf
hostapd /root/hostapd.conf
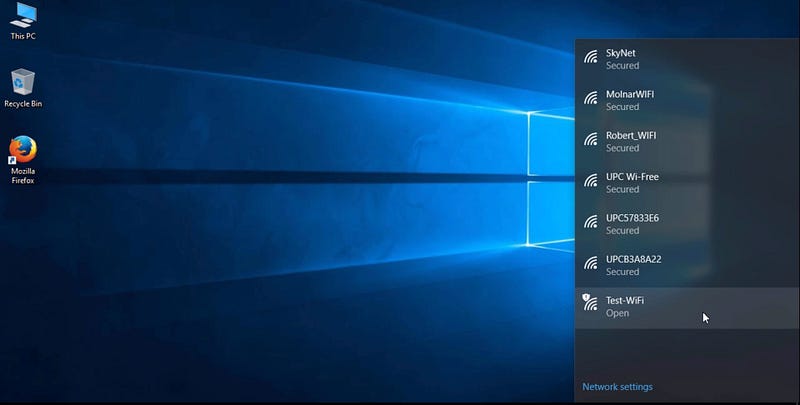
Now hostapd is running, check on another computer or phone to discover a wireless network with the SSID “Test-WiFi”.
Provide Internet Access to the Access Point
Once the AP is running, it’s a common scenario to share an internet connection from another interface. To do that you can use bridge-utils to give internet from a bridge interface by typing the following commands:
brctl addbr br0
brctl addif br0 eth0
ifconfig br0 up
This will create a bridge between br0 and eth0. In my case, eth0 has internet access, so make sure to look for the interface which has internet with ‘ifconfig’ command.
The last step is to modify the hostapd.conf file using nano text editor.
nano hostapd.conf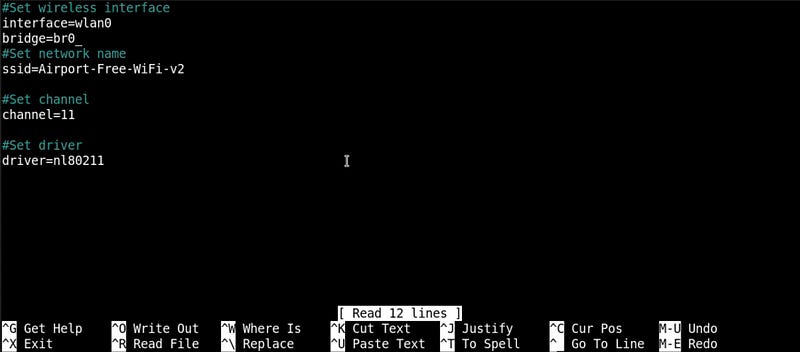
And under the wireless interface wlan0 type bridge=br0.
Save the file and restart the AP using:
hostapd /root/hostapd.confNow the clients that will connect to the access point will have internet access.
Thank you for reading!
Editor’s note: Guided Hacking is the best resource to learn reverse engineering, covering a wide range of topics including malware analysis, exploit development & game hacking. In addition to 10 courses, they have 440+ video tutorials, thousands of text tutorials, source codes & comprehensive guides. Go check it out.


