
How To Set Up a Next.js Supabase Auth for Your App’s Frontend and Backend
A step-by-step guide for developers

What is Supabase?
Supabase is, as they describe it, an open source alternative to Firebase. It is a managed Postgres environment with additional functionalities such as auth, storage, and real-time capabilities.
What you will learn
In this article, I will show you how to set up Supabase auth on both the frontend and backend. We’re going to use Next.js as an example here. We’re going to use this example repo for demonstration purposes.
What you need to know before reading this article
I’m going to assume that you have at least some familiarity with Supabase. Prior knowledge of Next.js will be helpful, but it won’t be necessary to understand this article.
Prerequisites
We’ll use npm in this article, so make sure it’s installed in your system. Make sure to sign up for a Supabase account, as well.
Now, let’s get into the main part of this tutorial.
Step 1: Clone the Example Repo
Once you have the prerequisites, find the example repo here and then clone it.
Step 2: Make a New Project on supabase.com
Make a new organization and project on Supabase’s website.
Step 3: Set Up the Project Locally
Then, go into the directory of your clone, and copy .env.template to .env.
Go to Supabase, go into your project -> settings -> API. Copy and paste your keys into your newly created .env file.
Then, run:
npm installnpm run devThen, you should be able to see something like this:
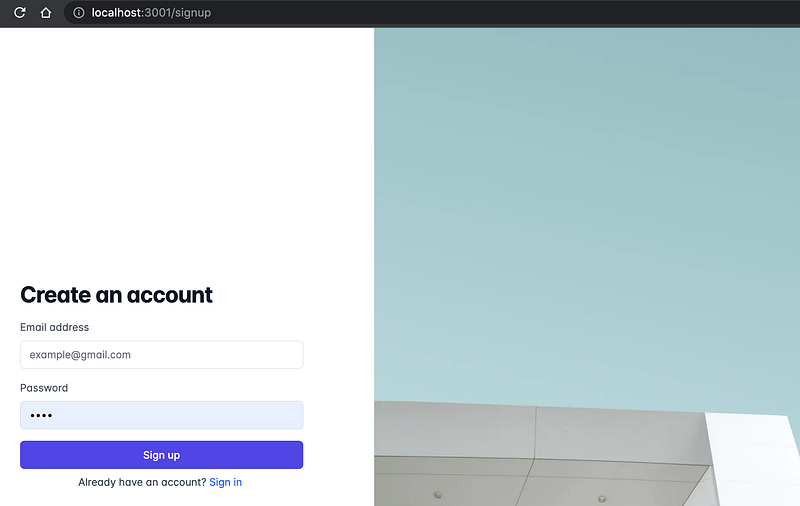
Step 3.5: Review the Paths
The following paths are available in this app:
/ (index): it has the main form for sending data to the database. Redirects to /signup if the user is not signed in.
/signup, /signin: the signup and sign-in forms. Redirects to index if the user is signed in.
/logout: it logs out the user.
You should now be able to sign up, sign in, and sign out using these paths.
Step 4: Create a New Table in Supabase
In this example, we will create a simple job posting web app.
So, we’re going to create a table called jobs.
Go to your project and click create a new table.
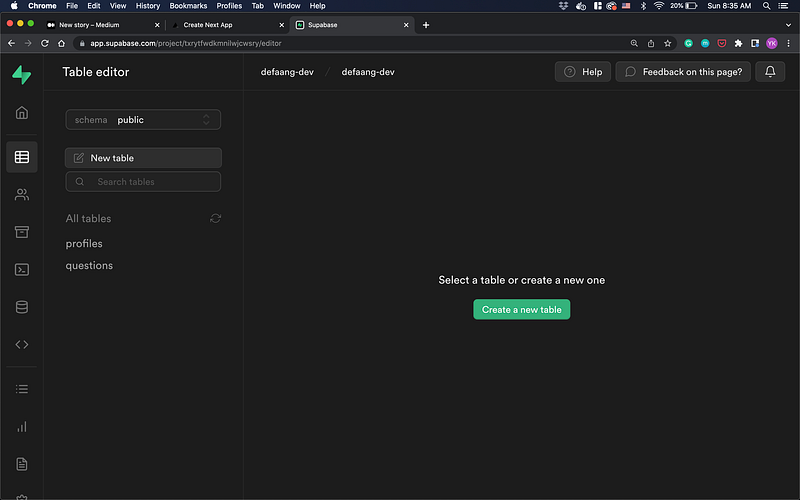
Call it jobs, enable row level security, and add the following fields:
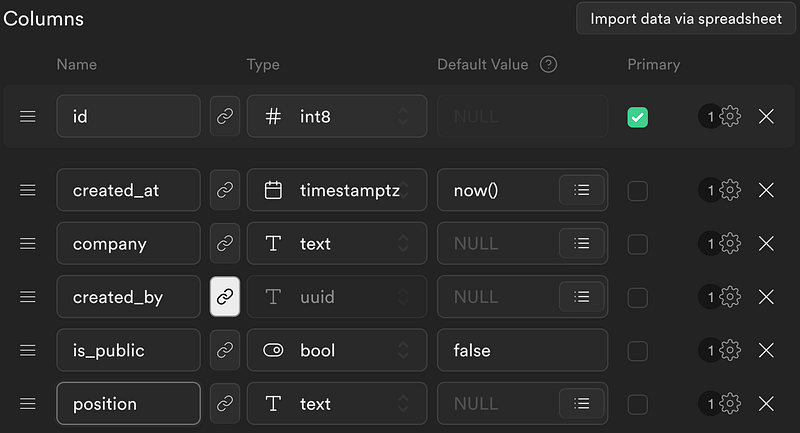
created_by should be a foreign key to the auth.users table.
If this were a real app, it would probably need more columns, but let’s keep it simple here.
Notice that we have the is_public column, and it’s set to false by default.
The assumption here is that when a user posts a new job posting on the site, we don’t want to make it show up automatically on the site. We want to have some approval process so that website admins can decide which job postings are legit enough to show on the site.
Step 5: Submit the Job Posting Form!
Go to the root path, and try submitting the form!
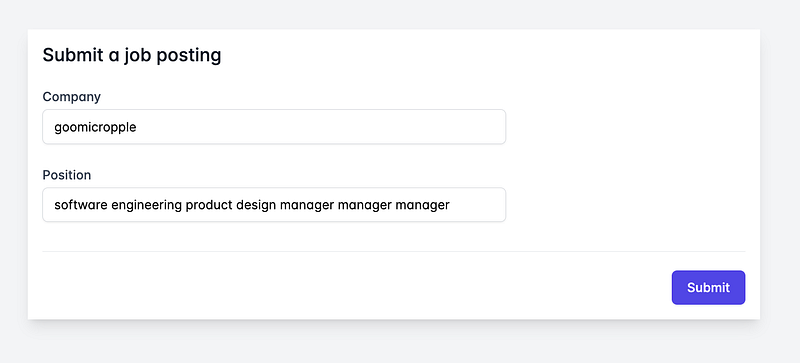
It should have worked! You can verify it on Supabase’s dashboard:

How did that happen?
Step 6: Understand the Frontend
Go to src/pages/index.tsx, and you’ll see this function to handle form submission:
The important part is that we’re sending Supabase’s access token / JWT in the request headers.
That’s this part:
headers: {
  Authentication: session.access_token,
},
A JWT is, in short, a key to verify that the user is signed in.
By sending it to our backend code on our API path, we can send the backend proof that the user is signed in.
Step 7: Understand the Backend
Go to src/pages/api/submit_job_posting.js. Let’s try and understand this file, section by section.
const supabase = createClient(supabaseUrl, supabaseAnonKey);
const supabaseSecret = createClient(supabaseUrl, supabaseServiceKey);
^These two lines at the top create clients in two different ways.
The first one is the same type of client as the frontend — it’s safe to use it publicly:
const supabase = createClient(supabaseUrl, supabaseAnonKey);The second one uses Supabase’s secret service key. It has admin-level access to your data:
const supabaseSecret = createClient(supabaseUrl, supabaseServiceKey);Then:
const input_data = JSON.parse(req.body);
const jwt = req.headers.authentication;
^these two lines parse the data sent from the frontend and then retrieve the JWT from the headers.
const { data: user, userError } = await supabase.auth.api.getUser(jwt);const id = user.identities[0][‘id’];^Then, these two lines retrieve the logged-in user, and we get their ID.
const { data, error } = await supabaseSecret.from(‘jobs’).insert([input_data]);^Finally, this line inserts the data in our table using admin-level access.
Why Do We Need Admin-Level Access?
Another potential way to approach this is — we could insert data directly from the front-end, using row-level security. However, with that, each user can manually set is_public to true, which is not what we want.
To avoid that, we need to use admin-level access to set it to false, to begin with using our backend code.
Learn More With a Practical Example
Thank you for reading this article!
If you’d like to learn more about how this particular pattern could be used in a real-world application, feel free to check out this open source project of mine that uses it.


