
How to Send Emails with Customizable PDF Attachments Using JavaScript
How to leverage Nodemailer and jsPDF to fully automate your email needs.

Hola! 🏝
Recently, I was responsible, for creating a ticketing system, and I needed to send a personalized ticket pdf to everyone who bought one. Like it often is, after I’ve managed to do it, it turned out to be super simple if you know the right steps and potential blockers.
In today's article, we’ll cover how you can send emails in JavaScript, how you can create custom PDFs, and how you can merge both of them to create an amazing EX (Email Experience, I just came up with this term).
Additionally, you will find a BONUS at the end of the article, which will cover how to create custom email templates.
If you want to follow while having the code at your disposal, grab the project from my GitHub:
Nodemailer
First things first. In order to be able to send emails from the code, usually, you just need host, port, and login credentials. In some cases (yes, Gmail, I’m looking at you 🕶), there will be some additional steps included. Let’s set it up using Gmail since everything else will probably be easier.
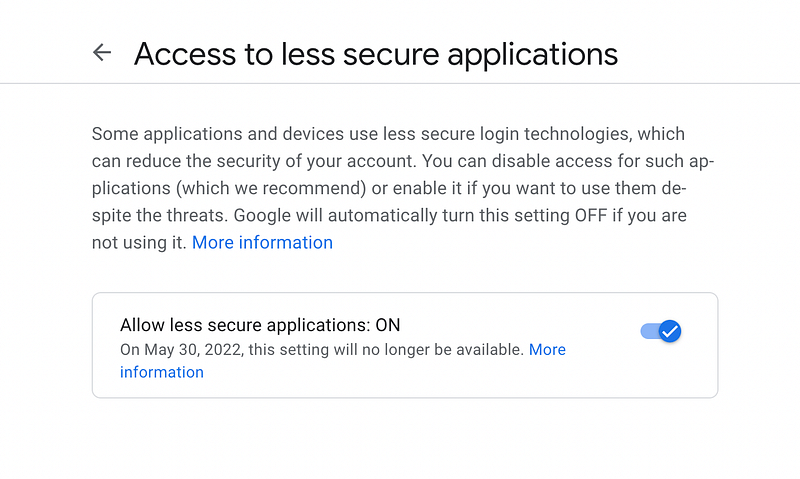
0. Less secure apps access (in case that you’re using Gmail) If you want to be able to send emails from your Gmail account using code, you have to grant access to less secure applications from your Google account.
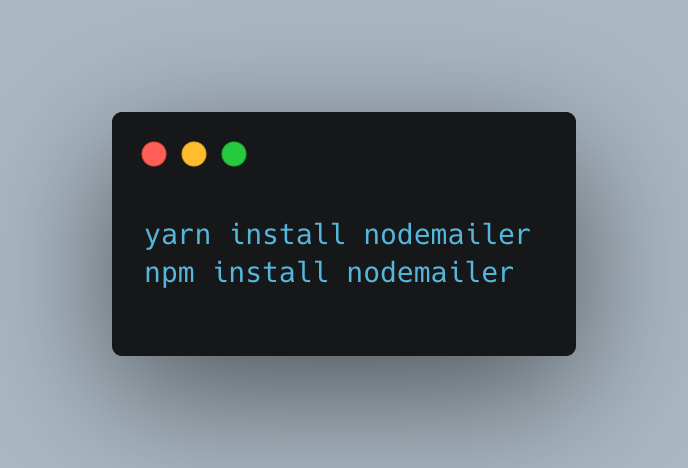
- Install Nodemailer
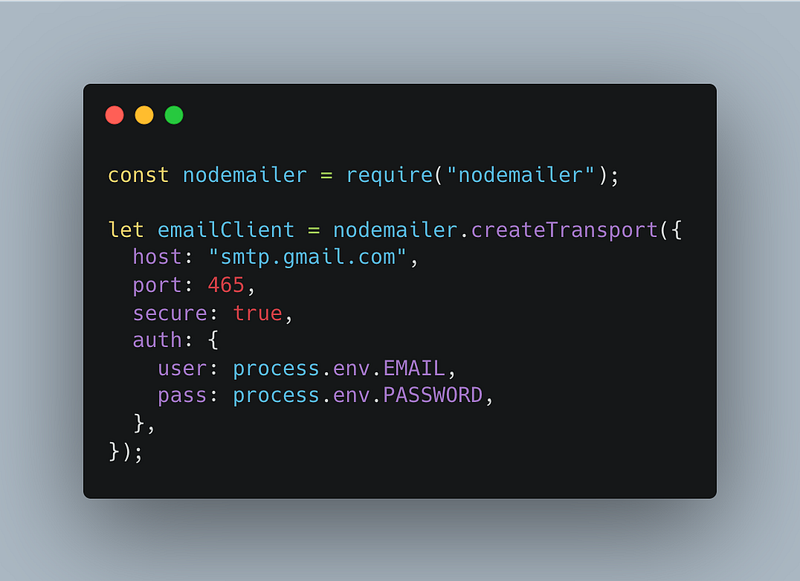
2. Create Nodemailer’s “Transport”
You can treat it as an email account. In most cases, you want to have just one instance of that. While creating a transport instance, you will need:
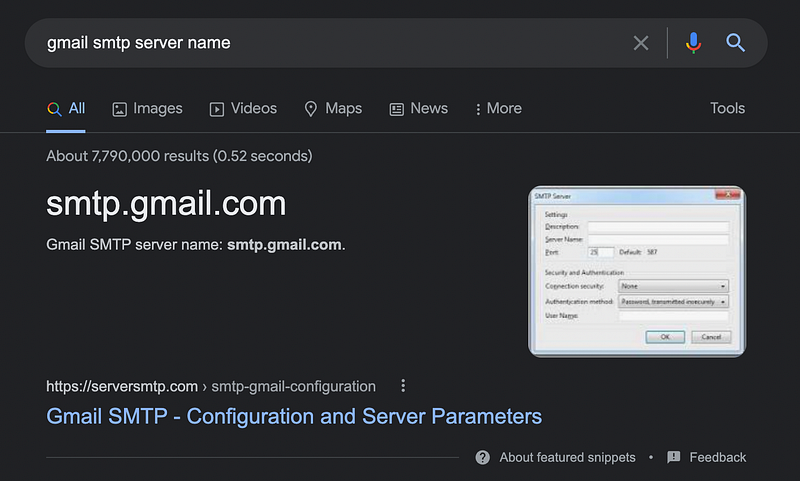
- host: which in most of the cases will be an SMTP server. You can use almost all of the mails there, just type your email provider email SMTP server in google, e.g. “Gmail SMTP server name”,
- port: for secure connections (and we should aim at those) it will be 465, if a “secure” parameter is set to false, it would be 587,
- secure: true for port 465, false for port 587,
- auth: credentials for logging in, of course, you shouldn’t store your variables in code, but in the .env file.
3. Send email
After creating a transporter will be eligible to send an email. It’s that simple. You can send an email using sendMail method, like that:
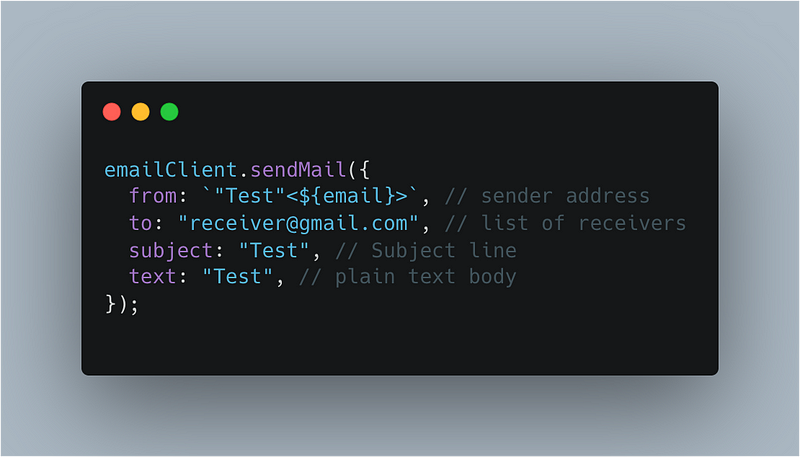
Calling this method results in the following view on your email:

As you can see you can pass a sender Nickname in double-quotes in from parameter.
jsPDF
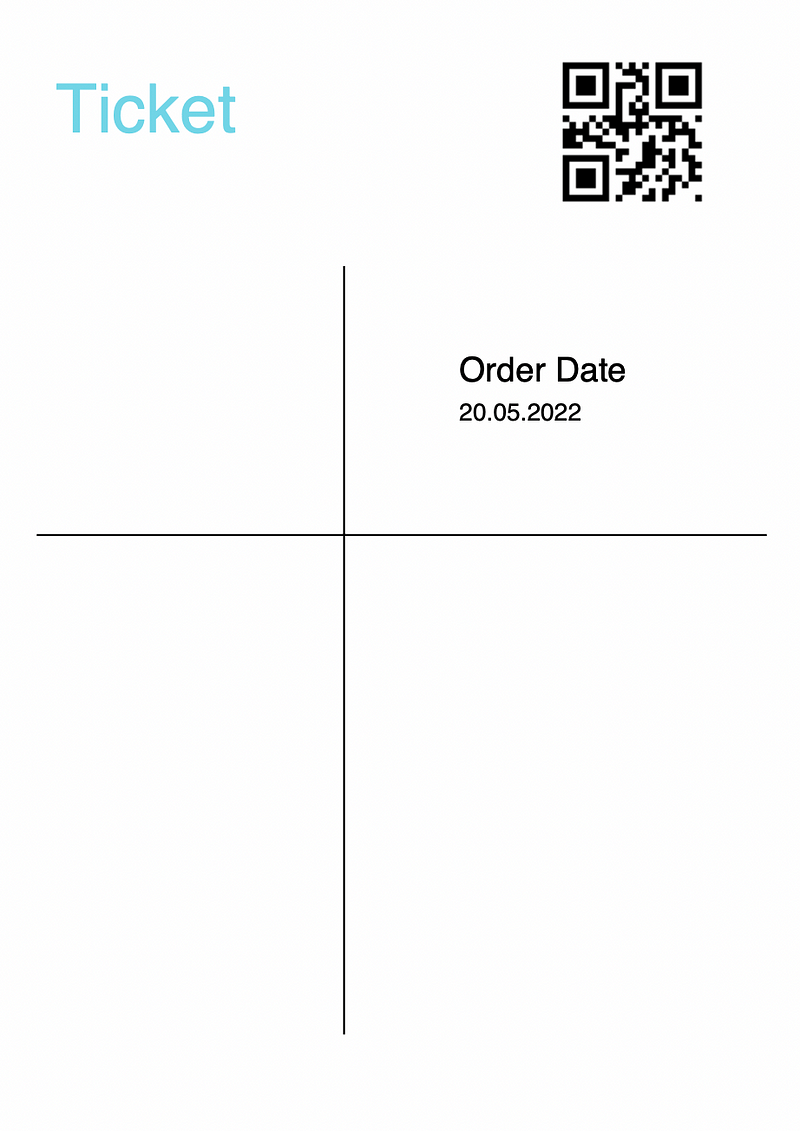
jsPDF is actually pretty cool 😎. It allows you to create PDFs straight from the JavaScript code, and do it fast and efficiently. As a bonus, I will show you how you can also include a QRCode that you generated in it. Let’s create a PDF as shown below.
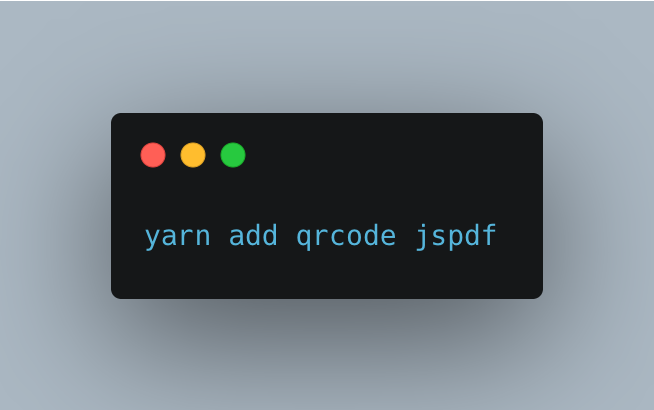
- Install qrcode and jspdf npm modules
2. Create a PDF document
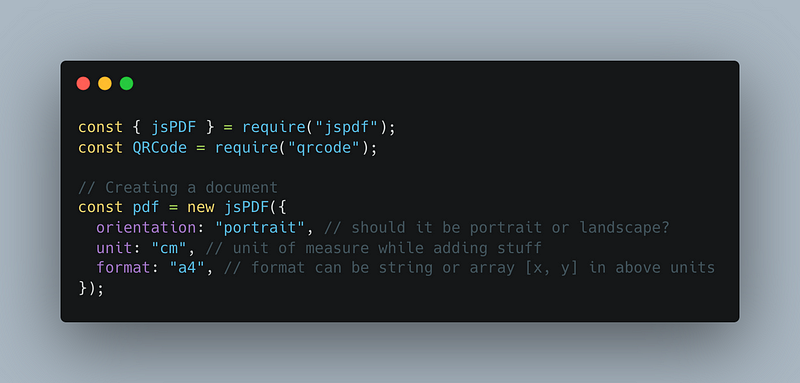
As you can see, with the new instance of jsPDF, we’re able to specify different options. If you’d like to check out all of the possible choices you can find them in the official documentation of jsPDF. In our example, it will be an a4 format with cm as units.
3. Generate QRCode
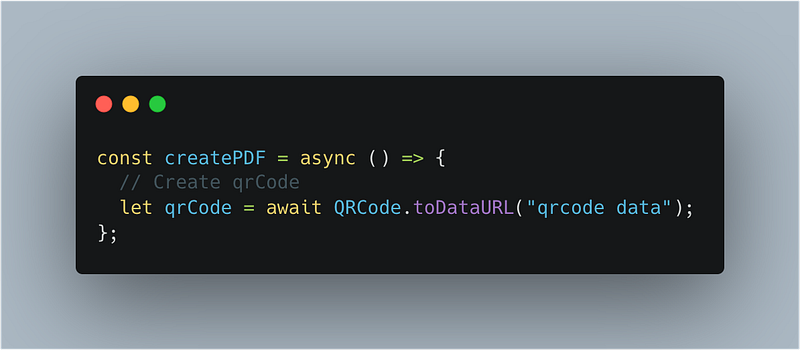
Since QRCode.toDataURL is a promise-based function we’re gonna avoid callbacks by enclosing the process in the async function. Thanks to that, the code will be more readable.
4. Create a PDF structure
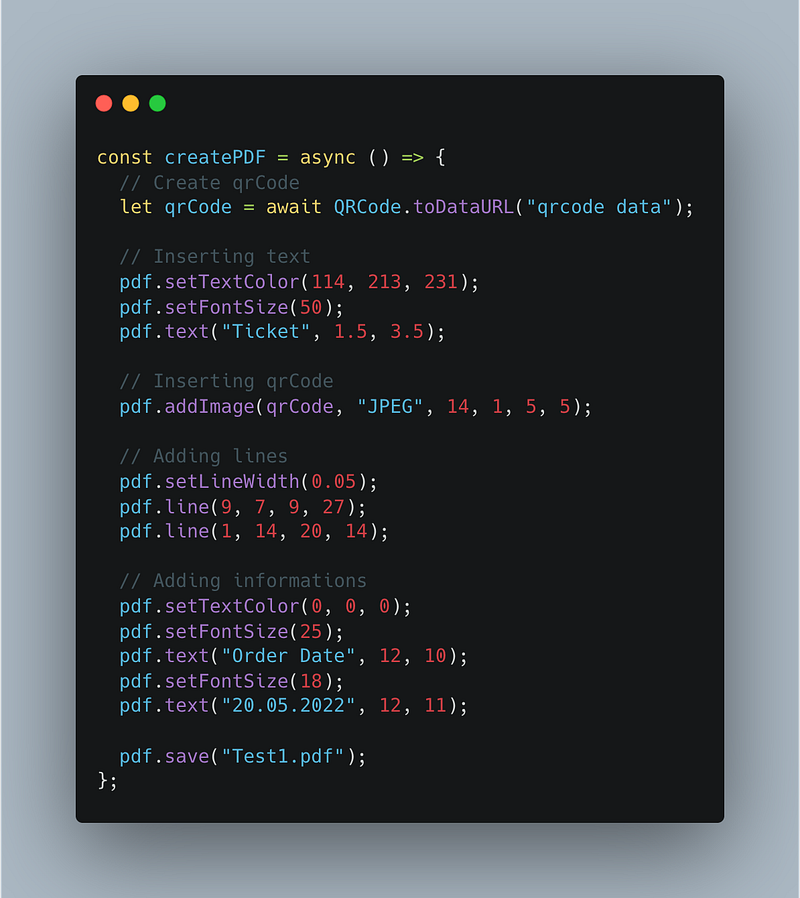
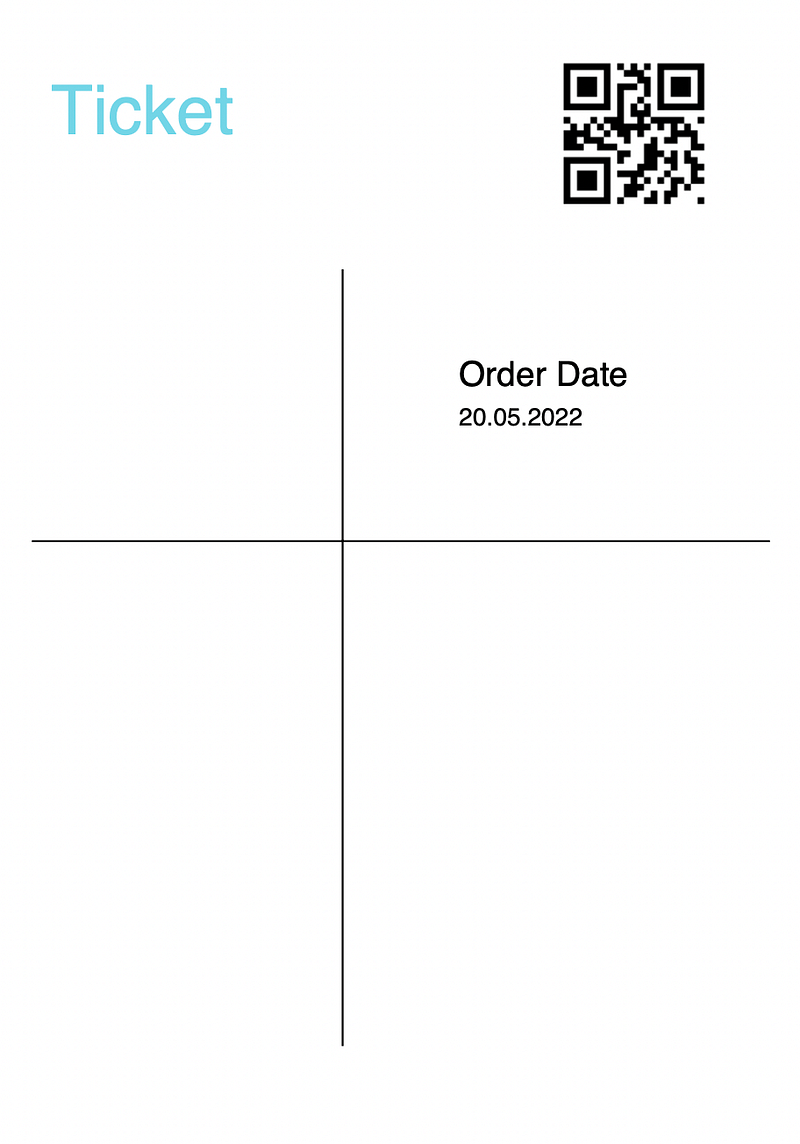
As you can see, it’s pretty intuitive. Of course, you will either have to do it by trial and error or by creating a Photoshop file and grabbing the exact places of the placement. The choice is yours. Anyway, the above code produces the following results:
Sending generated PDF attachments in email
Finally, when we’re able to send an email and create a PDF we can think about merging this functionality. We’re gonna take a code that we’re already written, and add a little secret sauce in order to make it happen.
Ways of including attachments
If you want to include an attachment in your email, you will need to own data. What I meant by this, is that you need to either save the PDF file in the server, or (my preferred way) create a base64 pdf string, which will also allow you to include it as an attachment. Base64 pdf string looks like this:
data:application/pdf;filename=generated.pdf;base64,JVBERi0xLjMKJ...How to create base64pdf?
It’s simple, instead of saving a file, we’ll output the data to a base64 string like that:
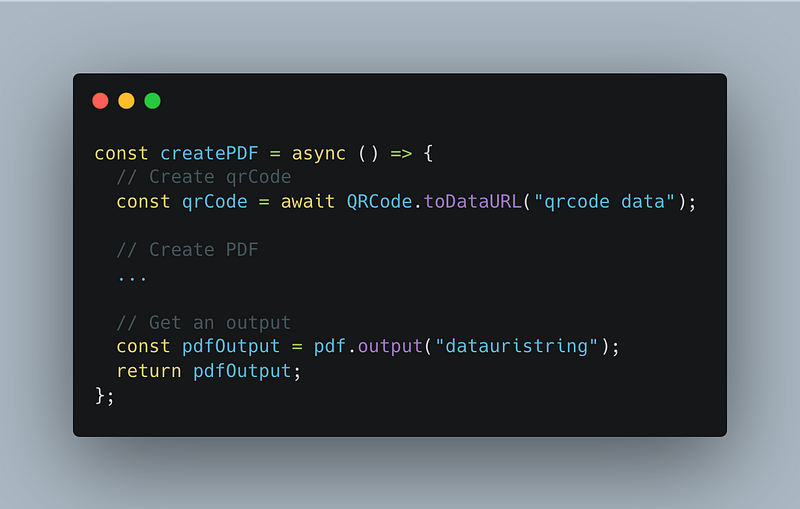
Including PDF as an attachment
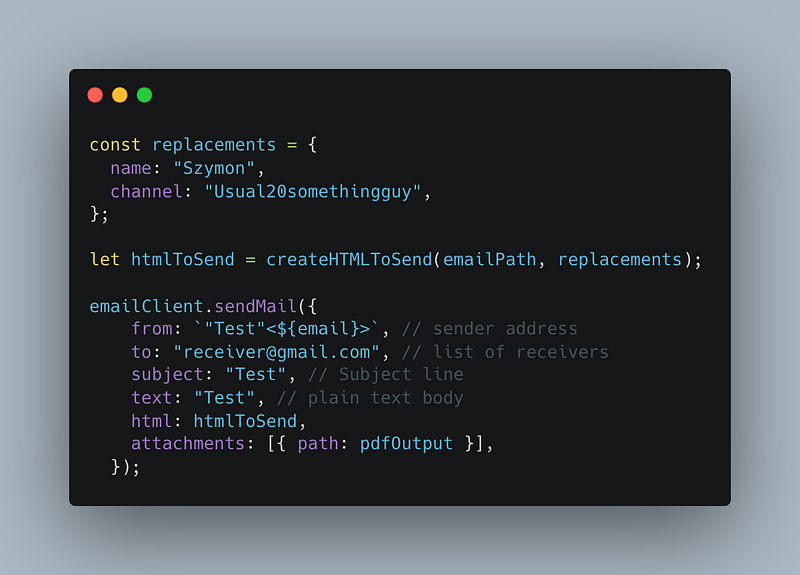
After redirecting dataURIString to pdfOutput variable we’re able to send it as an attachment. It can be achieved by specifying the attachments parameter in sendMail method.
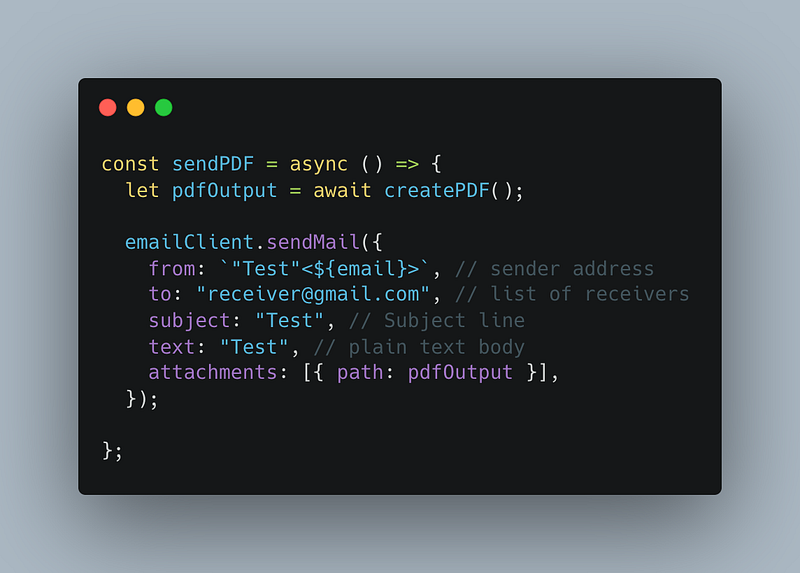
If you want to check out how to include different types of attachments (from the file, stream, text/plain), you can check out nodemailers documentation.
Running the above code results in the following email in my inbox:

Tadaaa 🎉
BONUS — How to create parametrized email template
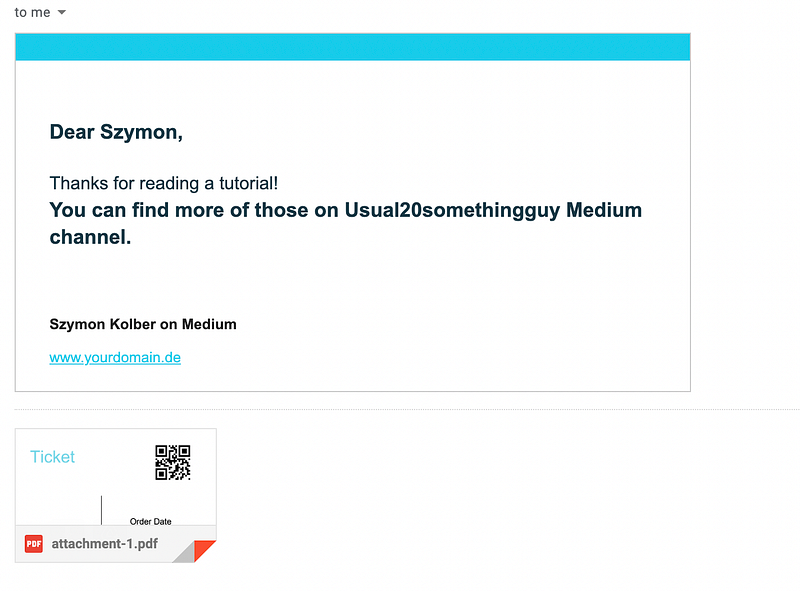
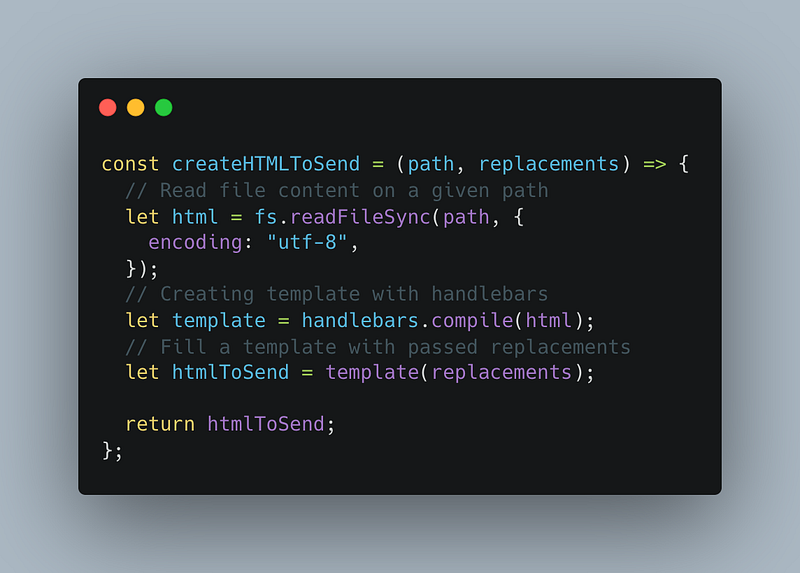
If we want to create email like this, we’ll have to elevate HTML email templates. We’re gonna use the handlebars module for that, specifically, we’re gonna read it straight from the file, with a little help from the fs library.
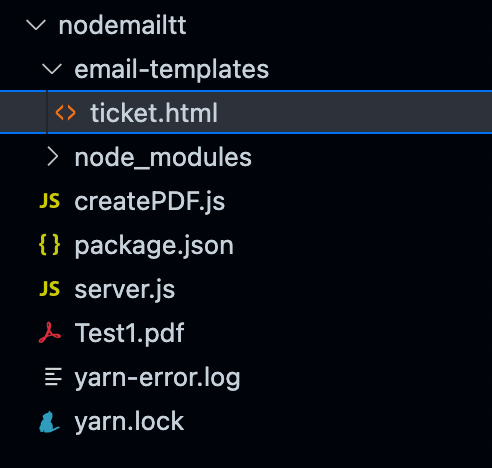
Okay, so how can we do it?
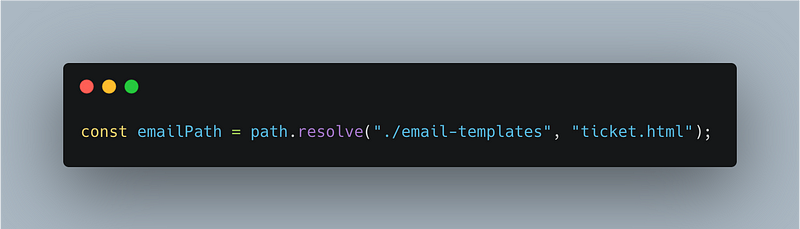
- Resolve a template path
We do this using path resolve because it will create a relative path, i.e. it won’t matter from where you’ll run the code. It’s the best practice.
2. Read file content, and create a template out of it
If you’re curious, the email HTML template looks almost like an HTML file. You can check it out here. It’s too specious to include it in this article.
3. Grab a created HTML and send set it as an HTML parameter
Summary
If you want to be able to send emails straight from the code, you’ll need an email transporter. In JavaScript, the most popular one is Nodemailer, which allows you to send emails fast and efficiently. Additionally, we’ve elevated the jsPDF library, because we wanted to send personalized tickets, and as a bonus, with a little help from handlebars, we were able to generate eye-pleasing email templates.
GitHub project:
More content at PlainEnglish.io. Sign up for our free weekly newsletter. Follow us on Twitter and LinkedIn. Join our community Discord.


