
Let’s Deploy Spring Boot App to the Cloud
A step by step tutorial

Introduction
We have created a simple authentication system in Java and Springboot, which you can see here.
This time we are going to take that simple Spring Boot API that we created in the previous tutorial and run it on the cloud. To be able to do this we will need to go to get ourselves a VPS, or a Virtual Private Server. A VPS is a virtual operating system that is run on a company’s data center. So we aren’t renting someone’s entire computer, we are renting a part of their computer, in our case we are only renting one of their CPU cores (most modern laptops have 4 cores, some have even more), 1 GB of their RAM, and 25 GB of their storage. So let's get this started shall we?
Requirements
- A terminal. This isn’t necessarily a requirement as you can access a terminal from the Digital Ocean website, but from my testing I found their terminal to be a bit slow, so I prefer just going with the terminal that came with my operating system.
- An account with Digital Ocean (or with any other VPS provider).
Setting up the VPS
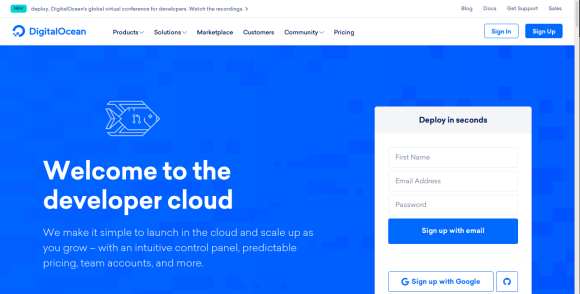
To start off with, head on over to Digital Ocean and click on either “Sign In” or “Sign Up” (or the VPS provider of your choice).
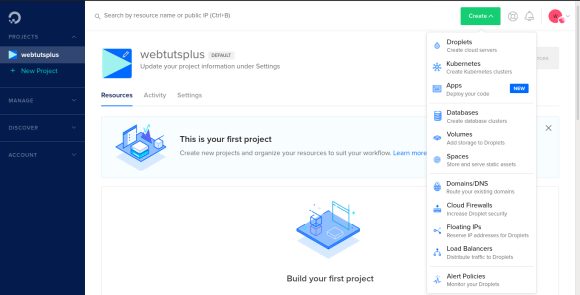
Once you have an account you can go to your dashboard. Click on “Create” and then “Droplets”.
For our droplet, we are going to choose Ubuntu 20.04 (LTS) as our image of choice. For the uninitiated, this is a very easy-to-use distribution of Linux based on Debian, it’s also the one I use on a personal basis.
We are just going to choose the basic plan of $5/mo since there is no reason to get anything more expensive. We are not going to add any block storage. Feel free to choose any region you want, personally, I am just going to choose Frankfurt. We are not going to get any additional options.
Our authentication option will be via password, so enter a root password of your choice. When you reach the “Choose a hostname” point you should give it a name of your choice since this will be how you recognize your droplet, and I don’t know about you but if I had a list of droplets all with a name similar to “ubuntu-s-1vcpu-1gb-fra1–01” I would never be able to tell them apart, so I am just gonna change the hostname of mine to something more recognizable, “Spring-Boot-Cloud”. I am also not going to enable backups since I am doubtful that this droplet will last very long. Click on “Create Droplet”.
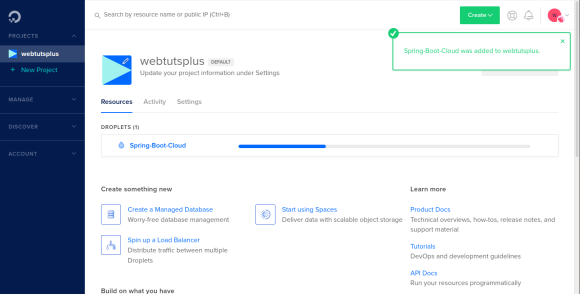
Your droplet will get booted up as a normal computer would. Once it has finished you will be able to interface with it through the website or through your terminal.
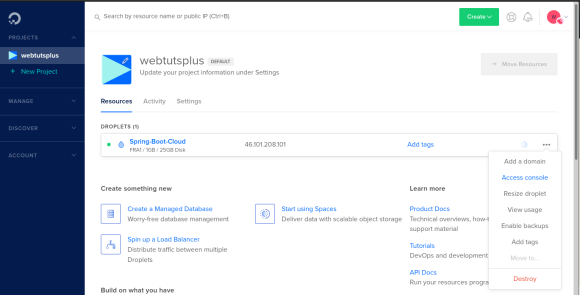
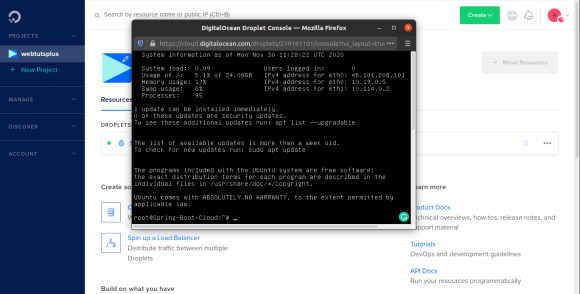
When you open the console for the first time it will ask for your “Login”, you just type “root”. Next, it will ask for your password, this is the password you had to enter when you initially created your droplet. After that you will see something like this:
Using your terminal
If you are like me and prefer to use your computer’s terminal then you can follow this part, otherwise, feel free to skip over this part. Start off by opening your terminal and type this command (replace YOUR_IP with the IP address of your droplet):
ssh root@YOUR_IPIt should give you a message like: “The authenticity of host ‘YOUR_IP (YOUR_IP)’ can’t be established. ECDSA key fingerprint is SHA256:STRING_OF_CHARACTERS. Are you sure you want to continue connecting (yes/no/[fingerprint])?”? Just type “yes”. It will add it to the list of known hosts and then close the connection, just retype
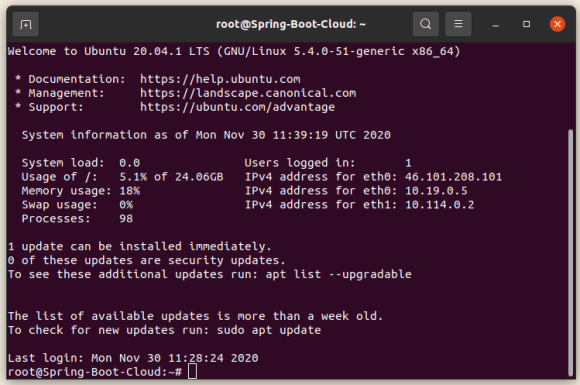
ssh root@YOUR_IPor just press the up arrow. It will ask you for the password, this is the password you created when you set up your droplet. You should see something like this:
Updating, upgrading, and installing
Now that we have our server up and running we have to do some housekeeping to make sure that it is ready to run our application for us. Run this command to update our files, upgraded our files, and remove any unwanted files:
apt-get update && apt-get upgrade && apt-get autoremoveIf at any time a message like “Do you want to continue? [Y/n]” pops up, you can just press “y” and then “Enter”.
Installing required packages
Now that our operating system has been updated we need to install the necessary packages, you can do that using this command:
apt-get install openjdk-8-jdk openjdk-8-jre mysql-server mavenThis will install Java 8 JDK and runtime environment, MySQL, and Maven. Maven will be used to build our project’s JAR file.
Setting up MySQL
Next, we need to set up our MySQL database, start off by entering this command:
mysql_secure_installationThis will take you through setting everything up. If you hesitate about something just say no, which in this case just means press enter. When it asks for your password, enter a password that you will remember since you will need it later. When it asks if you want to reload the privilege tables now, say yes. Next, let us create the users' database. Start off by typing this into the terminal:
mysqlThis will take you to the MySQL monitor where we can now create our new database with this command:
CREATE DATABASE users;When testing this out I had an issue where my Spring Boot application had issues with being able to access the database. I found this command which seemed to work:
ALTER USER 'root'@'localhost' IDENTIFIED WITH mysql_native_password BY 'YOUR_PASSWORD';FLUSH PRIVILEGES;Ones that’s done, you can exit MySQL monitor with the command:
exitSetting up JAVA_HOME
Finally, we need to set the JAVA_HOME variable so that Maven will know where the JDK is. We can use nano to edit our environment:
nano /etc/environmentUnderneath the PATH variable add this line:
JAVA_HOME="/usr/lib/jvm/java-1.8.0-openjdk-amd64"When you are done you can press Ctrl+X, it will ask you if you want to save, type “y”, and then press Enter.

To force the OS to recognize the new variable we have to run this command:
source /etc/environmentTo make sure it worked you can run:
echo $JAVA_HOMEThis should return the path to where the JDK is installed.
Compiling our program
All that is left for us to do is to compile our Spring Boot application into a JAR file. Let's start by downloading the source files from bitbucket:
git clone https://[email protected]/java-spring-1994/api-tutorial.gitThis will clone the project into our home file. Now we need to change some application variables so that our application will know how to access our database. Enter this command:
nano api-tutorial/src/main/resources/application.propertiesThis will open our application.properties file in nano. Change “USERNAME” to root, and “PASSWORD” to the password you used to set up MySQL. Remember to save your file as you did before. Now for the part that makes me a bit nervous since it caused me so much grief when I did the preparation for this tutorial. To compile the application run this command:
cd api-tutorial/ && mvn clean installIf you receive a “BUILD SUCCESS” message it means that your project successfully compiled and that you now have a JAR file that you can run. For this part, I am going to switch back to the terminal on the Digital Ocean website because it will allow me to run the program in the background even after I closed my terminal.
Running your application
To run your newly created JAR file you will have to change directories with this command:
cd api-tutorial/targetNow to run the JAR file you can use this command:
java -jar tutorial-0.0.1-SNAPSHOT.jarYou should now have a running Spring Boot application that can be accessed from the internet. Let’s test it out!
Testing our application
To create a new user you can run this command (replace YOUR_IP with your server’s IP address):
curl -H "Content-Type: application/json" -X POST -d '{
    "username": "test",
    "password": "test"
}'  http://46.101.208.101:8080/users/register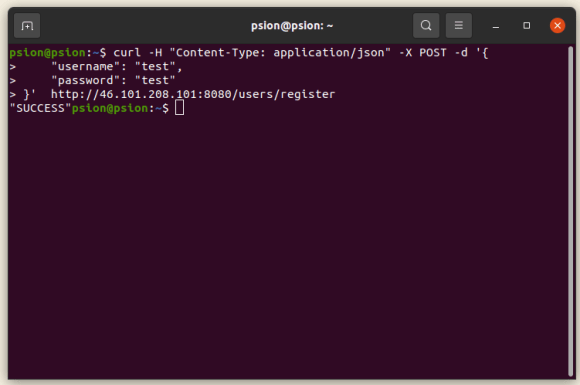
You should be able to run all the commands we went through in the previous tutorial.
Thank you for reading this.
Have a lovely day!


