
How to make Windows Terminal Awesome (Part 1)
Since Windows 10, Windows Terminal (WT) offers a enhanced command-line interface. Along with complete support for various environments like PowerShell, Command Prompt, and Windows Subsystem for Linux, it is jam-packed with important features like GPU acceleration, tabs, panes, themes, and shortcuts.
In this article, I’ll outline a few methods to customize the terminal experience to meet your needs as well as some advice on how to have a pleasant and effective experience.
Powershell
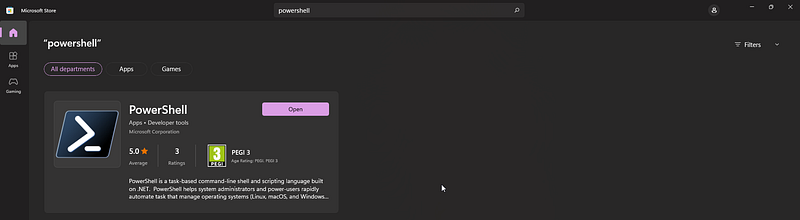
Let’s start by installing the latest version of Powershell. Open Windows Store and search for Powershell and install.
Fonts
Now we’re going to install a Nerd Font, a font that supports glyphs (icons), ’cause will be using those on our WT. Browse to https://www.nerdfonts.com/font-downloads and download a font that you like. I chose Hack Nerd Font for myself (https://github.com/ryanoasis/nerd-fonts/releases/download/v2.2.2/Hack.zip). After download and unzip, install all font files that end with Windows Compatible.
Windows Terminal
Open your WT. First thing we’re gonna do here is set WT the default terminal application. So, open Settings, Startup and set Default terminal application: Windows Terminal.

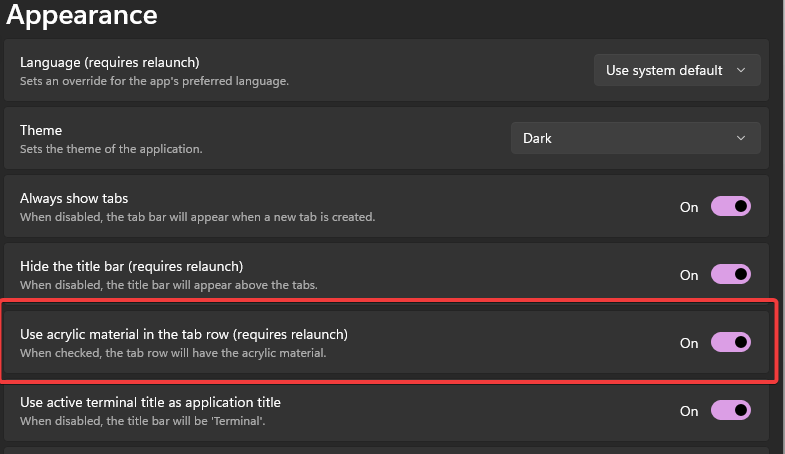
Next, to have a transparency effect on the tabs, go to Appearance tab and set Use acrylic material in the tab row: On
Default Settings
Let’s set Color scheme to your favourite. I like One Half Dark.

If you want to set your own custom color scheme, you’ll have to click Open JSON File and find the color schemes section, and add your custom color scheme there. You can find custom themes here: https://windowsterminalthemes.dev/ .
Set the default Font Face to the one you downloaded previously.

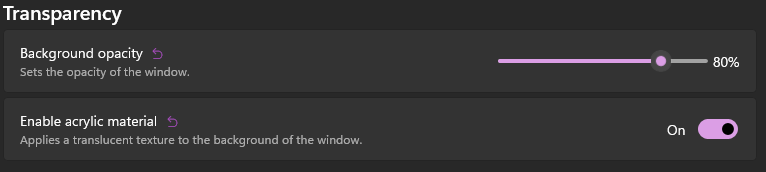
Enable background transparency by enabling acrylic material and set the opacity to a value of your liking. If you set it too low, it will be dificult to read if the below window is light.
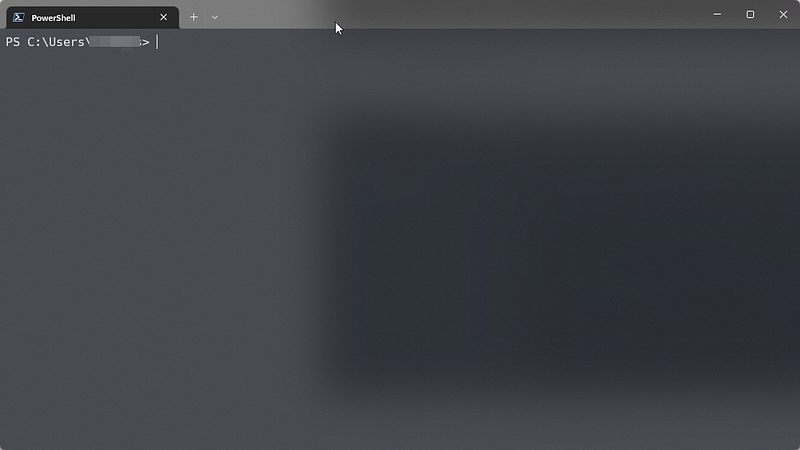
This is our WT at the moment:
Scoop
We will be installing some goodies using scoop, so let’s install scoop. Open Powershell and run:
Set-ExecutionPolicy RemoteSigned -Scope CurrentUser irm get.scoop.sh | iex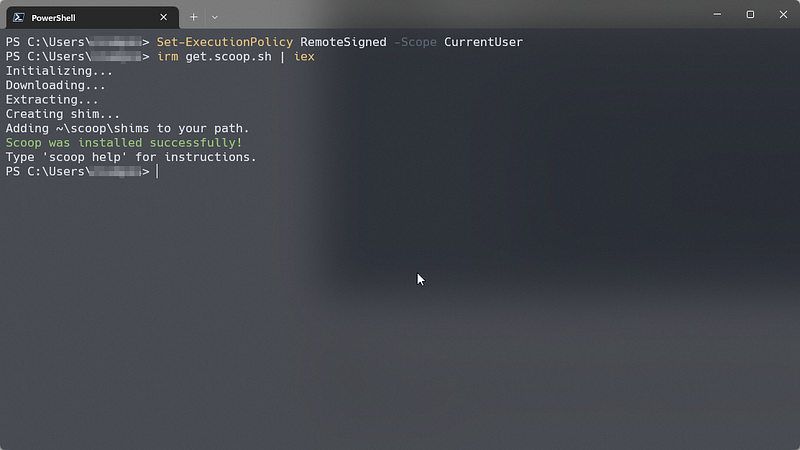
Now we’re installing a couple of utilities that will be required for our setup.
scoop install curl sudo jq fzf
Git
Install Git for Windows.
winget install -e --id Git.Git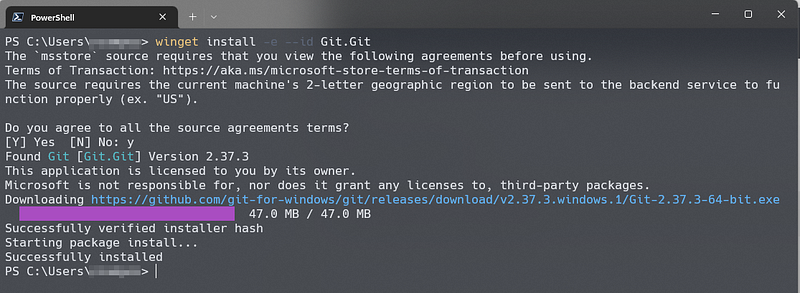
Oh My Posh
Oh-My-Posh is a custom prompt engine that allows you to adjust the prompt string with a function or variable.
scoop install https://github.com/JanDeDobbeleer/oh-my-posh/releases/latest/download/oh-my-posh.json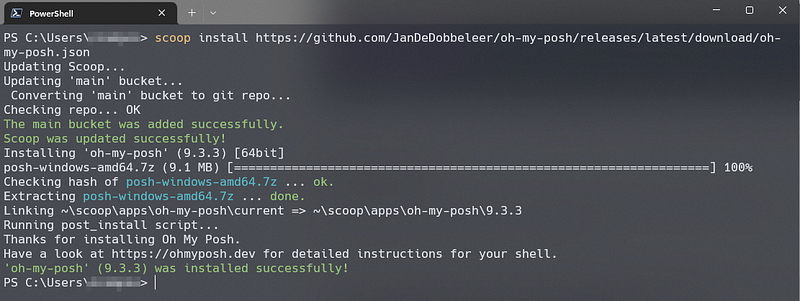
You can find the themes in
oh-my-posh init pwsh — config “<scoop_directory>\apps\oh-my-posh\current\themes\jandedobbeleer.omp.json”
for the prompt initialization in PowerShell. You can also create your own themes. I’ll write an article on this in the future.
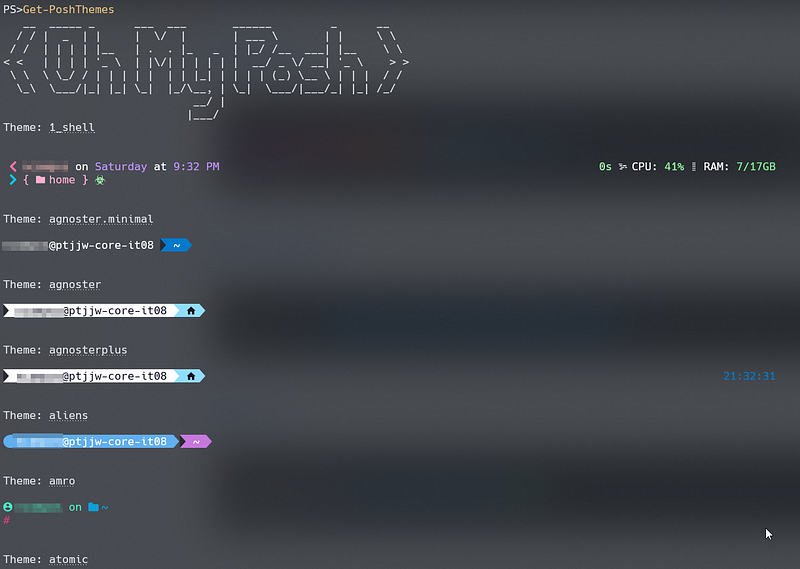
You can view available themes with:
Get-PoshThemesor here: https://ohmyposh.dev/docs/themes
Required Powershell Modules
Now let’s install the PowerShell modules to pimp our WT.
Posh Git
Posh-git is a PowerShell module that integrates Git and PowerShell by providing Git status summary information that can be displayed in the PowerShell prompt.
Install-Module posh-git -Scope CurrentUser -ForceTerminal Icons
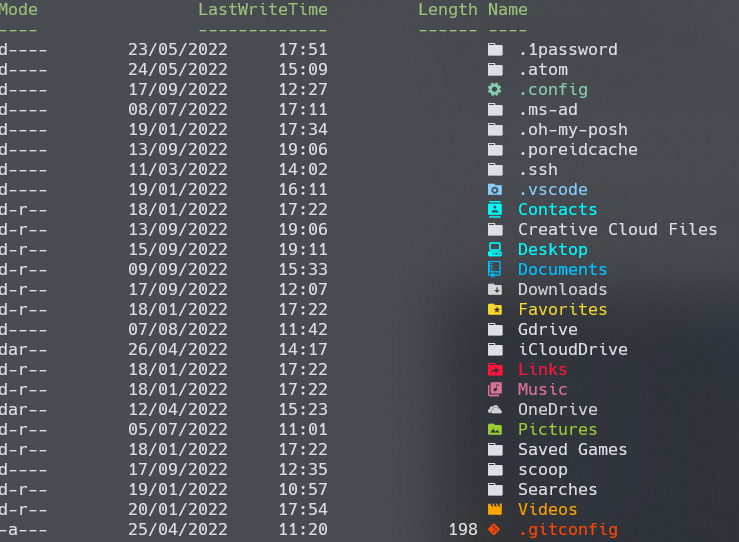
This module adds file and folder icons when displaying items in the terminal. This relies on the custom fonts provided by Nerd Fonts.
Install-module Terminal-Icons -Repository PSGallery -ForceZ
z lets you quickly navigate the file system in PowerShell based on your cd command history. It’s a port of the z bash shell script.
Install-Module z -ForcePSReadLine
This module is awesome. It provides syntax coloring, simple syntax error notification, better multi-line experience, custom key bindings, bash style completion, Bash/zsh style interactive history search, and automatic saving of history.
Install-Module PSReadLine -Scope CurrentUser -AllowPrerelease -Force -SkipPublisherCheckPSFzf
This PS module adds fuzzy file finder to the command line.
Install-Module -Name PSFzf -RequiredVersion 2.0.0After install all required stuff, restart your computer, otherwise you’ll get a couple of command not found errors.
Powershell $profile
In the profile config file is where we import the modules we want to use, set Oh My Posh theme, configure PSReadLine settings, command aliases, etc.
You can get or have a look at my profile file here: https://github.com/a20110/configs/blob/main/psprofile.ps1
And then use user favourite editor to edit yours and then reload config to apply:
code $profile
. $profile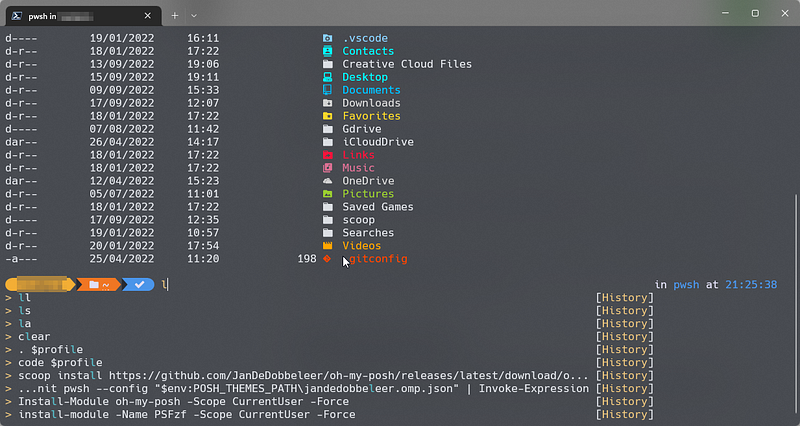


I’ve also set a couple of command aliases: ll for ls, g for git or vim for nvim.
And that’s it. This is my WT setup. In the next article I’m going to introduce a couple of goodies that run from the terminal, like this:
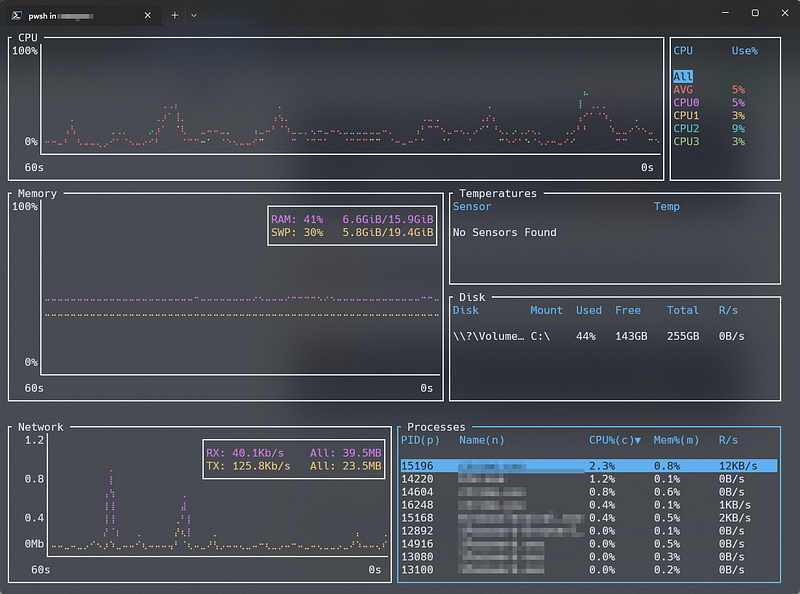
Check out my favourite utilities for Windows that make me more productive:
Follow My Obsidian Setup series here:


