
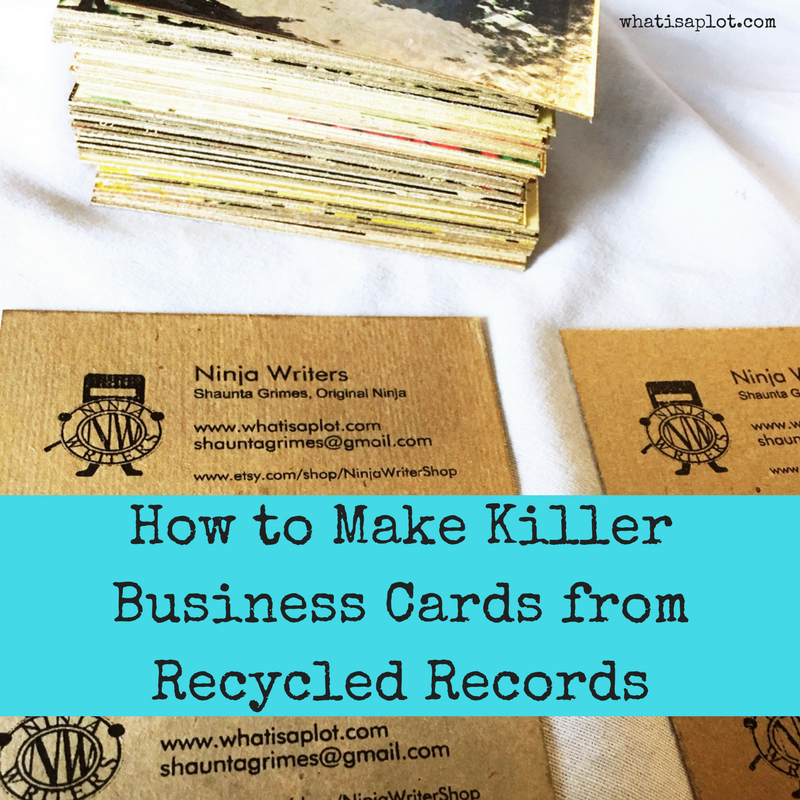
How to Make Killer Business Cards from Recycled Record Covers
No, really. I’m never buying boring old business cards again.
I have these on my mind right now because I have a new website and a new logo, and I’m going to have to make up some new ones in the next couple weeks.
I thought I’d share the process with you.
Writing is a kind of singular business in some ways.
It’s making art. But if you were painting or sculpting or drawing, you probably wouldn’t put pressure on your art to support you. Especially not on a deadline. (You know: if I don’t make money on THIS book I’m quitting.)
I think one of the most important things is to set yourself up to really believe, deep down, that you ARE a writer. A real writer. A professional writer. And that has to happen well before you make any money. Well before you even have any real proof that you ever will make any money.
You have to have faith.
One way we find that faith is by inserting ourselves in the writing community. We go to conferences. We join groups (like Ninja Writers!) We find our people.
And when we do that, it’s nice to have a business card that says: Hey world, I’m a writer. Nice to meet you!
And since we’re artists, it’s totally, perfectly fine to have fun with our business cards and make them arty.
So, in that spirit, here’s a little tutorial on how to make your own business cards by recycling record jackets.
I can find record albums at one thrift store for a quarter. A local used bookstore has a vinyl event every month and on the last day, every album is 29 cents. Pretty much every other thrift store here sells them for 99 cents. I’d be shocked if you couldn’t get your hands on some for less than 2 dollars a piece.
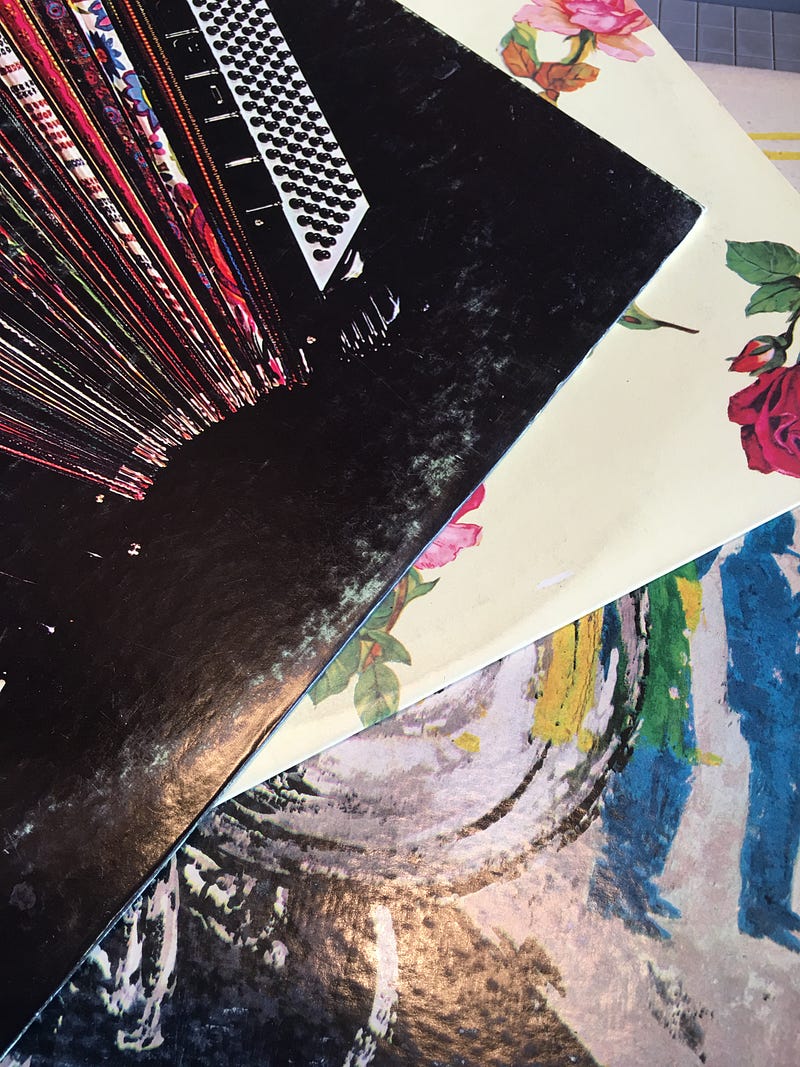
For the purpose of this post, I headed to a thrift store that sells albums for 99 cents each. I found three.
You’re going to need:
3 record albums to recycle (for a max of 108 business cards, assuming you can use every inch of your albums.) Hand sanitizer and paper towels. Some way to cut the albums (a paper cutter is best.) Spray paint. A stamp with your info on it (or a Sharpie.) Optional bling.
If you buy a stamp online and you don’t have any spray paint laying around, you’re going to spend about $25 up front to make 108 cards — but the main expense is the stamp, which will make 1000s of cards. Once you have your stamp, you can make 108 more cards for about $3, plus a little spray paint.
You want albums that have interesting covers, with colors that speak to you. But don’t worry too much, because they look cool all cut up, regardless.
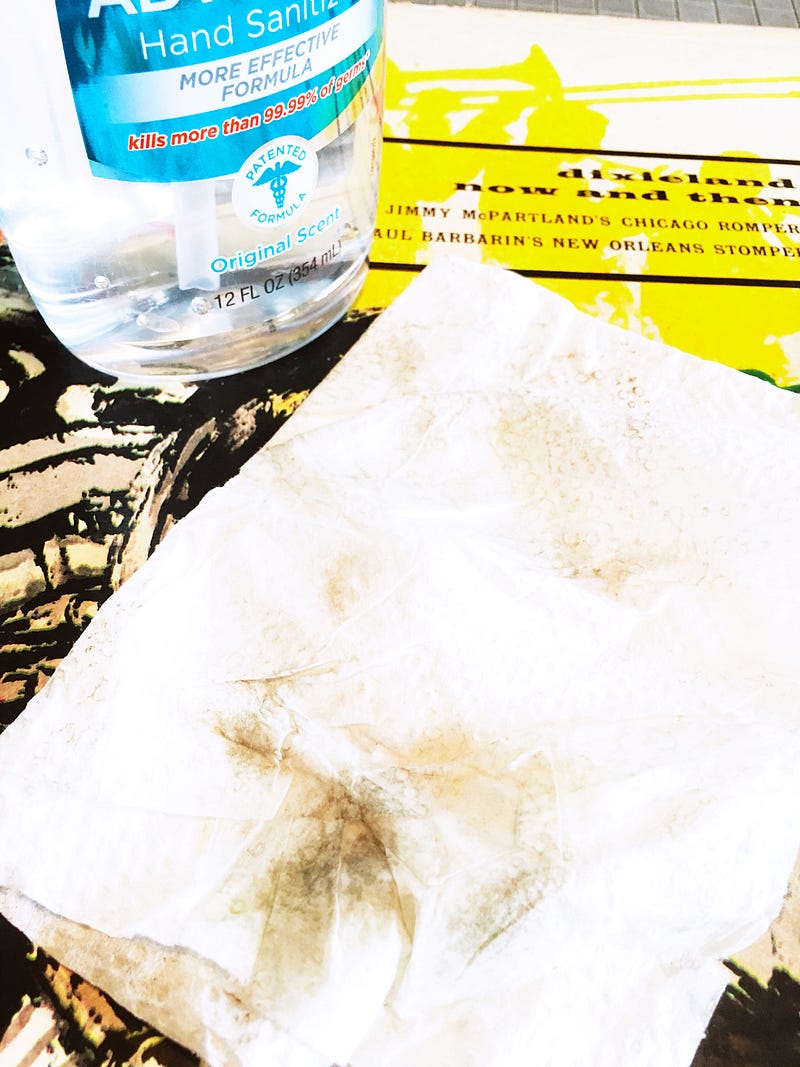
To clean them, I used a little hand sanitizer (which is basically just alcohol) on a paper towel. These guys were more than 50 years old, so the cleaning was definitely necessary, as you can see in the photo below. The cover of the albums have a coating on them that makes it fine to rub them with a little hand sanitizer, but you don’t want to soak the cardboard. If your albums don’t have that coating, if it seems like they are just bare cardboard, then I’d skip the hand sanitizer. (Honestly, I’d skip those covers for this project.)
Now you need to separate the album fronts from backs. (You’ll have to remove the records first, of course. You can save them in their sleeves to listen to, or look up the multitude of things you can make out of them. Or re-donate them to the thrift store.)
Just carefully take the sleeve apart. I use a box cutter to help. You want two 12" X 12" pieces from each sleeve.
Once you’ve done that, you need to trim the sleeves. I trimmed about 1/8 of an inch from all four sides first, to give me clean edges. Then you’ll have to further trim to 12" X 10.5".
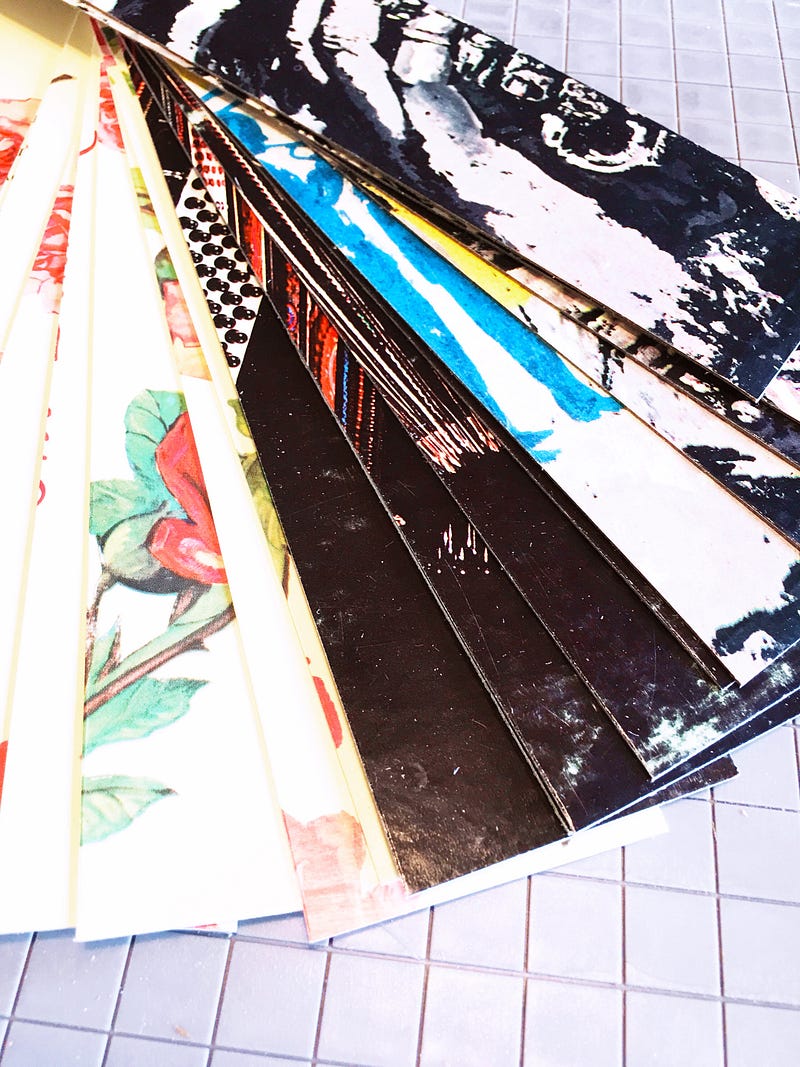
Then trim to six strips, 2" x 10.5" each. That’s going to give you thirty business cards that are 2" X 3.5" each.
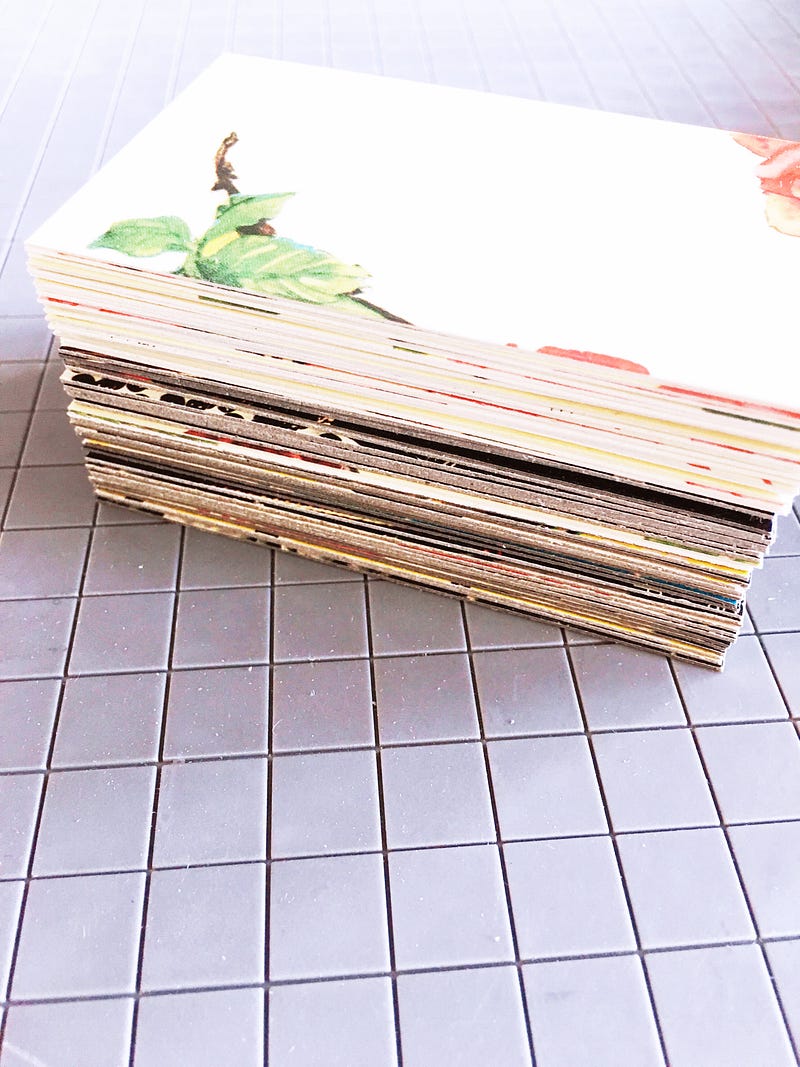
It’s okay if you have to sacrifice some of the cover due to damage to the cardboard. Just do your best. Don’t try to only cut perfect pictures out though…just cut your strips and cut them into the cards. The strips will have to be 2" wide and either 10.5" or 7" long (which will give you three or two cards from each strip, respectively.)
I used a guillotine paper cutter that I bought at a thrift store for $5. I routinely see paper cutters at thrift stores — the rotator kind and guillotine kind — for less than $10 (and usually less than $5.) You can use scissors, but it won’t look as professional. A metal ruler and a box cutter or Xacto knife to make cleaner, more precise cuts.
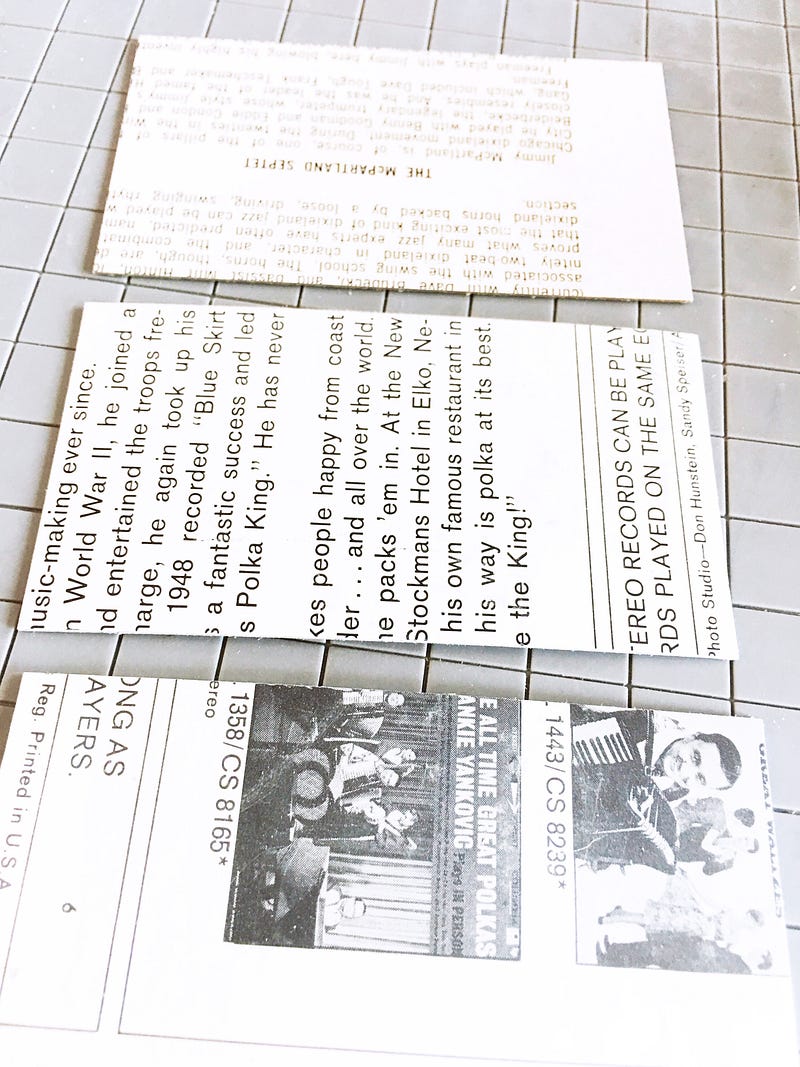
The back sides of most albums are significantly less exciting than the fronts. Many are just black and white and typographic. You can decide whether or not to make cards from the backsides. I personally do. I kind of like it.
Once you have all your cards cut, you can bling them up some with spray paint on the edges. These cards are perfect for that because the cardstock is thick. I used gold spray paint, but you could use any color. I think a neon would be awesome. My can of paint cost about $3.75 from Wal-Mart.
Just stack your cards up and secure tightly with a rubber band on each short end. You’re going to sacrifice the top and bottom card, so look through your stack and see if you have any that are, for instance, all black or all white, or just a block of type that you don’t like for a card. Or cut 2" X 3.5" rectangles from an index card and use those on the top and bottom of your pile of cards.
Then spray all the edges. Let the paint dry an hour, then move the rubber bands to expose the lines and secure again, then repaint.

Once that paint is dry, you’re ready to turn your glitzy recycled record rectangles into business cards.
I bought a stamp from Vista Print. It’s self-inking and cost about $18, on sale. Or, if you’re feeling super frugal and have great handwriting, you can just break out a Sharpie.
You want your card to have your name, your title (WRITER!), your website if you have one, and an email address. You can also list any of your books, if you have some already published.
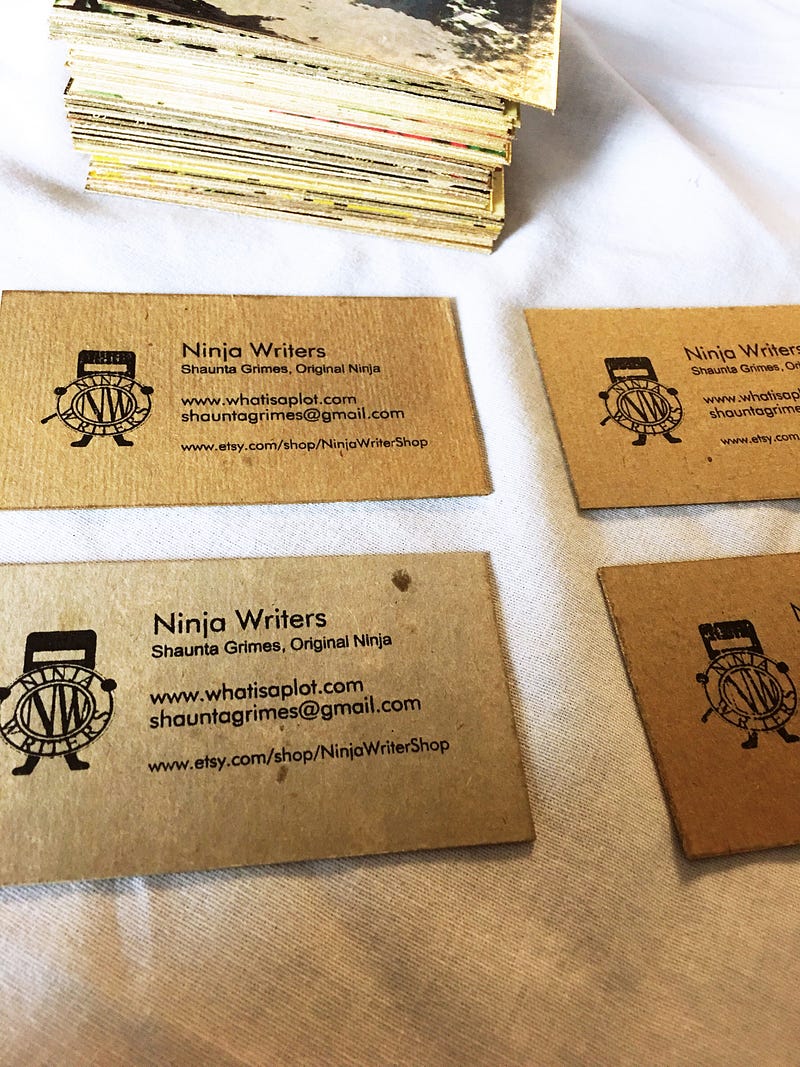
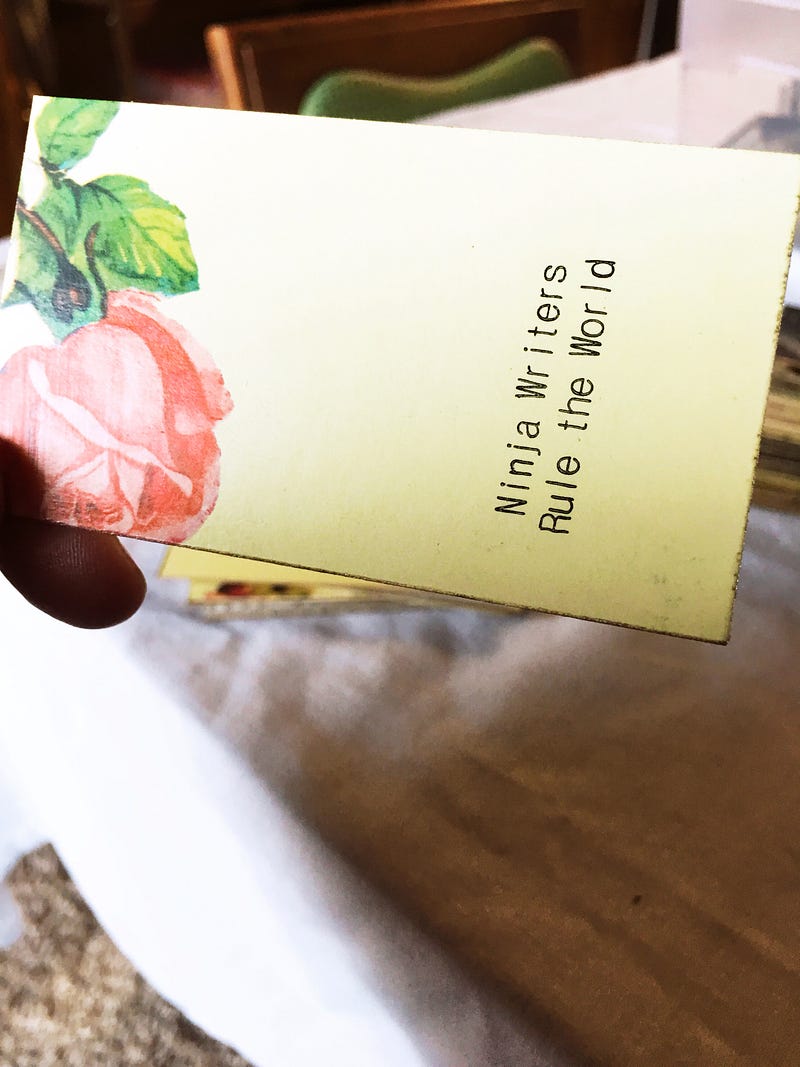
You can add something to the front, too. You don’t have to. Your cards will already look awesome, just the way they are. But, if you want to, you can add something more. Maybe a little washi tape stripe? Or, you can do what I did, and rubber stamp something. I happened to have a stamp I had made up a long time ago that says Ninja Writers Rule the World. I added that to the lighter-colored cards. I think it made the typographic cards extra awesome.

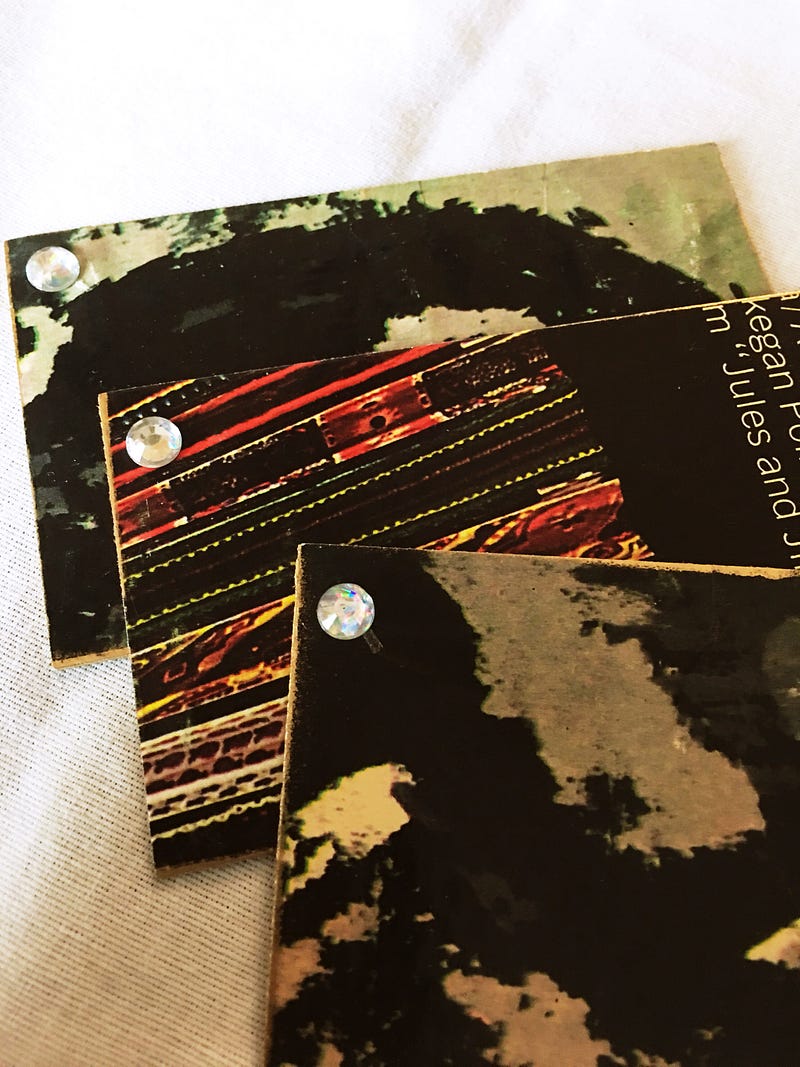
For the darker cards, I found a sheet of 1300 (!) little adhesive jewels for less than $3. I added one to the corner and I think it looks awesome. I won’t do it to too many of them, probably, because they won’t stack perfectly flat this way. But I like it for some.
There you have it, Ninja! DIY Business cards from recycled records. I’m super, super happy with how these turned out. I’d use them over regular printed cards in a heartbeat. I’d also hold on to one of these if someone handed it to me, if only to check out what exactly it is. That’s a huge bonus.
Here’s my secret weapon for sticking with whatever your thing is.
Shaunta Grimes is a writer and teacher. She lives in Reno with her husband, three superstar kids, and a yellow rescue dog named Maybelline Scout. Her most recent book is The Astonishing Maybe and she’s represented by Elizabeth Bennett at Transatlantic Literary Agency. Find Shaunta on Twitter @shauntagrimes. She is the original Ninja Writer.