
Partners of woodworkers unite!
How to Make DIY Fire Starters
From “man glitter” to something actually helpful
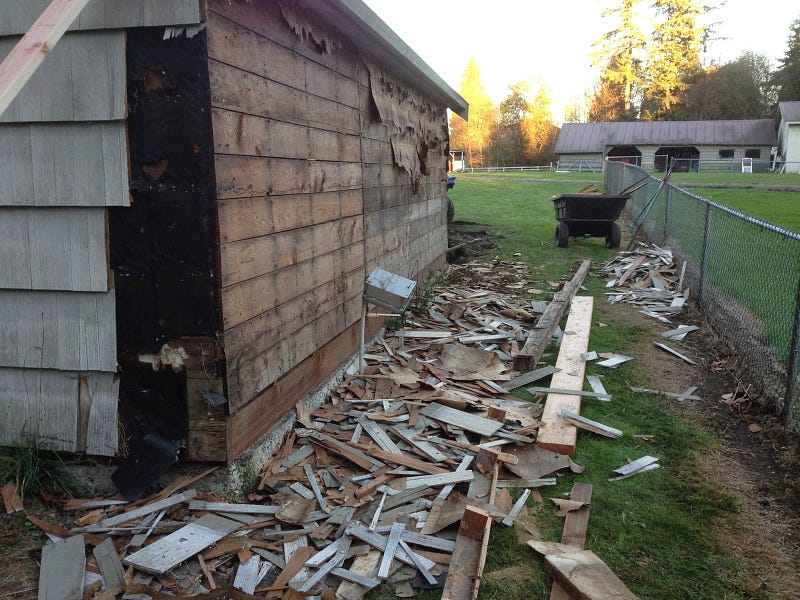
Step one: Tear down an old building on your farm.
Just kidding. Sort of. First, you’ll need to remove the ancient, lead-painted cedar shake siding…
It makes me crazy to waste anything, especially if it’s possible to recycle, repurpose, or reuse it, and especially if there’s fuel potential there. When the siding removal was completed, we discovered that there were two layers of cedar shakes, one painted layer and one just plain beautiful wood.
And so, like a dumpster-diving rag-picker, I’m there sifting through the rubble to collect every shard of clean cedar I can rescue before the rains come. It’s a thrill a minute around here, filling every box and bin with these broken shakes, ecstatic about the enormous supply of sweet-smelling kindling for the wood-burning stove!
It’s the little things. It’s about getting a fire started in the middle of winter on a cold night without having to burn up a week’s worth of sooty newspapers. So my genius partner developed his own recipe and special technique for making these amazing fire starters from the piles of sawdust generated out in the man cave –– oops, I mean wood shop –– and the leftover wax from decades of half-burned candle stumps.
Just a tiny piece of this miraculous substance next to a bit of cedar kindling will start a roaring fire with just one match. Every. Single. Time.
Here’s how to make them:
Ingredients: sawdust and candle wax
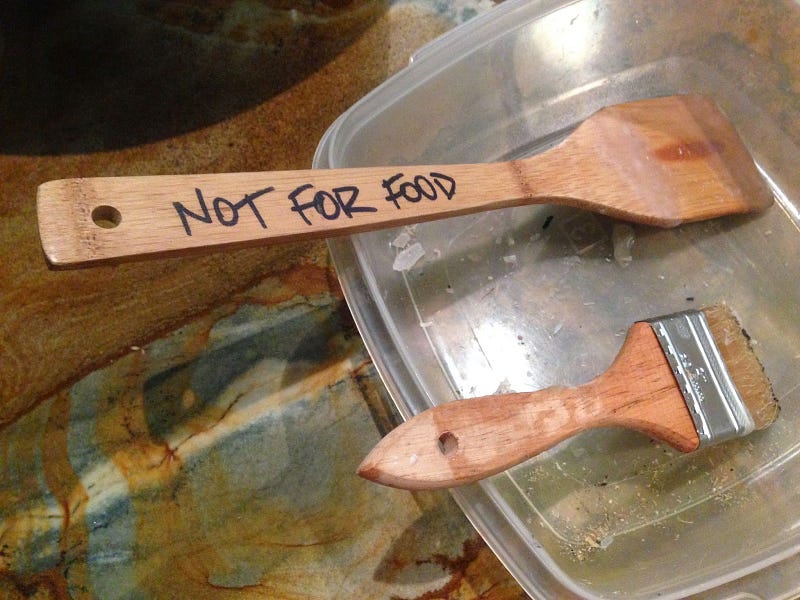
Tools: an old electric wok or crock pot (check the Goodwill or Salvation Army stores), a stirrer (my partner requisitioned one of the cooking tools, so we marked it to avoid confusion), a couple of old cookie sheets with sides, wax paper.
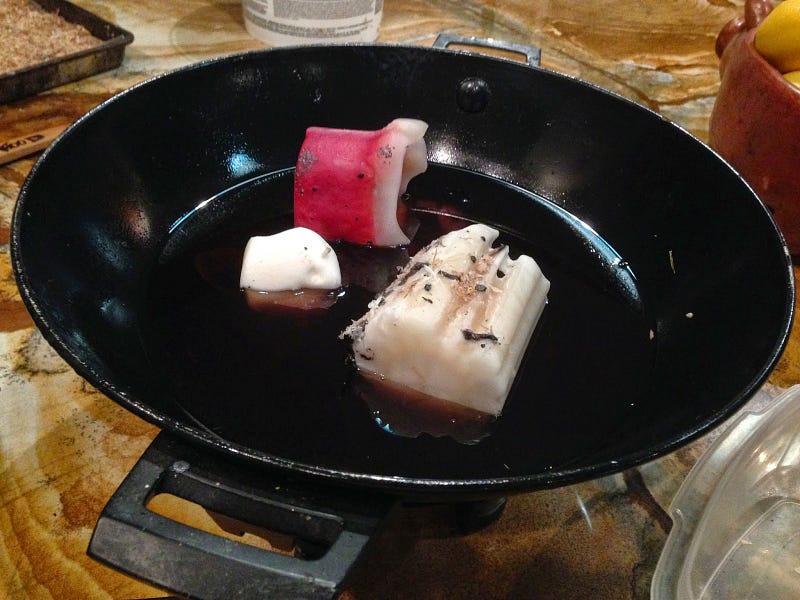
Directions: Melt the old candle wax in the crock pot or wok. This takes time and patience, but no effort whatsoever. Have a beer.
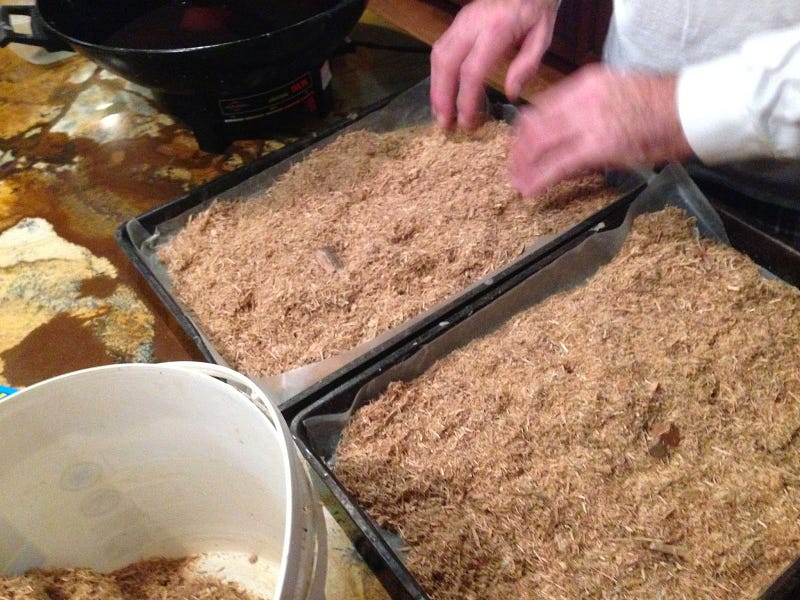
While enjoying your beer and possibly a football game, line two cookie sheets with wax paper, and arrange the sawdust in an even layer in both pans. Add more wax bits to the melting pot, pour another beer, and continue waiting (and drinking beer) while it all melts.
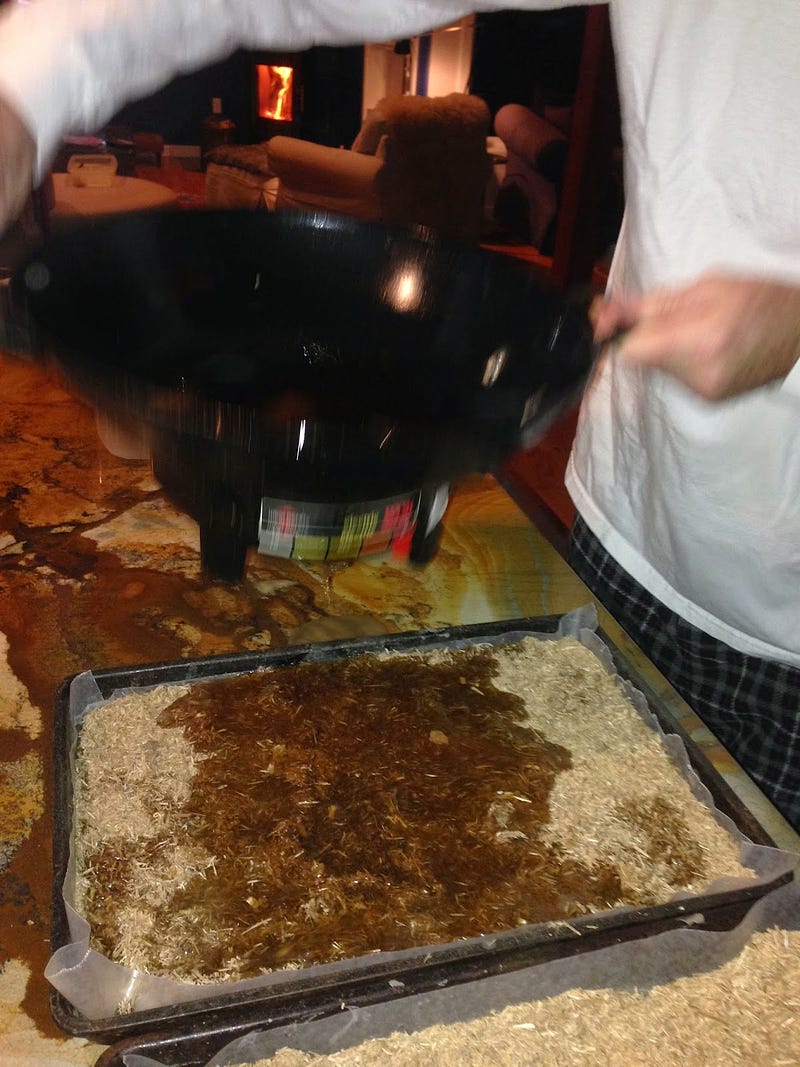
When the wax is finally liquid, you’re ready for the exciting part: the pour. No matter how careful you are, much of the wax will end up on the counter or floor, but keep going. You can deal with your OCD partner later.
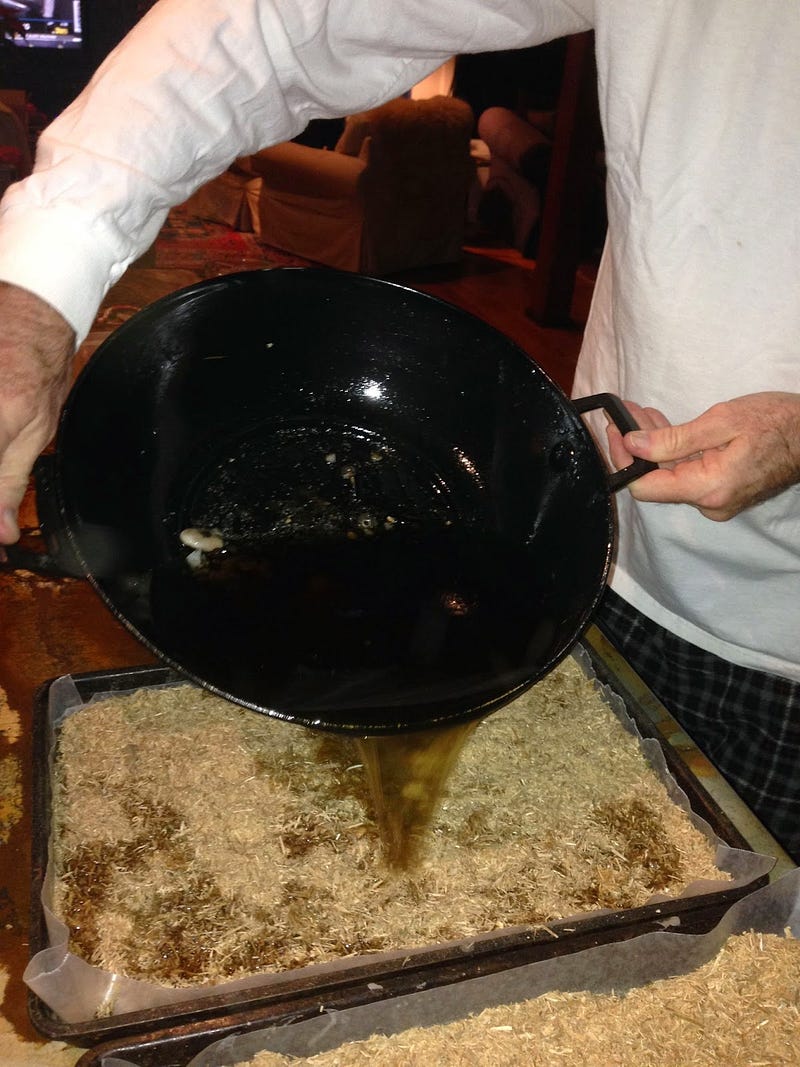
Keep pouring wax gently over the sawdust until it’s “about right,” which means saturated but not drowned. There should be more sawdust than wax when you’re done. The sawdust is what ignites first, and the wax is what keeps it going, so you want the sawdust to predominate.
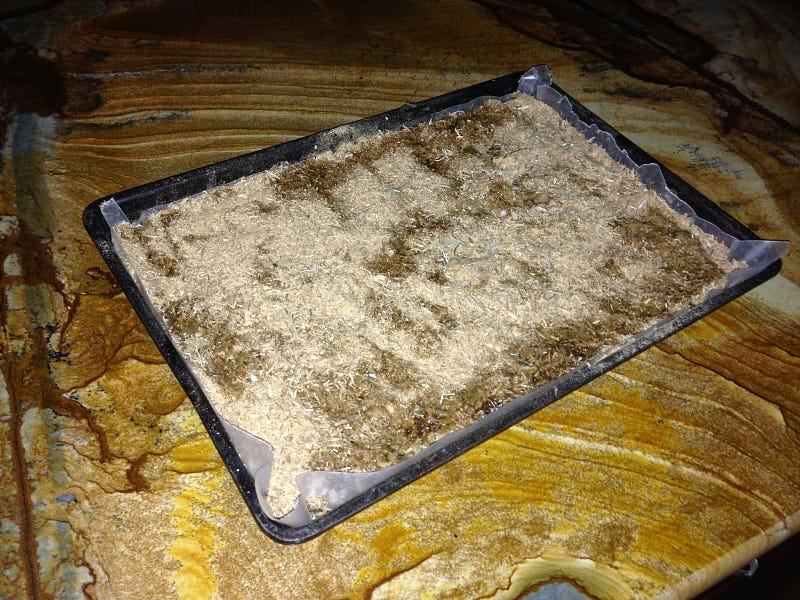
At this point, use the old spatula to mix it all up gently (don’t stir, just “mess it about”), achieving a relatively even consistency throughout. This takes a little practice, but is not actual neurosurgery. Feel free to add more sawdust if needed. Here’s how it should look when you set it aside to cool:
Then (“Hold my beer!”), when it has started to solidify but hasn’t turned to stone yet, score the surface deeply with a knife. This will allow you to break the sheet apart later, after cooling for about an hour or so, into individual little bricks, which can be kept in a small box near the fireplace.
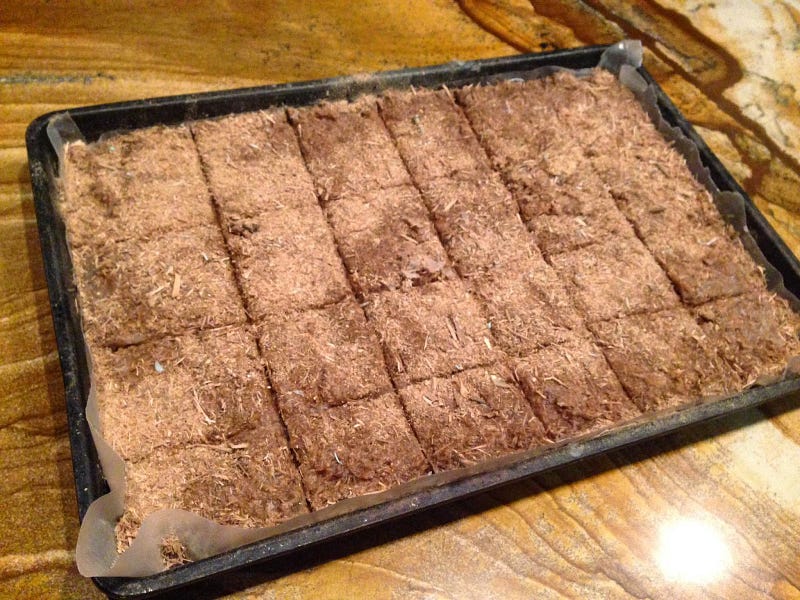
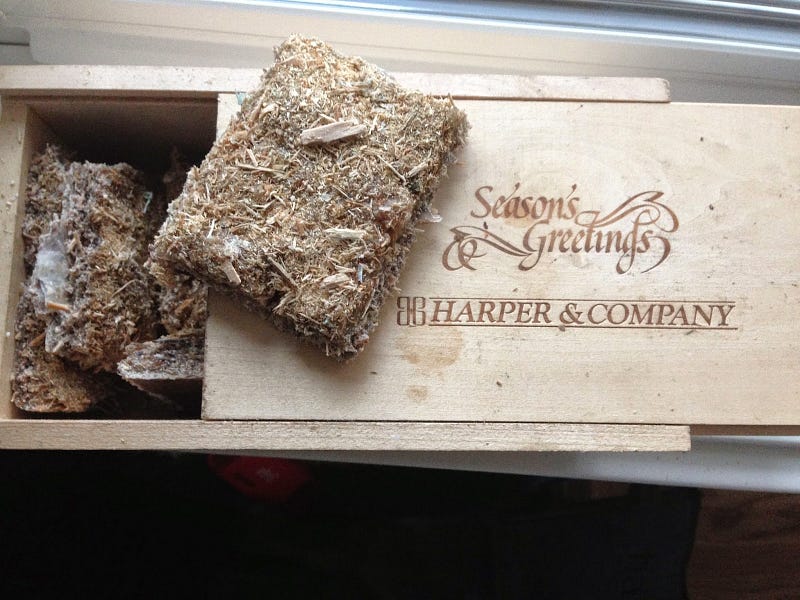
That’s it! And if you look closely at the embossed wooden box in the last photo below, this was as close as we got to sending actual holiday greetings last year.
Thanks for reading! For more fun with sawdust and other useless wood bits, feel free to click over to more coping hacks for us partners of woodworkers!


