
How to Make a Profile Header Movie
An eye catching full motion underlay
I noticed a profile header that was using a GIF to put a bit of motion in the header. It was eye-catching and left me wondering if the header could use the popular UI display of full-motion video as an underlay.
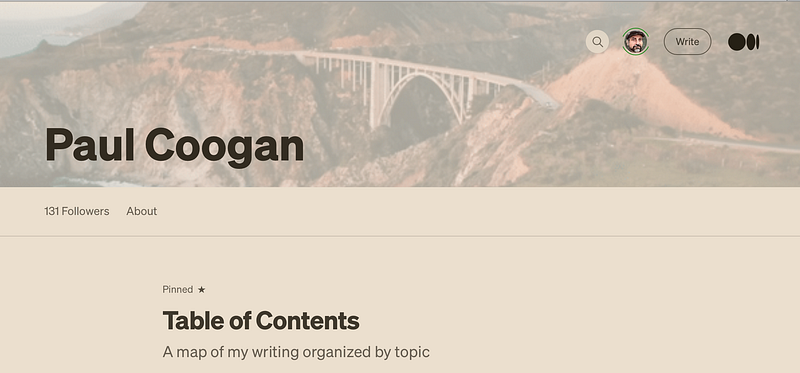
The Medium header specification states JPG, PNG, and GIF can be used for the header image with a recommended width of 1500 px in a 2:1 ratio. This is a bit difficult to obtain in a video where the top resolution is typically 1080px for full HD video. To my surprise, the lower resolution GIF I tried worked perfectly. The image may not be as crisp as would be desired for a still image but as a motion underlay it is very eye-catching.
Find or Create Your Video
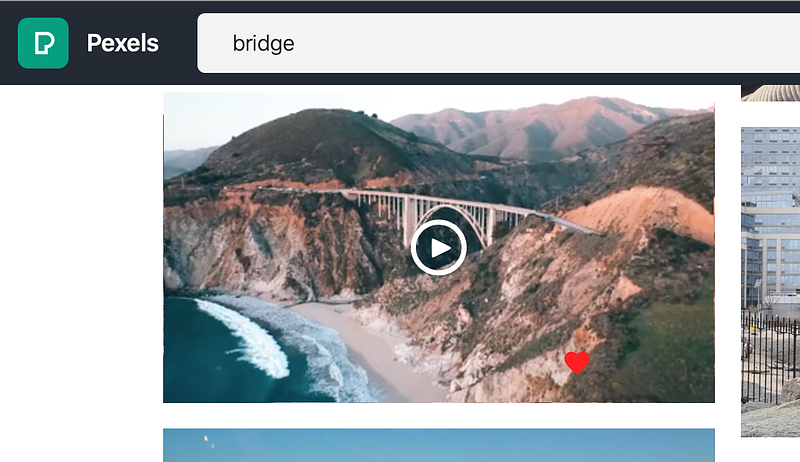
I have a ton of video and will probably search through that later to really personalize the header. In the meantime, I was able to easily find drone footage on Pexels of a bridge on the Pacific Coast Highway I have traversed many times both physically and in my memories.
Edit the Video
For the impatient, trim the video to under 10 seconds and go to the next section.
I imported the video to iMovie thinking I would need to change the aspect ratio to banner dimensions. It turned out to be unnecessary but there were some advantages to using iMovie:
By cropping the clip before putting it on the stage I was able to check the framing for the entirety of the clip.
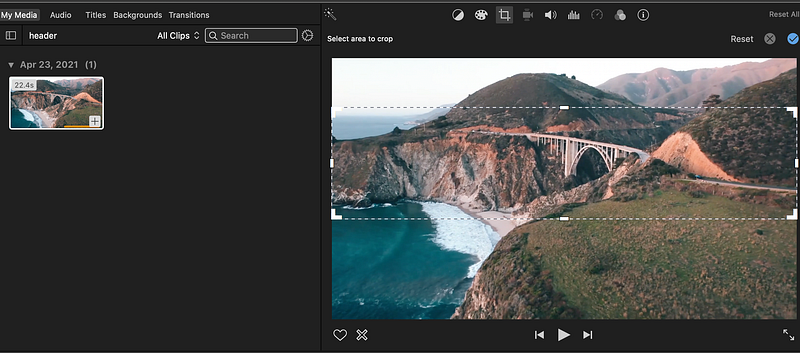
It also allowed me to reverse the video since I liked it better as a push-in and reveal shot. I decided not to adjust the color or add effects though some were quite dramatic.
Trimming the video to under 10 seconds is important for making the motion smooth in a later step.
Convert to GIF
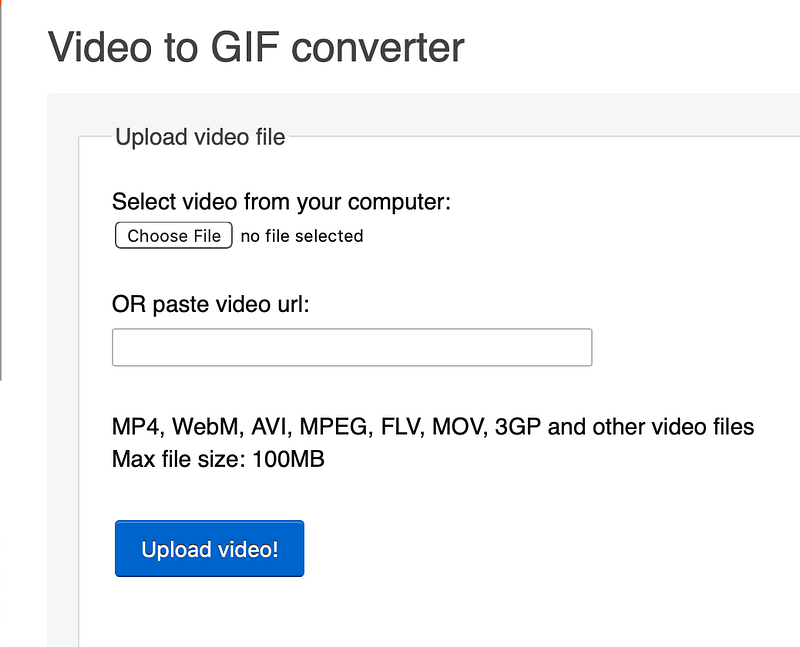
Once exported to MP4 it’s time to convert to GIF using EZGIF.com. The first link in a Google search gave me a more basic conversion tool but that site created a larger file and had difficulty downloading — probably an overloaded server.
Upload the video.
Once uploaded, set the frame rate to 25 (the highest). Leave the size setting alone or it may distort the image.
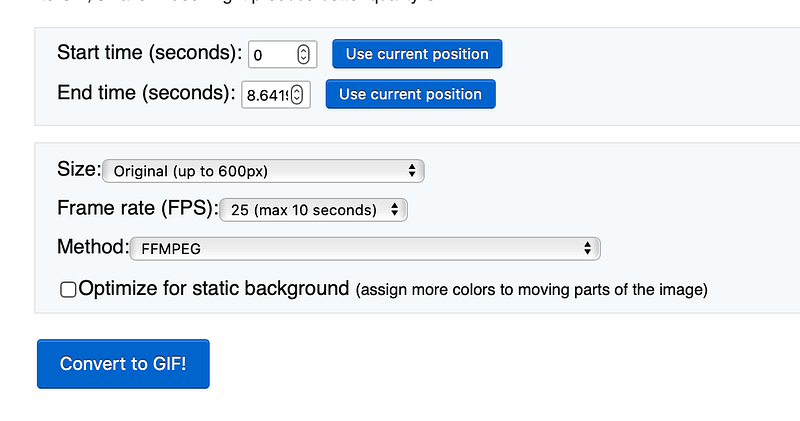
Once the GIF is generated it will have a standard aspect ratio. Use the Crop tool to trim off the padding.
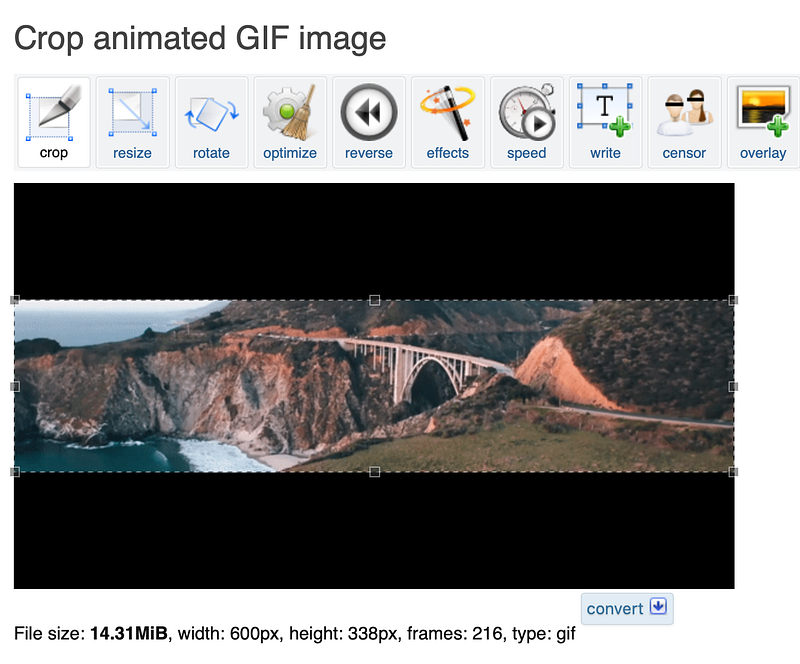
Once cropped and saved to your computer, go to Medium and navigate to Design Your Profile.
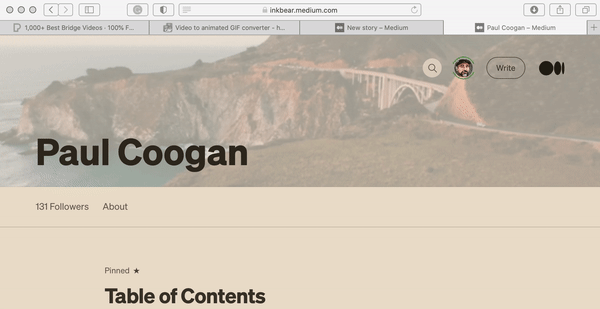
Update Your Header
In the Medium profile designer, set the header as “large” so that an image can be used. Upload the GIF file and save your profile. Bon appétit!
If you animate your header, leave a comment so I can check out your creation!


