How to Make a Hula Hoop for $4.27.
You can make your hoop dreams come true.
I love hula hooping. It is great exercise. It connects me to freedom and joy.
I love the challenge and satisfaction of doing -it-yourself.
I am also cheap so this suits me just fine.
Here are the ingredients:
1- 100 feet roll of 3/4 inch poly tubing which will make about 10 hoops $23.98 (found in the plumbing department of the hardware store)
1 -3/4 inch poly insert coupling (connector) $.37 (also plumbing department)
1- package .5 inch/20 feet 6 count electrical tape, 6 rolls, 5 colors, $5.98
1 -roll 1-inch wide black electrical tape $2.88
Extra tools and supplies you might need.
- A tubing cutter which is $16.00 to $20. 00. This optional. I used a saw and utility knife I already had. That works great.
- Sandpaper is totally optional. I used it to sand the cuts on the tubing smooth.
- Something to warm the tubing ends after they are cut so the couplings will go in. A hairdryer, paint remover gun, or boiling water. I held the ends one at a time over my electric stove burner. If you use the burner method be sure to flip the end over so you heat the tubing all around. It doesn’t take much.
- Utility knife to help cut the tubing. And I had to trim some nibs off the side of the coupling so it would fit into the tubing. Yours may not need this.
How I calculated the cost of the hoop.
I divided the cost of the tube by ten to get $2.40 which sounds like I am being misleading but I couldn’t find any tubing in smaller amounts. You might share the cost with a friend who also wants to make some hoops.
But at the cost of each hoop, you can afford to make some extras in different sizes for yourself or you can chalk up some karma points by giving some away.
I guessed that I used about $.50 worth of black electrical tape.
Let’s get this party started.
What size should I make this thing, you ask? See, I’m a mind reader. There are several ways to calculate this. First, you can measure from your belly button to the floor and that will be the diameter, measurement across the middle of the hoop.
Second, you can measure the waist and multiply that number by 1.5. Again, this is the measurement of the diameter of the hoop you are making. If you have a larger middle section as compared to the rest of you (like I do) this measurement might work better for you.
Let me also add here, the larger the hoop size in proportion to the measurements you calculate, the slower the hoop will move. That way you don’t have to work so hard to keep it going. You can add a few inches to your measurements if you want a slower moving hoop.
The main hoop that I use measures 48 inches across and is made from 1-inch tubing. It is big and heavy. I like it because it gives me a slow, relaxing ride that I can keep going for a long time. There is no way I can whip this thing around no matter how hard I try. And I can’t do any tricks with it either.
I’m ready to hoop de hoop.
I did this all-by-myself so it can be done. But if you have some helping hands it will be easier.
Look at the end of your roll of tubing. If it is straight instead of curved like the rest of the roll, cut that part off. You don’t want your hoop to have a flat section. Mine had a cap on the end I had to cut off.
Hold up the end of the roll and make the rest of the roll curve around until it makes a hoop. Test the size, diameter, by measuring across the middle of the hoop you made. My tape measure had a button to push so the tape doesn’t roll back up into the spool. That helped tremendously. I had to adjust and measure several times before I got it right.
I made a little mark with my utility knife where the end met the rest of the tubing so I would know where to cut. Then I sawed it off.
Make a straight-across cut. If your cut ends up being too much at an angle you can trim it straight the saw or utility knife.
You are finished with the hardest part. Do a happy dance.
Where East meets West.
Warm up one end of the tubing with a hairdryer, paint remover gun, or boiling water. In my case, I used the electric burner on my stove. It doesn’t take much. You don’t want it to be hot just warmed up. Push the connector half-way in. If it won’t go, warm it up a little more. Let the tubing cool before giving the other end the same treatment. Warm up the other end and push in the other side of the connector.
I wrapped some of the black tape around the joint where the ends meet so the joint wouldn’t be noticed as much.
You should now have a hoop that works just fine. Most people want the fun of adding some color. Let your freak flag fly.
You can add stickers, all kinds of tape, or anything else you can think of. In my calculation of the cheap version, that got your attention, I used one roll in the pack of six electrical tape.
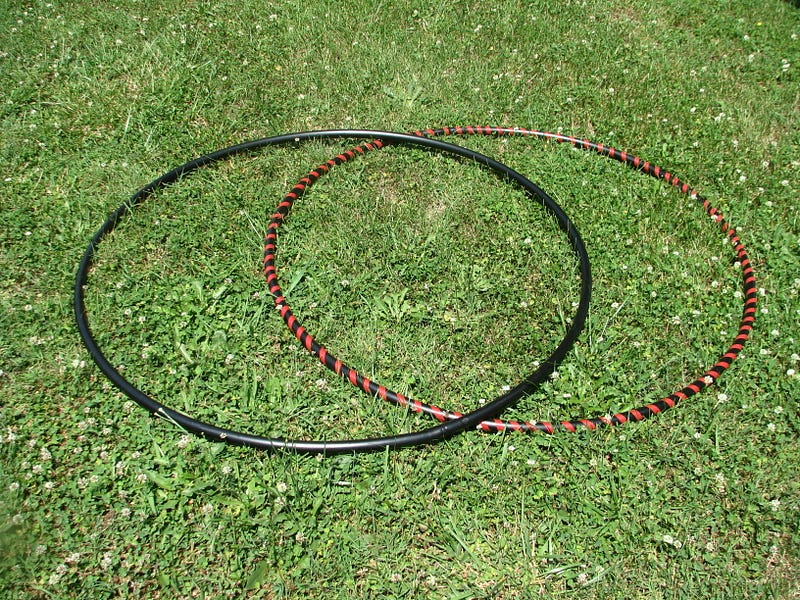
You will have to spread the tape out a bit to make it around the hoop. In the picture above, I used two rolls of tape.
Happy hooping.


