
The Founder’s Guide
How to Install the NVIDIA CUDA Driver, Toolkit, cuDNN, and TensorRT on Linux
The expanded tutorial with explanations and screenshots

“The condensed version of this article uses copy and paste code to help you get the outcome ASAP ⚡”
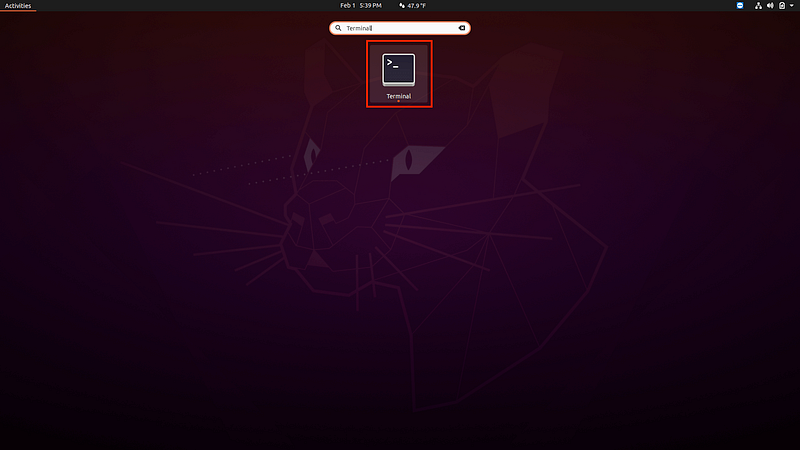
Open Terminal:
GNOME Terminal is the default terminal emulator for the Ubuntu desktop environment. It can run Bash commands, work with files, interact with other computers, and perform administrative tasks and configurations. It also features multiple tabs, user profiles, and custom startup commands.
- Click “Activities” in the top-left corner
- Enter “Terminal” into the search bar
- Click “Terminal”
Install the NVIDIA CUDA Driver:
The AutoInstall command is used in Ubuntu-Drivers to install third-party drivers and their dependences. It prioritizes open source over proprietary drivers which can occasionally cause problems. It also contains code that finds the appropriate NVIDIA drivers and sets up the alternative symlinks.
- Copy the command from below these instructions
- Paste the command into Terminal
- Press “Enter”
sudo ubuntu-drivers autoinstall
Get the NVIDIA Public Key:
Apt-key is a program that uses key pairs to prevent users from downloading packages that contain malicious data. It stores the private key on the server that stores the packages and distributes the public key to users. It also uses the public key to verify the private key before packages can be downloaded.
- Copy the command from below these instructions
- Paste the command into Terminal
- Press “Enter”
sudo apt-key adv --fetch-keys http://developer.download.nvidia.com/compute/cuda/repos/ubuntu1804/x86_64/7fa2af80.pub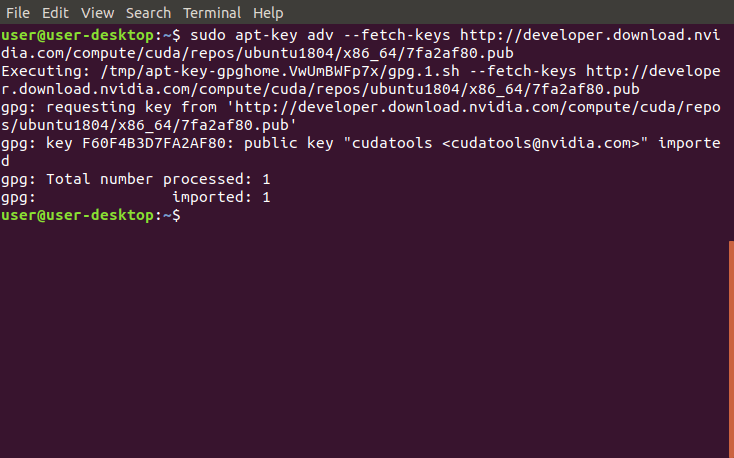
Add NVIDIA to the Source List Directory:
The Source List Directory is a directory that contains separate source list files for individual repositories. It stores information that’s used to download and update packages from a repository. It also supplements the main source list file that stores information about existing repositories on the computer.
- Copy the command from below these instructions
- Paste the command into Terminal
- Press “Enter”
sudo sh -c 'echo "deb http://developer.download.nvidia.com/compute/cuda/repos/ubuntu1804/x86_64 /" > /etc/apt/sources.list.d/cuda.list'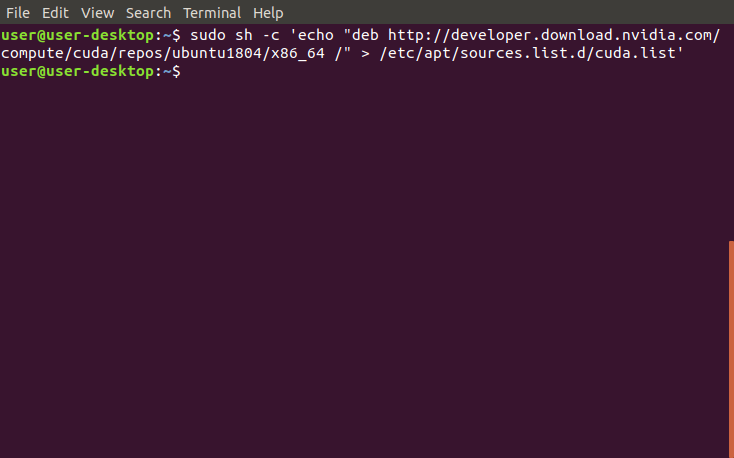
Update the Source List and Source List Directory:
The Update command is used to ensure the list of available packages is up to date. It downloads a package list from the repositories on the system which contains information about new and upgradable packages. It only updates information about the packages and doesn’t actually upgrade the packages.
- Copy the command from below these instructions
- Paste the command into Terminal
- Press “Enter”
sudo apt-get update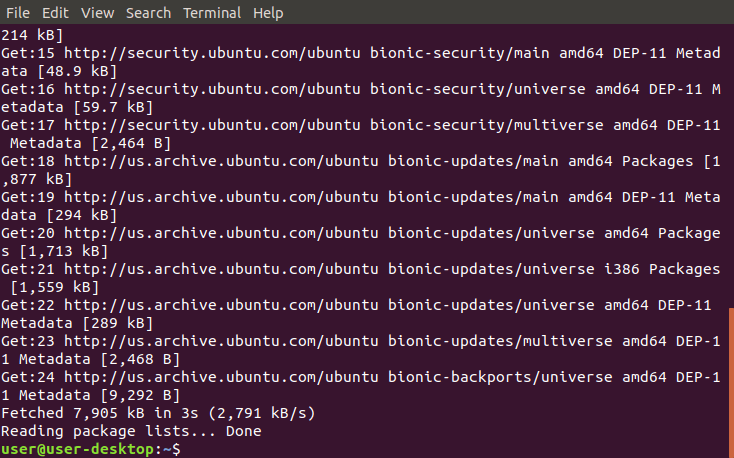
Install NVIDIA CUDA Toolkit 11:
The NVIDIA CUDA Toolkit 11 is a collection of tools that are used to create, build, and run CUDA-accelerated programs. It includes CUDA-accelerated libraries, compilers, tools, samples, and documentation. It can also need to be combined with previous toolkits to use programs that aren’t compatible.
- Copy the command from below these instructions
- Paste the command into Terminal
- Press “Enter”
sudo apt-get --yes install cuda-toolkit-11-0 cuda-toolkit-10-2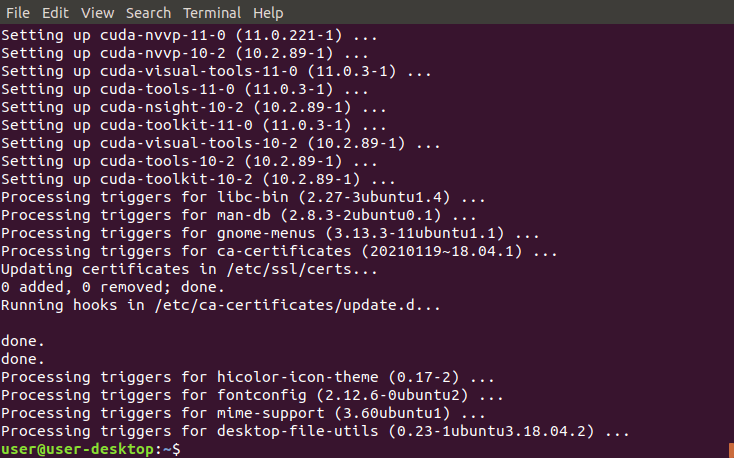
Add NVIDIA to the Source List Directory:
The Source List Directory is a directory that contains separate source list files for individual repositories. It stores information that’s used to download and update packages from a repository. It also supplements the main source list file that stores information about existing repositories on the computer.
- Copy the command from below these instructions
- Paste the command into Terminal
- Press “Enter”
sudo sh -c 'echo "deb http://developer.download.nvidia.com/compute/machine-learning/repos/ubuntu1804/x86_64 /" > /etc/apt/sources.list.d/nvidia-machine-learning.list'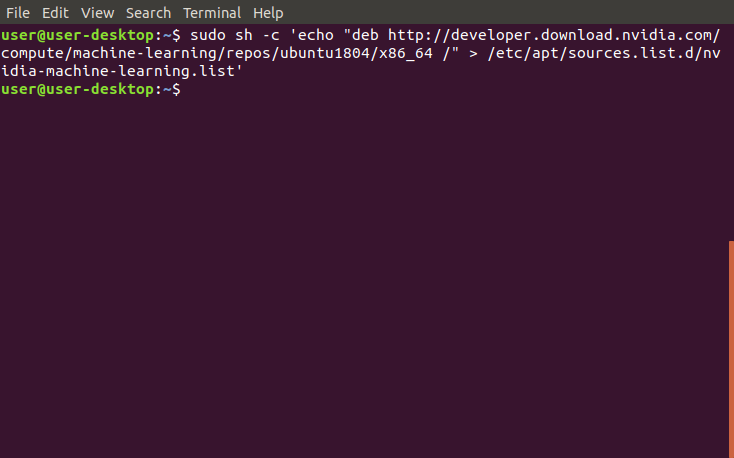
Update the Source List and Source List Directory:
The Update command is used to ensure the list of available packages is up to date. It downloads a package list from the repositories on the system which contains information about new and upgradable packages. It only updates information about the packages and doesn’t actually upgrade the packages.
- Copy the command from below these instructions
- Paste the command into Terminal
- Press “Enter”
sudo apt-get update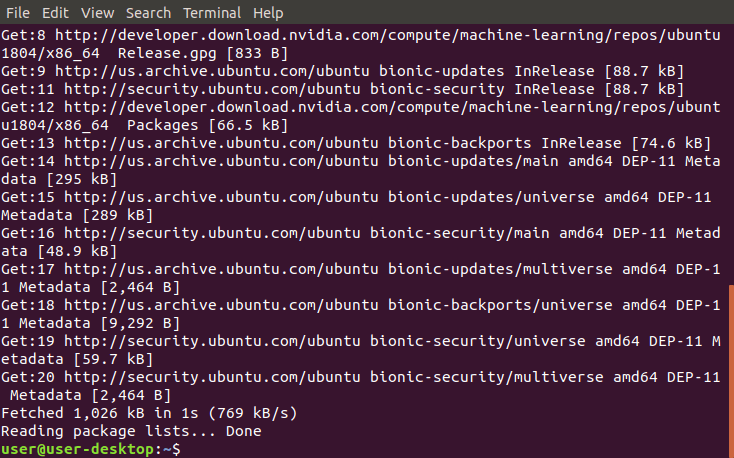
Install the CUDA and cuDDN Libraries:
The CUDA Deep Neural Network (cuDNN) is a GPU-accelerated library that contains the operations that are used to create deep neural networks. It includes implementations of convolutions, activation, normalization, and pooling layers. It also accelerates many popular deep learning frameworks.
- Copy the command from below these instructions
- Paste the command into Terminal
- Press “Enter”
sudo apt-get install --yes --no-install-recommends cuda-11-0 libcudnn8=8.0.5.39-1+cuda11.0 libcudnn8-dev=8.0.5.39-1+cuda11.0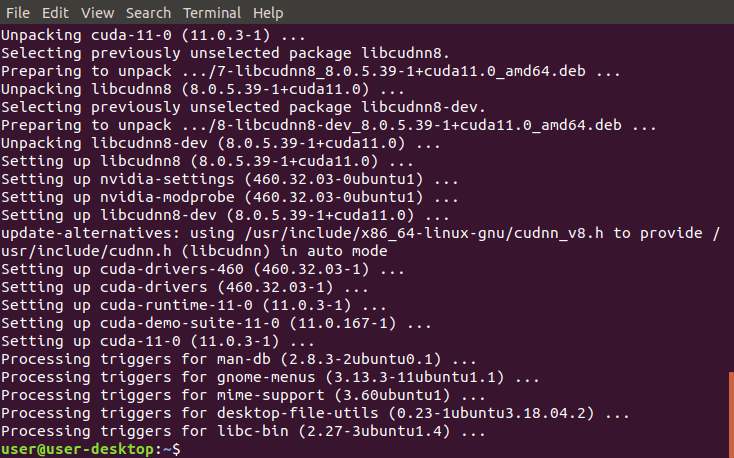
Install the TensorRT Library:
TensorRT is a software development kit that’s used to optimize pre-trained models for high-performance inferences on certain NVIDIA graphics cards. It can improve throughput, response time, power efficiency, and memory consumption by combining layers and optimizing kernel selection. It can also import the pre-trained models from most deep learning frameworks.
- Copy the command from below these instructions
- Paste the command into Terminal
- Press “Enter”
sudo apt-get install --yes --no-install-recommends libnvinfer7=7.1.3-1+cuda11.0 libnvinfer-dev=7.1.3-1+cuda11.0 libnvinfer-plugin7=7.1.3-1+cuda11.0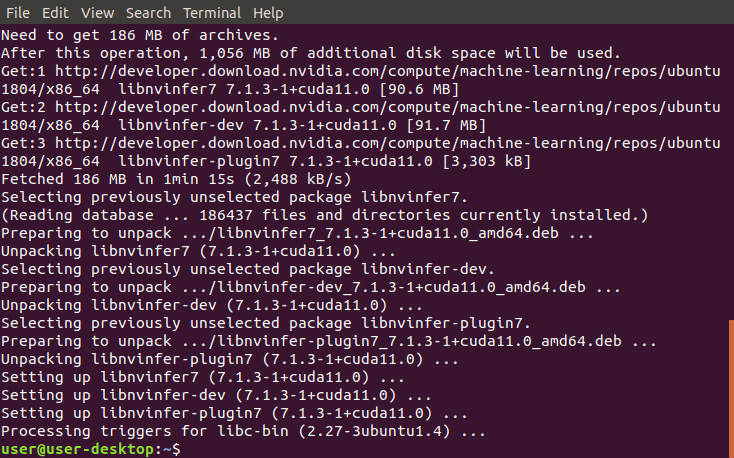
Open the BlackScholes Directory:
The Change Directory (cd) command is used to change the current working directory to the specified directory. It can navigate to absolute and relative paths that start from the root and current working directory, respectively. It can also navigate to paths stored in variables and environment variables.
- Find the Python version from below these instructions
- Copy the provided command
- Paste the command into Terminal
- Press “Enter”
cd /usr/local/cuda-11.0/samples/4_Finance/BlackScholes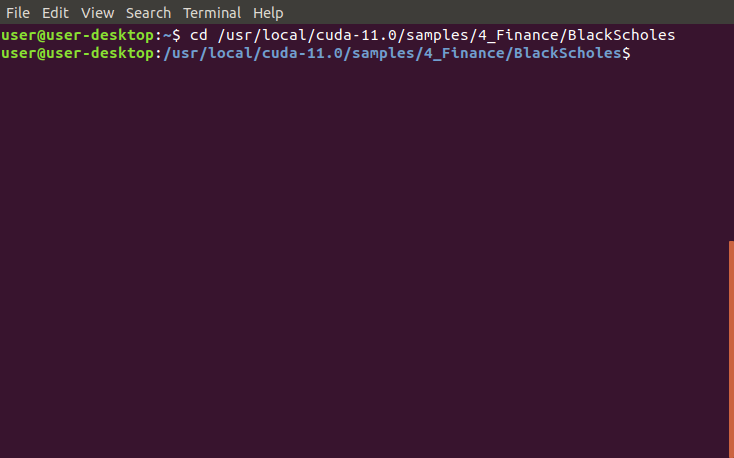
Run the MakeFile:
The Make command is used to build an executable program from source code by following the instructions in the makefile. It loads the makefile from the current working directory. It then executes the commands in the makefile to build a program that’s customized for the computer it runs on.
- Copy the command from below these instructions
- Paste the command into Terminal
- Press “Enter”
sudo make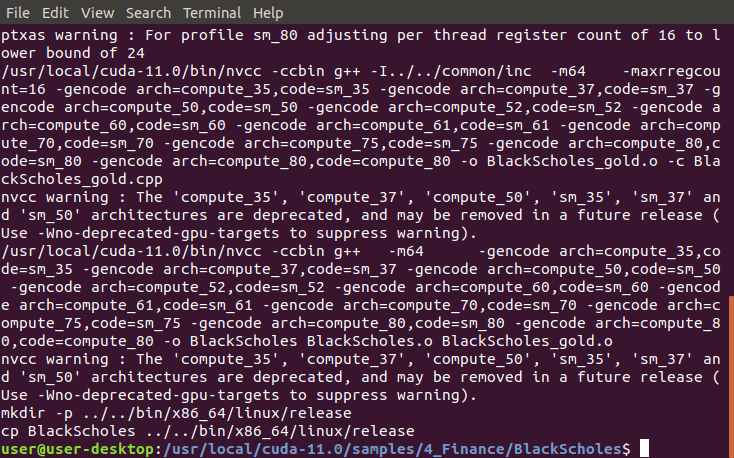
Run the Sample:
The BlackScholes sample is a program that demonstrates certain features in the CUDA Toolkit. It evaluates the fair call and put prices for a given set of options using the Black-Scholes formula. It also performs the computations in parallel on the GPU and sequentially on the CPU to compare the results.
- Copy the command from below these instructions
- Paste the command into Terminal
- Press “Enter”
./BlackScholes
“Hopefully, this article helped you get the 👯♀️🏆👯♀️, remember to subscribe to get more content 🏅”
Next Steps:
This article is part of a mini-series that helps readers set up everything they need to start learning about artificial intelligence, machine learning, deep learning, and or data science. It includes articles that contain instructions with copy and paste code and screenshots to help readers get the outcome as soon as possible. It also includes articles that contain instructions with explanations and screenshots to help readers learn about what’s happening.
Linux:
01. Install and Manage Multiple Python Versions
02. Install the NVIDIA CUDA Driver, Toolkit, cuDNN, and TensorRT
03. Install the Jupyter Notebook Server
04. Install Virtual Environments in Jupyter Notebook
05. Install the Python Environment for AI and Machine Learning
WSL2:
01. Install Windows Subsystem for Linux 2
02. Install and Manage Multiple Python Versions
03. Install the NVIDIA CUDA Driver, Toolkit, cuDNN, and TensorRT
04. Install the Jupyter Notebook Server
05. Install Virtual Environments in Jupyter Notebook
06. Install the Python Environment for AI and Machine Learning
07. Install Ubuntu Desktop With a Graphical User Interface (Bonus)Windows 10:
01. Install and Manage Multiple Python Versions
02. Install the NVIDIA CUDA Driver, Toolkit, cuDNN, and TensorRT
03. Install the Jupyter Notebook Server
04. Install Virtual Environments in Jupyter Notebook
05. Install the Python Environment for AI and Machine LearningMac:
01. Install and Manage Multiple Python Versions
02. Install the Jupyter Notebook Server
03. Install Virtual Environments in Jupyter Notebook
04. Install the Python Environment for AI and Machine LearningGlossary:
Ubuntu Desktop is a desktop operating system that’s known for being fast, secure, and free. It installs a metapackage that contains all the packages that make up the desktop environment which uses GNOME 3 by default. This provides a graphical user interface for the Ubuntu Linux distribution. [Return]
The Desktop Environment is a collection of programs on top of an operating system that makes up the graphical user interface. It includes components like the windows manager, panels, menus, system tray, icons, and widgets. It also determines what the system looks like and how to interact with it. [Return]
GNOME 3 is a very popular desktop environment that has a simple, easy to use, and reliable user experience. It provides a unique user interface that’s designed to focus on tasks and remove distractions. It also features a clean icon-less desktop, powerful search, tasks overview, and desktop extensions. [Return]
Ubuntu-Drivers is a program that’s used to show and install third-party driver packages that are available for the hardware on the computer. It shows which devices need drivers and what packages are needed. It also installs the latest versions by default but it can install a specific version. [Return]
The Repository is a storage location for binary packages that are located on remote servers. It needs to be present in the source list for the computer to install or update its containing packages. This helps provide a high level of security while making it easy to install programs in Linux distributions. [Return]
The Binary Package is an archive file that contains the files and directories needed to make its containing program work properly. It gets stored in the repository that contains all the programs for a specific Linux distribution. It also requires the Linux package manager to access, extract, and install it. [Return]
The Inference is the process of using the trained model to make predictions about unseen data. It can make a prediction by performing the forward pass without including the backward pass to compute the error and update the weights. It can also be optimized to improve the throughput, response time, and power and memory consumption before being used in the real world. [Return]
The Variable is the container that’s used to store different types of values. It can assign or update a value by placing an equals sign between the specified variable name and value without a space around it. It can also reference the stored value by placing a dollar sign in front of the existing variable name. [Return]
The Environment Variable is a variable that’s automatically created and maintained by the computer. It helps the system know where to install files, find programs, and check for user and system settings. It can also be used by graphical and command-line programs from anywhere on the computer. [Return]
The MakeFile is a text file that’s made up of shell commands unless specified otherwise. It contains all the instructions that are used to build a program for a specific computer from source code. It also gets created by running the configure script on the same computer that the program is going to run on. [Return]


