
How to install Docker on Windows 10/11 (step by step)
With Docker being part of our daily development work, it is no wonder that more and more people install it on their computers. In this tutorial, we will take a look at installing Docker on Windows 10 or Windows 11.
Step 1: Downloading Docker
The first place to start is the official Docker website from where we can download Docker Desktop.
Please note that Docker Desktop is intended only for Windows 10/11 and not for Windows Server.

So let’s open the downloaded installer and begin the installation.

Step 2: Configuration
To run Linux on Windows, Docker requires a virtualization engine. Docker recommends using WSL 2.

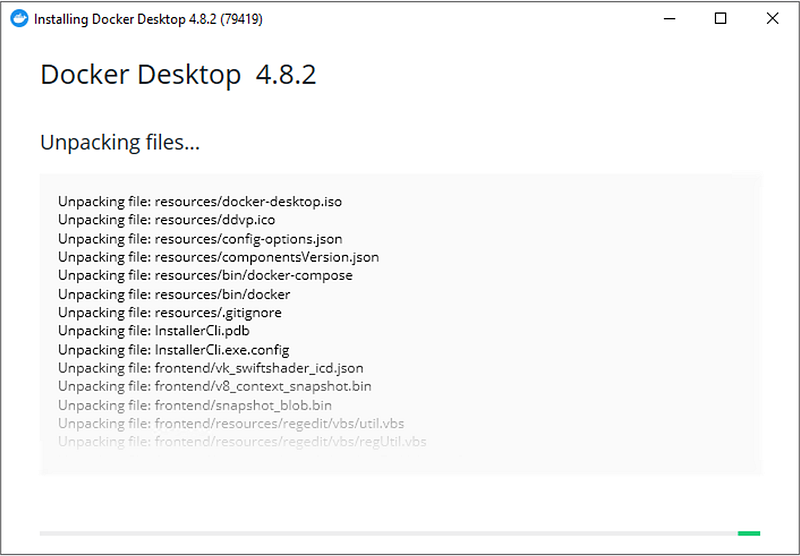
Step 3: Running the instalation
Click Ok, and wait a bit…
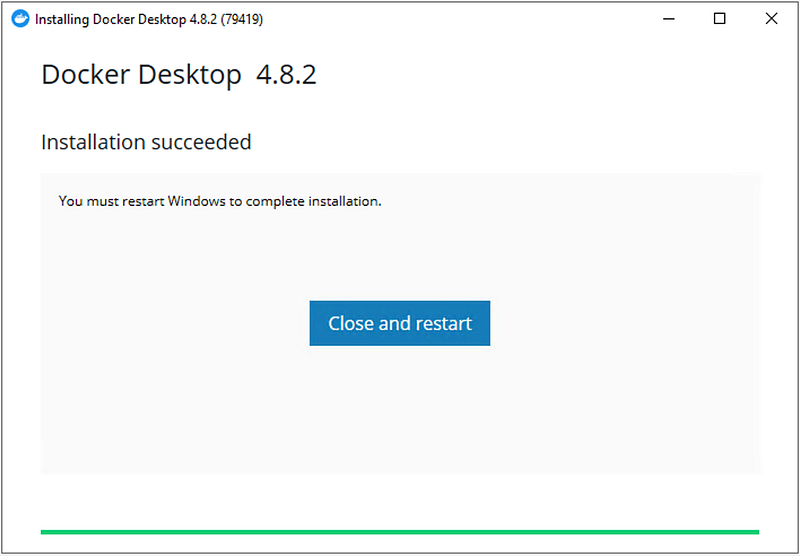
Step 4: Restart
For Docker to be able to properly register with Windows, a restart is required at this point.
Step 5: License agreement
After the restart, Docker will start automatically and you should see the window below:
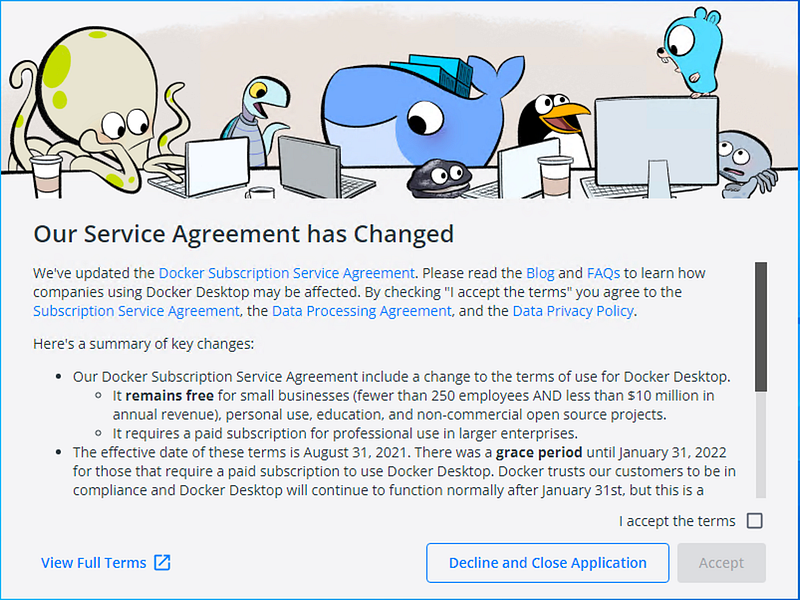
Essentially, if you are a small business or use Docker for personal use, Docker contains to remain free. However, if you are in a large organization, please get in touch with your IT department to clarify the license agreement.
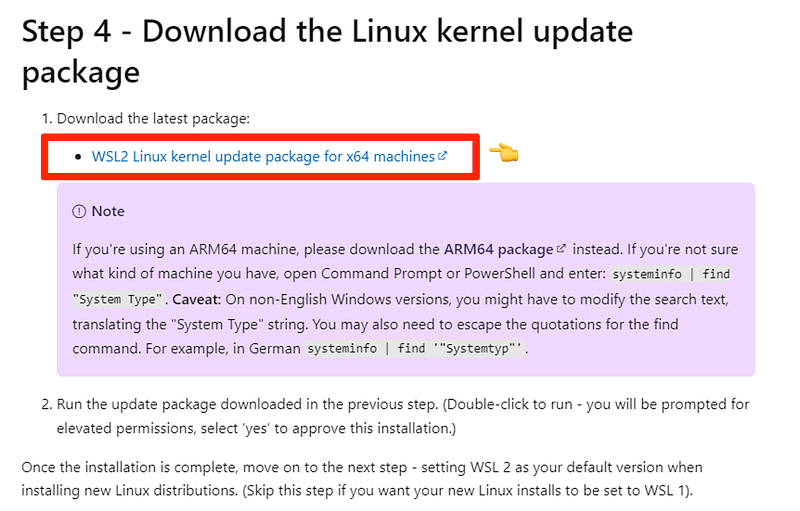
Step 6: WSL 2 installation
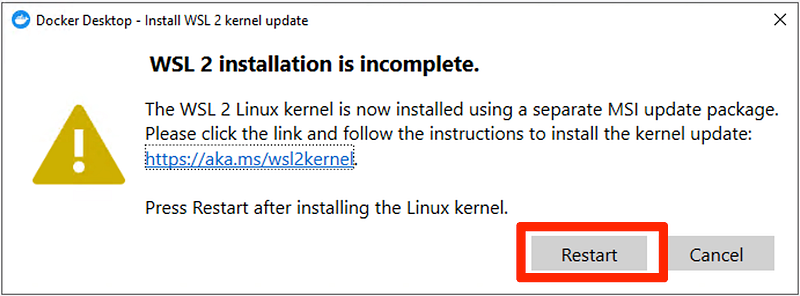
After you accept the license terms, the Docker Desktop window will open. However, we are not done yet. Since we have selected WSL 2 as our virtualization engine, we also need to install it. Don’t click Restart just yet!

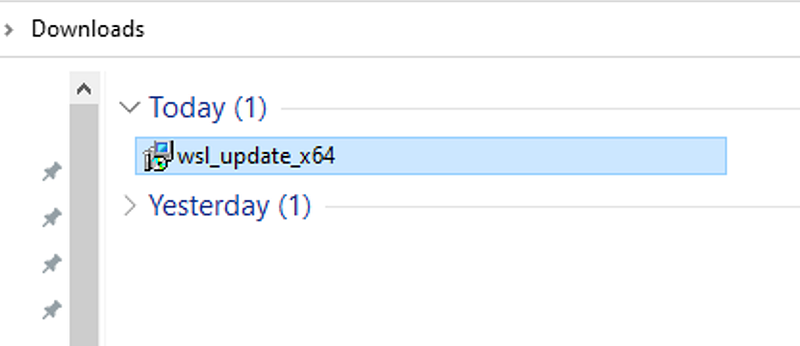
Follow the link in the dialog window and download WSL 2.
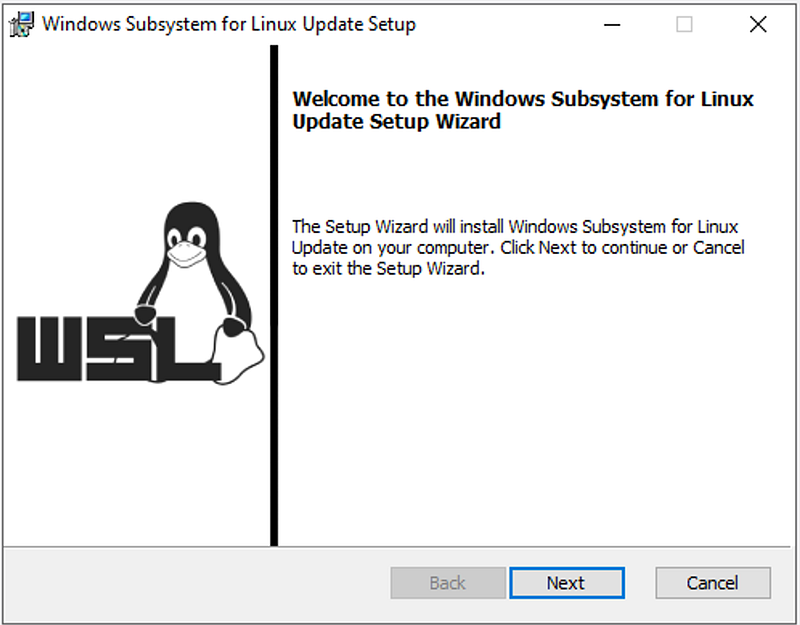
Open the installer.
Click on Next to begin installing the Windows Subsystem for Linux (WSL).
After a few seconds, the installation should complete. So you may click on Finish.

If you still have the Docker Desktop dialog window still lurking in the background, click on Restart. Otherwise, just restart your computer as you normally do.
Step 5 — Starting Docker Desktop
If Docker Desktop did not start on its own, simply open it from the shortcut on your Desktop.
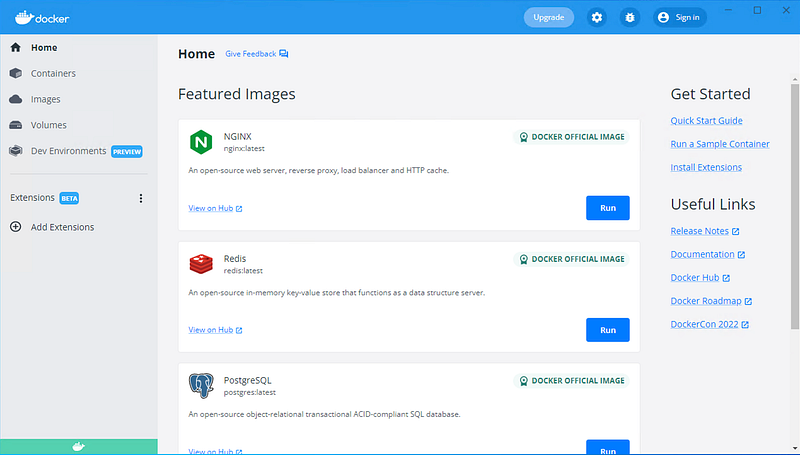
If you wish, you can do the initial orientation by clicking Start.
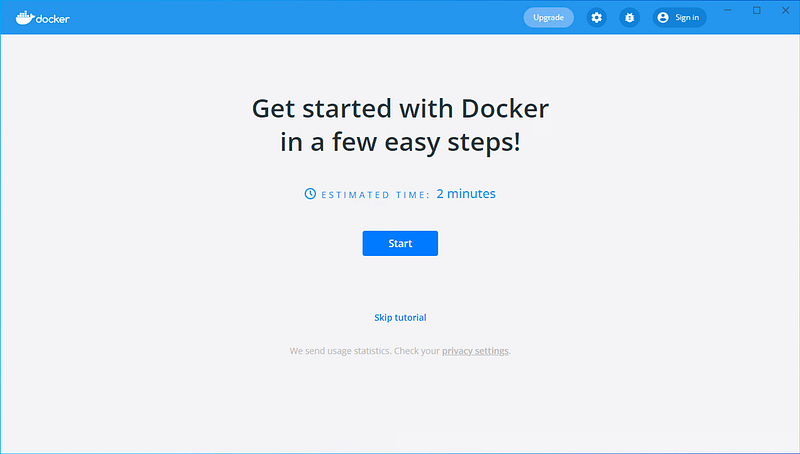
After this, your Docker Desktop screen should look like this.
If you enjoy content like this and it helped you solve a problem, help me create more. Please leave a comment, share, and press that 👏 a few times (up to 50 times). And consider subscribing to Medium for more amazing content.
Step 6— Testing Docker
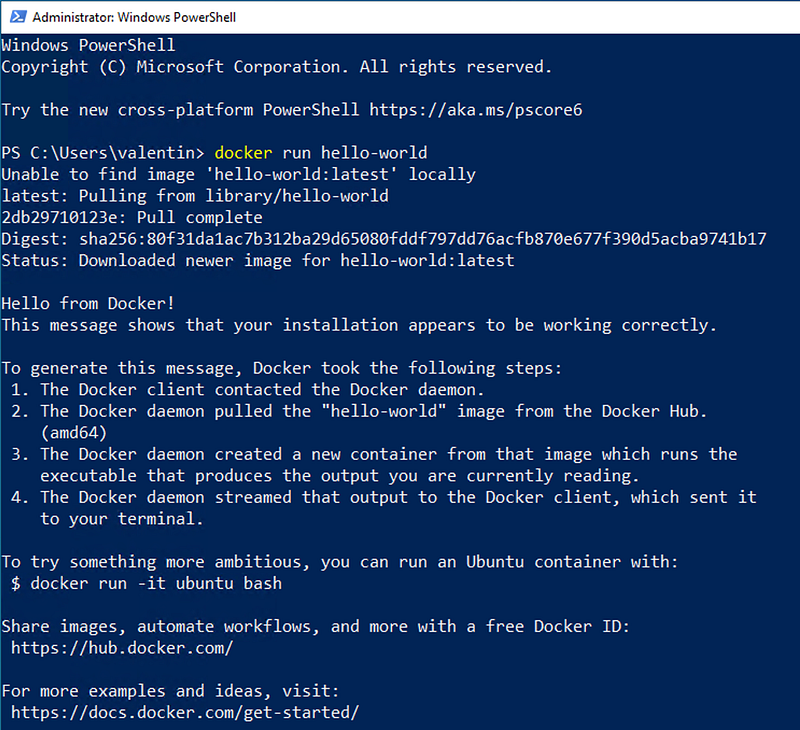
Open your favorite command line tool and type in the following command:
docker run hello-worldThis will download the hello-world Docker image and run it. This is just a quick test to ensure everything is working fine.
Step 7 — Automatically start Docker
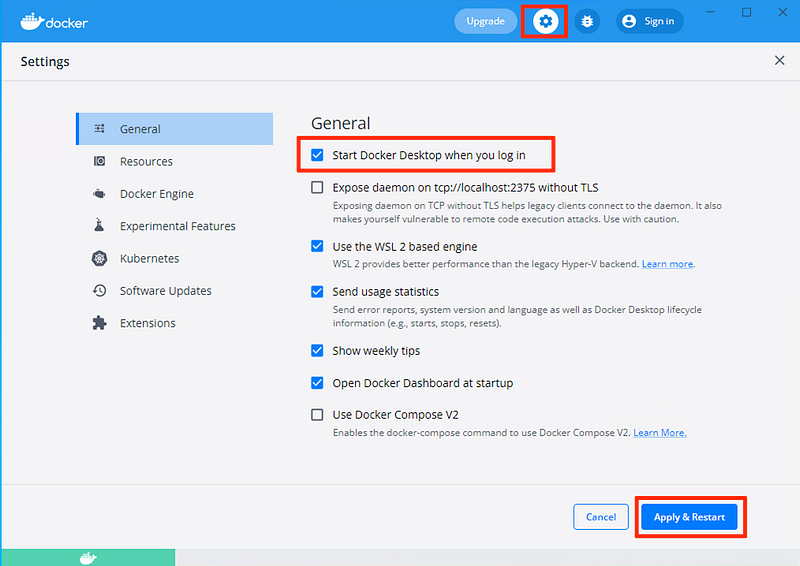
This step is dependently optional, but if you are working a lot with Docker, you may want to configure Docker Desktop to start automatically once you start Windows.
You can enable this from settings, as shown in the screenshot below.
Troubleshooting — Issues installing WSL 2
When opening Docker Desktop for the first time, you may get an error like this one:
Failed to deploy distro docker-desktop to C:\Users\valentin\AppData\Local\Docker\wsl\distro: : Please enable the Virtual Machine Platform Windows feature and ensure virtualization is enabled in the BIOS.
For information please visit https://aka.ms/wsl2-install
Some WSL system related access rights are not set correctly. This sometimes happens after waking the computer or not being connected to your domain/active directory. Please try to reboot the computer. If not sufficient, WSL may need to be reinstalled fully. As a last resort, try to uninstall/reinstall Docker Desktop.
Unfortunately this it is not easy to debug.
Option 1: Enable Virtual Machine Platform
Make sure that Virtual Machine Platform is enabled on your Windows installation. You can easily check this by opening the Turn Windows features on or off from your Control panel.
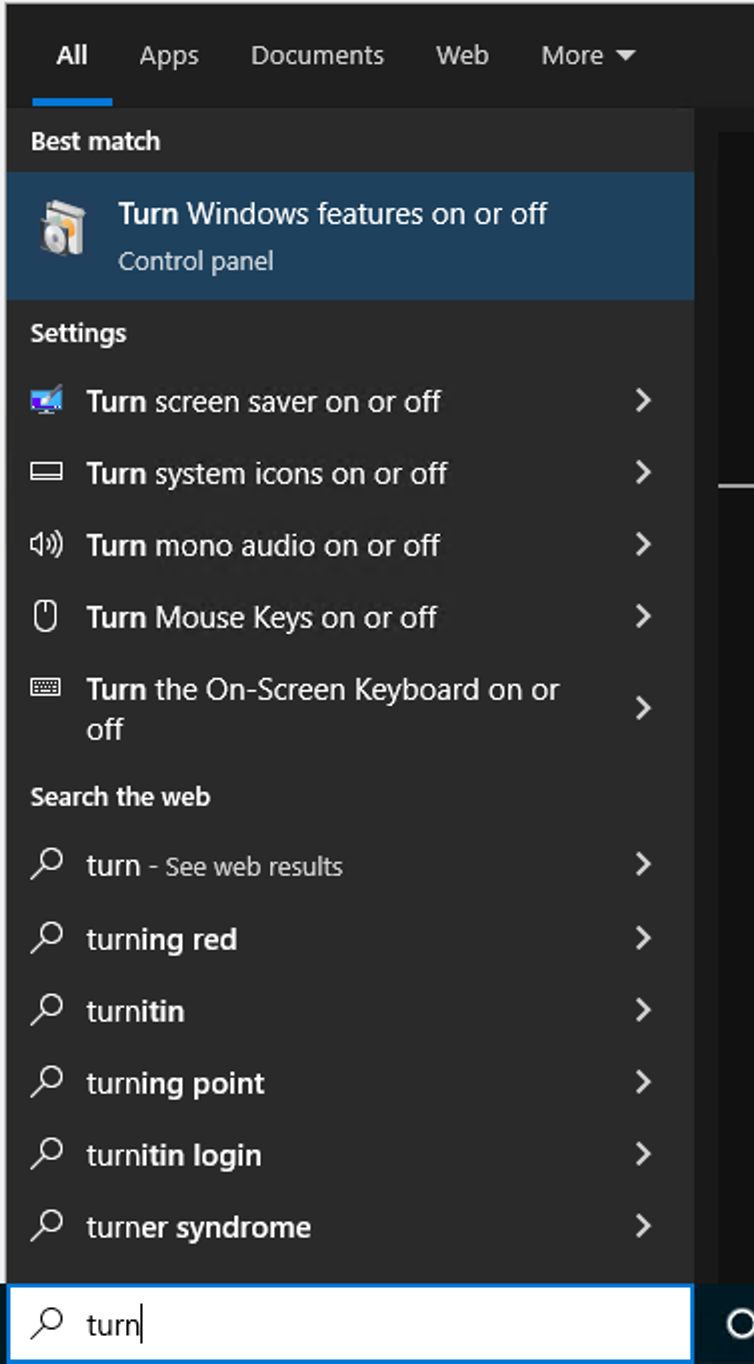
On your list of features, check that Virtual Machine Platform is enabled.

Option 2: You are running Windows on Microsoft Azure
If your Windows instance is running using the Microsoft Azure cloud, make sure you have the right virtual machine size. To be more specific, you need a Dv3 VM size. Only these sized have nested virtualization and Hyper-V containers.
For example, Standard D2 v2 will not work. You need, for example, Standard D2s v3.
With this option, you can run WSL 2.
Conclusion
I hope this tutorial helped you install Docker on your Windows computer. Leave a comment in the section below if you have any questions. I would love to hear from you!
Thank you for sticking with this article until the end. If you enjoyed it, please leave a comment, share, and press that 👏 a few times (up to 50 times). It will help others discover this information and maybe it will help someone else as well.
Follow me on Medium and YouTube if you’re interested in more tutorials like this one.


