avatarShehraj Singh

Summary

The web content provides a step-by-step guide on how to install custom fonts on a Kindle device.

Abstract

The article titled "How to Install Custom Fonts on Your Kindle — It’s Way easier" explains that adding a custom font to a Kindle is a straightforward process. It guides readers through selecting a font from Google Fonts, downloading it, and transferring the font files to the Kindle's "fonts" folder via USB. The instructions are accompanied by images to assist users in each step. After copying the font files and restarting the Kindle, the new font becomes available for use in compatible applications. The process is designed to be user-friendly, encouraging users to personalize their reading experience.

Opinions

  • The article suggests that installing custom fonts on a Kindle may initially seem challenging but is actually accessible even for less tech-savvy users.
  • It implies that personalizing a Kindle with custom fonts can enhance the reading experience.
  • The use of bold text for emphasis on key actions, such as "[Step By Step]" and "download family", indicates the importance of these steps in the installation process.
  • By providing a link to Google Fonts, the article endorses this resource as a reliable and diverse source for font selection.
  • The inclusion of screenshots for each step suggests that visual aids are important for guiding users through technical processes.
  • The article concludes with a note of satisfaction, indicating that the end result of installing custom fonts is rewarding and worth the effort.

How to Install Custom Fonts on Your Kindle — It’s Way easier

Installing a custom font on kindle may seem like a difficult task, but it’s actually quite simple.

Let’s do it together [Step By Step]

How to Install Custom Font on Kindle

Find your font

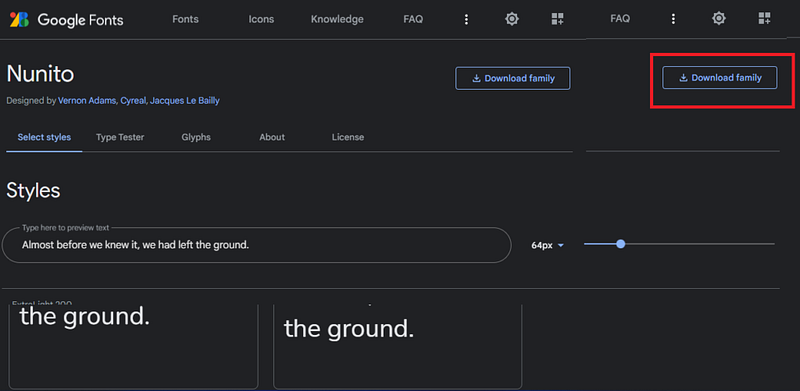
  • Go to Google Fonts in your web browser
  • Search for a font that you want to install on your Kindle.
  • Once you do select the font, click on the download family button

Installing the font on the Kindle

Now, Extract the font files from the .zip file.

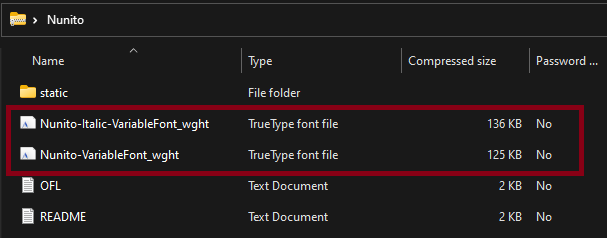
You’ll find 2 files with a .ttf extension. These are the files you need to install the font on your Kindle.

  1. Open the Kindle drive
  2. Open the Kindle drive in your file explorer, and open the “fonts” folder
  3. Copy and paste the font files into the “fonts” folder.
  4. Eject your Kindle from your computer, and restart your device.

Connect your Kindle to your computer using a USB cable. Your Kindle will show up as a drive in your file explorer.

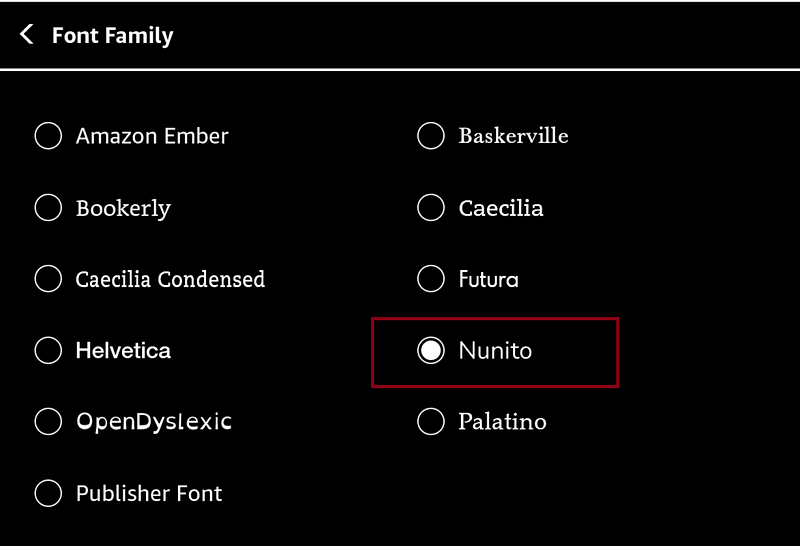
Your custom font will now be installed on your Kindle, and you can use it in any app that supports custom fonts!

Originally published at ereader.blog on June 20, 2022.

Custom Fonts
Kindle
Recommended from ReadMedium