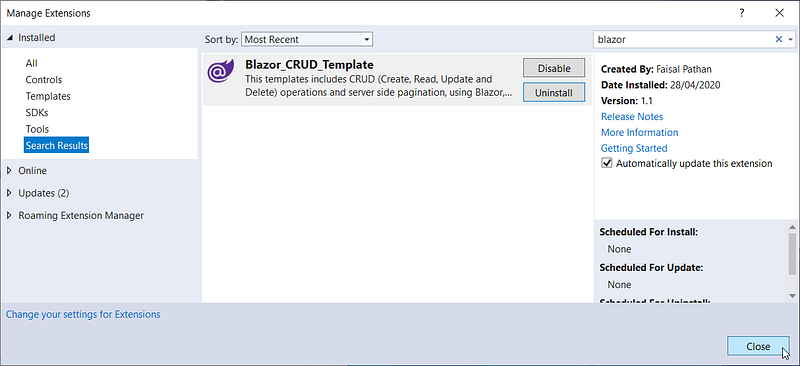
How to Install ASP.NET Core 3.1 and Blazor Extensions on Windows
A Beginner’s Guide
ASP.NET Core is an open-source web framework developed by Microsoft. As a successor to ASP.NET, ASP.NET Core unites the previously separate ASP.NET MVC and ASP.NET Web APIs into a single programming model and can be run on Windows, Mac, or Linux.

Blazor is a framework for building a UI (user interface) client-side web. To build web applications with a rich and dynamic interactive UI, Blazor uses C# without using JavaScript. The Blazor application consists of reusable web UI components implemented using C#, HTML, and CSS. Client and server code is written in C#, so it is possible to share code and libraries.
Developing Blazor applications require the installation of the following software:
- IDE (Integrated Development Environment). The choice is Visual Studio editions (Community, Professional, Enterprise) or Visual Studio Code. We choose Visual Studio Community 2019, which is a free edition for the developer community.
- Blazor Extensions. The Blazor extension is a collection of components used to extend the Blazor ASP.NET Core framework.
Installing Visual Studio Community 2019
Visual Studio 2019 is an IDE used to edit, compile, test, and run program code. The following are the installation steps.
1. Download the latest version of Visual Studio here.
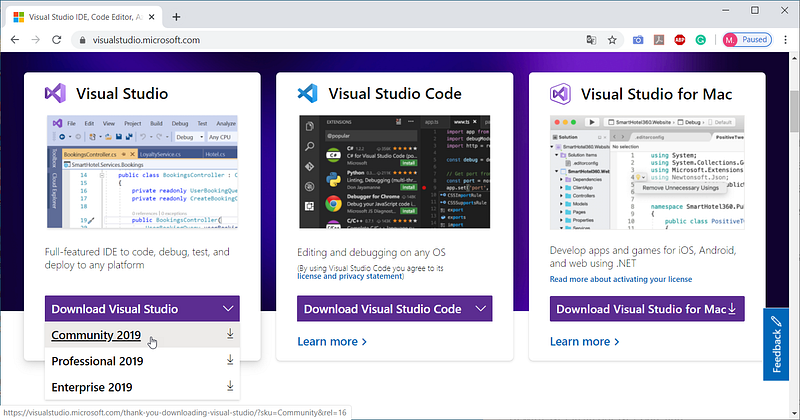
• Select the Community 2019 version, then the Save As screen appears.
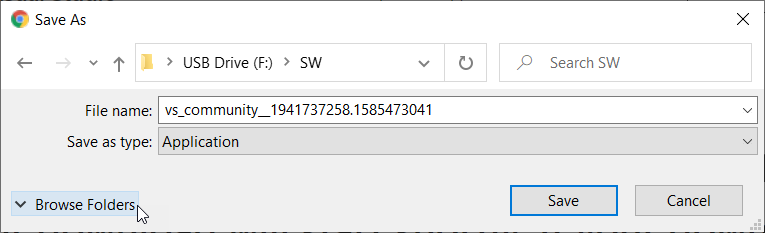
• Click Browse Folders to specify the installation folder.
• Select Save⏎
2. Install Visual Studio.
• Double-click the downloaded installation file.
• On the confirmation screen, select Yes. The following screen appears.
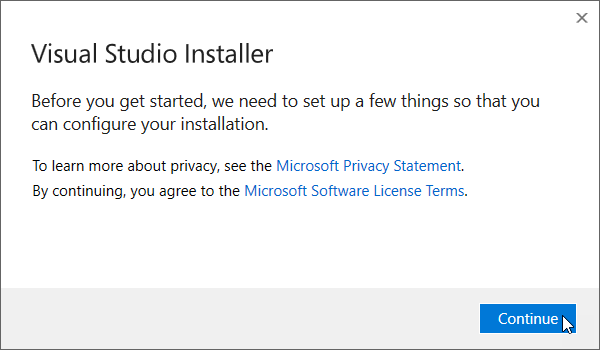
• Click Continue.
• Select the features to be installed as shown in the following screen.
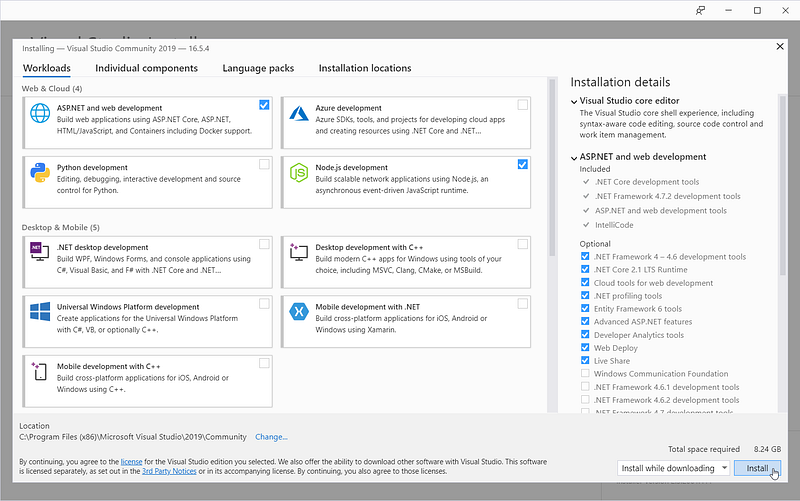
• Select Install.
• A status screen appears that shows the progress of the installation.
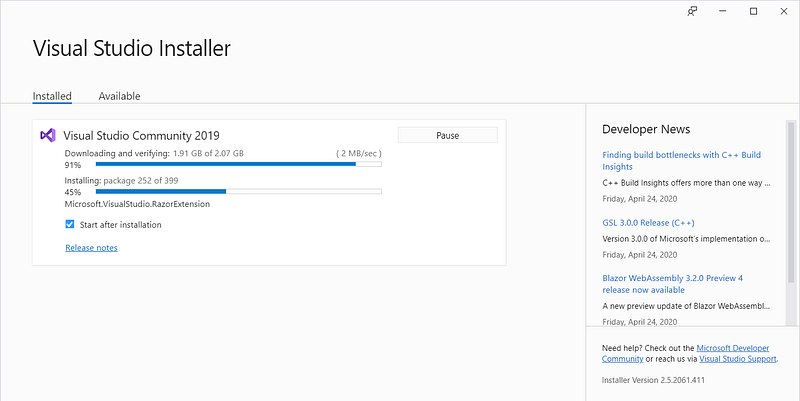
• After the installation is complete, the following screen appears.
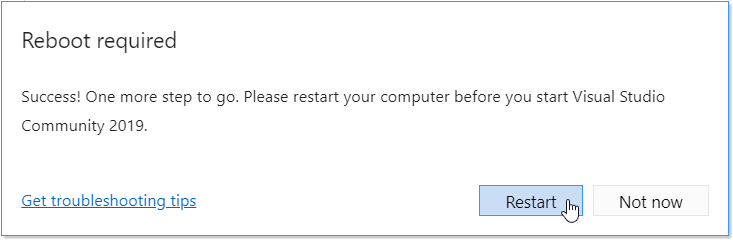
• Select Restart to reboot the computer.
3. If deemed necessary, create a shortcut to run Visual Studio. • Select the Start menu or press the Windows key.
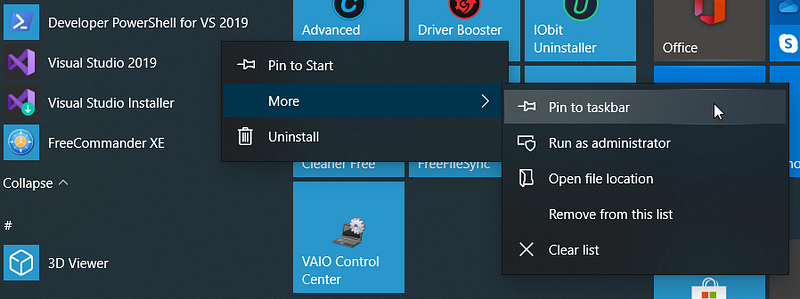
• Right-click the Visual Studio 2019 menu.
• Choose Pin to Start to create a shortcut in the Start menu,
• and or select More|Pin to taskbar to create a shortcut in the taskbar.
Tips
After installation is complete, other features that are not installed can be installed at any time in one of two ways:
(1) double-click the downloaded installation file, or
(2) open Visual Studio, select menu: Tools|Get Tools and Features
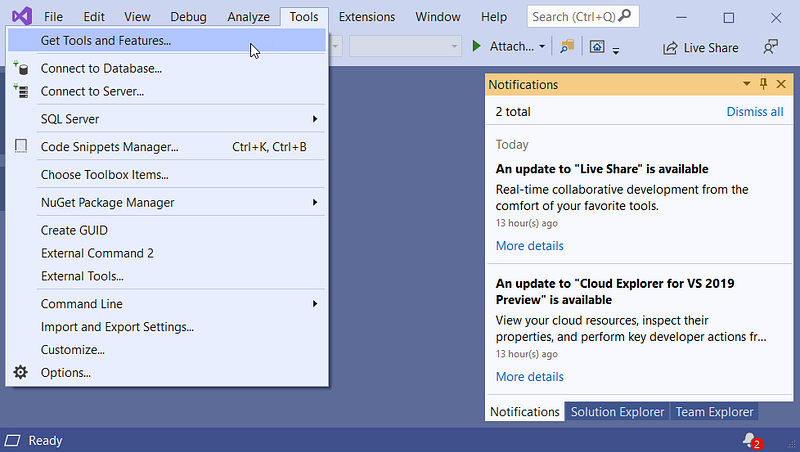
To find out what version and features are installed, run Visual Studio, select menu Help|About Microsoft Visual Studio.
Installing Blazor Extensions
The Blazor extension is a collection of components used to extend the Blazor ASP.NET Core framework. It’s a good idea first to check the Blazor extension that is already installed. After that, choose, download, and install the Blazor extension.
- Check the Blazor extension that is already installed.
• Run Visual Studio, select
Extensions|Manage Extensions. • The following screen appears.
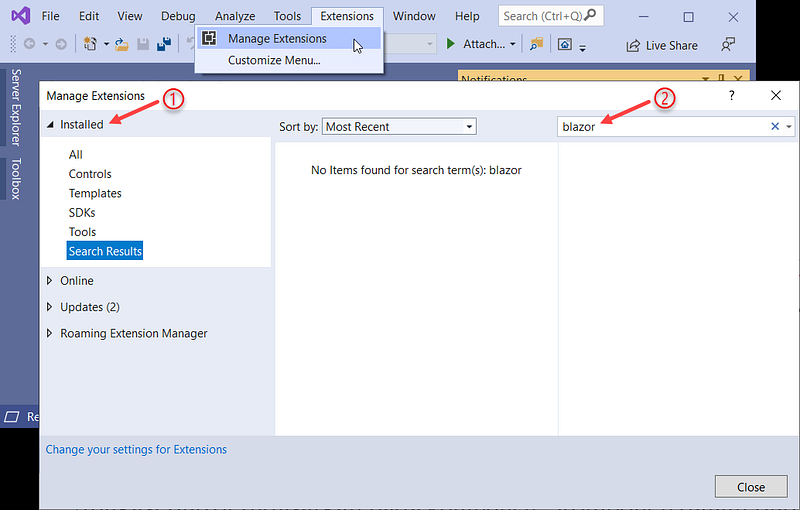
• Click Installed and then in the Search text box, type blazor⏎
• Figure shows no Blazor extensions installed.
2. Select and download the Blazor extension.
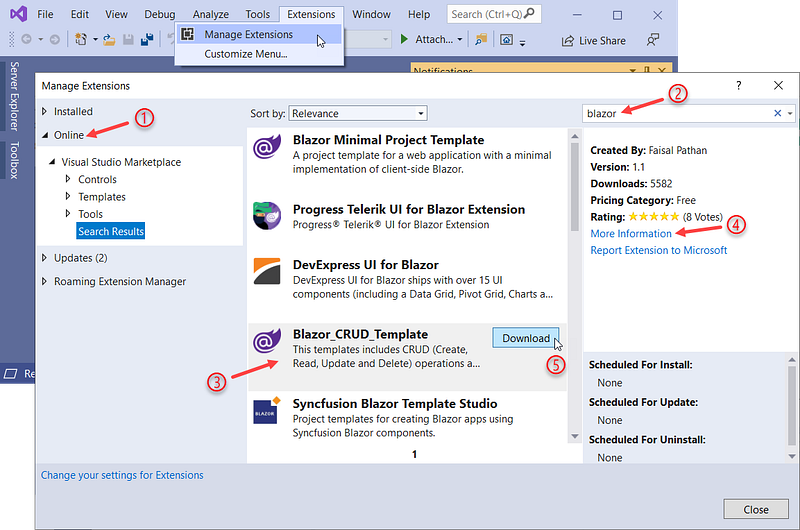
• Click Online and then in the Search text box, type blazor⏎
• The figure shows the list of Blazor extensions that is ready to be installed.
• Choose Blazor extension as needed. For example, Blazor_CRUD_Template.
• To find out more about the selected extension, click More Infromation.
• The following website appears.
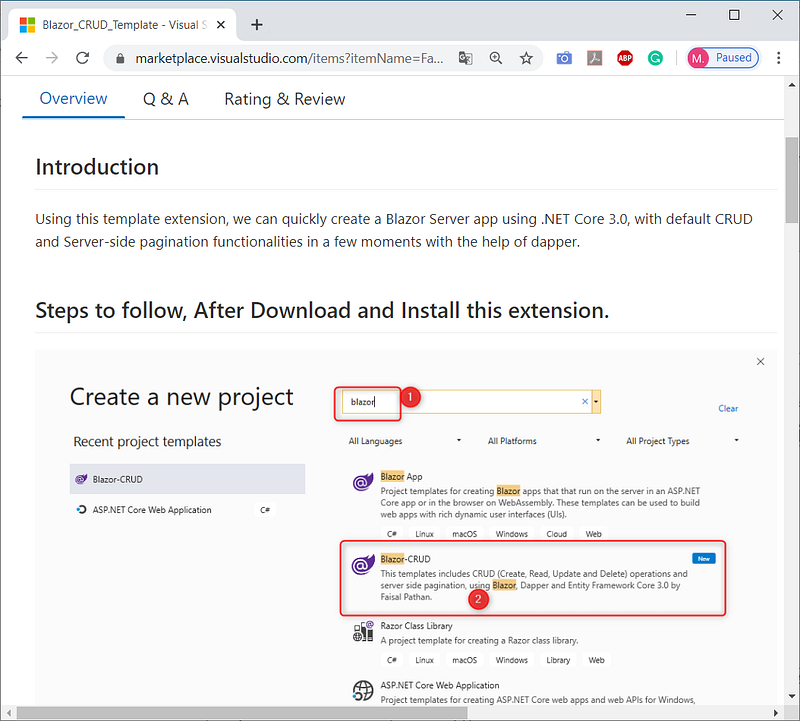
In addition to providing information, the web also provides examples of using these extensions. Then, if the extension really suits your needs, click Download.
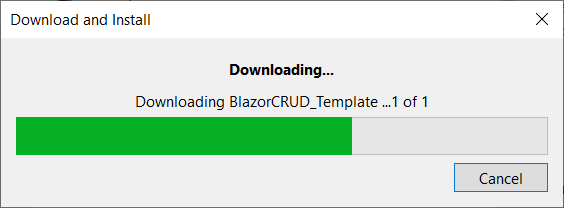
3. Install the Blazor extension.
• Close Visual Studio, the following VSIX Installer screen appears.
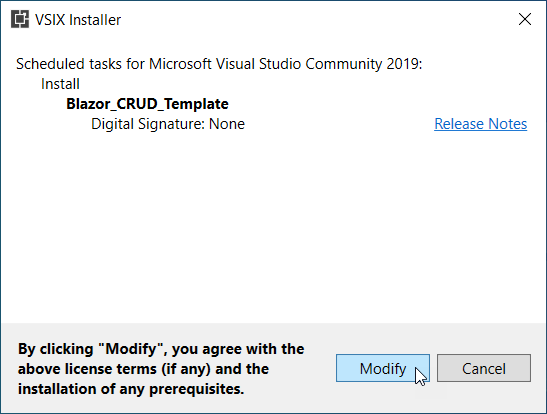
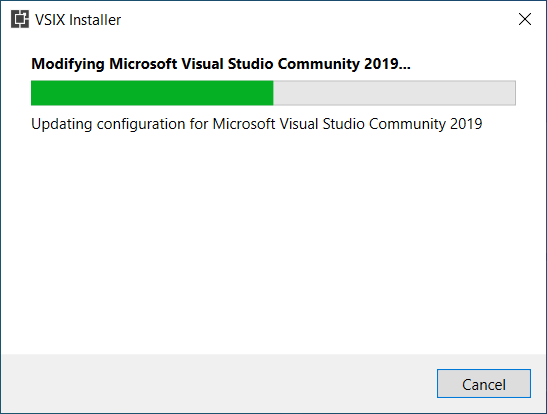
• Click the button Modify to complete the installation process.
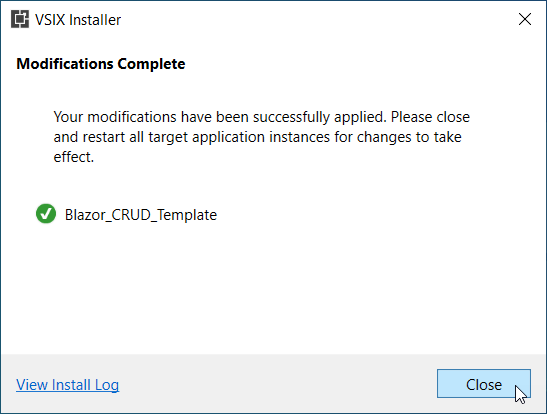
• The installation process is complete along with the following screen.
• If necessary, check the Blazor extensions installed as in step (1).