
How to Home in on the Right Unsplash Image
5 tips for finding the perfect photo for your story
I’m a longtime professional writer, but a new writer on Medium. And in the past, whether I’ve written for online publications, web sites, or print magazines, there’s always been a clear line separating editorial and art.
Writers and editors handle the words, and graphic designers and art directors handle the images.
Sure, the two sides can come together to talk about vision and themes, and to brainstorm ideas. But then they go their separate ways to hone their separate crafts. Not anymore.
On Medium, we writers are the ones who decide which images illustrate our stories. And or most of us, that means choosing an image from Unsplash.
Of course, you don’t have to use an Unsplash image. You can choose an image that you own or an image you have the rights to use.
But it’s easy and convenient to click on that little magnifying lens that pops up and choose from the Unsplash collection.
What’s not so easy, though, is narrowing your search. Your keyword(s) could come up with thousands of hits, and there’s no easy way to narrow that search.
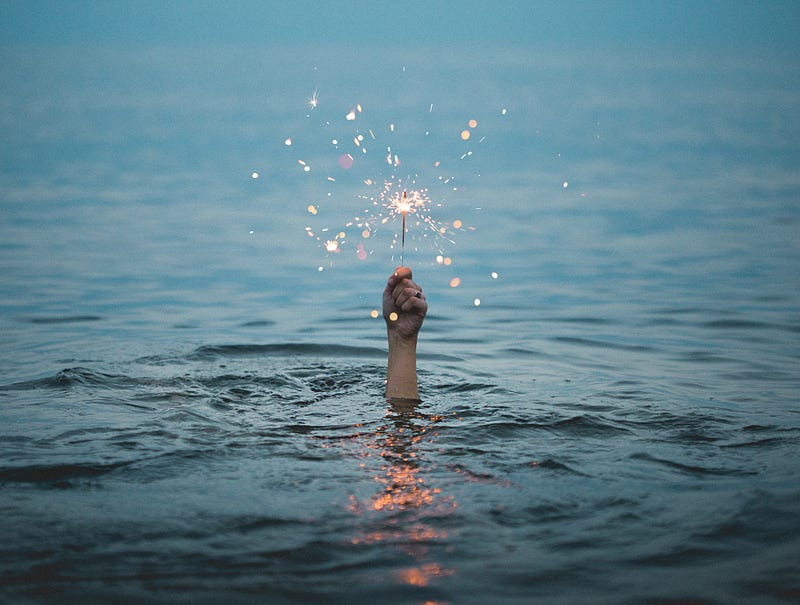
When I searched for “splash” to illustrate this article, I got more than 2,000 matches. Adding “water” doesn’t narrow the search. It broadens it, to almost 138,000 images. That’s a lot of images to look through!
I know it’s important to find the right image to draw readers to my story, but I didn’t know what to do, other than to just click through the pages until something caught my eye.
Start at the source
I discovered that it’s faster and easier to find the image you want if you start at the Unsplash web site instead of inside Medium. That’s what I did to find my splash image.
From the site, you can narrow your search in five ways:
- Choose your keyword(s). Type your keyword (in my case, “splash”) in the top-left search box.
- Choose your photo’s orientation. From the “Orientation” dropbox on the right, choose “Landscape,” “Portrait,” or “Square.” I chose “Landscape.” That’s probably what you want for most Medium stories.
- Choose your color preference. I didn’t have a particular color in mind for this image, but if I did I could choose either black and white or one of 10 different colors from a dropbox.
- Sort your search. You can sort your search by “Relevance” or “Newest.” I stuck with “Relevance.”
- Target your focus. You can use a selection of tabs to switch to other related topics. Under my “splash” search, some choices that pop up are “Nature,” “Water,” and “Spring.” I switched to “Water.”
From there, you can scroll through and find the image you want for your story.
You found your photo. Now what?
These are the steps you need to take to get that photo into your story:
- Download your image from Unsplash. Once you find an image you like, just click the download button.
- Copy the photo credit and attribution. Unsplash makes this step easy. When you download your photo a popup box appears. All you have to do is click the “Copy” button to copy the photo credit and attribution.
- Upload your image to Medium. Next, switch back to your Medium story. Instead of clicking on the magnifying lens icon to add your Unsplash image, click on the little camera and find the photo in your “Downloads” folder. It pops into place in your story.
- Paste the photo credit and attribution. When you upload your photo, a line appears below it that says, “Type caption for image (optional).” Paste the photo credit there.
You’re done! You found the perfect image. If you’re like me, finding the photo is the last step you take, so now your story is ready to publish.


