
How to highlight a keyword in a Django search using a custom filter?
In today’s article, we will look at the template tags and filters in Django and how we can create our custom template filter. And finally, we will give an example of it.

What are the template tags and filters in Django?
Django has a variety of built-in template tags. These tags are used for rendering the HTML content of our page. For example: for, if, url, load, upper, default and etc.
Initially let’s give an example of a built-in template tag.
{% for book in books %}
  <p>{{ book.title }} by {{ book.author }}</p>
{% endfor %}
In the above code, it loops over each item in an array of books and prints each book’s title and author.
Sometimes we may need to create our custom template tags and filters. For example, let’s imagine that we have search functionality in our application. And we want to highlight a search keyword in the results.
As a first step let’s create our demo application. We would keep it very simple. We will have only one Book model and we will apply a search for this model.
models.py
from django.db import models


class Book(models.Model):
    title = models.CharField(max_length=100)
    description = models.TextField()
    author = models.CharField(max_length=100)

    def __str__(self):
        return self.title
Let’s create a simple view and an HTML page to display our results.
views.py
from django.db.models import Q
from django.shortcuts import render
from .models import Book


def index(request):
    books = Book.objects.all()
    context = {
        'books': books,
        'page_title': 'All Books',
        'keyword': ''
    }
    keyword = request.POST.get('keyword')
    if keyword:
        keyword = keyword.lower()
        books = Book.objects.filter(
            Q(title__icontains=keyword) | Q(description__icontains=keyword) | Q(author__icontains=keyword))
        context = {
            'books': books,
            'page_title': f"Search result for the \"{keyword}\"",
            'keyword': keyword
        }

    return render(request, 'index.html', context)
In the above code, we initially send all books, page title, and keyword.
In the search section we just combine all our conditions, filter them and return the result.
index.html
<!DOCTYPE html>
<html lang="en">
<head>
<meta charset="UTF-8">
<title>Homepage</title>
<style>
.main {
width: 1000px;
}
.book {
border: 2px solid #767676;
border-radius: 5px;
margin-bottom: 5px;
padding: 5px;
}
.author {
background-color: #7878785e;
width: 220px;
padding: 5px
}
</style>
</head>
<body>
<div class="main">
<form action="{% url "homepage" %}" method="post">
{% csrf_token %}
<input type="text" name="keyword">
<input type="submit">
</form>
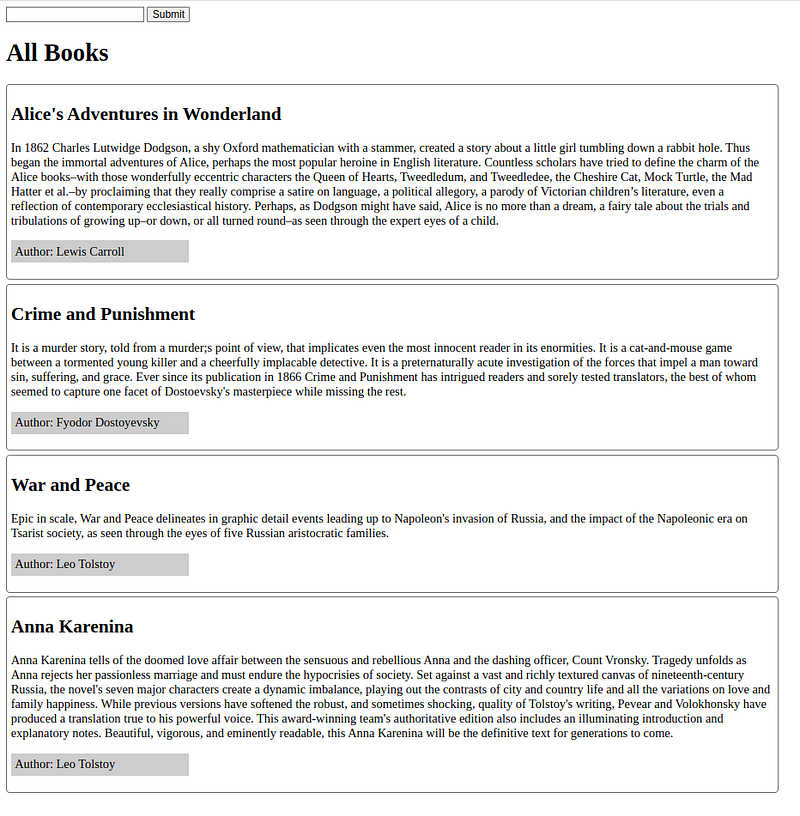
<h1>{{ page_title }}</h1>
{% for book in books %}
<div class="book">
<h2>{{ book.title }}</h2>
<p>{{ book.description }}</p>
<p class="author">Author: {{ book.author }}</p>
</div>
{% endfor %}
</div>
</body>
</html>The result looks like the below:
Now let’s try to add highlight functionality. Custom template tags or filters must be placed under the“templatetags” directory. For example, if our custom tags are placed inside the book.py file, then our file structure looks like the below:

In this step let’s create our custom filter.
book.py
from django import template
import re
from django.utils.safestring import mark_safe

register = template.Library()


@register.filter()
def highlight_yellow(text, value):
    if text is not None:
        text = str(text)
        src_str = re.compile(value, re.IGNORECASE)
        str_replaced = src_str.sub(f"<span class=\"highlight\">{value}</span>", text)
    else:
        str_replaced = ''

    return mark_safe(str_replaced)
As you can see from the above example tags and filters are functions. Creating a function is not enough 😂. We need to register it with an instance of the Library class.
In this function, we use a regular expression to change the original word with our highlight class added tag version.
For example, if our keyword is “an” and our original word is “Django” then this filter returns us “Dj<span class”highlight”>an</span>go”.
To be able to use custom tags and filters in our templates we need to load them into our template.
Our index.html file’s latest version looks like below:
index.html
{% load book %}
<!DOCTYPE html>
<html lang="en">
<head>
<meta charset="UTF-8">
<title>Homepage</title>
<style>
.main {
width: 1000px;
}
.book {
border: 2px solid #767676;
border-radius: 5px;
margin-bottom: 5px;
padding: 5px;
}
.author {
background-color: #7878785e;
width: 220px;
padding: 5px
}
.highlight {
background-color: yellow;
}
</style>
</head>
<body>
<div class="main">
<form action="{% url "homepage" %}" method="post">
{% csrf_token %}
<input type="text" name="keyword">
<input type="submit">
</form>
<h1>{{ page_title }}</h1>
{% for book in books %}
<div class="book">
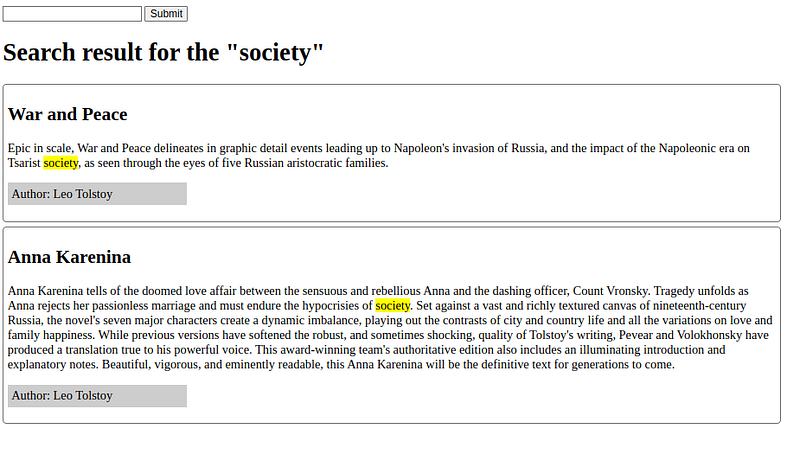
<h2>{{ book.title|highlight_yellow:keyword }}</h2>
<p>{{ book.description|highlight_yellow:keyword }}</p>
<p class="author">Author: {{ book.author|highlight_yellow:keyword }}</p>
</div>
{% endfor %}
</div>
</body>
</html>Here is the final result:
Thanks for reading. I hope you enjoyed it ❤. If you found the article useful don’t forget to clap and follow me.
This is my #5/52 story in 2023, I’m on a challenge to write 52 stories in 2023.
Keep Learning..!