
How to: Use Website Monitor API
Via the serverless proxy and getting the website status in JSON format
Previously, we introduced one of the best web monitors on the iOS and iPadOS platforms. The API behind it is open-sourced, too, here’s how the thing works.

Tested Environment
- NextJS 12 (React)
- Vercel
- macOS 13 (Other OS should be fine too)
How to Test Remotely?
Testing Website Monitor API is easy. Simply type in and access in the following pattern:
https://monitor-api.vercel.app/api/public?url={{URL}}You can use any type of HTTP or HTTPS in the URL. For example: https://monitor-api.vercel.app/api/public?url=https://apple.com
And you will get a response in JSON format:
{
  "status": 200,
  "statusText": "OK",
  "isUP": true,
  "isDown": false
}
Explain
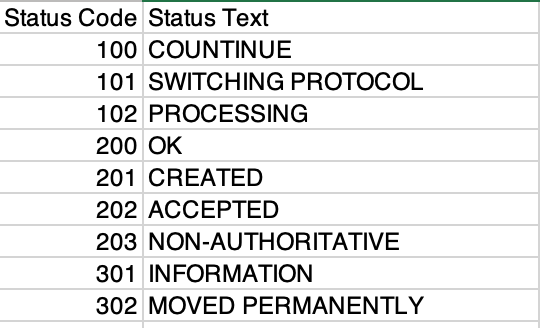
Firstly, status refers to HTTP response status codes, e.g.,
- Informational responses (
100–199) - Successful responses (
200–299) - Redirection messages (
300–399) - Client error responses (
400–499) - Server error responses (
500–599)
Secondly, statusText explains what's happening in this status code. Instead of returning 404 to the end user, saying ‘Not Found’ can be more understandable.
Finally, isUP or isDown is based on whether the status code is 200, and it will respond with a boolean (true/false).
How to Setup Locally?
Setup and running the project is super easy, with just three steps.
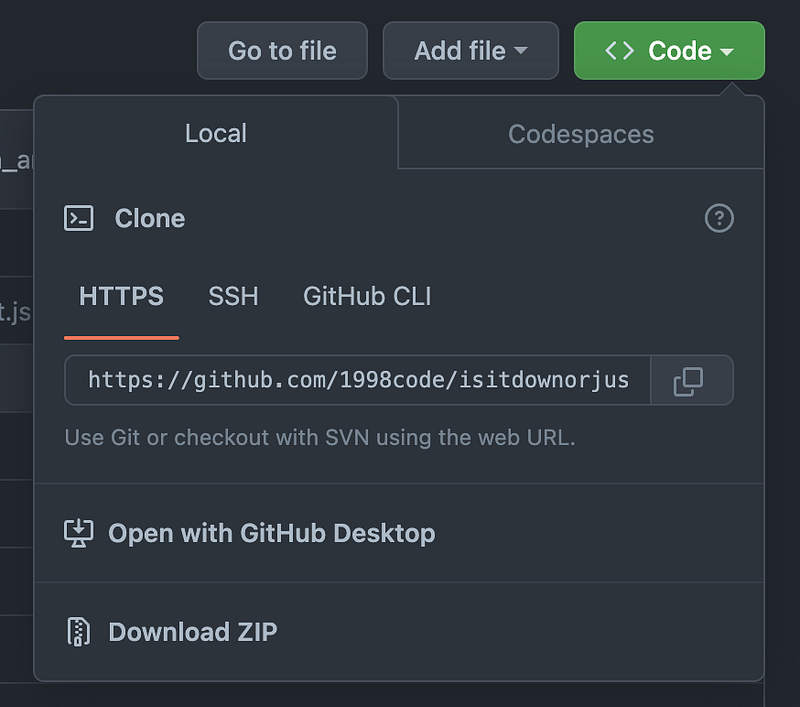
Firstly, clone the repository via GitHub. a) If you are using the command line:
git clone https://github.com/1998code/isitdownorjustme-APIb) or GitHub Desktop:
Then, install the package with the command:
npm
or
yarn
To start the development server, run the following:
npm run dev
or
yarn dev
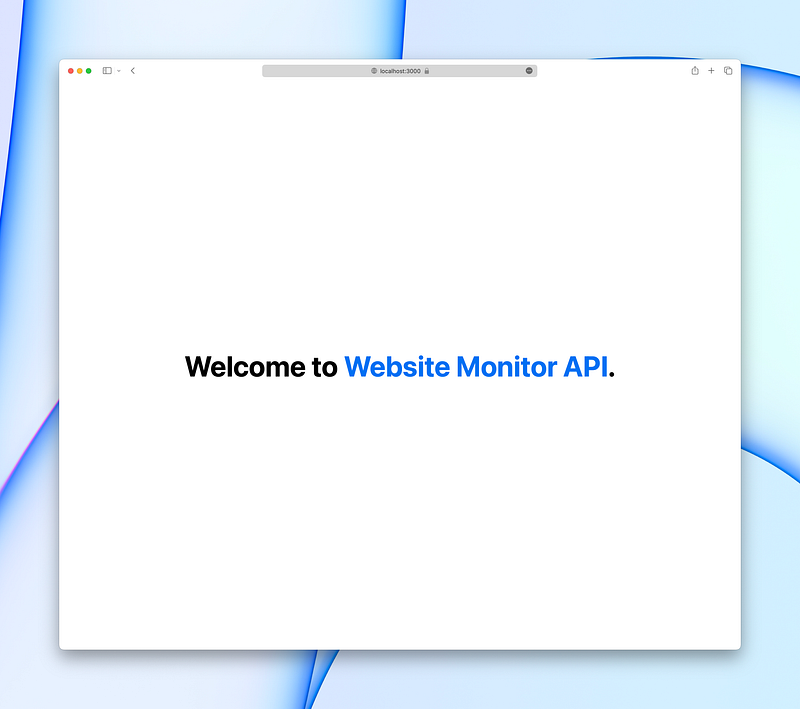
Cool! Visit http://localhost:3000, and you will see a welcome message. That means everything is ready to use.
The API route is similar to the remote one:
http://localhost:3000/api/public?url=<WEBSITE_URL>
Developer tips:
You can use various ways to GET the result.
For the nodeJS application, you may use fetch or axios.get
If you are making an application with Swift/SwiftUI, try URLSession with DataTask.
Finished! 🎉


