
How to Get an Import Export Code in India for Free
Step by step guide to get an IEC in no time, without moving from your desk.
To do the import/export business in India, one needs to get an Import Export Code (IEC) from the Director-General of Foreign Trade (DGFT), Government of India.
IEC is necessary only for commercial purposes and if you don’t already have a GST number. If you have done the GST registration, then IEC is not required anymore.
If you are reading this article, I assume you already know when an IEC is required. You want to know how to quickly and easily get an IEC from Govt. of India within a couple of hours.
In case you want to understand more about IEC requirements before you wish to proceed with the application, please read through the faqs in the DGFT site.
Now that you are ready to apply for an IEC let’s get started with the step by step guide.
NOTE: Please use IE or EDGE browser for the application. I faced challenges with the automatically populated fields, while using the Chrome browser.
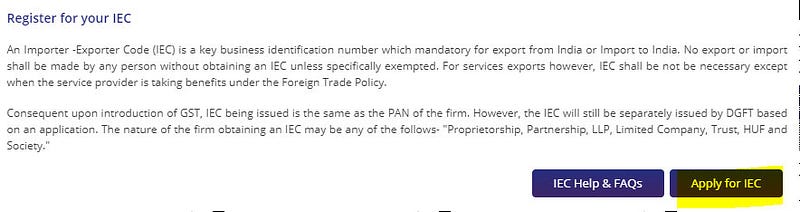
- Please login to the DGFT site by clicking on the link here.
- Once you are on the site, click on the ‘Apply for IEC’ button on the right side of the page.
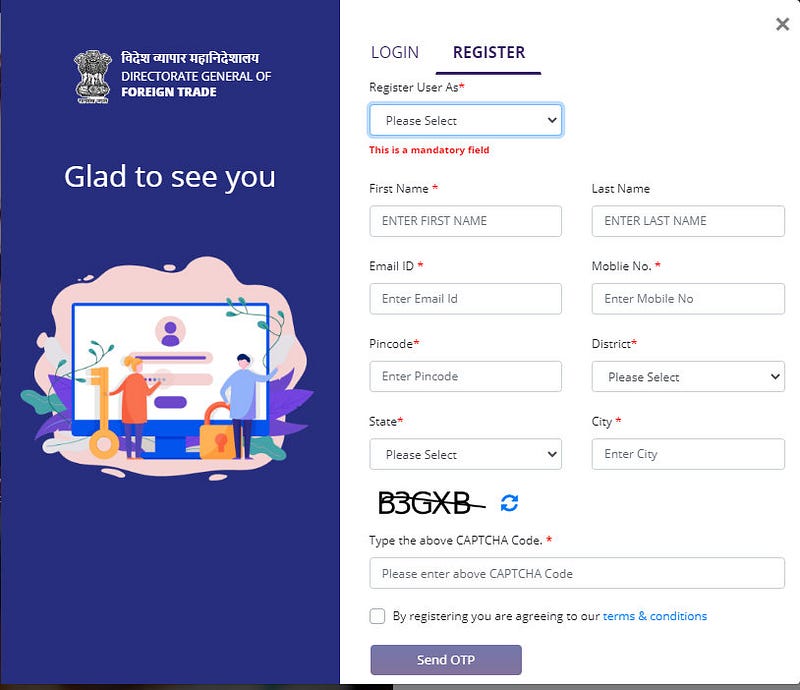
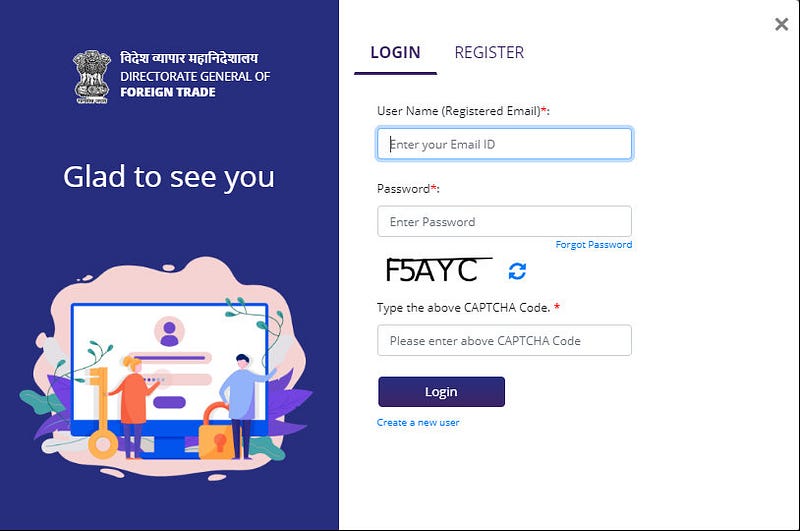
3. Login/Registration page will appear on your screen. For those of you who have already registered before — you can log in with your credentials and skip to step 8 here directly to fill the IEC form.
For the first time users, select the ‘REGISTER’ option and fill in the details. Click on the ‘Send OTP’ button.
NOTE: Email ID and Mobile number needs to be correct as you will receive 2 different OTPs on both of them.
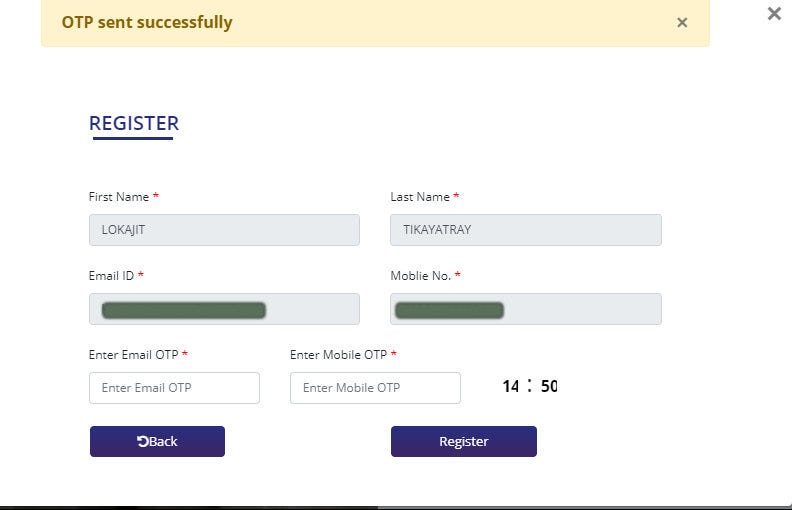
4. As shown below, the page will refresh and will ask you to provide the OTP. Check your email and SMS to fetch the OTPs. Enter the OTPs in their respective boxes and click on the ‘Register’ button.
5. Once you click on the ‘Register’ button, the page will get submitted. Following pop up will appear about a successful registration message.

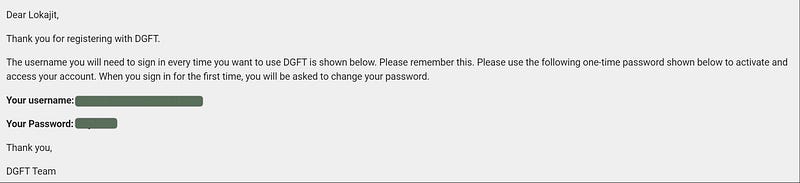
6. You will now receive a welcome email from id ‘[email protected]’ with your user name and password. The email looks like the below one.
7. Now you have successfully registered to the dgft site. Let’s login to the portal. For the first time logins, the site will ask to change the password.

8. Once you successfully submit the password change page, the site will take you back to the main page. Please login again to the website with your updated credentials.
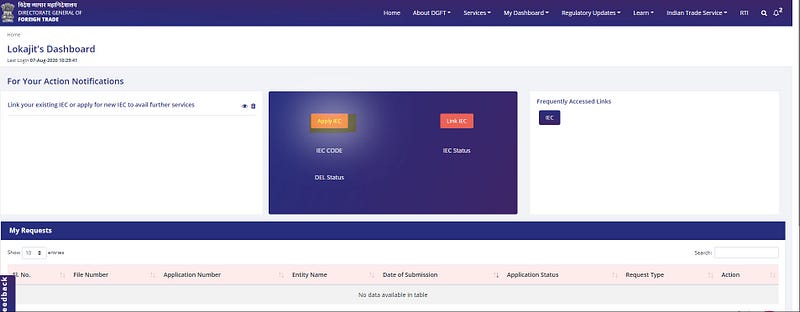
9. The site will load the dashboard page, as shown below. Click on the ‘Apply IEC’ button.
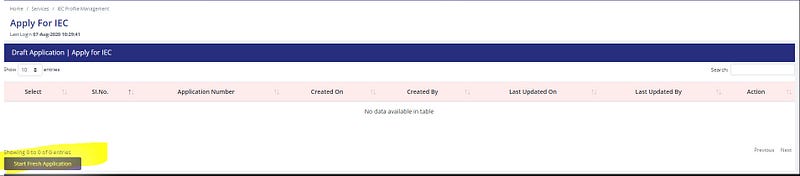
10. On the next page, click on the ‘Start Fresh Application’ link.
11. The site loads with a form, and you are all set to start the application process now.
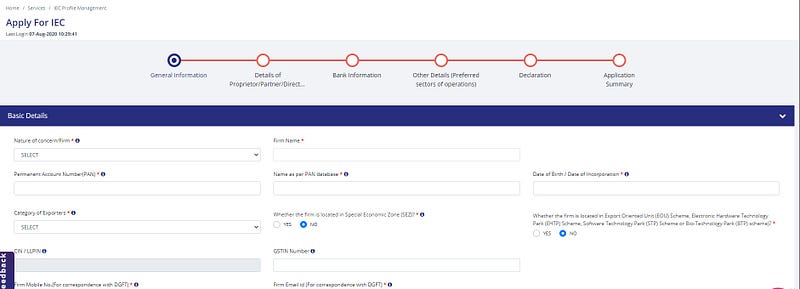
12. Fill in the form with your details. After I entered the PAN, Name on PAN, Date of Birth (my personal DOB), and pressed the ‘tab’ key — the page automatically refreshed and validated PAN details.
- Nature of concern/Firm: Proprietorship
Here is an article about why I chose to register as ‘Proprietorship’ option.

13. Here is how I filled the rest of the detail on the page.

14. If you choose ‘Others’ as the ‘Category of Exporters’, then you also need to fill in the below text box on the form.
- Category of Exporters: Freelance Blogging

That is all with the ‘Basic Details’ section of the page. Next is the ‘Firm Address Details’ section.
15. Fill in the address details for the firm. I filled in my house address.

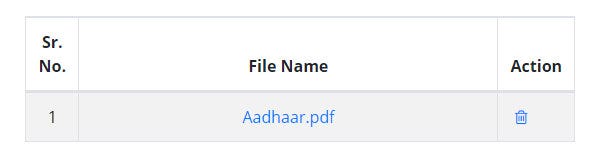
16. Make sure to provide appropriate proof as requested in the ‘Note’ section. I used my ‘Aadhaar’ as my address proof. Once it is uploaded, the file name should appear on the page, as shown below.
17. Next, you need to fill in the ‘Branch Details’ section.
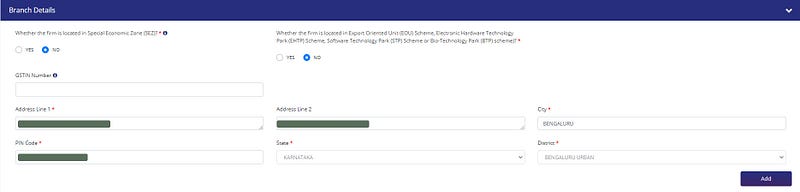
18. Click on the ‘Add’ button on the previous step. It will save the details and will show the below record. Click on the ‘Save & Next’ button.

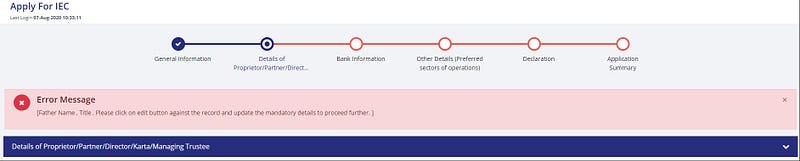
19. The draft application is now saved. The following page will appear on the screen. Click on the ‘edit’ (pencil icon) image shown at the bottom right corner of the page.
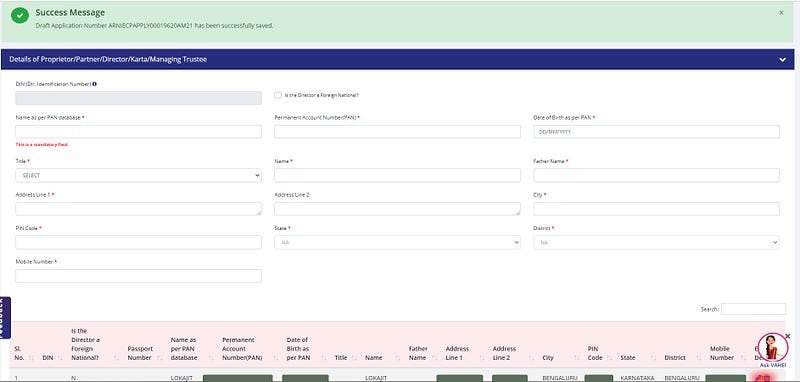
20. Unless you use the edit option as mentioned in the previous step, you might get an error while clicking on the ‘Update’ button on the page.
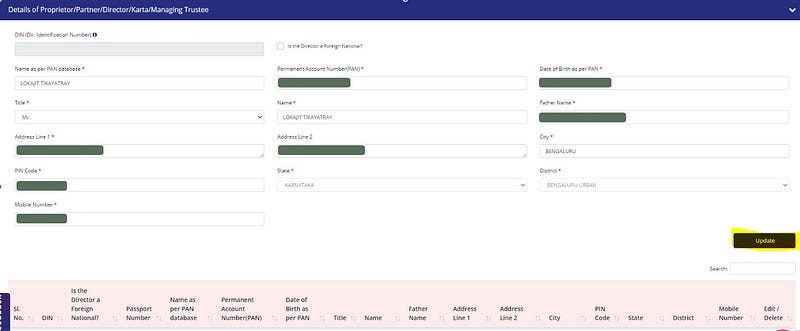
21. Fill in the details on the page and click on the ‘Update’ link.
22. On the next page, fill in your bank account details. I provided my personal bank account for this form. Don’t forget to upload the scan copy of the canceled cheque. Click on the ‘Save & Next’ button.

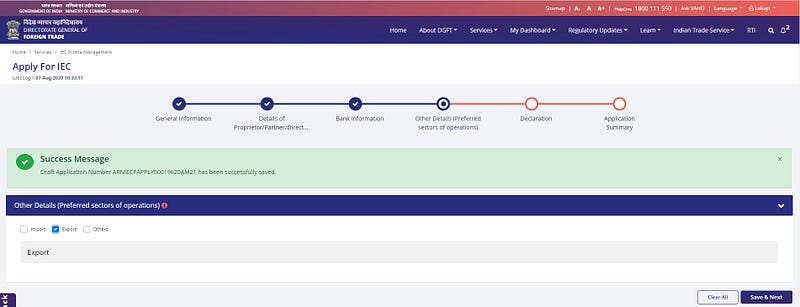
23. You will be now on the ‘Other Details’ section. Select the required option from the page and click on ‘Save & Next’ button.
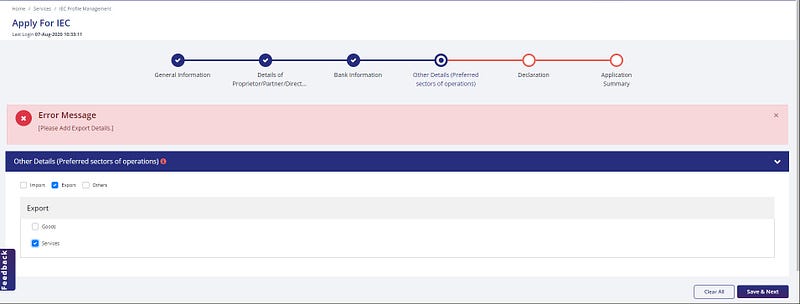
24. For some reason, the page does not show further options under the selected operations. Trying to save the page throws the below error, and then it shows the required child options. I went for only ‘Export’ and then ‘Services’ under it.
Select as per your requirements and then click on the ‘Save & Next’ button.
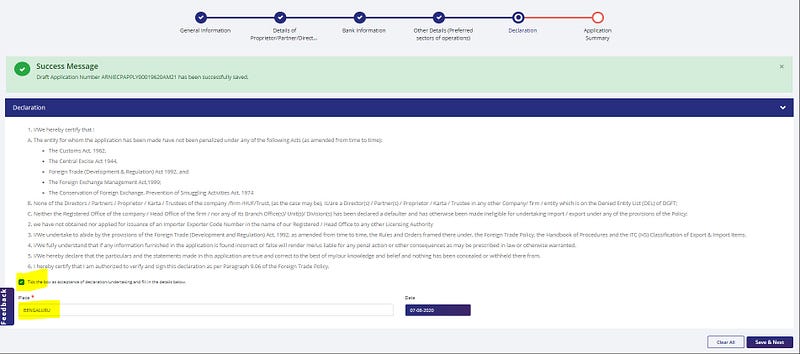
25. You have now reached the end of the application form. Verify the points on the page carefully. Tick the checkbox and enter your current city name in the ‘place’ text box. Click on the ‘Save & Next’ button.
26. Don’t worry if your login session expires anytime during the application process. Please login to the site again using the main page. You can see the saved version of your draft application.
Click on the ‘Action’ button and select the ‘Open’ dropdown option from under it.

27. Open the form and verify that all your details are accurate and intact as before the form timed out. Go till the ‘Declaration Page’ (as in step 25). Check the checkbox and fill in the place/city you are currently present. Click on the ‘Save & Next’ button.
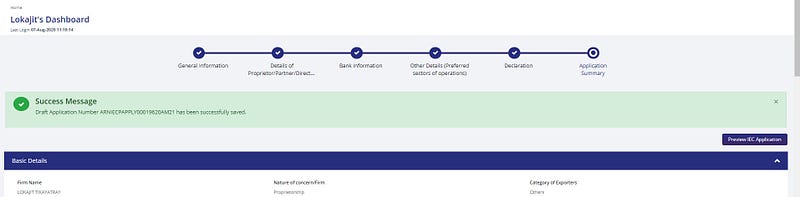
The page will refresh, and it will show the application summary page with all the details you have filled in the form.
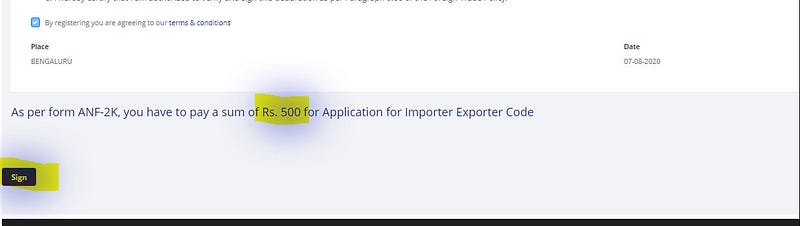
28. Review the details in the form. Once you complete the review, you will find the ‘Sign’ button at the bottom of the page. Click on it to digitally sign the application form.
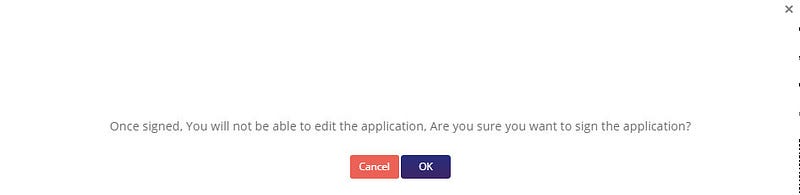
29. The page will pop up with an alert, as shown below. Click on the ‘OK’ button.
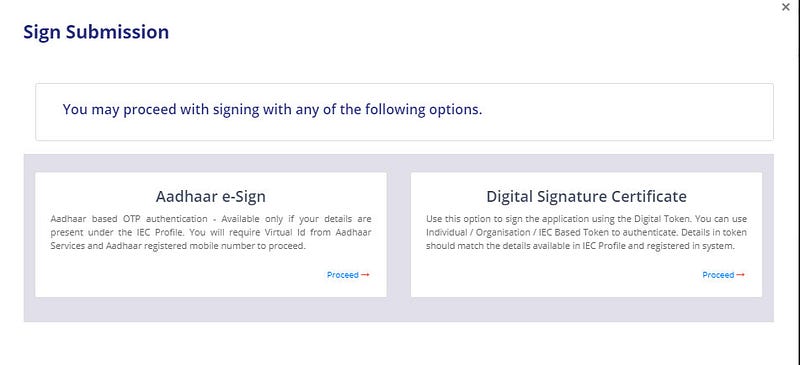
30. Next, the page will provide two options to do the signature. I chose the ‘Aadhaar e-Sign’ option. You can opt for a method that is convenient for you.
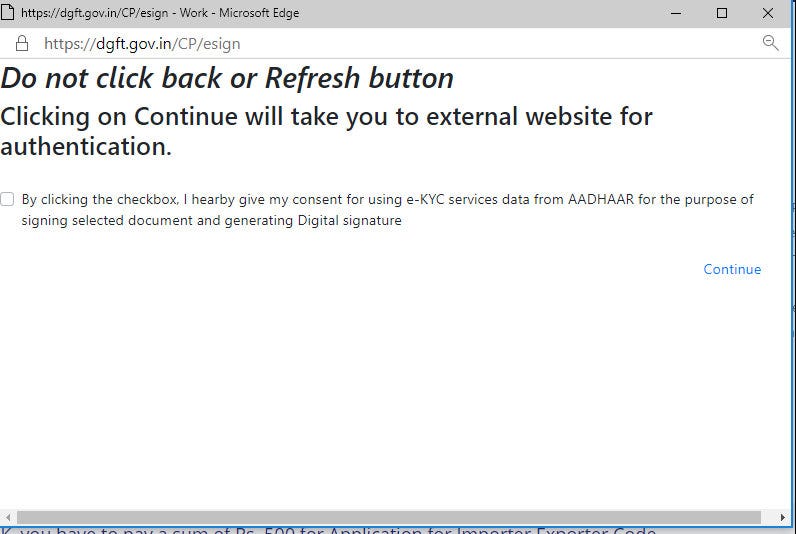
31. The site will now start the verification process. Pay attention to the messages on the page. Tick the checkbox and then click on the ‘Continue’ link.
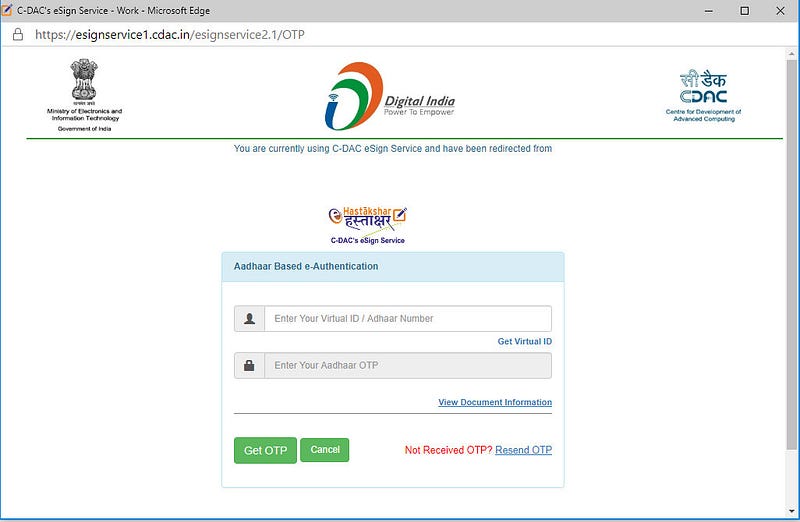
32. The following page will appear on the screen. Use your Aadhaar details or Virtual ID (if you already have one) to get the OTP by clicking on the ‘Get OTP’ button.
Use the OTP and submit the page.
33. You will now see the confirmation alert that the document is signed successfully.

34. Clicking on ‘OK’ in the previous step will bring you back to the ‘Declaration’ page. Now you can proceed to make the payment.

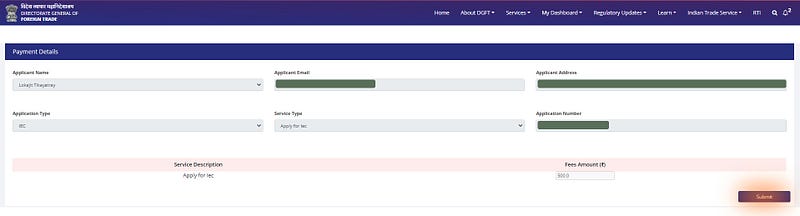
35. Now, you will be in the ‘Payment Details’ form. Verify your details and then click on the ‘Submit’ button at the bottom right corner of the page.
36. The site will now start the payment processing steps. It will show a page similar to the one shown below. The page will have your details pre-populated.
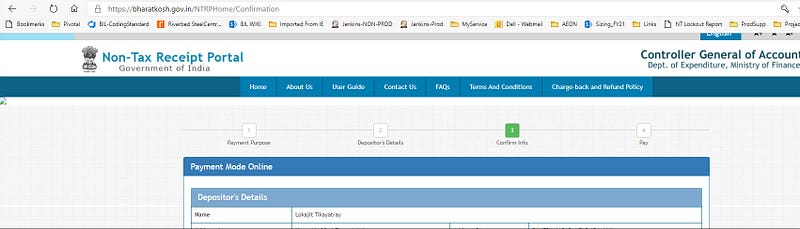
37. Scroll to the bottom of the page, and you can see the ‘Confirm’ button. Click on the button.

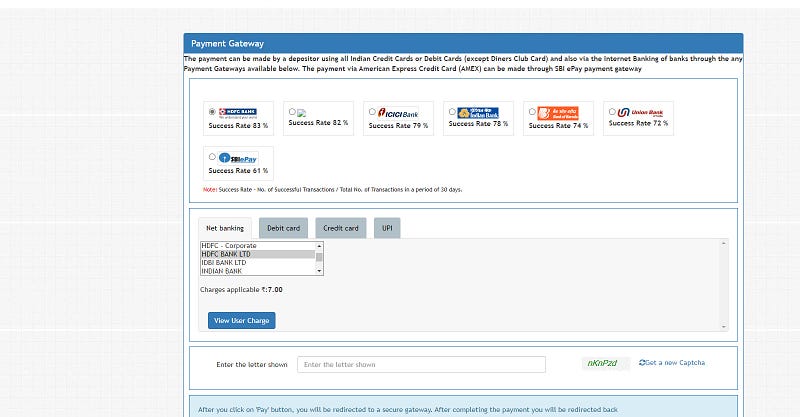
38. On the next page, select the payment gateway and your mode of payment. Once done, click on the ‘Pay’ button at the bottom of the form.
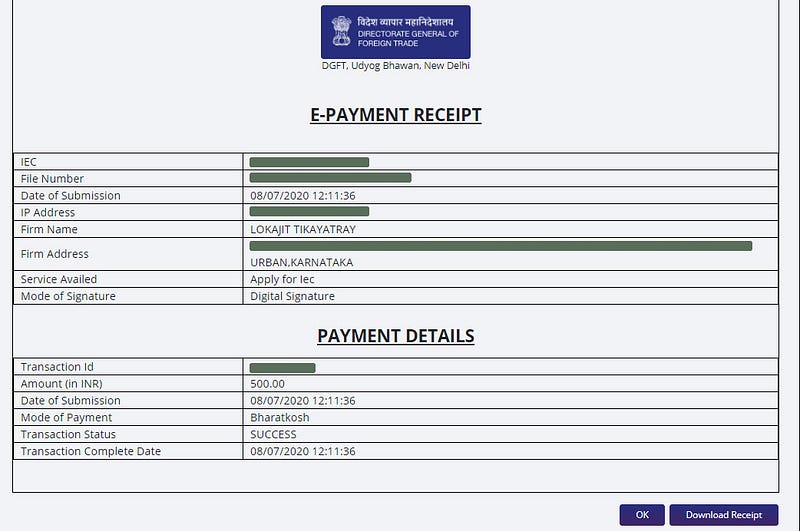
39. You are almost there. Complete your payment successfully, and then it will automatically redirect to the page which shows the receipt for the payment.
40. Download the receipt and then click on ‘OK’ in the previous step. It will take you to your dashboard with the submitted record showing under the ‘My Requests’ section.

Meanwhile, you would have received 2 SMS on your registered mobile number about successful registration from DGFT.
If everything goes right — the IEC application is instantly approved, and the IEC code gets generated immediately.
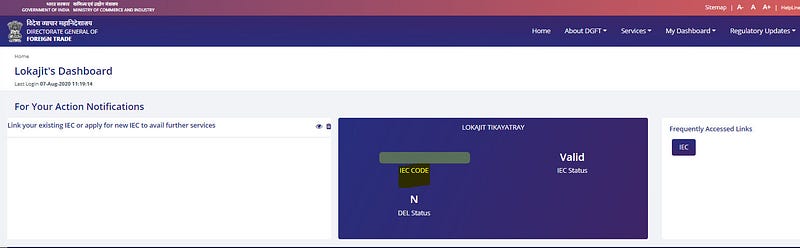
41. Check the IEC code and status from your dashboard in the dgft portal.
For me, the IEC generation was instantaneous, and I can see the details on the dashboard.
42. You will also get an email from ‘[email protected]’ in your mailbox. It will have the IEC certificate attached to it. Keep the certificate copy in a safe place for all future usage purposes.

43. The IEC certificate looks like the below screenshot. It will have your IEC code in it.
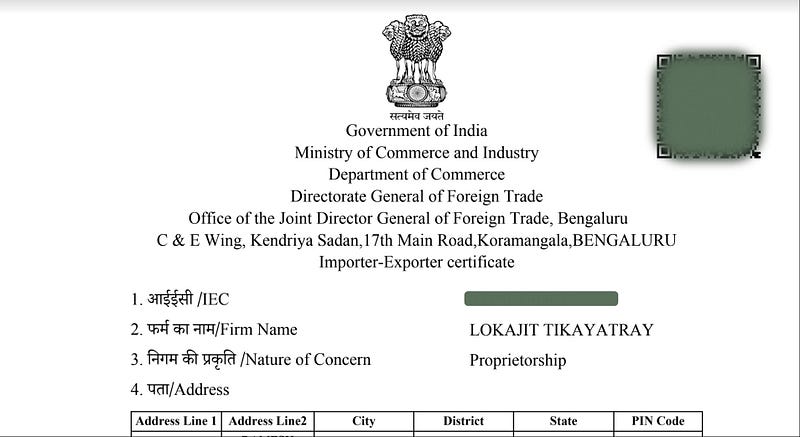
\o/ — You have now successfully created an IEC for yourself. IEC, once generated, is perpetually valid. There is no need to apply for a new one or renew after a certain number of years.
Feel free to let me know, in the comment section, if you face any issues while following the above steps to generate your IEC certificate. Please reach out to a certified legal professional for any legal or tax suggestions.
Thanks for reading the article. If you would like, you can support my writing by becoming a Medium member using this link.
Go ahead and use the IEC in all your import/export payment-related transactions. I wish you all the best in your business.


