
Cloud-Computing Tips
How to Integrate S3 and a SQL Server RDS Instance
And bulk load the contents in to a table
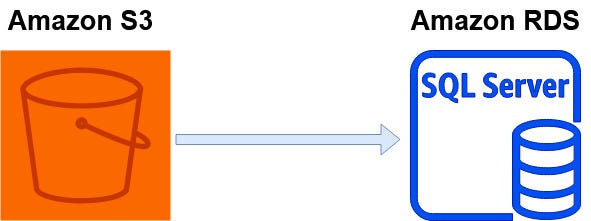
In this tutorial we will walk through in detail how to give your SQL Server RDS Instance the ability to access file(s) (.csv in our example) in an S3 bucket and store it on the RDS Instance. We will then use SQL Server’s BULK INSERT to load the file’s contents in to a table.
You can transfer files between a DB instance running Amazon RDS for SQL Server and an Amazon S3 bucket. By doing this, you can use Amazon S3 with SQL Server features such as BULK INSERT. For example, you can download .csv, .xml, .txt, and other files from Amazon S3 to the DB instance host and import the data from
D:\S3\into the database. All files are stored inD:\S3\on the DB instance.
Some Limitations
- The DB instance and the S3 bucket must be in the same AWS Region.
- Only the following file extensions are supported for download: .bcp, .csv, .dat, .fmt, .info, .lst, .tbl, .txt, and .xml.
- The S3 bucket can’t be open to the public.
Assumptions For This Tutorial
I will assume you are familiar with Amazon Web Services cloud-based solution for object storage, S3, and have access to S3.
I will also assume you have access to a SQL Server RDS Instance. However, this can be done with other RDS types as well.
- More on Amazon Web Services Free-Tier
- More on Amazon Web Services S3
- More on Amazon RDS for SQL Server
What We Will Do
- Create a non-public S3 bucket and save a csv file in it.
- Create a table in SQL Server into which we will load the csv file.
- Enabling RDS SQL Server Integration with S3 (which includes IAM Policy and Role creation.)
- Run a Script in SQL Server to download the S3 file to the RDS.
- Run a Script in SQL Server to BULK INSERT the file’s contents in to a table.
Let’s Get Started!
Creating the S3 bucket and csv File
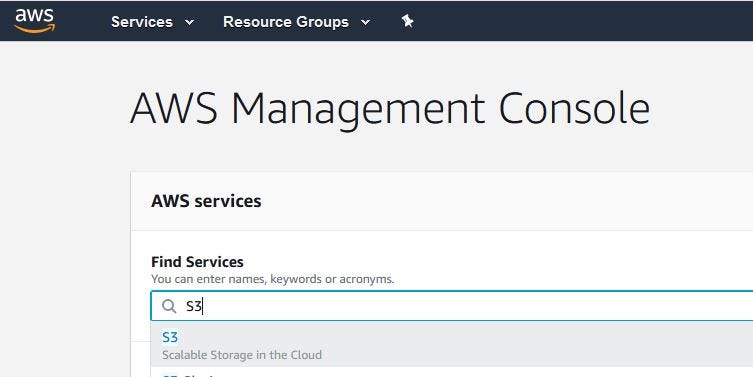
- Open your Amazon Console and go to S3
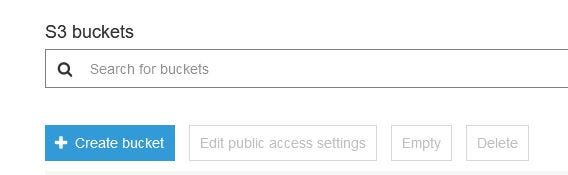
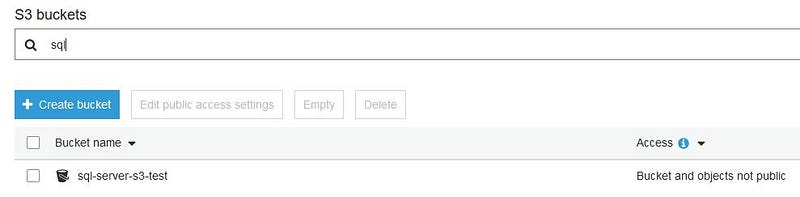
2. Click Create Bucket and create an S3 bucket named sql-server-s3-test and choose your region. Remember, the bucket and RDS must be in the same region.
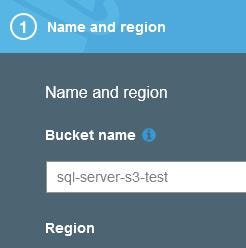
3. Click Create. Locate the bucket and verify it is not public.
4. Create a file named employees.csv with the contents below.
EmployeeId,EmployeeFirst,EmployeeLast,EmployeeTitle
1,Bob,Jones,Software Developer
2,Carol,Stevens,DevOps
3,Ted,Billingsley,Project Manager
4,Alice,Wrest,Database Admin
5. In the S3 console, click the bucket name, sql-server-s3-test, to open the bucket. Click Upload and follow the instructions to upload employees.csv.


Creating The Employee Table In SQL Server
- Open SQL Server Management Studio and un the Script below or create a similar table.
CREATE TABLE [dbo].[Employees](
 [EmployeeId] [int] IDENTITY(1,1) NOT NULL,
 [EmployeeFirst] [varchar](25) NULL,
 [EmployeeLast] [varchar](25) NULL,
 [EmployeeTitle] [varchar](50) NULL,
 CONSTRAINT [PK_Employees] PRIMARY KEY CLUSTERED
(
 [EmployeeId] ASC
)
WITH (PAD_INDEX = OFF, STATISTICS_NORECOMPUTE = OFF,
IGNORE_DUP_KEY = OFF, ALLOW_ROW_LOCKS = ON,
ALLOW_PAGE_LOCKS = ON) ON [PRIMARY]
) ON [PRIMARY]
Enabling RDS SQL Server Integration with S3
This is the most important series of steps. Without creating an IAM Policy and Role, we cannot access S3 from RDS. This is a detailed walk-through.
Create an IAM Policy for access to S3
We need to first build a Policy that will be used to access the S3 bucket and object (employees.csv.)
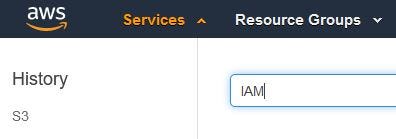
- In the AWS Console, access IAM.
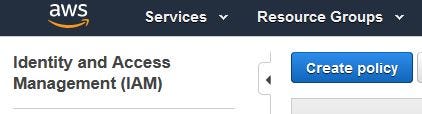
2. Click Policies (under Access management) on the left side Dashboard and click Create Policy.
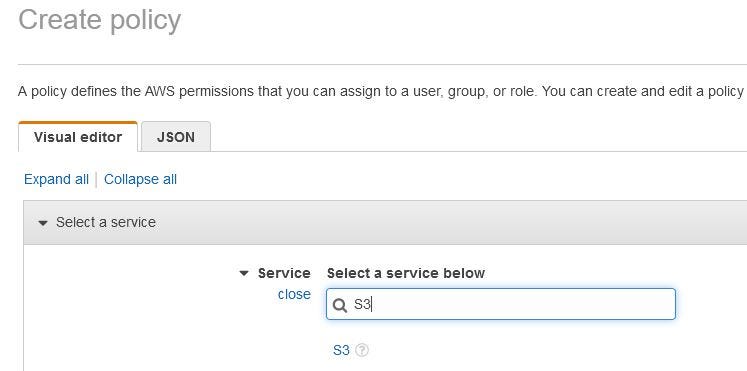
3. For Service, click the blue “choose a service” to search. Type S3 in the search box and click on the blue S3 that shows up below the search.
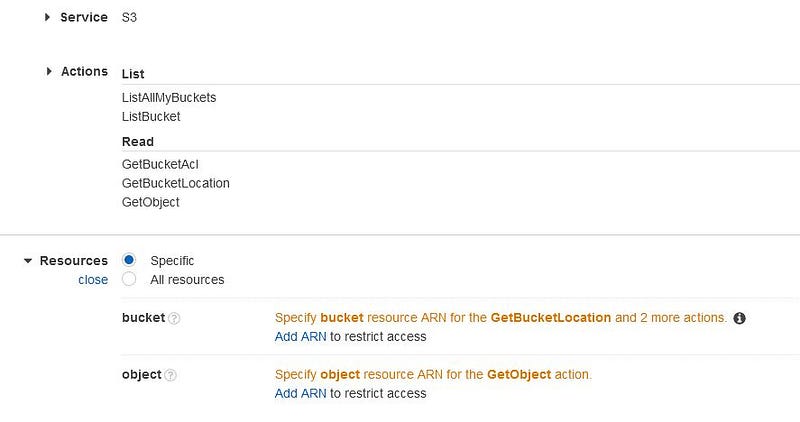
4. For Actions, Access Level, choose the following to grant the access that your DB instance requires (from the List and Read sections):
ListAllMyBuckets – required
ListBucket – required
GetBucketACL – required
GetBucketLocation – required
GetObject – required for downloading files from S3 to D:\S3\
Note: There is also a PutObject if you need to export to S3 from SQL Server.

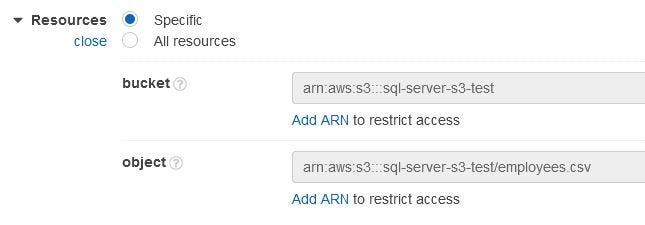
5. For Resources, you should see bucket and object options. We will click each and enter the bucket name and object name.
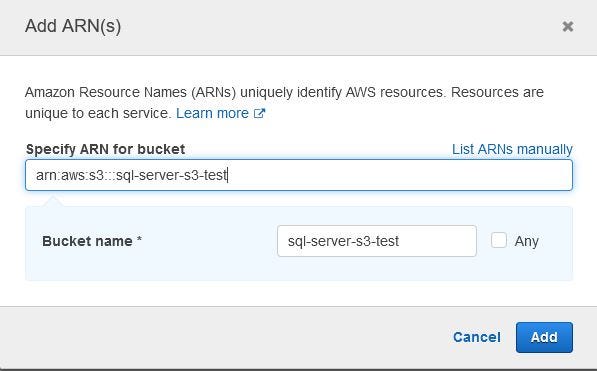
5. Click the blue Add ARN for bucket and enter our S3 bucket name, sql-server-s3-test. (See image below.)
This creates the ARN, arn:aws:s3:::sql-server-s3-test.
Click Add when done.
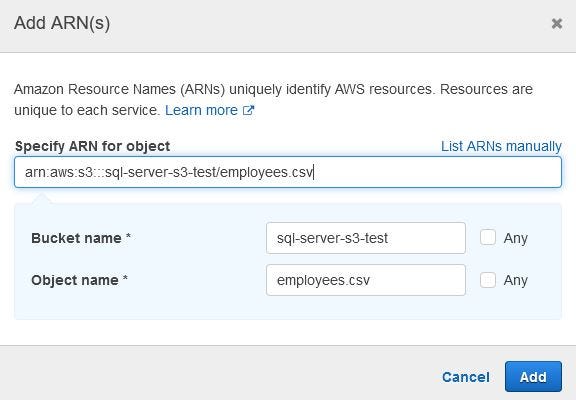
6. Click the blue Add ARN and enter our S3 bucket and object (file) name, sql-server-s3-test and employees.csv. (See image below.)
This creates the ARN, arn:aws:s3:::sql-server-s3-test/employees.csv.
Click Add when done.
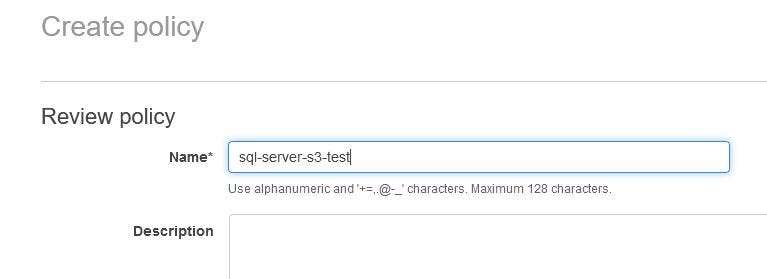
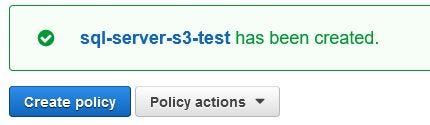
7. Click Review Policy and give it the name, sql-server-s3-test. Click Create Policy.
Creating an IAM Role that uses the IAM Policy
Next we need to create an IAM Role to use the Policy we just created.
- Open your AWS Console and go to IAM again. Choose Roles in the left side Dashboard.
- Click Create Role.
- Choose the following as they appear,
- AWS service (at the top.)
- RDS (in the middle list, “select a service to view use cases”.)
- RDS — Add Role to Database (towards the bottom in the “Select your use case” section.)
4. Click the Next: Permissions button.
5. For Attach permissions policies, enter the name of the IAM policy , sql-server-s3-test, in the search box.

6. Click the box to the left of sql-server-s3-test. Do not click the name itself.
7. Click the Next button twice until you get to step 4. Enter a name for the Role. Use the same name as the policy, sql-server-s3-test, (the name does not have to be the same.)

8. Click the Create role button.
Associating your IAM role with your DB instance
- Open the AWS Console and go to RDS.
2. Choose the RDS SQL Server DB instance name to display its details (click the name of the RDS.)
3. On the Connectivity & security tab, in the Manage IAM roles section (scroll down to find this), choose the IAM role to add for Add IAM roles to this instance.
4. To the right, for Feature, choose S3_INTEGRATION.

5. Click the Add role button.
Recap
The RDS Integration to S3 required an IAM Policy, Role that uses that Policy and finally a connection of the Role to the RDS instance.
Loading the File From S3 to SQL Server
- Jump back in to SQL Server Management Studio and open a new query window.
- In the query window paste the following. Do not run it yet.
exec msdb.dbo.rds_download_from_s3
@s3_arn_of_file='arn:aws:s3:::sql-server-s3-test/employees.csv',
@rds_file_path='D:\S3\seed_data\data.csv',
@overwrite_file=1;
Notice the ARN to the employees.csv file in our S3 bucket.
When executed, this will start a task that will start a download from S3 to D:\S3\seed_data\data.csv on the RDS. (I’d recommend you leave the names as they are for this tutorial.)
Make note of the task_id it creates. You can run the following to check the status of your task. (Note: it can take up to 30 seconds to complete.)
SELECT * FROM msdb.dbo.rds_fn_task_status(NULL,task_id);3. Run the code from step 2 (download from S3) and then run the code from step 3 periodically to monitor progress.

Loading The Contents Of The File In To A Table
After the status is SUCCESS, we can load the data in to the Employees table. Use the script below,
BULK INSERT Employees
     FROM 'D:\S3\seed_data\data.csv'
     WITH
     (
         FIRSTROW = 2,
         FIELDTERMINATOR = ',',
         ROWTERMINATOR = '\n'

)Note: If you have trouble, try changing the ROWTERMINATOR to ‘0x0A’
Looking at the Employees table we see,
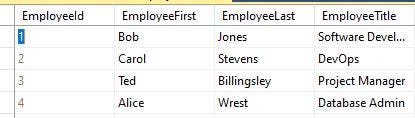
Success!
Lots of moving parts so if you run in to any problems, please leave a comment.
Conclusion
There were a lot of steps and moving parts from Policy and Role creation to Associating the Role with the RDS. And finally running the rds_download_from_s3 code.
This is a very powerful and potentially useful process. Keep in mind that adding PutOption in our Policy, we can also export to S3.
Thank you for reading and, again, if you run in to any problems, please leave a comment.
Read all you want and help me continue writing by joining Medium.
You may also enjoy:


