
How to Deploy a Gatsby Site to an S3 Bucket
A quick guide to deploying a Gatsby site to an S3 website and serve over HTTPS using CloudFront.

In case you aren’t familiar with Gatsby, it is a great tool for building fast and performant websites. It is a static site generator that allows you to build sites using React. Gatsby also leverages GraphQL to allow you to easily combine data from multiple sources like a WordPress blog or a Shopify store.
The number one feature of Gatsby is definitely performance. Gatsby sites are served up to users in milliseconds and navigating around is designed to be a smooth and responsive experience. Another nice feature of using Gatsby is there is a large existing library of plugins, themes, and starters. You can check out Gatsby’s library of existing starters before you start a new site because there will likely exist a good starting point that aligns with your use case.
There are many options for hosting a Gatsby site, but in this article, I am going to demonstrate how to host from an S3 website and use CloudFront to hook up a domain and SSL certificate. To follow along fully with the example you will need to have an AWS account available to use.
Create a new Gatsby site
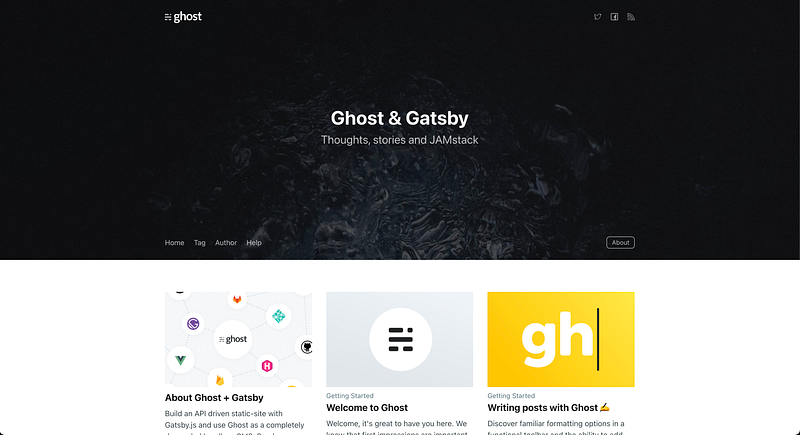
We will be walking through how to deploy a Gatsby site to S3, but first, we will need to generate a new one for us to have a project to work with. We can use this starter for a Ghost blog to get a new site up and going that we can then deploy to S3.
Run the following command in a terminal to generate the site.
$ npx gatsby new gatsby-starter-ghost https://github.com/TryGhost/gatsby-starter-ghostThis will take a bit to set everything up, so good opportunity to take a coffee break. Once this finishes up run the following commands to start the site running locally.
$ cd gatsby-starter-ghost
$ npx gatsby develop
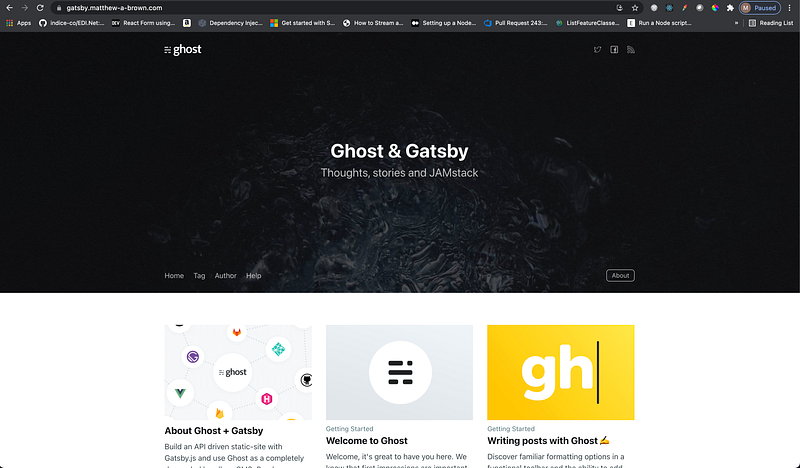
You will see some output similar to that above. Once it starts up you navigate to http://localhost:8000 where you can have a look at what our starter site looks like out of the box.
AWS Setup
Now that we have an example site ready to deploy, we need to take care of some setup in the AWS console. This step is optional, but to hook up our site to a domain you will first need to register or have a domain already registered in Route 53.
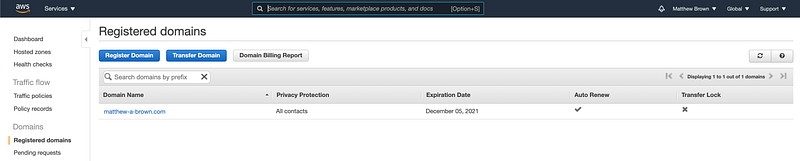
I am going to use an existing domain I am using and add a subdomain to it. Next, we need an SSL certificate that we can use for CloudFront later on. I’m going to create a wildcard certificate that I can use with any subdomain of my registered domain.
Navigate to Certificate Manager in the AWS console and request a new certificate if you don’t already have one ready to use.
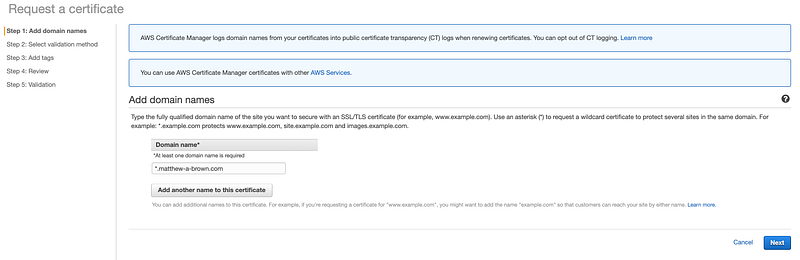
Add the domain name(s) for the certificate in step 1.
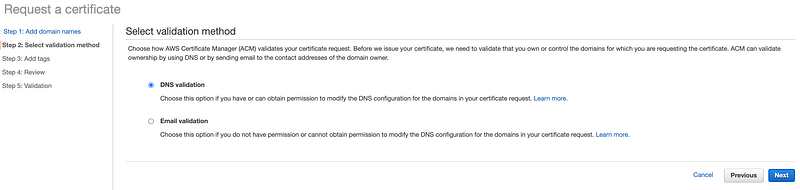
Choose DNS validation for step 2.
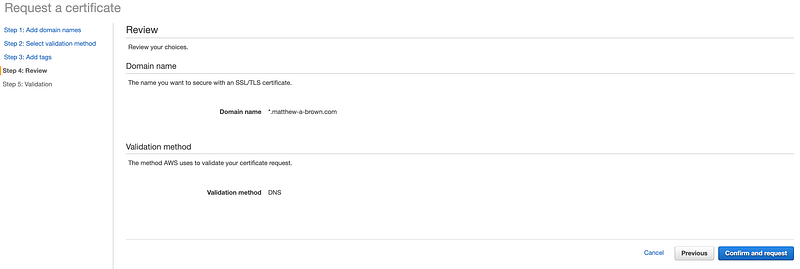
The last step is to confirm the domain you’ve entered and the next screen will give you the option to add the DNS record in Route 53 for you. This step is necessary to validate your certificate so that it can be issued.
Next, we need to navigate back to Route 53 to create a new hosted zone with the name of the domain or subdomain that we will be using.


This will generate a new zone which we will be coming back to once we set up our CloudFront distribution to add later.
We need to create a new S3 bucket next. So navigate to the S3 service in the AWS console and then click create a new bucket.
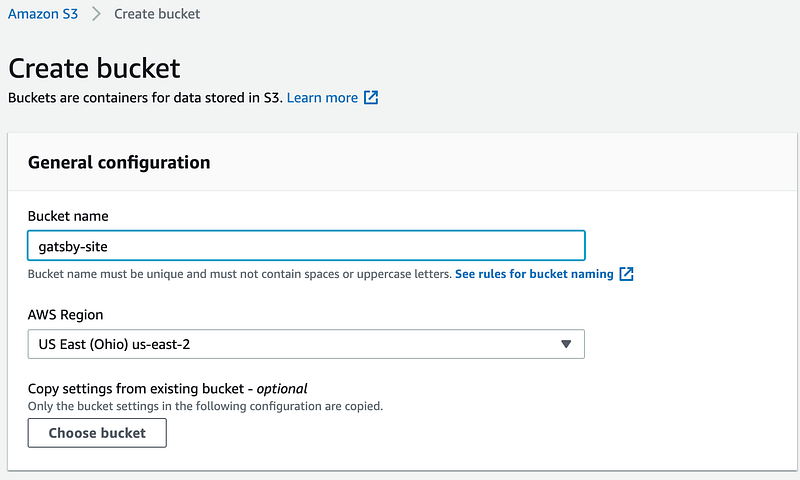
Add a name to the bucket in the first section.
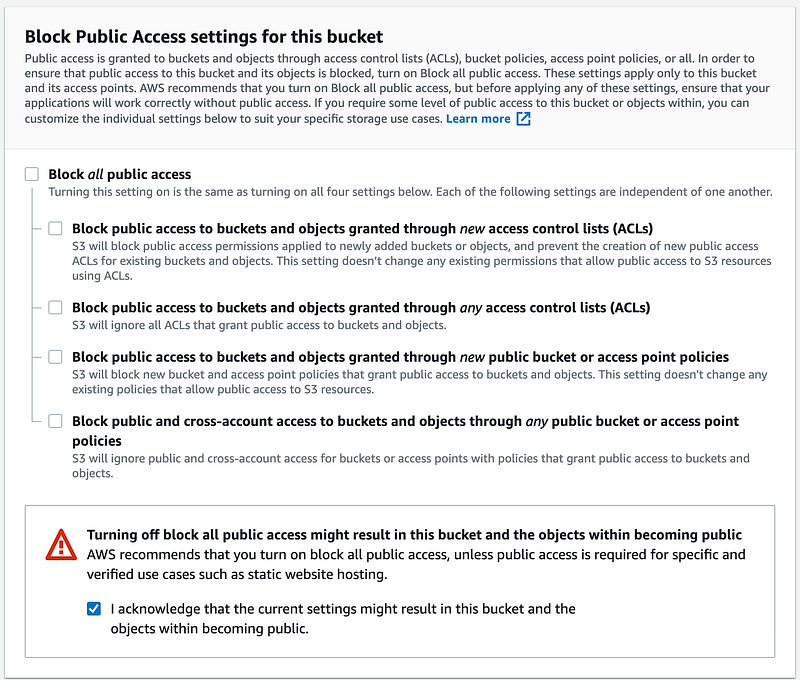
In the second section below uncheck “Block all public access”. We will need this bucket to be publicly accessible. For the rest of the options, you can just leave them as the default.
Next, go to the Permissions tab of our new bucket and click Edit next to the Bucket policy section.
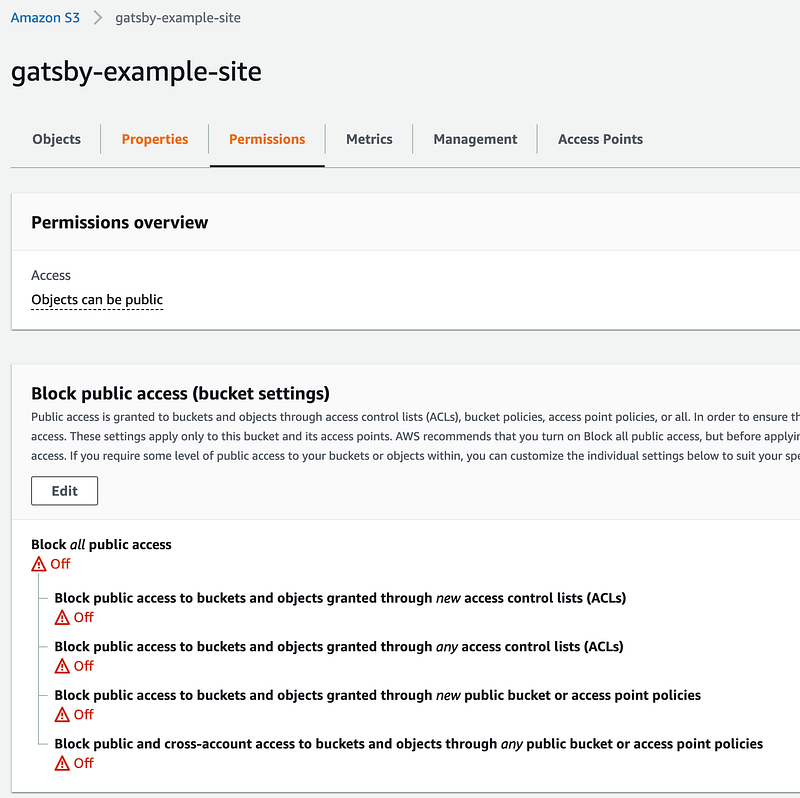
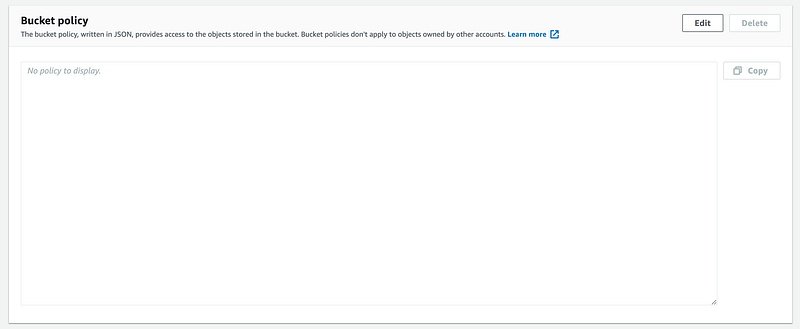
We need to add the following JSON to the Bucket policy to make it truly publicly accessible. Be sure to change “Bucket-Name” to the name of your bucket.

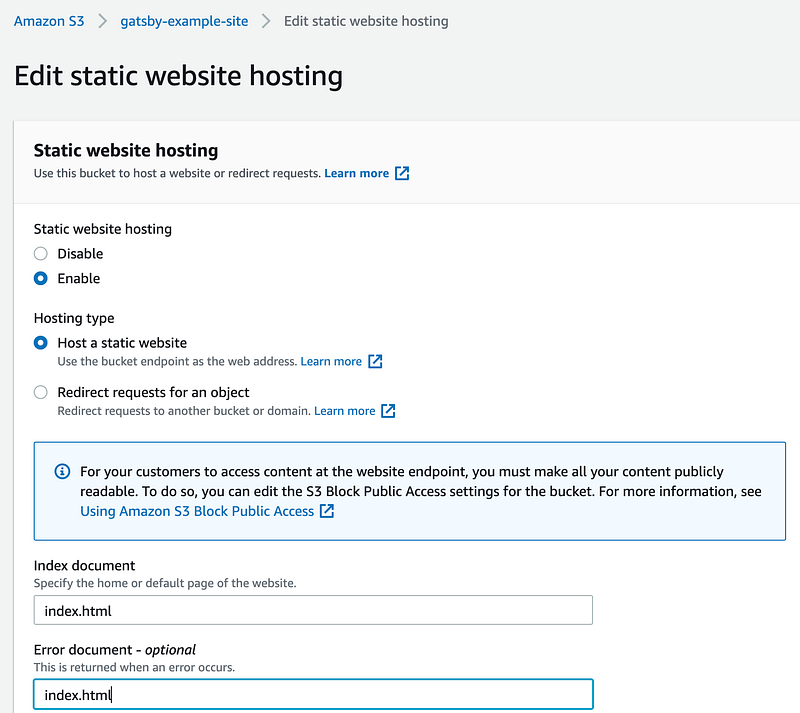
Switch over to the Properties tab and scroll down to the bottom to Static website hosting and click Edit.

We need to enable static website hosting for the bucket.
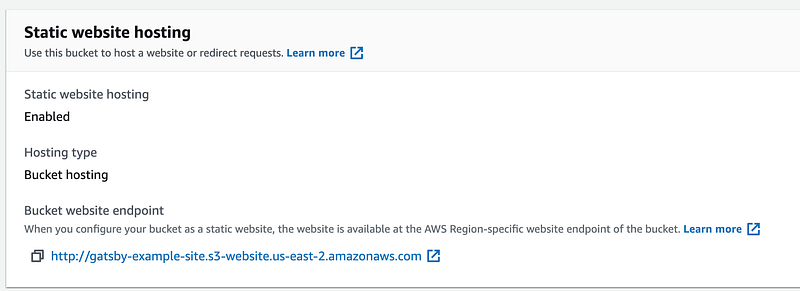
That should be all we need to set up within S3. Be sure to copy the Bucket website endpoint as we will need that in CloudFront next.
Navigate to CloudFront and create a new distribution.
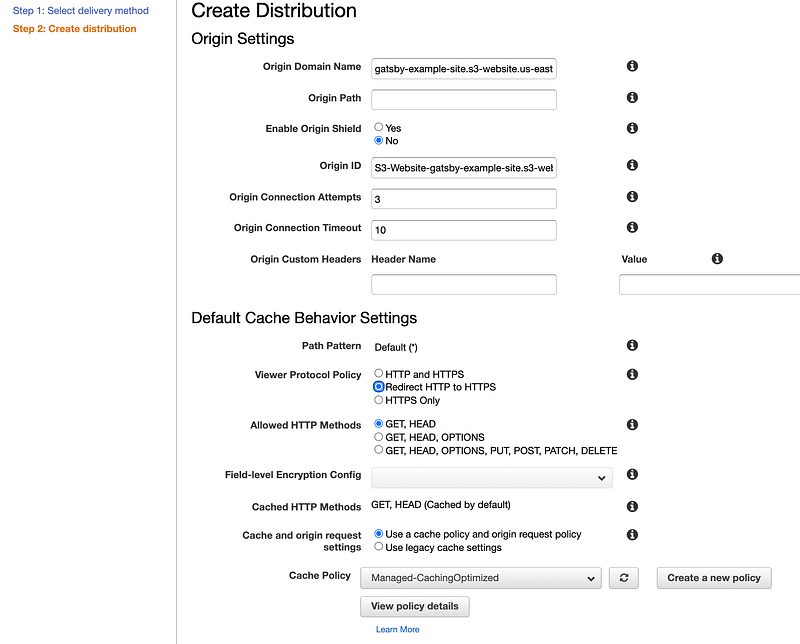
You will want to paste the website address from S3 in Origin Domain Name at the top of the form. I choose to Redirect HTTP to HTTPS and leave the rest as the defaults down until the Distribution Settings.
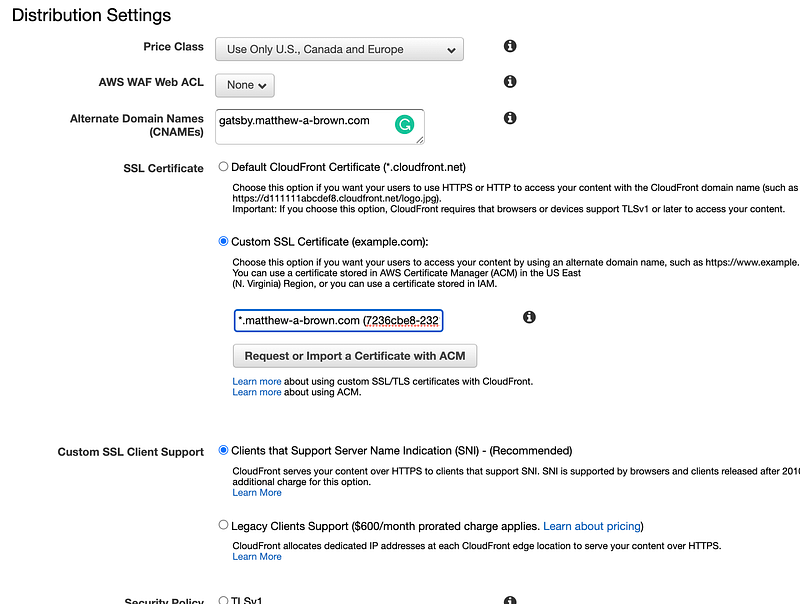
We need to enter the domain we are connecting in Alternate Domain Names (CNAMEs). Also, we switch SSL Certificate to Custom SSL Certificate and choose the certificate we created earlier in Certificate Manager. That should be all we need to change, just hit create at the bottom.
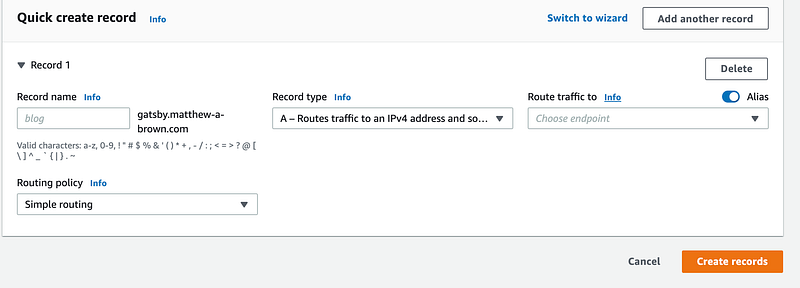
Now we are ready to head back to Route 53 to add our CloudFront distribution to the hosted zone we created earlier. Create a new zone and flip the switch in the upper right to make this an alias record.
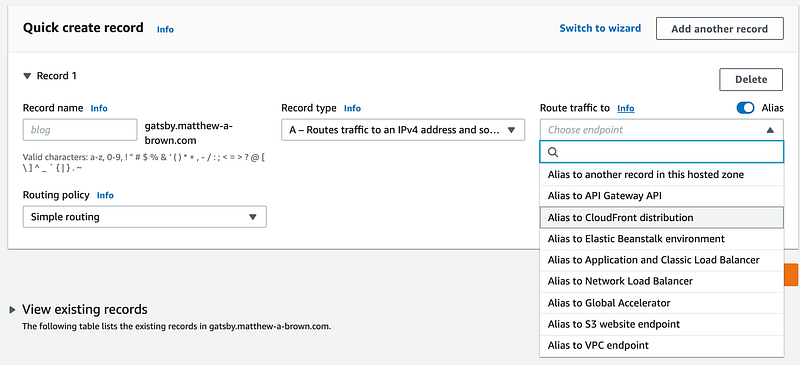
Then choose Route traffic to Alias to CloudFront distribution.
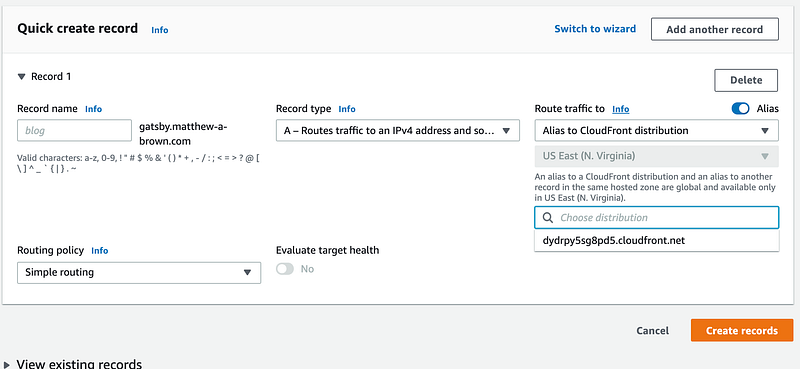
After this selection, your CloudFront domain should populate in the text box.
We have completed quite a few steps of setup, but that should we be all we need to get our site going. In the next section, we will be deploying our example site to the S3 bucket we just created and we can validate all of our setups are complete.
Deploy to S3
Now that we are all set up we need to install the S3 plugin for our Gatsby site. Back in our site’s project run the following command to install the plugin.
$ npm i gatsby-plugin-s3Once installed we need to add this to our gatsby-config.js
Then the last line we need to add is a deployment script in package.json
"scripts": {
  ...
  "deploy": "gatsby-plugin-s3 deploy"
}
One last configuration step. Open up src/utils/siteConfig.js and update the site URL to the production domain name.
Run the following command to create a new build.
$ npx gatsby buildNote that before you run the deploy command you will need to make sure you have your AWS credentials configured with the AWS CLI or provide them with the command as below.
$ AWS_ACCESS_KEY_ID=xxxx AWS_SECRET_ACCESS_KEY=xxxx npm run deployor$ npm run deployIt will ask you to confirm so enter Y when prompted.
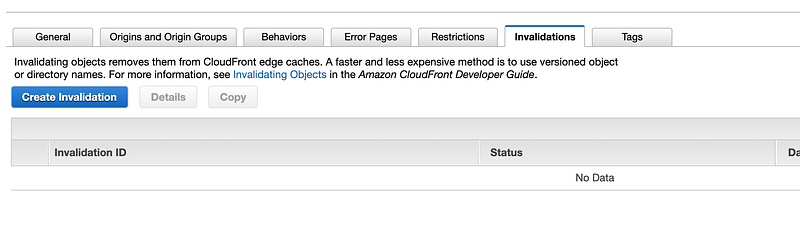
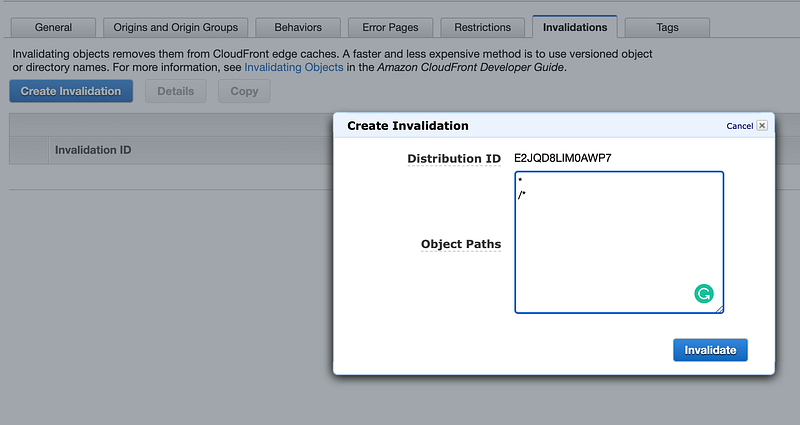
Note that on subsequent deployments you will need to create an invalidation for the CloudFront distribution so it serves the latest code.
Now if we navigate to our domain we should be greeted with our Gatsby site. Notice how quick our site renders and feel free to navigate around.
Conclusion
This completes our example. We now have a deployment pipeline set up to quickly serve up new versions of our site as we build and iterate our project. Gatsby is a powerful tool and highly recommended for static sites. For another example of a site built with Gatsby, you can check out my personal site. Thanks for reading!
More content at plainenglish.io