
How to Create Marker Clusters on Google Maps
When you have lots of markers on your map, the map might get cluttered. There’s a cool way to get around it. You can use marker clusters so that Google map automatically clusters the markers into groups based on the location of the marker. When you click on a particular marker, it will zoom in and show sub-clusters for markers in a selected location.
In this post, I will show you how to add marker clusters to Google Maps.
Step 1: Import scripts and define a div to hold a map
First, let us define the basic HTML elements needed to use a map.
- Get a Google maps API key from the Google Console. Refer to this link to view instructions on how to get an API key.
- Import the maps API script at the bottom of the HTML page and replace
YOUR_API_KEYwith the correct value. - Also, notice that we have defined a callback in the map import script as
initialiseMap. We need to define this function and initialize our map in it. - You also need to import the
markerclusterer.jsscript to be able to use clusters. - Finally, create a
divwhich will hold your map.
Step 2: Initialize the Map
Next, we simply initialize Google maps in the initializeMap function.
Note:
- We are setting
zoomlevel and mapcenterto a location of our choice. - Also, we check whether GPS location permission is granted and set the map center based on the current GPS location. If it's not enabled, we use a default location.
Step 3: Add Markers on the Map
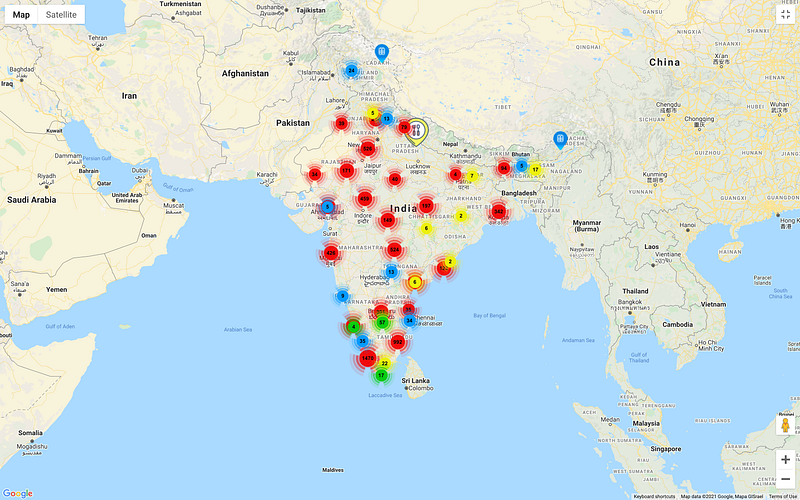
For the purpose of this tutorial, we will be using sample COVID vaccination location data. The data has the following format.
We will read the data from data.json file and add the markers to the map.
You can replace the logic and add markers based on your application logic.
Note: Until this point, we have just added normal markers to an array list. If you run the app, the markers won’t display on the map.
Step 4: Define icons for marker clusters
Next, you need to add different-sized icons which will be used for your cluster.
Carefully note the naming of the markers and the directory structure.
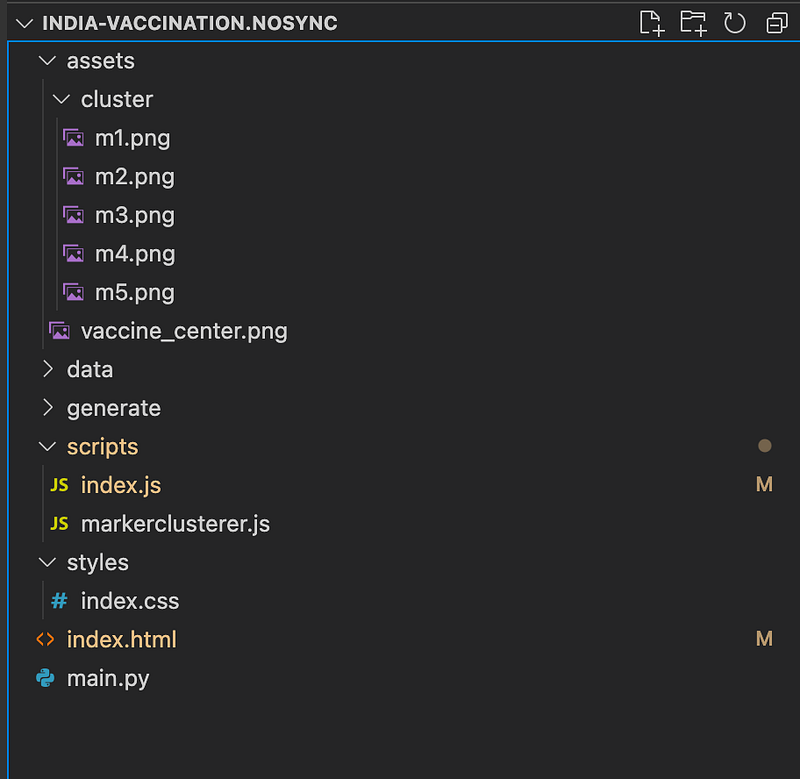
You can name the icons anything but they should have the same prefix for eg. m and should be followed by numbers 1–5 since the map looks for these 5 different icon sizes.
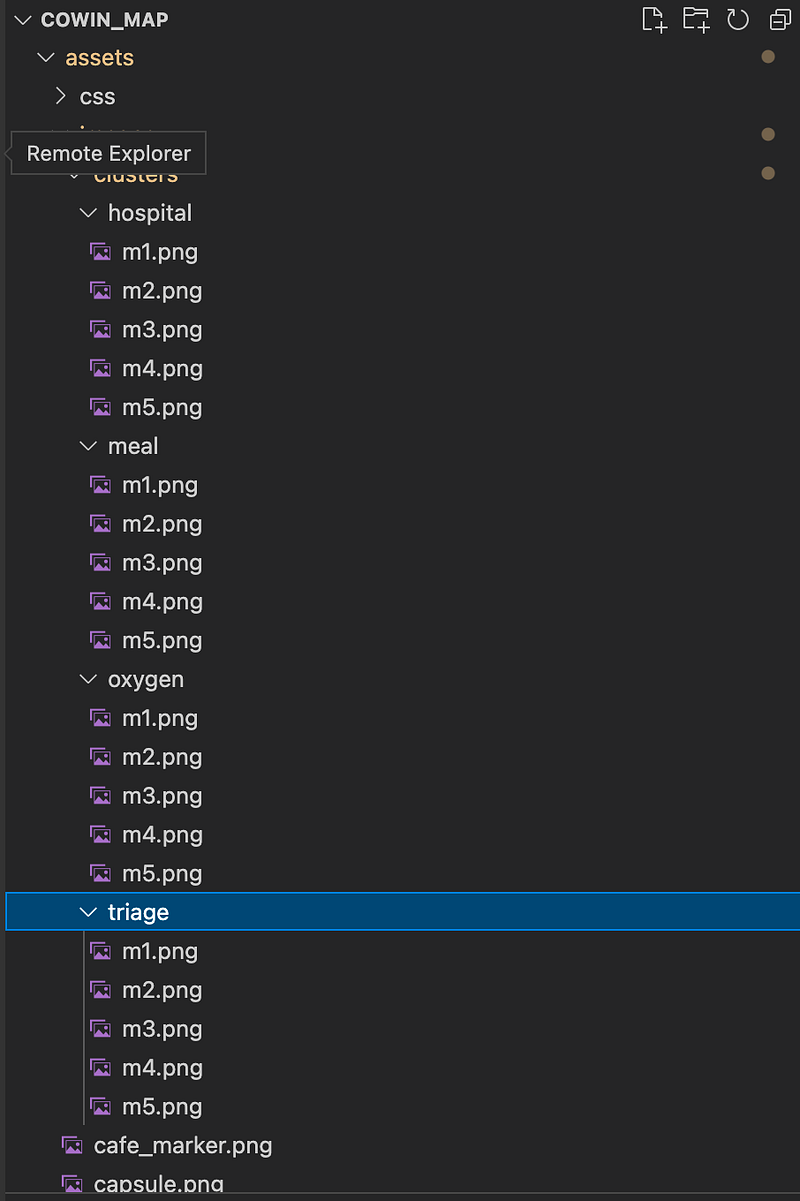
Similarly, if you have multiple clusters, you can create multiple directories under assets. For eg. refer to the diagram below.
Step 5: Draw marker cluster
Finally, we draw the cluster on the map.
Notice, the image path that we pass while defining the cluster. We just specify the prefix and the map will automatically look for different sizes from 1–5.
Step 6: Expose the initialize map function to Window
Make sure that the initializeMap the function is available to window .
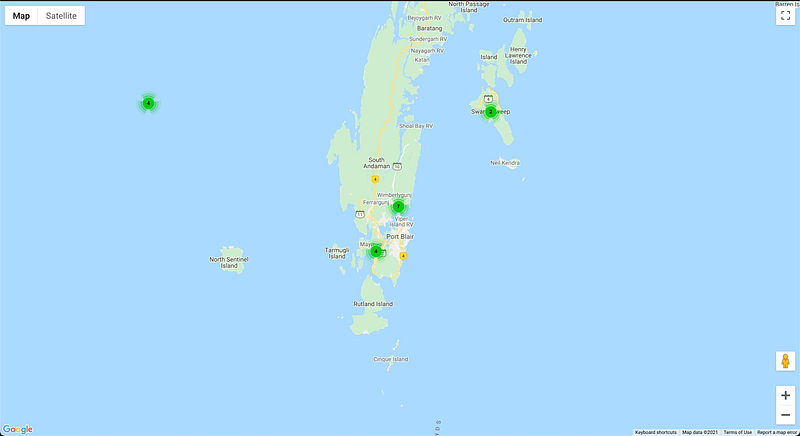
window.initialiseMap = initialiseMap;That’s it. When you run the app, you should be able to see the clusters. When you click on one of the clusters, it would zoom in and center the map on the selected cluster. It might show smaller clusters if the zoomed area has more than 1 marker.
Conclusion
Marker clusters are a nice way of de-cluttering your map if you have lots of markers. If you are looking to further customize the UX for marker clusters, refer to the documentation.
If you are looking for an example of multiple marker clusters then refer to this repo.
Consider taking a Medium membership to continue reading all my premium articles along with 1000s of other stories.


