How to create E-Books
Using Kindle create

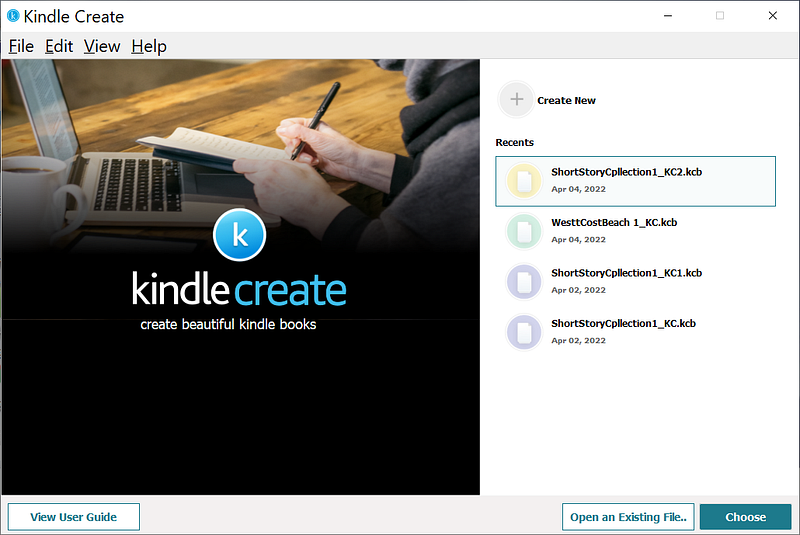
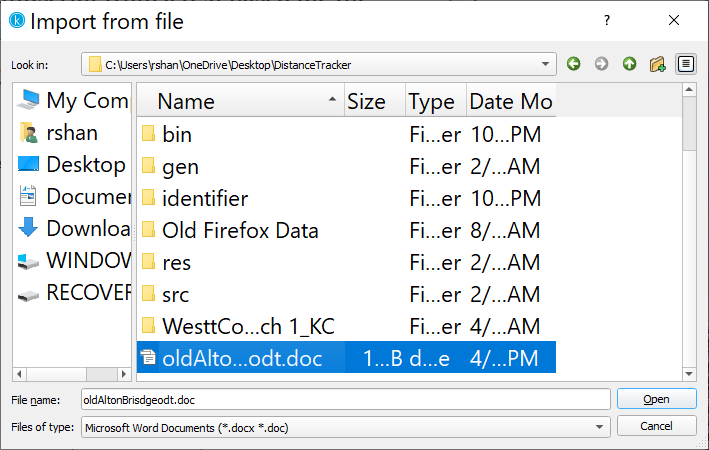
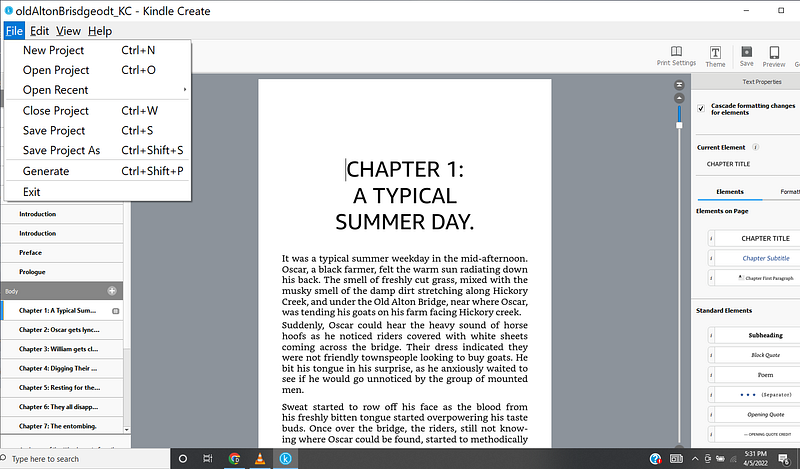
To create an e-book for KDP use the free tool supplied by Amazon called Kindle Creates. Prepare a file containing your book's contents. Store it in either the .doc or the .docx format. If you separate the chapters with the keyword chapter followed by a colon then the title of the chapter such as “Chapter 8:Old Alton Bridge sequel 8, “Kindle Create” will automatically create a navigable table of contents for you that is navigable.
After your file is loaded into “Kindle Create” it will take several minutes to be optimized.
After the import is successful you will see a message to that effect on the “Kindle Create” panel.

Continue and then close the panels. You will come to a panel with a “get started” button. Click it.
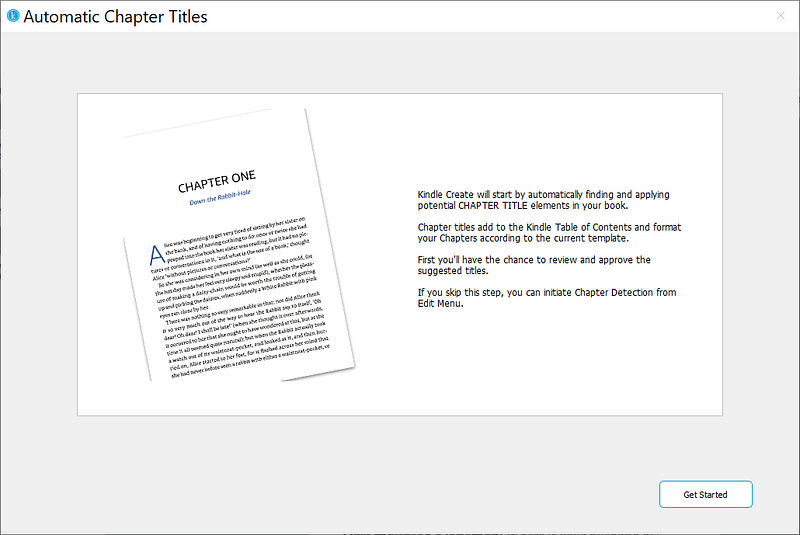
If not all your chapters are detected, you can make changes to your chapter heading and do a chapter detection again by choosing chapter detection in the edit tab.
When creating my “Old Alton Bridge” e-book I had problems detecting two of my three sequel chapters. I added extras lines above and below my chapter headings, ran a chapter detection again and my missing chapters were detected.
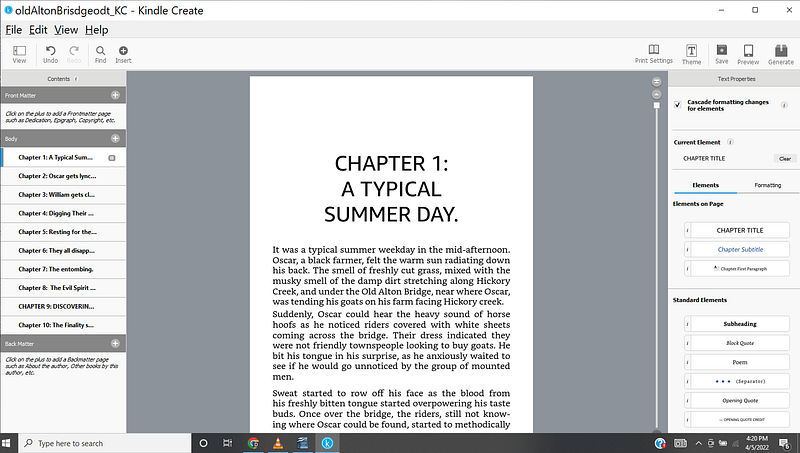
Once you make changes to your story file, you can save the changes by clicking the save icon near the upper right-hand corner of the” Kindle Create” main display panel, also seen in the image below.
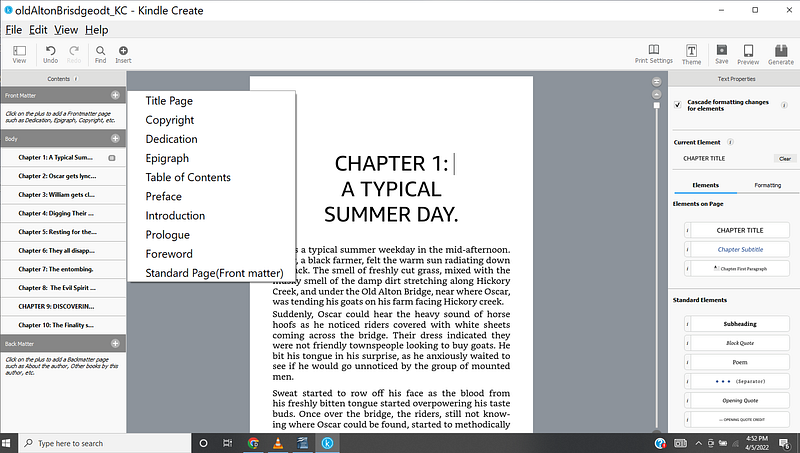
To add front natter such as Copyright, Dedication, Preface, and so on, click on the plus symbol in the front matter label.
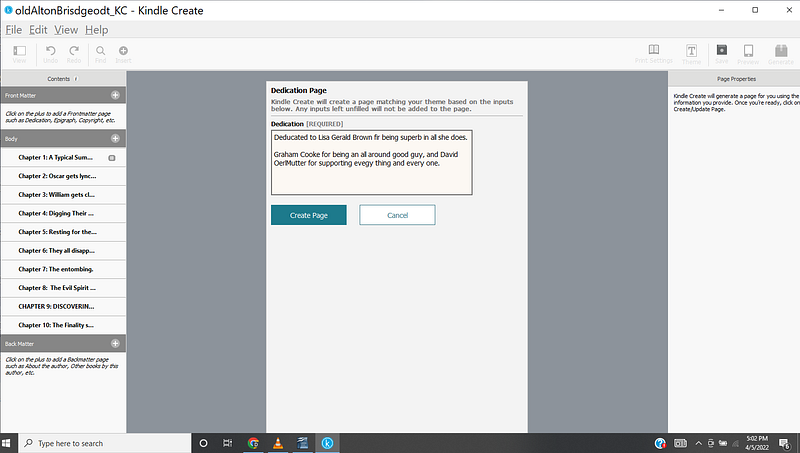
You can add or change the text for each category of front matter. I change the text for a dedication page in the e-book in the screenshot below,
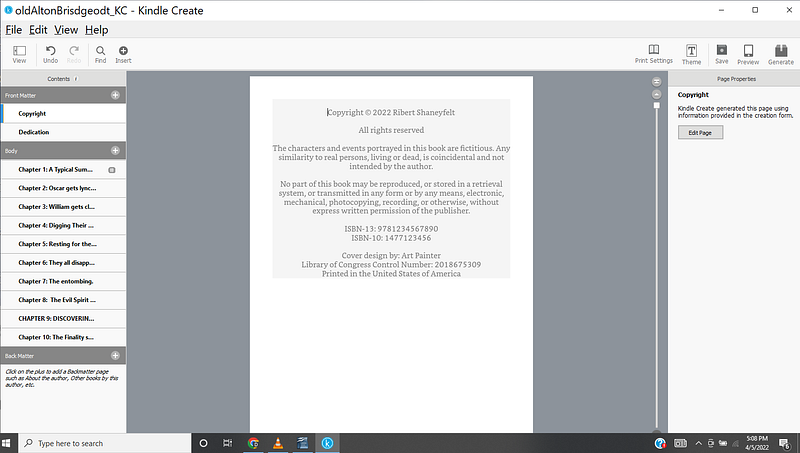
the copyright page for the e-book is quite simple, you need to answer two questions, the name of the copyright owner and the year of the copyright.
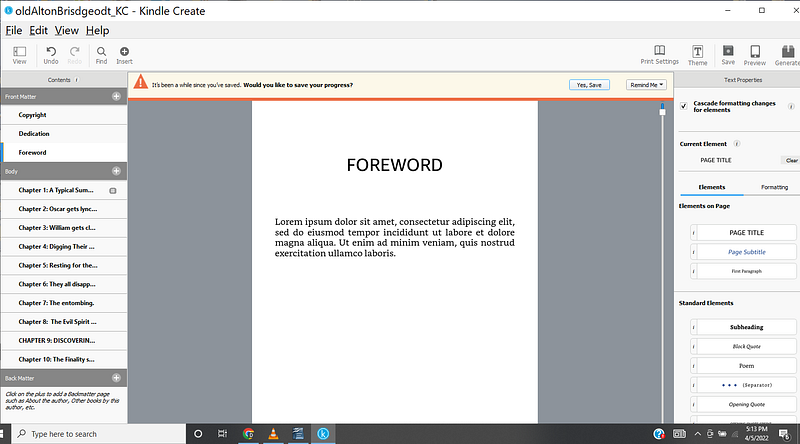
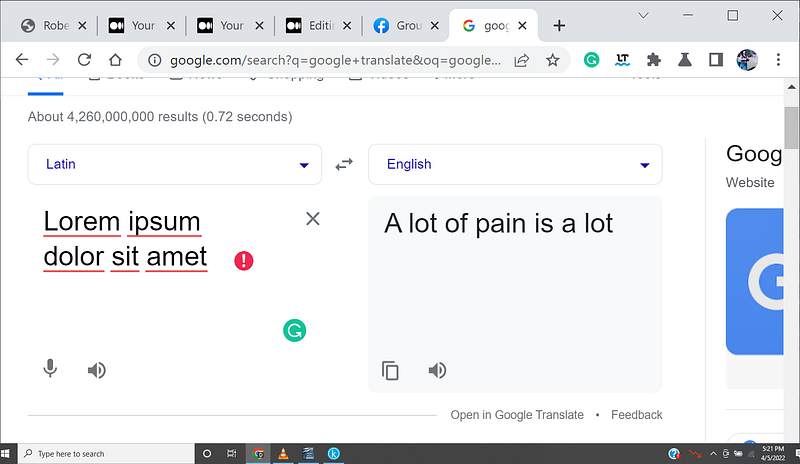
The default text for the forward and the preface are words in Latin. I entered a few of the words from the default forward into Google Translate and verified it was Latin.
Once you have the story content and your front matter the way you like it, go to the File tab and choose to generate.
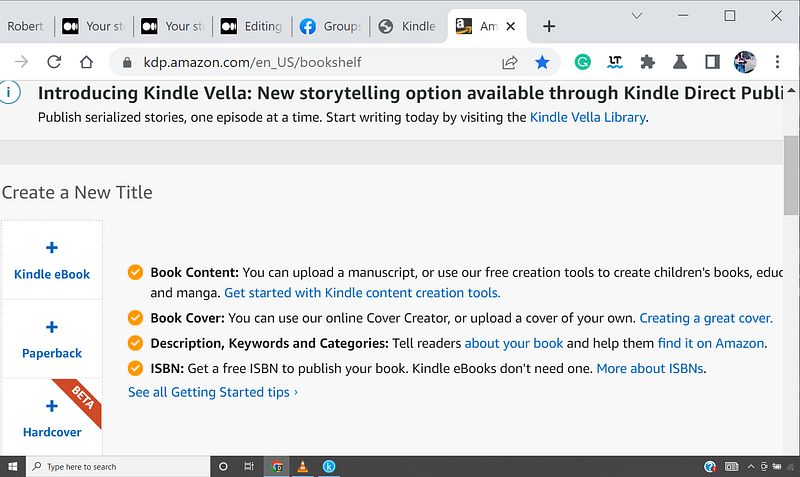
Assuming you have your KDP account set up after you have your e-book file ready to publish go to the following website and click on the plus sign next to Kindle e-book.
You will be taken to the Kindle e-book details page. Fill in details such as the title of your e-book. The primary author and optionally an edition number.
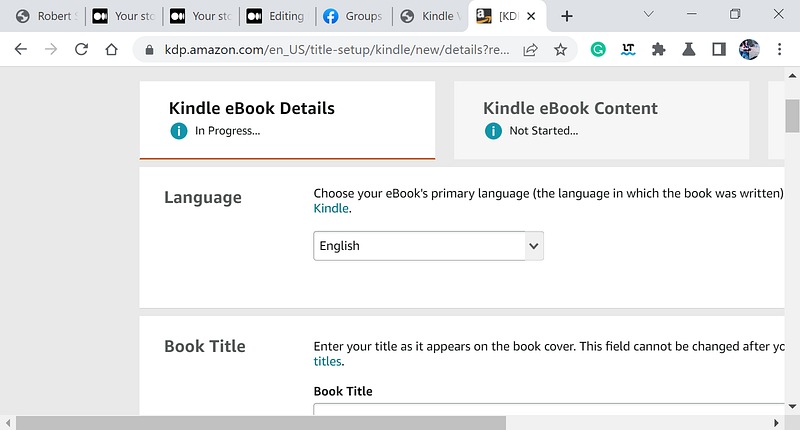
Fill in the required information then hit the save and continue button shown in the screenshot below.
On the next screen, you come to, you will be asked to upload your book front cover image. The minimum dimensions should be I000 pixels in height and 625 pixels in width. It should not exceed 10,000 pixels in height abs width.
I used the same image that I used with Kindle Vella.
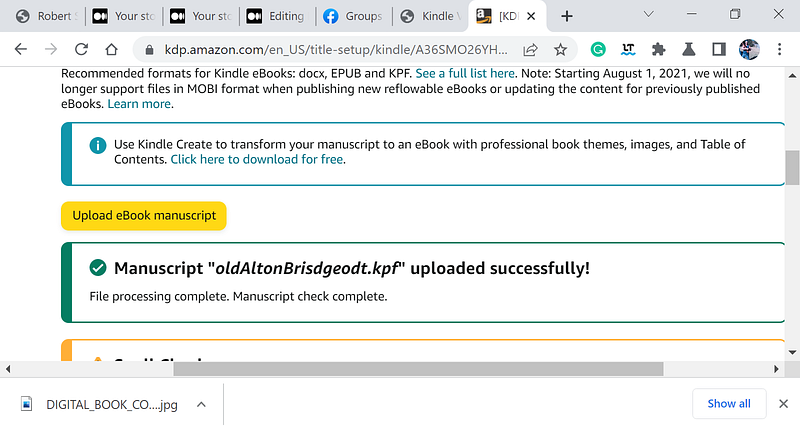
Choosing the button “upload manuscript” will initiate a process that allows the uploading of the .kpf file you generated with the tool “Kindle Create”
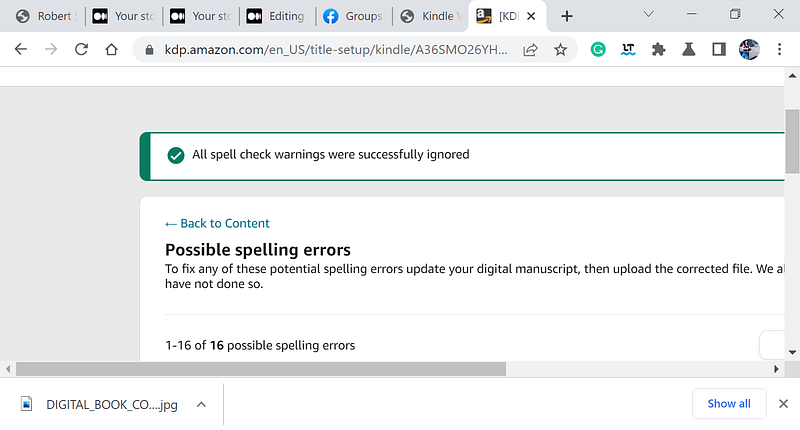
A spell check will be run to let you know if any spelling errors are found, You will be given the option to ignore them. In my case, the Latin words used as a default filler for the forward and the preface were found, which I safely ignored.
If you fix any spelling errors, choose the arrow to go back to content to get back to the content entering page.
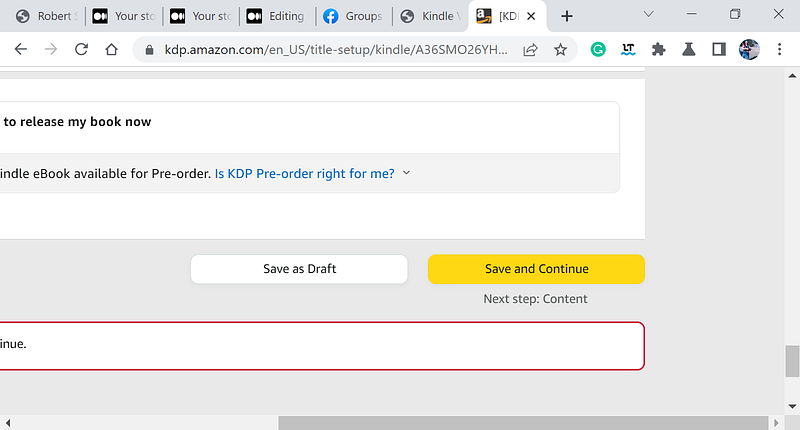
The next step is to set the price and optionally enroll in the KDP select program.
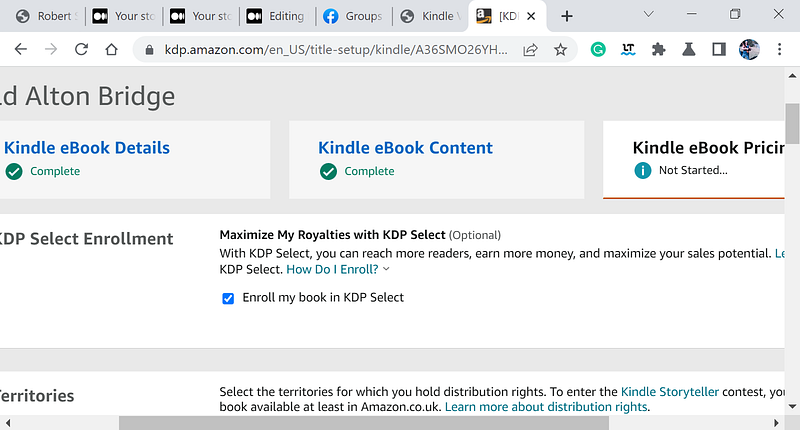
Select the marketplace, select a royalty plan, and set your e-book list prices.
If you want to partake in the KDP select plan for promotion you should set your list price at $2.99 or more.
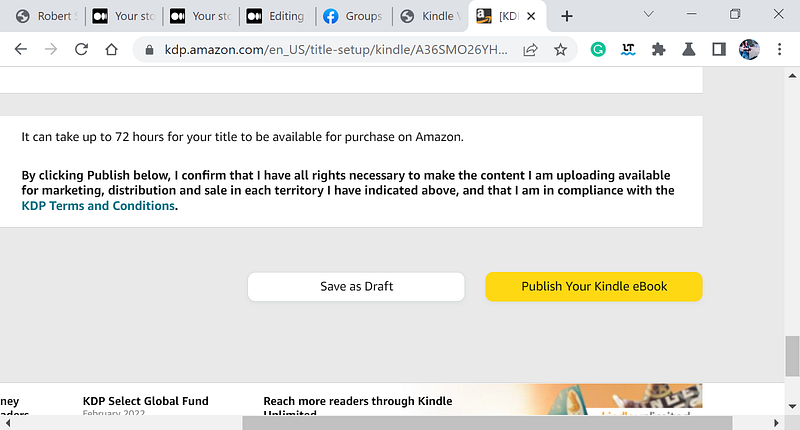
Optionally you can choose if you want to allow lending of the book then click the button near the lower right corner labeled “save and publish.”
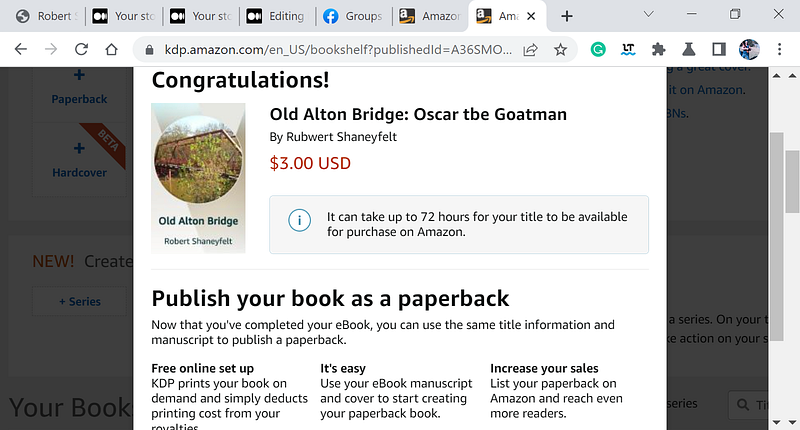
If you desire you can publish your book as a paperback.