
How To Create a Signup Confirmation Email With Node.js
Avoid fake users with a confirmation link to activate accounts

Confirmation emails for user registration are an important step, both for marketing and security purposes.
In terms of marketing, confirmation emails establish the first communication with the customer, ensuring important information is sent before finishing the signup process, compliance with GDPR regulations, and guarantees that following emails won’t end up in the spam box.
In terms of security, these emails make sure the user is not signing up with a fake email.
In this tutorial, I will guide you through implementing confirmation emails on a registration feature, using React and Node.js.
Who is This Tutorial For?
This tutorial is targeted at someone who already has a basic knowledge of web development with JavaScript frameworks. I will guide you in integrating new functionality into a pre-existent authentication process.
I will give you all the code you need if you want to use this tutorial as a coding exercise. However, if you already have a web app and only want to add a custom signup confirmation email, you’ll be able to follow each step of this guide to do it on your own, even if you’re using different JavaScript frameworks.
How To Set Up a Signup Confirmation Email
For this tutorial, I used a Node.js app with a Mongo DB database that can be cloned here:
For the front end, I used a React registration form with JWT authentication, found at the link below:
Step 1 — Prepare the User Model
If you are using the starter code I mentioned in the last section, you can find the user model in themodels/user.model.js file. The current model includes three fields: username, email, and password. Two more need to be added:
status: Every new user must be created with “Pending” status by default. After registration, he will receive a confirmation email with an activation link. By clicking on it, his status will be updated to “Active”.confirmationCode: A unique token for each user.
Step 2 — Modify Login Procedures
Only users with an “Active” status should be able to log in, so we have to include an error message in the signin method, which will be displayed when a user with a “Pending” status attempts to log in. This method can be found in controllers/auth.controller.js:
Step 3 — Modify the Signup Procedures
The signup method is in the controllers/auth.controller.js file. This must be updated to generate aconfirmationCode and added to the user object to be stored in the database.
The confirmationCode can be created in several ways. I suggest two:
- Compute your own unique token resorting to
Math.random()function:
2. Use an appropriate npm package. You have plenty to choose from. For this tutorial, I used jwt-encode, which creates JSON web tokens using a secret and the sign() function.
Note that, for the sign() function, I used a constant named secret, which is already defined in the config/auth.config.js file.
Step 4 —Send the Confirmation Email
nodemailer is the perfect npm package to implement email sending. If you haven’t yet, please install this package:
npm install nodemailerThen, you need to include the sender’s credentials, namely their email and password, in your app’s configuration file. For this tutorial, I specifically created an email account, and I highly recommend not using a personal email for this exercise, unless you have a deep understanding of security issues.
Important: To use Gmail with nodemailer, you’ll have to enable the access for less secure apps, otherwise it won’t send any emails.
For consistency purposes (please remember I’m not using my own code as the starting point for this tutorial), I stored the credentials in the configs/auth.config.js file. However, I highly recommend you to keep this information in the .env file and include it in your .gitignore file.
After this, we have to add a new file inside the config folder, to set up the email service. I created nodemailer.config.js. To set up an SMTP connection, we have to create atransporter object, by calling nodemailer’s createTransport function. We also have to pass it the sender’s credentials, along with the chosen email service.
The next step is to create the email itself, resorting to the sendEmail() method called over the transporter. There are many optional fields to add to the email message. For this tutorial I used:
from— Sender’s email address.to— Recipients’ email addresses.subject— The email’s subject.html— The HTML version of the email’s message, so the email service can open it.
The email message must include an URL with the confirmationCode. This is necessary to compare it with the respective confirmationCode field of the user stored in the database.
Finally, to send the confirmation email after a new user’s creation, we may call sendEmail() inside the signup method.
Step 5— Create the Confirmation Route
We have to set up a route to change the user status from “Pending” to “Active.” Therefore, I included a new route in the auth.rotes.js file and configured a new controller to deal with the procedure. The verifyUser controller searches the database for a user with the confirmationCode received in the URL and executes the status update accordingly.
Step 5 — Create a Welcome Page
At this moment, if the user clicks on the email’s confirmation link, they will find a blank page and still be unable to log in. Therefore, we need to make some changes on the front end to complete the registration procedure.
We have to add a new method in src/components/services/auth.service.js to call the endpoint defined in the last step.
After this, we have to create a new component to render when the confirmation URL is clicked. Don’t forget to include the respective route in the App file!
Step 5 — Let’s Test!
Let’s put it all together and see if our application works.
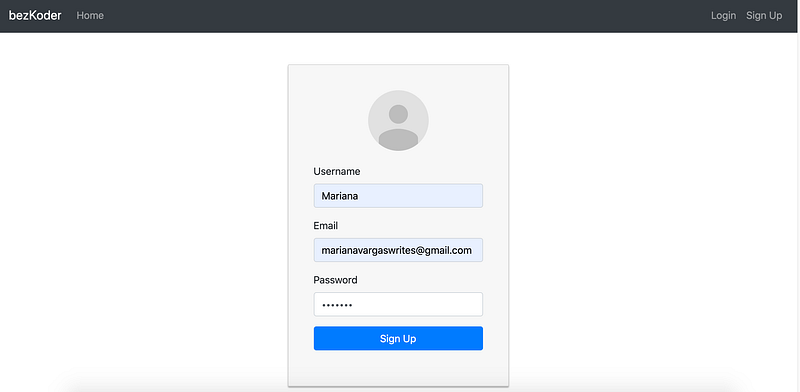
1. Create a new user account
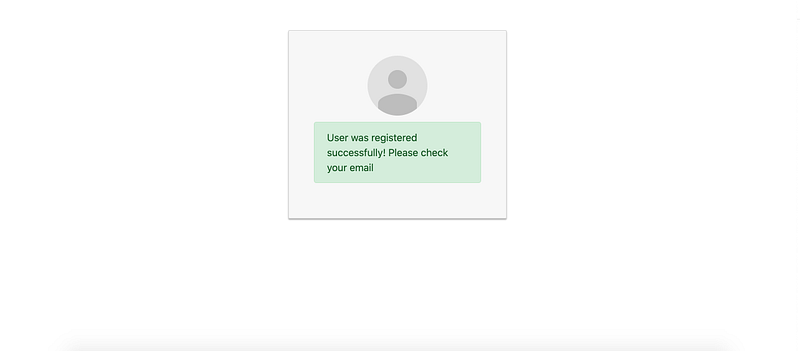
This is the message you may see:
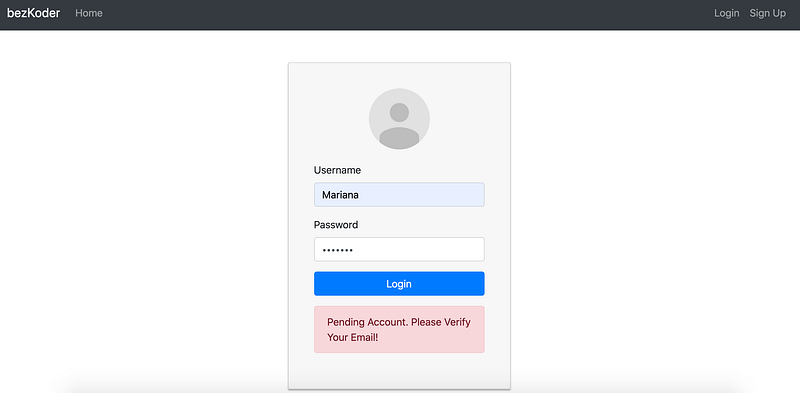
And if you try to log in, this is the error you’ll find:
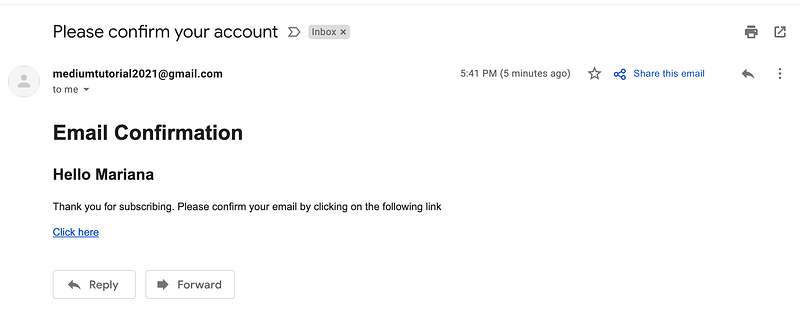
2. Check your mailbox
You may have received an email like mine:
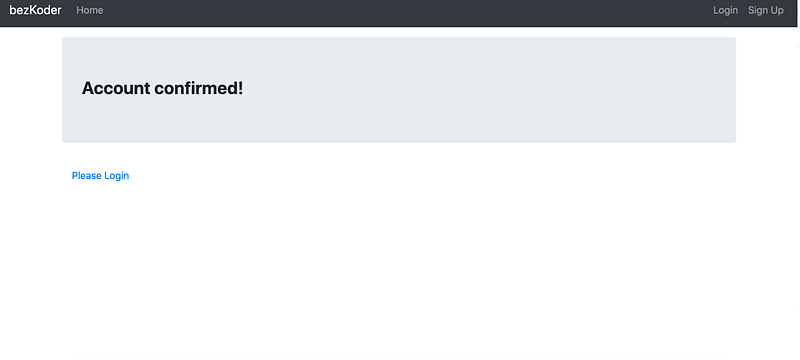
Click on the link and confirm this is the webpage you’re redirected to:
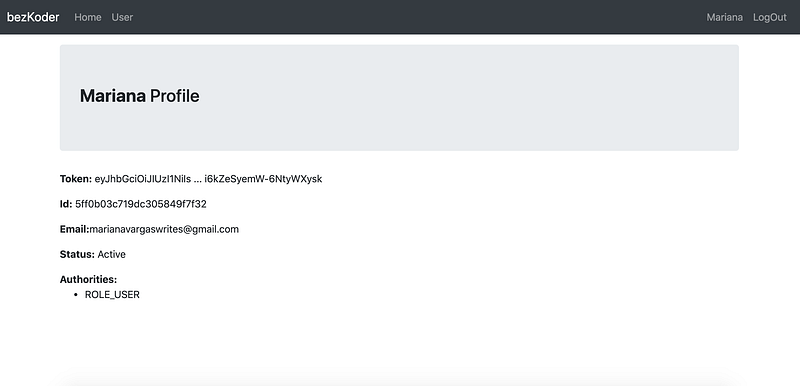
Now, if you attempt to log in again, you’ll be automatically redirected to your profile page.
Since you’ve completed this tutorial, you have learned how to create a registration confirmation email using Node.js, and are now able to build a robust signup feature. Congratulations!
You can find the complete solution developed in this tutorial in this GitHub repository. Happy coding!


