
How to Create a Font to Hide Secret Messages
How to make fancy fonts using this simple online tool

There are countless fonts out there, each with its purpose. Some are made to look fancy, others to be more readable. One other use case for a font is to encode written messages you want to keep prying eyes off.
Before we go on, I need to mention that an unreadable font cannot replace traditional encryption and is completely useless if someone has access to the actual text, since fonts only modify how characters are displayed. This method only works for printed documents or text in images, where you don’t have access to the actual text bytes.
Font making tool
In this article, I’m going to use Calligraphr, a great tool for creating custom fonts. I’m not sponsored or affiliated with this organization, though I believe they offer an awesome product. There are many other options out there, but this is the best I’ve found so far.
In order to get started, you need to create an account on Calligraphr’s website. Signing up is totally free, even though you have limited features without purchasing the pro license. Anyway, this is not a problem, since you can do everything you need with just the free tier.
Calligraphr allows you to easily create .png or .pdf font templates you can then print or directly edit with image editing software. Once you have finished creating your custom characters, either by hand or with the computer, you just need to upload the newly-created font to their website. In case you chose to print your template, you naturally need to scan your work before uploading it.
Creating the font
Once you’re logged in, click on “create a template” to start creating your new font.

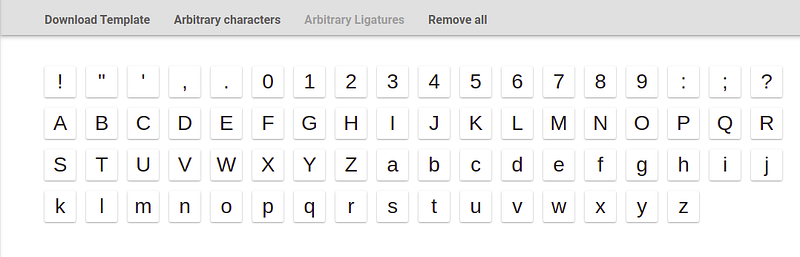
You will the be presented with a screen with clear instruction on how to compose your font’s character set. For this project, I’ve chosen to use the “Minimal English” and “Minimal Numbers” freely available templates.
Once you’re done, click on “Download Template” and follow the instructions to download your font template. Now, you can either print it to work on it by hand or directly edit it using the software.
In the case of this project, the template looks like this:

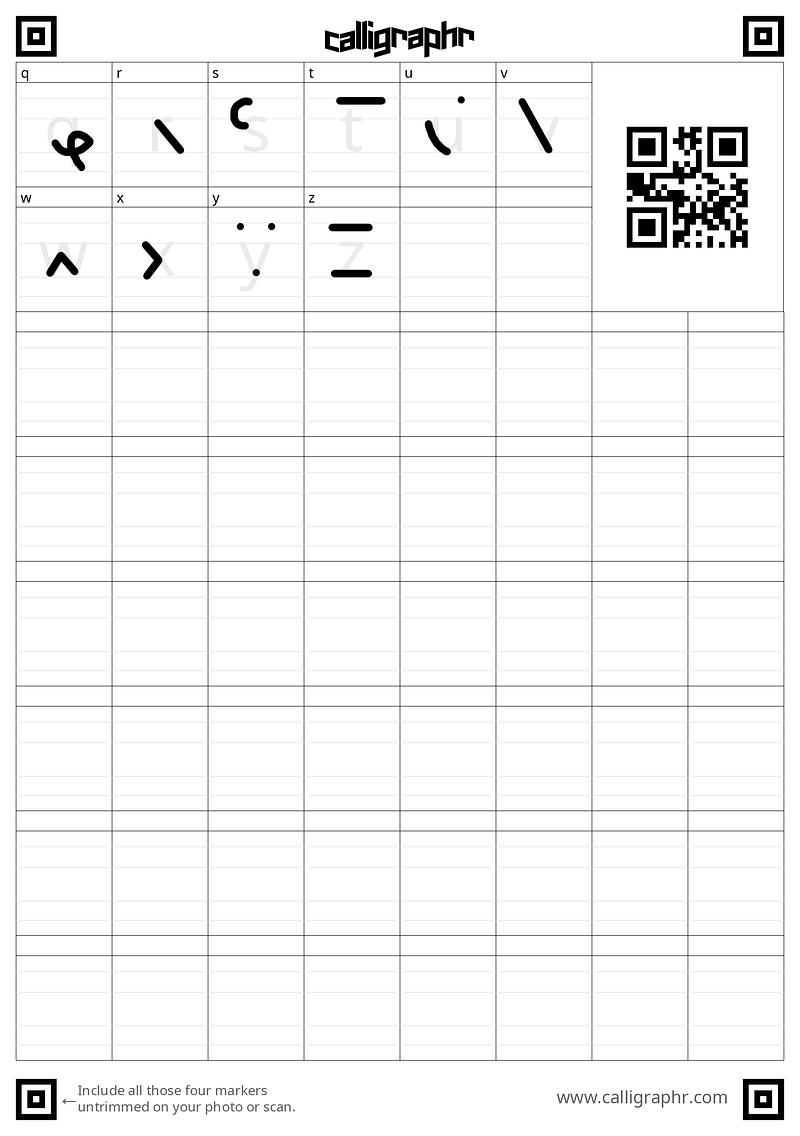
Once you got here, it’s time to start drawing your new custom font. Here is what mine looks like:
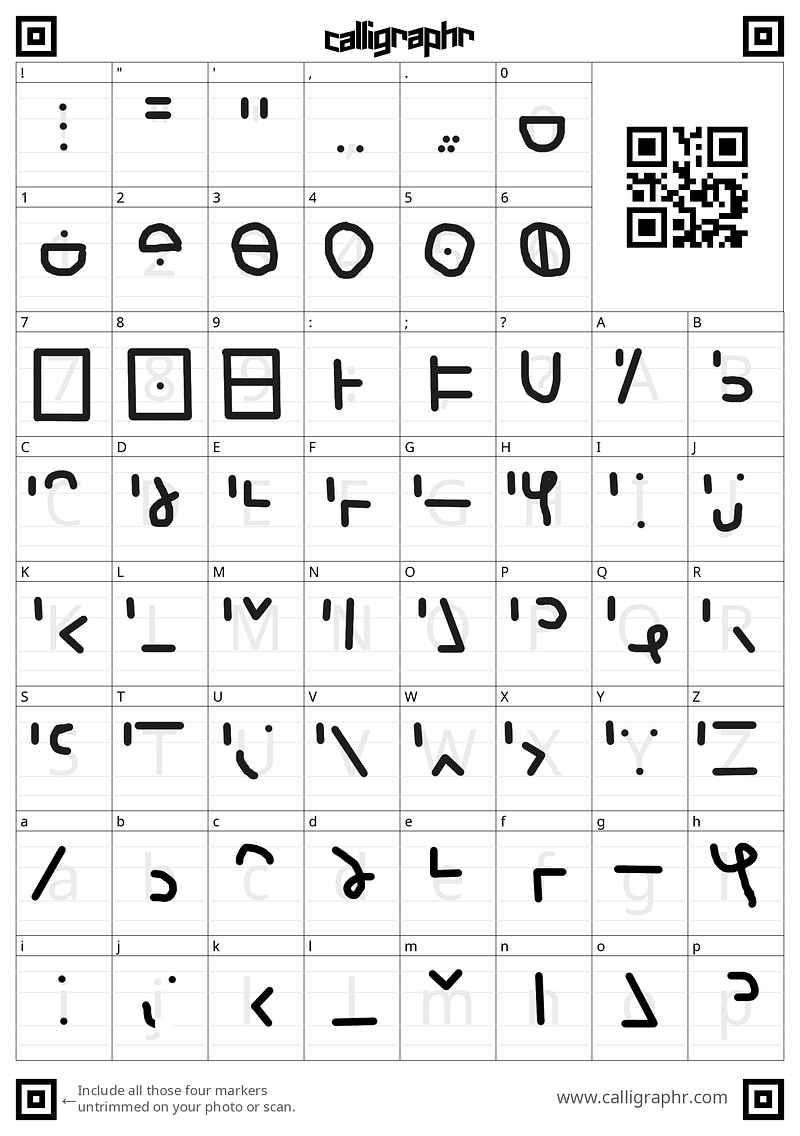
This is actually a font I have created back when I was in elementary school. I would sometimes write secret messages in it, just for fun.
When you are finished drawing your font, you simply need to upload it to Calligraphr by clicking the “Upload Template” button in the “My Fonts” section. If you decided to print and write by hand on your template, you may want to scan it. Mind that you can add more than one file at a time to your font.
You can then change the font name and other characteristics to your liking by clicking on “Edit Font Details”. Once you’re done, click on “Build Font” and follow the dialog instructions. You will finally be presented with a dialog to download your new custom font in .ttf or .otf format.
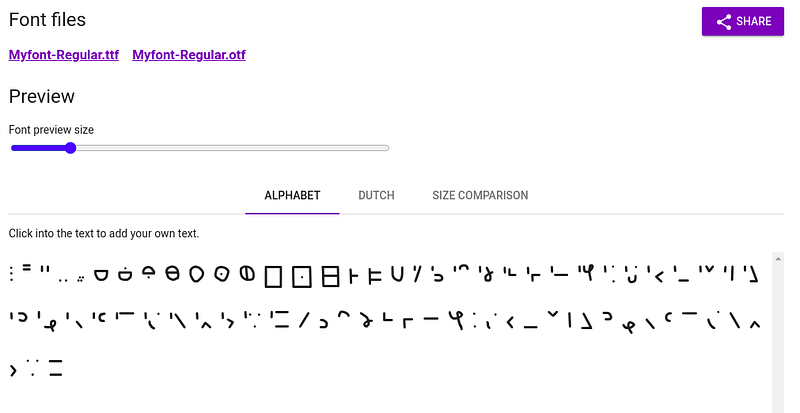
I personally decided to download the .ttf file, but either is a valid option.
The last thing that’s left to do is to install the font. Most modern operating systems provide a built-in way of easily installing fonts. You usually need to open the folder it’s located in — in my case “Downloads” — with a file manager. Depending on your system, the following process may slightly differ.
- On Windows 10, right-click on the font file. You should see an “Install” button.
- On macOS, double-click on the font file to open Font Book. Now, you just need to click on “Install Font”.
- On Linux and other UNIX-like systems, there is no standard approach. Many distributions offer, though, some simple GUI or command-line tool to install fonts. In case your distribution does not, you can find one with a simple Internet search.
Now that you have installed your new font, it’s time to start using it. Open your text editor of choice and set the text font to the one you have just created. I won’t show this step, as it can be very different, depending on which text editing software you use.
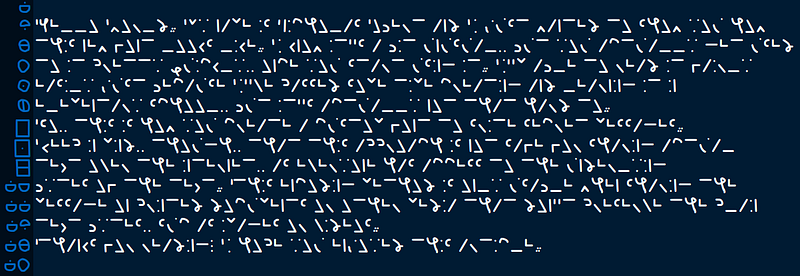
Here’s an actual example of this new font. Try to read it, if you can.
Conclusion
To wrap it up, we’ve seen how to create a custom font using just Calligraphr and your imagination. Only remember not to use this technique if you really want to hide secret text messages on the Internet.
Thanks for reading! If you liked this article, you may check out this story below, also on fonts:
More content at plainenglish.io. Sign up for our free weekly newsletter here.