
Swift Programming
How to Create Advanced Gradients in Swift with CAGradientLayer — iOS Swift Guide
5 steps to create beautiful gradients for your apps

With CoreAnimation and CAGradientLayer, iOS makes it easy to create custom gradients of any style. It is possible to create linear, conic and radial gradients, and to customize as you want its colors and orientation. It even supports animating gradient changes for smooth and colourful apps.
CAGradientLayer is a subclass of CALayer, and has been specially designed to easily and quickly make gradient effects. With literally five lines of code, you can generate a new gradient and add it to your view layers.
Here are 5 steps to create beautiful gradients for your apps.
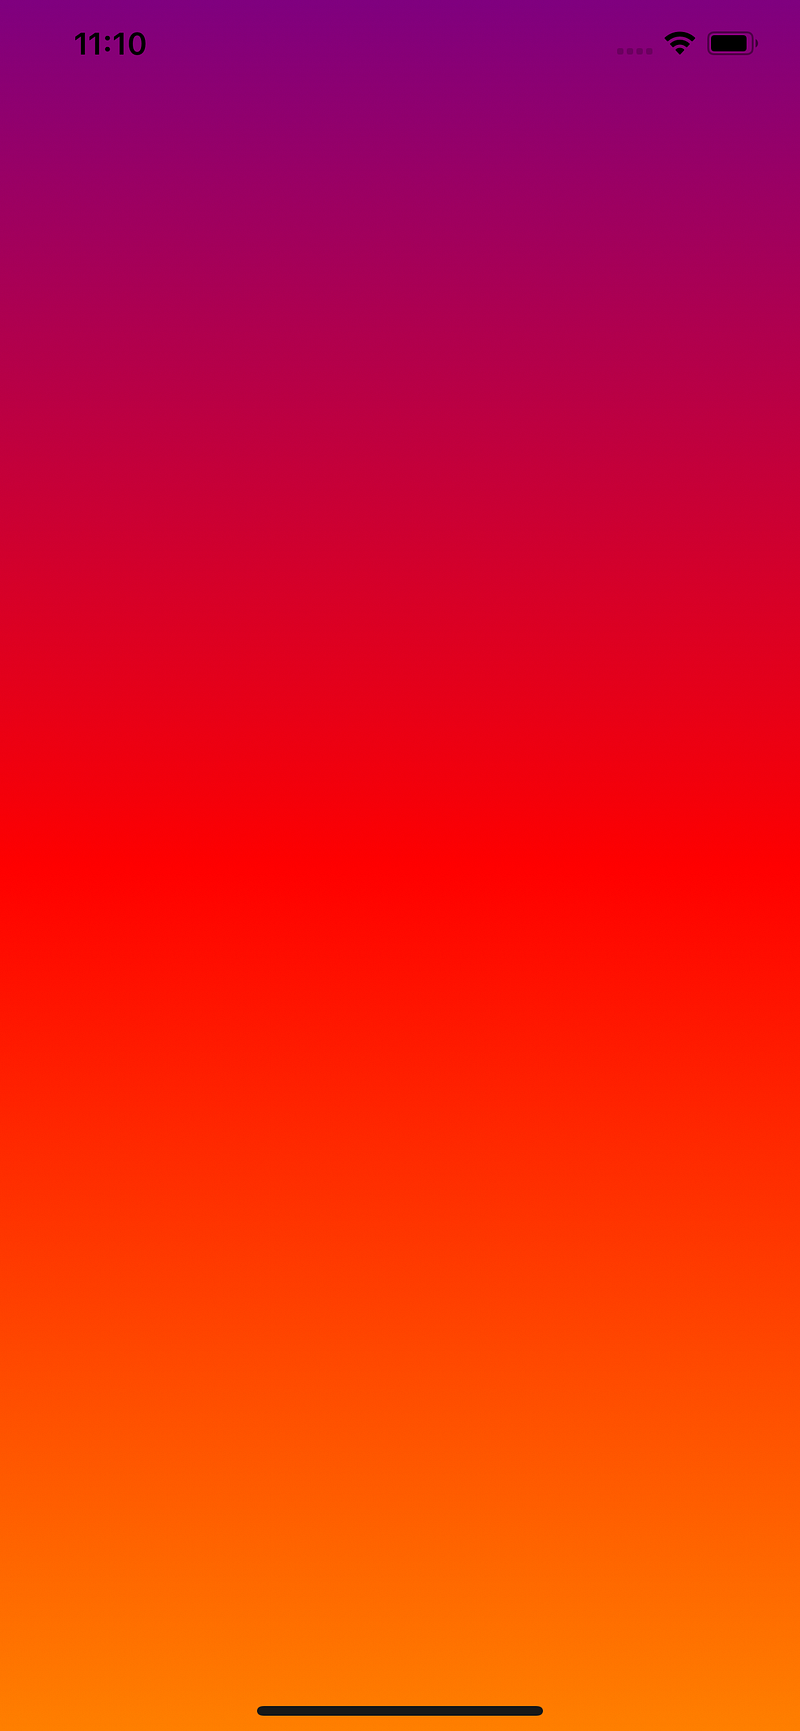
1. Linear Gradient
Creating a layer with gradient colors is quite simple. For the most basic gradient, it only requires the colors you want to use, and then you can optionally adjust color location. Once you’ve created your gradient, add it simply to your view layer by calling the addSublayer function.
The attribute type is optional for this style of gradient, as linear (or axial) gradient is the default type. Also, the location of colors are useful only if you need to adjust how much space you want for each color. Otherwise, it is also optional. If you don’t set this property, each color of the gradient will just show proportionally on the layer.
2. Customize Gradient Direction
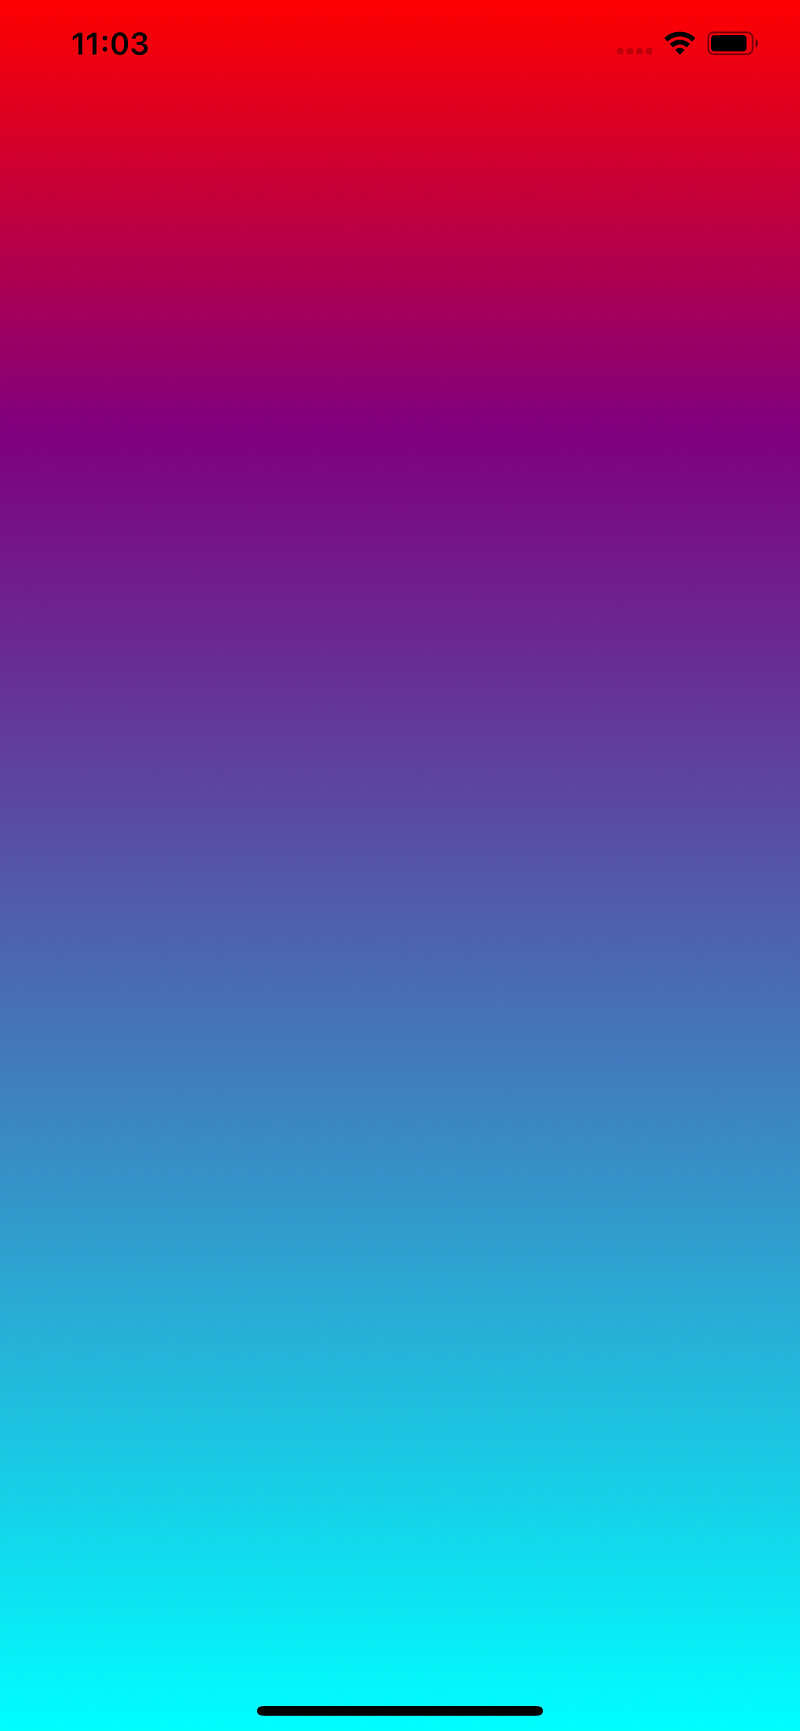
We now have created a new gradient, customized its colors, but it always the same vertical direction. Thanks to CAGradientLayer we can customize direction too! More exactly, we can customize the start point and end point of the gradient. To make it simple to understand, the gradient will follow a line between these two points, so you can choose the direction of the gradient, but also where it will starts, and where it will ends.
These two points are expressed in percentage of the layer, between (0, 0) and (1, 1). For example, in the default vertical gradient we have above, the start point is (0, 0), and the end point (0, 1).
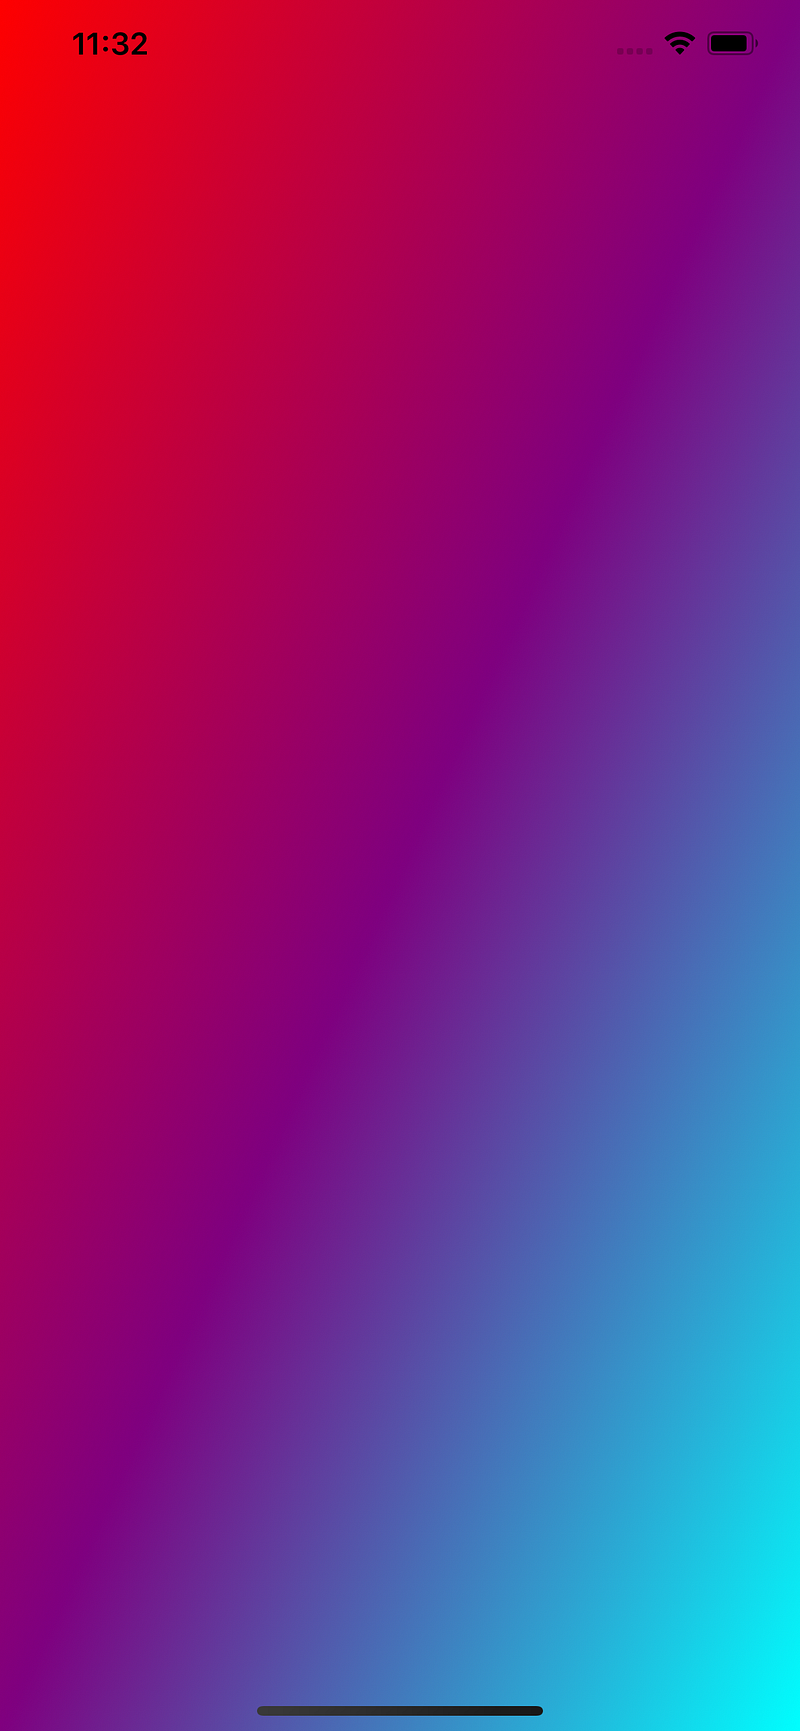
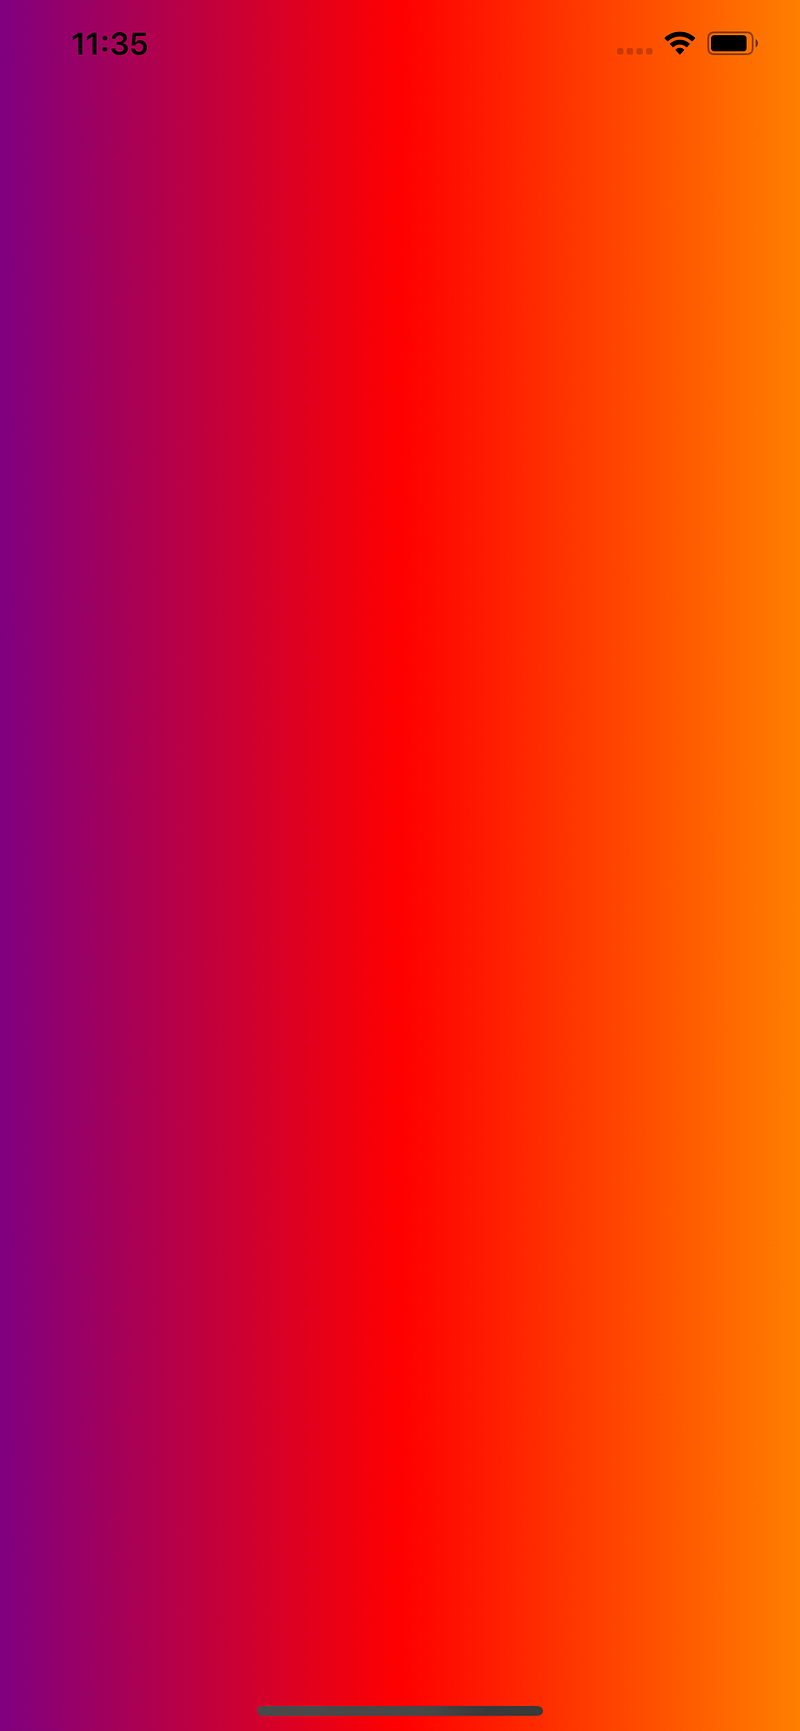
Let’s see two examples of customized direction: a first one in a perfect diagonal, and another one in the horizontal direction.
For the diagonal direction, set the two points as in the code below.
For the horizontal direction, just keep the same y for both start and end points, and you’ll get an horizontal gradient.
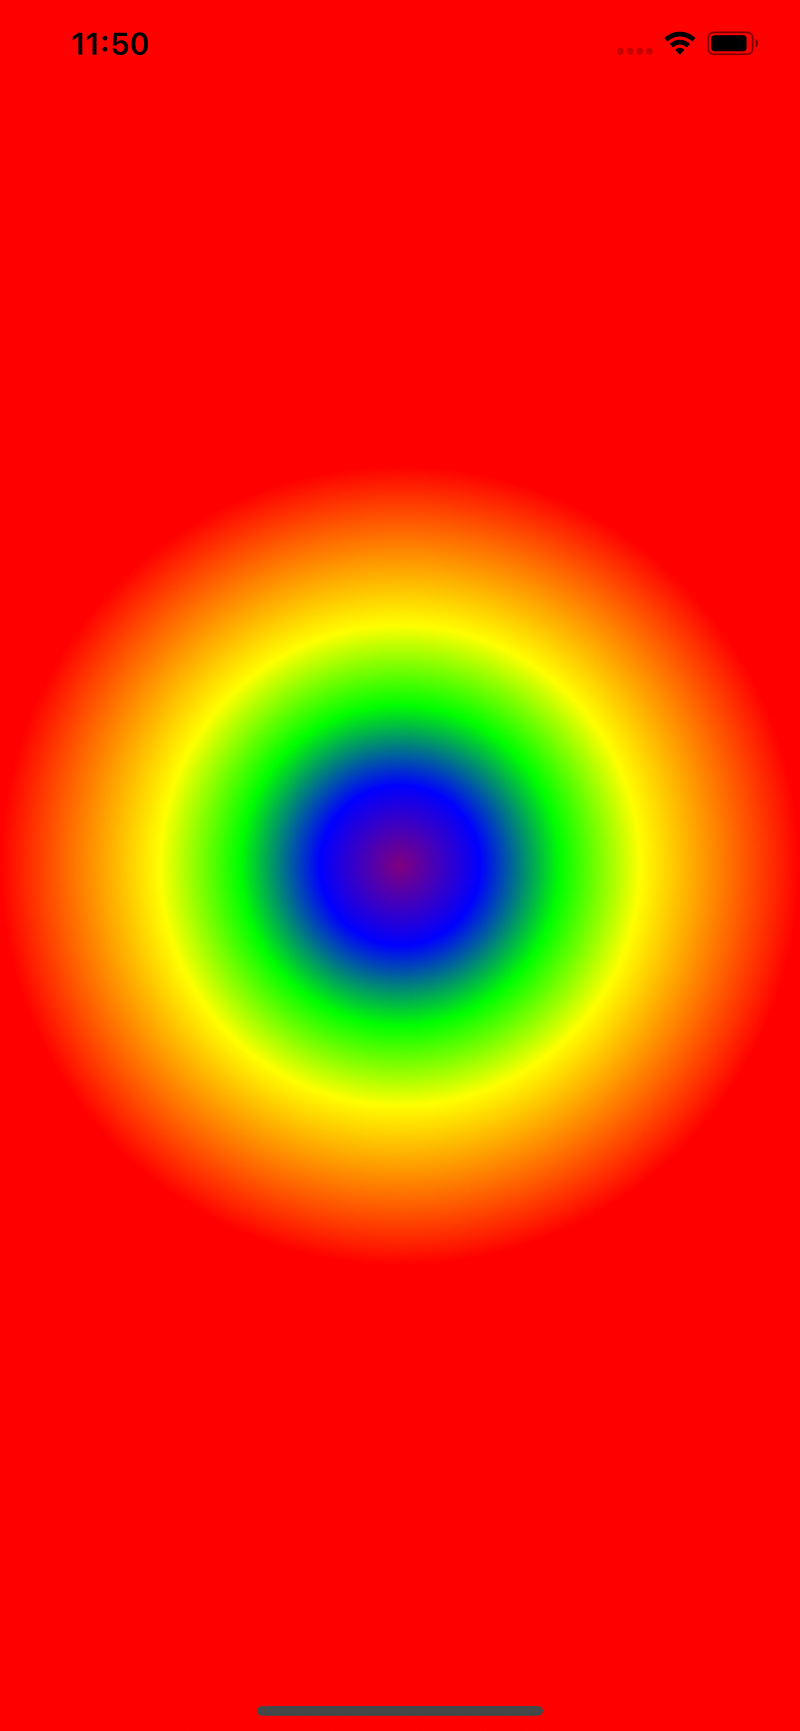
3. Radial and Conic Gradients
Radial and Conic gradients are pretty similar to the linear gradient to create.
As seen in the previous part, gradient layers have a CAGradientLayerType property named type. This property, which is described in the Apple Documentation, allows you to choose which style of gradient you want to use on this layer.
Here are the three types available:
static let axial: CAGradientLayerTypestatic let conic: CAGradientLayerTypestatic let radial: CAGradientLayerTypeTo change the style of gradient to conic or radial, set either conic or radial to the layer type property.
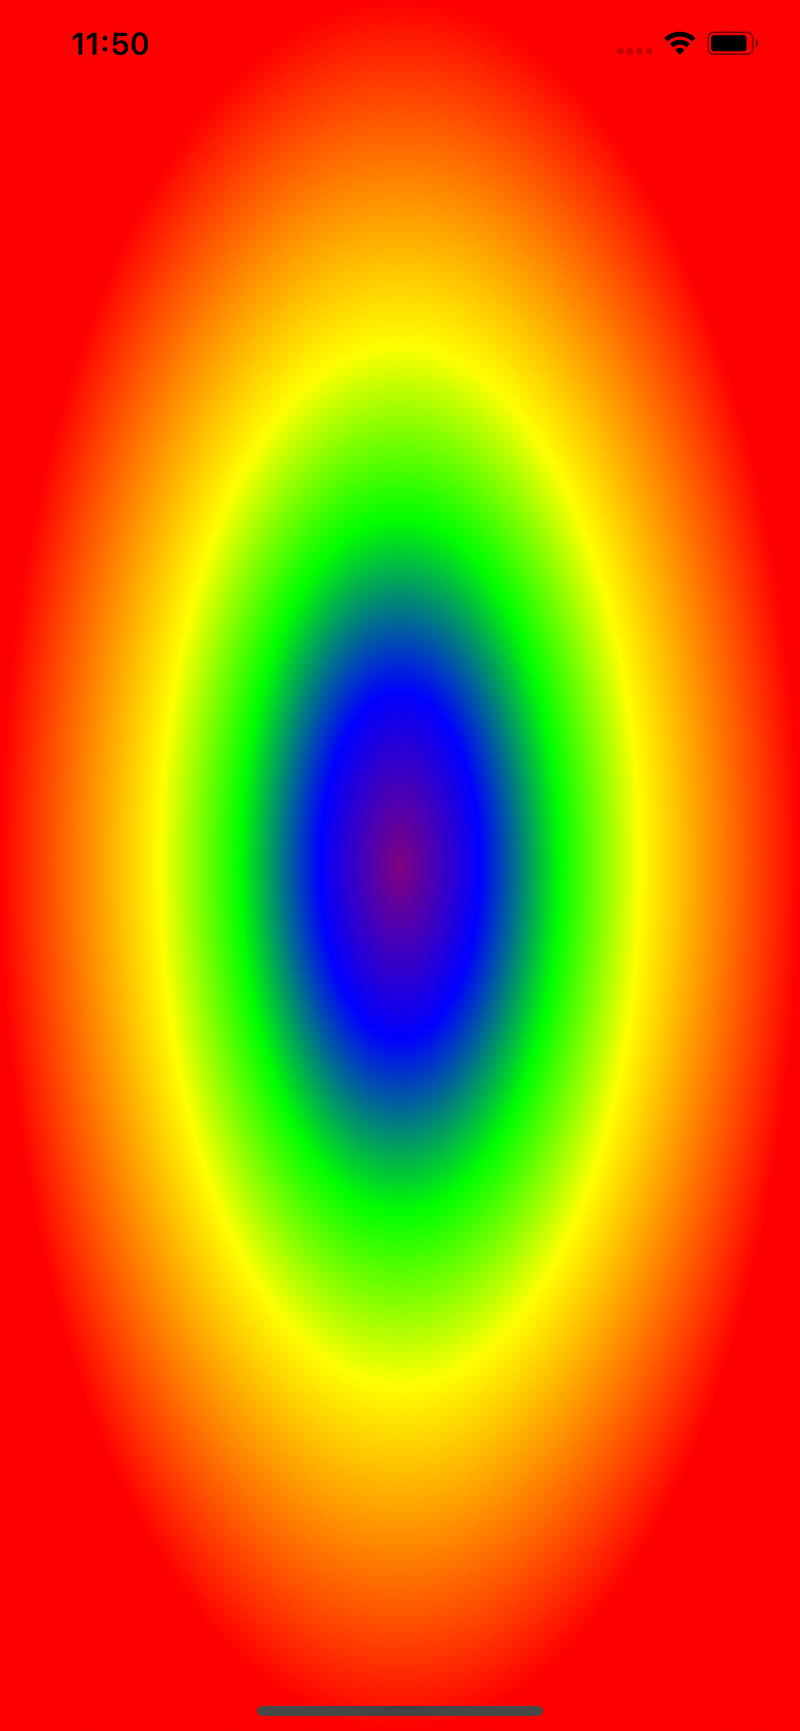
If startPoint and endPoint was optional for the linear gradient, you need to specify these two properties for both radial and conic gradients.
In radial gradients, startPoint represents the middle of the circle, and endPoint the farthest point of the circle. If your layer is none-square, you may need to do some math to find an endPoint in order to give to your radial gradient a rounded shape.
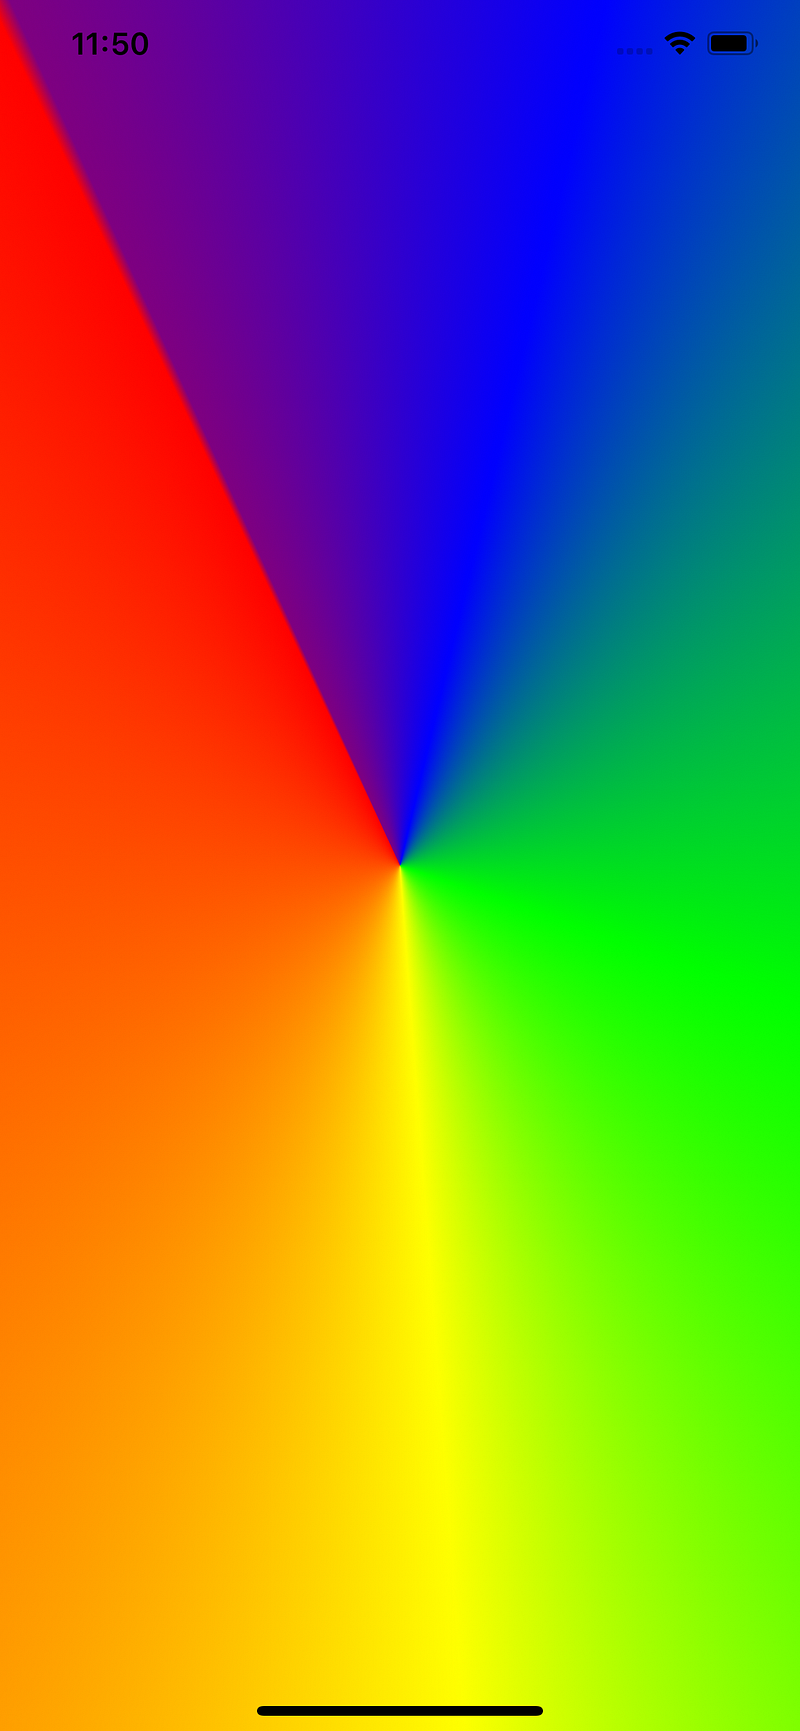
For conic gradients, startPoint still represent the middle point of the cone, but the endPoint is the point where your first color and last color will join. In some way, this will allows you to rotate your conic gradient.
4. Animate Gradient Changes
Another cool thing with CAGradientLayer is that most of its properties can be animated! You can easily animate color changes, start points and end points changes for example.
Let’s see how to create a custom animation to change the gradient colors, by creating an extension to CAGradientLayer.
It works the same way for animating start point and end point, you just have to replace the keyPath at CABasicAnimation instantiation, by the one you want to animate, “startPoint” for example.
5. CAGradientLayer in UIView
Every UIView object has a layer of class CALayer. In some cases, if you are creating a custom gradient view for example, you might want to replace this default layer by a gradient layer. You can replace the layer class of your custom view by overriding the layerClass property of your UIView class.
By doing so, you don’t even need to instantiate a new CAGradientLayer object, as the default layer of the view will be of the returned type. You can set directly colors and points to the layer object of the view by using the layer property: layer as? CAGradientLayer.
Recap
In this article we’ve seen how to create a fully customized gradient layer, how to choose and configure the style of gradient to apply and how to animate your gradient changes.


