

How To Convert Your Images To Cartoon Format
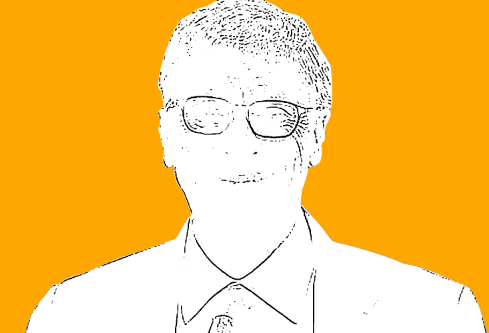
Converting your images to cartoon format might seem like rocket science to some, we sometimes envision a state-of-the-art technology and probably arcane methods for its purpose. While in fact, the reverse is the case. Many photo editing software and companies offer this cartoon editing service only in paid versions, and there is a whole market behind the conversion of images from the normal format to a cartoon-like image. In this tutorial, I would be guiding you through the process in a step by step manner. The Image we would be using is the image below.

Though, you can use any image you like, I particularly choose this image because of the respect and admiration I have for Mr. Gates. If you would like to use the same picture I used, you can just take screenshot the image or save it directly from this page, this process doesn’t require a very high quality image. That brings me to the second advantage of this process. This method does not require high quality images for the image creation, the quality of the image at the start does not affect the output, as you still get very high quality vector images.
In case you might not have heard of vector images, they are images that don’t loose their quality even when expanded to larger proportions
This means, you can convert a low quality image to a high definition image which can be used for a bill board if you so desire.
The requirement for this tutorial is the photoshop application. Some of the tasks in the tutorial might be time consuming at first, but when you get used to the process it wouldn’t take much of your time.
So, without much ado, let’s get into the process.
Step One
Extracting the image:
- Firstly, you would have to open your adobe photoshop application and create a new photo shop file
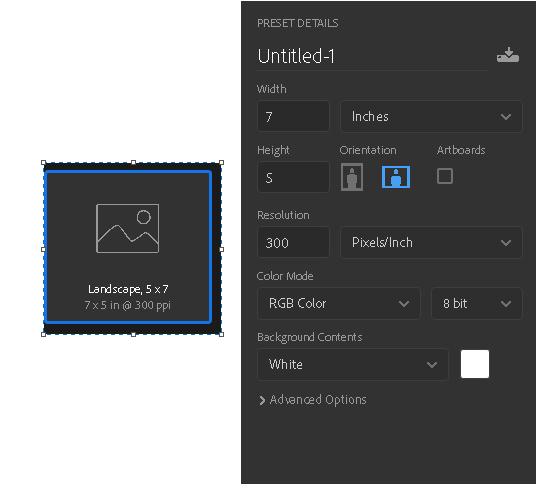
I would be using a 5 by 7 inch image format, though, you can use any format you require, My choice of this format was rather unpremeditated.
2. Using the paint bucket tool

fill the background using the any background color of your choice. The paint bucket tool is located at the tool bar which is at the left part of the screen.
i. Filling the background is a simple task, You click on the paint bucket tool on the tool bar,
ii. Click on the color palette

to select any color of your choice, I would be using the orange background. The hex number is (FEA700). You can select any color but it should not be either black or white. This is to avoid confusion when working with the white and black parts of the image.
Note: the background color can be changed later, but to avoid confusion during the design process, it is recommended you stay off these colors
3. Locate the path of your image and drag the image to the photoshop artboard (the orange canvas) to place the copy of the image.
4. Resize the image to cover the screen.
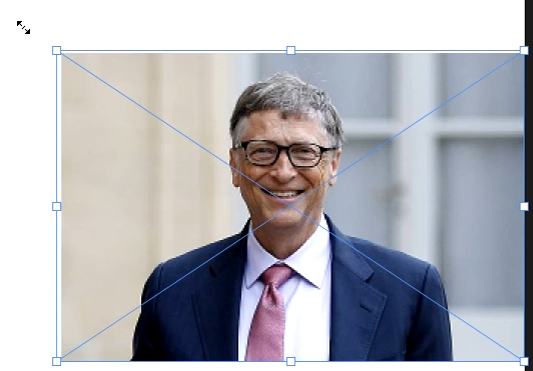
Resize the image by dragging on the edges of the image. You can also do this by pressing the command (Ctrl + T) and then dragging on the edges of the image.
4. select the image of the person of interest in the picture.
You can do this using the pen tool

This method is preferred over the magic selector tool because it gives a smooth and more professional selection of the image of interest. One drawback with this method is that it is time consuming. Activate the pen tool by clicking on the pen tool icon or by using the letter ‘p’ (P) on the keyboard.
5. Using the pen tool, trace the outline of the person of interest
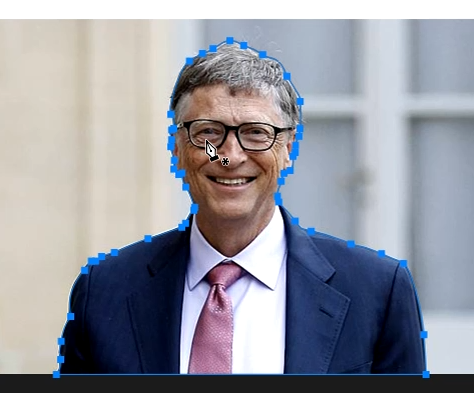
6. After drawing a curve around the image with the pen tool, make a selection of the image using the command (Ctrl + Enter).

This command creates a selection from your drawing on the pen tool.
7. Copy this selected layer by right clicking on the selected layer and selecting ‘layer via copy’ or use the command (Ctrl + J).
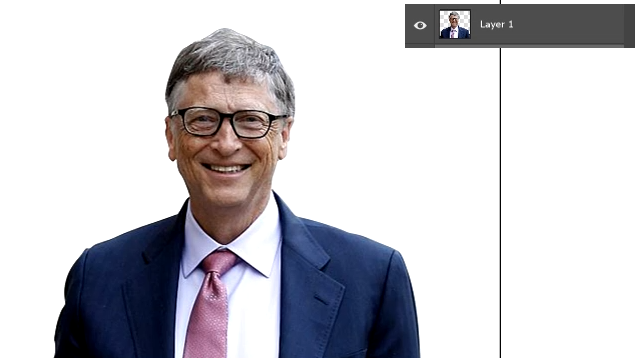
This command creates a new layer containing just the selected image.
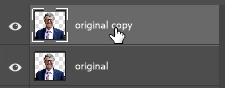
7. Rename this layer as ‘original’. At this point, you can safely delete the source image layer because it would no longer be useful for the design.
8. Congrats, you’re done with the first step

Step two
Making the outline of the image
1. Make another copy of the layer ‘original’,
You can make a copy by right-clicking on the layer and selecting duplicate layer, or by selecting the layer and then using the command (Ctrl + J).
this layer would hold the outlines from the images.
Rename this copy to ‘Layer 1’
2. For these next steps, make sure the Make sure the ‘Layer 1’ is selected. Ensure your color palette has black on the foreground and white on the background

If not, press the letter ‘D’ on the keyboard.
This command resets the color palette to default, which is black on white background.
3. On the top menu select Filter -> Filter Gallery…
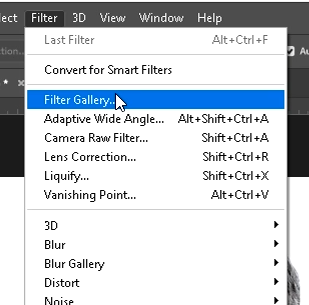
This command would open a new window with different filter styles. Select the Style photocopy. This is under the sketch filter type.
This style contains two modifiers: The detail, and the Darkness.
For this tutorial, we would be using Detail = 3 and Darkness = 8.
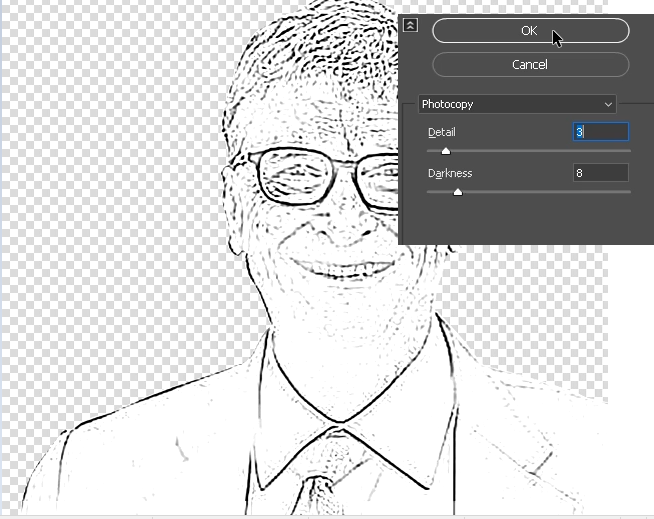
You can experiment with different values for these two parameters.
The main aim is to get a slight black and white outline of the image. You should aim for a slight outline because excess outline makes the final image look dirty.
3. Turn the outlines into solid lines: Make sure the color palette is still set to the default (Black on white) then on the menu, select image -> Adjustment -> Threshold
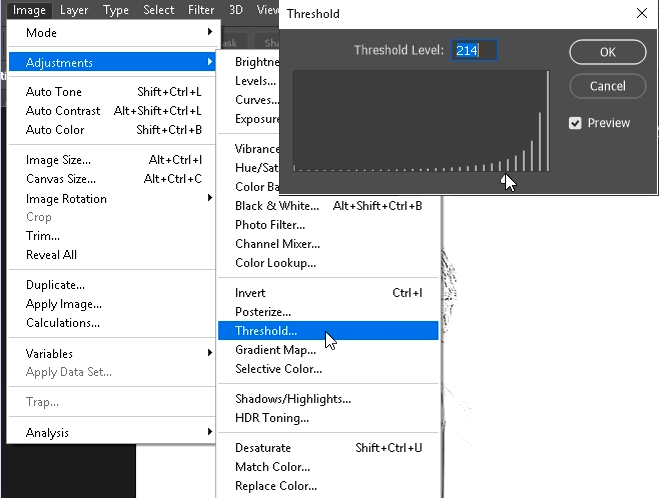
Experiment with different values for the threshold, when you are satisfied with the type of lines you get from the image, select the value of threshold by clicking ok. For this tutorial we would be using the value 214. This step should make the outline visible enough to bring out some details (such as eye line, nose line etc.) in the picture, but not so much as to make the complete sketch
4. If you’re done with this part you have successfully created the complete outline.
Step Three
Painting the skin color
For this step, we would be giving color to the skin of our image. This process is vital and would be replicated latter in the tutorial to give color to other parts of the image.
1. Make a copy of the ‘Layer 1’ and rename this copy ‘new outline’, Remember: you use the command (Ctrl + J) to make copies of layers. This new layer (new outline) would hold the skin colors and other colors that would be added to the image.
2. Make the ‘Layer 1’ invincible by clicking on the eye icon on the Layer palette.

3. Convert the ‘new outline’ layer to pure white by selecting the layer and then from the menu, go to Image -> Adjustment -> Levels.
4. Change the black output level to white by changing the zero value to 255
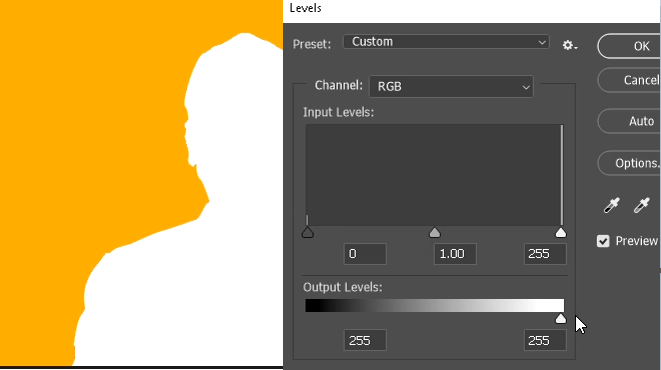
This gives the image a white look.
5. Make the ‘layer 1’ visible again
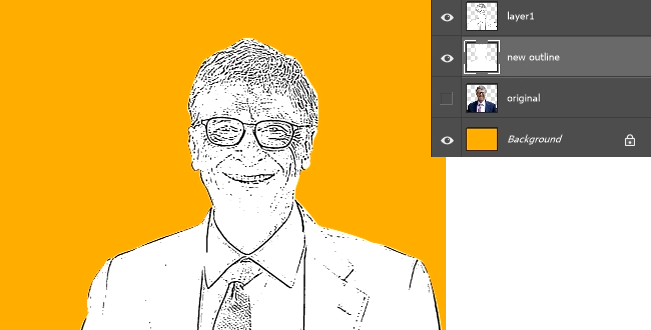
6. Move the ‘Layer 1’ above the ‘new outline’ layer. This would make the image look as shown above.
7. Click on the ‘layer1’ and then change the blending mode from normal to multiply.
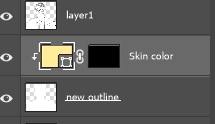
8. Select the ‘new outline’ layer then, at the bottom of the ‘layers palette’, click the create a new fill or adjustment layer

On the popup menu, and choose ‘Solid Color’.
9. A ‘Color Picker’ dialog box will be displayed, pick a creamy color for the skin.
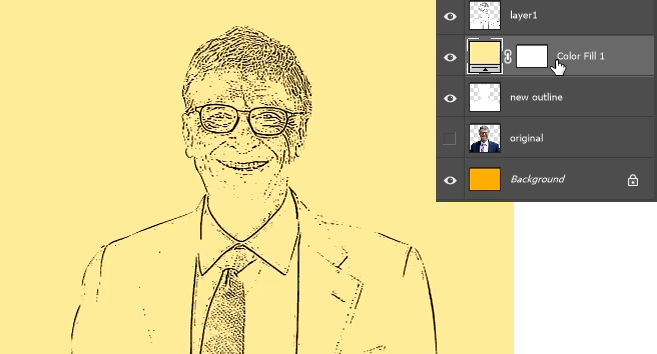
The hexadecimal color code for the color used for this image is (f3d8a9)
This would be the output of the color selection.
10. Rename this color fill to ‘skin color’
11. Create a clipping mask of this skin color layer over the outline, by right-clicking on the color fill layer and then selecting ‘Create Clipping mask’. This applies this color layer to the ‘new outline’ layer.
14. Select the color fill layer and then, below the layer palette find and click on the layer mask tool

15. Next select the paint bucket tool (make sure the color palette is in the default), then using the color paint bucket tool select the image (canvas). This would remove all the coloring in the image.
And at the same time, it would make the ‘mask’ beside the ‘skin color’ layer turn black.
16. On the ‘layers palette’ select the ‘skin color mask’ (the black part) while holding Ctrl button, click on the ‘new outline layer’. This puts a selection around the image.
15. press ‘x’ to switch from foreground to background color
And use the paint bucket tool to fill the selected image with white. Press Ctrl + D to deselect the selection area.
This applies the skin of the image alone.
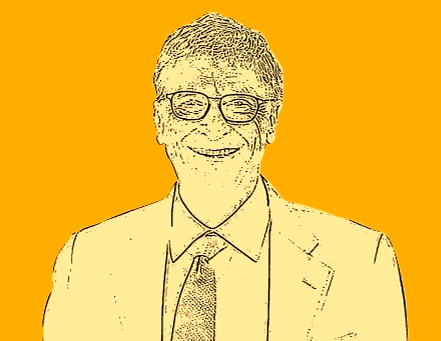
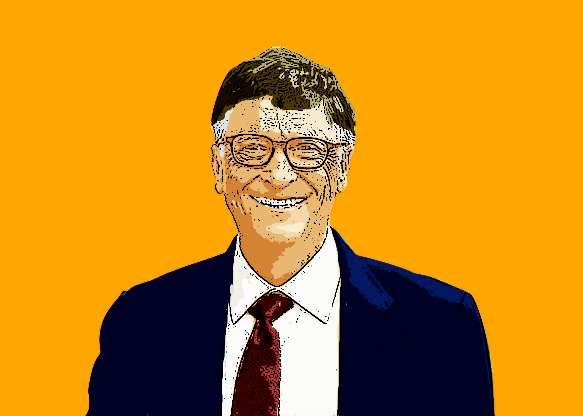
15. In my next article we would be giving depth and color to the image This would transform the image from this to the final product which is this:
Follow me Anthony Aniobi for more tutorial and tech updates.


